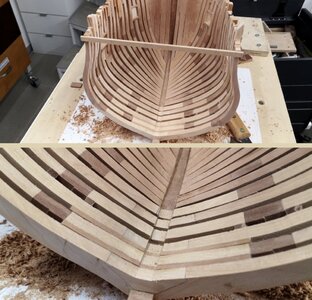
As I wait for the chisel I ordered...
The instructions now call for the fabrication of the transom pieces (followed by aft cant frames, bollard timberheads, hawse timbers, fore cant frames...). These all strike me as a bit too intimidating, so I thought it would be better for me to just work on some of the square frames.
This required several days of reading and checking out build logs. I learned the names of the parts (cross chocks, floors, first futtocks, second futtocks, and top timbers) and figured out how to decipher the key to find the parts on the boxwood panels - but most of all I studied the drawings provided with the kit.
The frames get progressively thinner as they move away from the keel. The bottom bits are 10 inches (adjusted for scale), then 9 1/2 inches, and finally 9 inches. That may not sound like much but it is visible. Just to complicate things...sometimes the flat side of the frame faces aft and other times it faces forward.
*
Note: Christian has shared with me that the frame pattern used in this kit is actually not the frame pattern used on the Kingfisher. I have chosen to not correct that because (to the extent possible) I would like to use the CNC cut parts provided in the kit.
Just to further complicate things, there are several types of square frames on this ship, and it will take a great deal of care to get everything in the right place.
I have learned from other build logs that it is wise to build frames on a perfectly flat surface. I am using a piece of glass. I am also using double sided tape to hold the parts in place on the pattern:
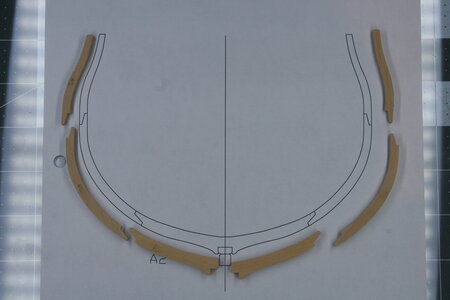
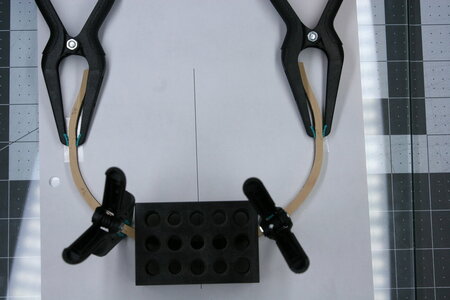
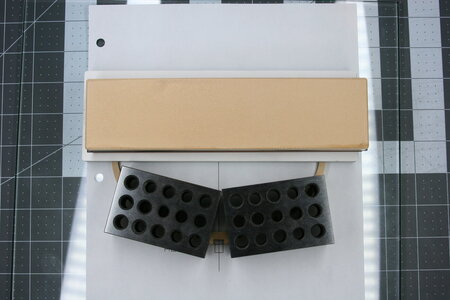
You will have noticed that the joints between pieces are scarphed. This is not correct. There should be chocks on the inside of the frame. My plan is to simulate the chock by adding the other half of the scarph (this will only provide a visual difference on the inside of the frame - the look on the outside of the frame will be the same).
The scarph cuts on the pieces are generally very precise - I have only had to modify a few thus far. Oh, I did have to sharpen the inside corners as the CNC bit leaves it round:
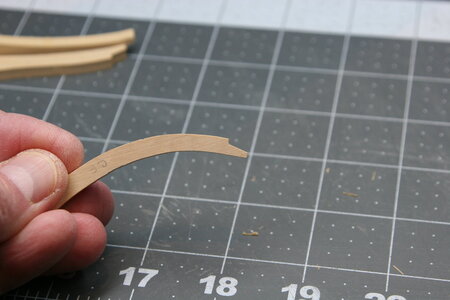
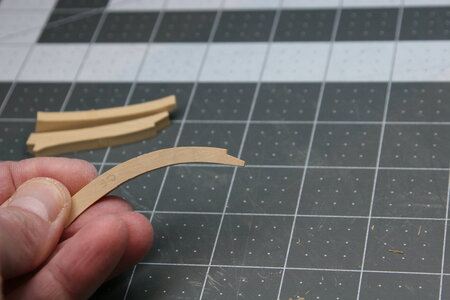
And now I need some instruction.
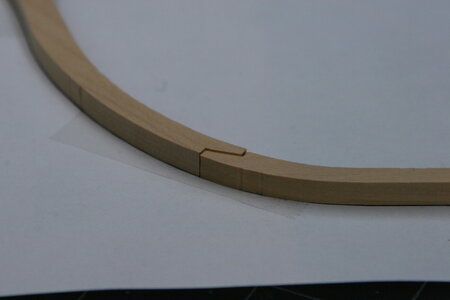
Where the timbers step down in size...how do I handle the scarph (well, in the future this will be half of the chock)? Leaving it staggered as you see below just seems wrong:
My solution was to pare down the half of the chock that is on the narrower piece:
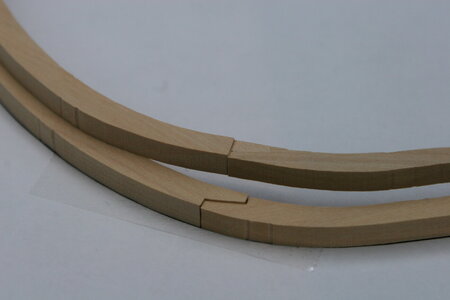
Before I do that on several hundred chocks I need to know if this is the correct solution. Thanks for your help!


 I think I commented on your Vasa build that you are your own worst critic. This project is as near to scratch as you get without actually being a scratch build. The mindset is quite different to building a normal kit.Far more problem solving and considerable thinking time, probably more than actual building.

 .
.


