Kingfisher 1770 1:48 POF

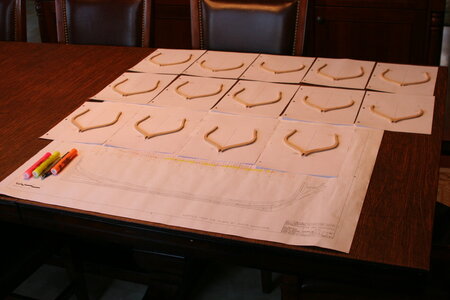
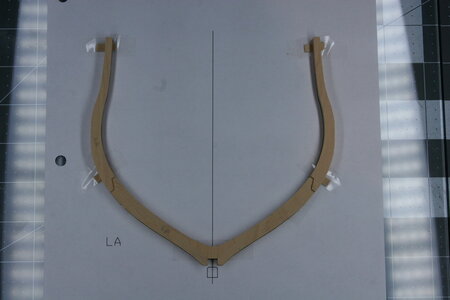
Work continues on the square frames. This bunch is ready for creating the faux chocks and fore/aft surface sanding...

IMG_9355.JPG

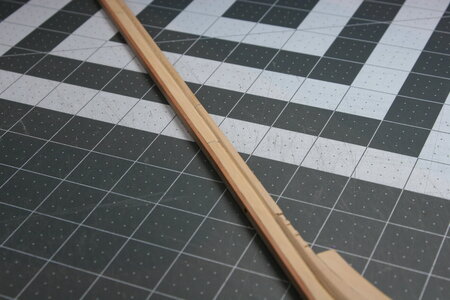
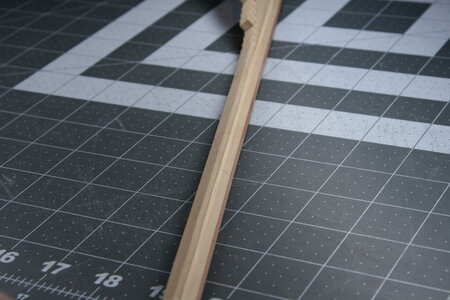
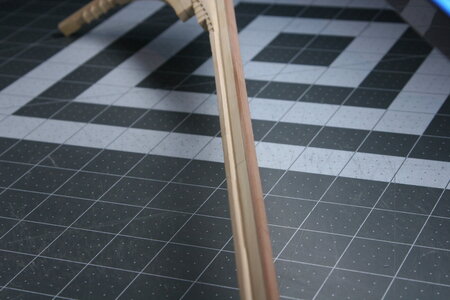
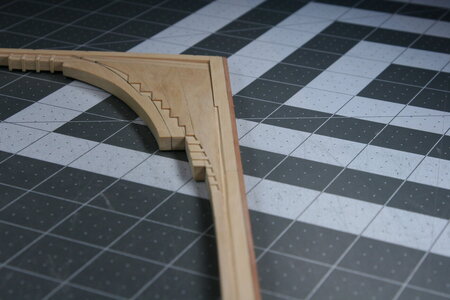
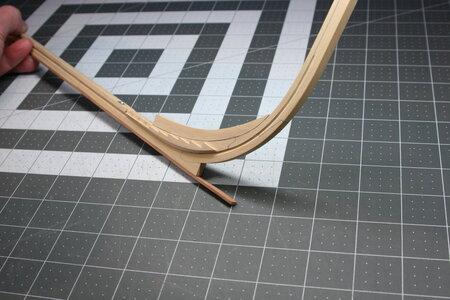
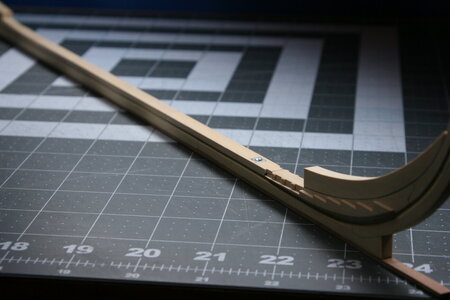
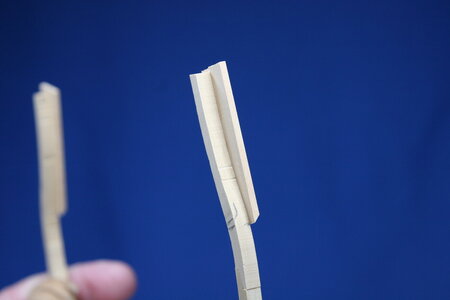
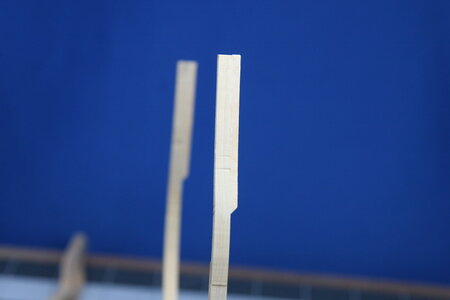
I have also now completed the preliminary work on the rabbet. I'll hold off on the final shaping for when the frames are in place (and the hawse timbers in the front and transom pieces in the back). Taking photos of the rabbet was difficult, but these will give you a sense of where I am at...

IMG_9358.JPG

IMG_9366.JPG

IMG_9368.JPG

IMG_9363.JPG

IMG_9357.JPG

IMG_9369.JPG

Thanks for taking the time to stop by! There are some pretty remarkable projects underway on the forum right now (both old and new) - I hope you are all taking advantage of the terrific learning opportunities!
 
It might.
Work continues on the square frames. This bunch is ready for creating the faux chocks and fore/aft surface sanding...

View attachment 358377

I have also now completed the preliminary work on the rabbet. I'll hold off on the final shaping for when the frames are in place (and the hawse timbers in the front and transom pieces in the back). Taking photos of the rabbet was difficult, but these will give you a sense of where I am at...

View attachment 358379

View attachment 358381

View attachment 358382

View attachment 358380

View attachment 358378

View attachment 358383

Thanks for taking the time to stop by! There are some pretty remarkable projects underway on the forum right now (both old and new) - I hope you are all taking advantage of the terrific learning opportunities
It might be a wise idea to hold off finalizing the rabbet until you're further along with adding frames to the keel. At least you'll have a better idea of the flow of the keelson and how the keelson interfaces with the keel.
 
Paul, everything is looking good thus far! Clean and precise.
Sometimes getting the right camera angle and lighting can be difficult to show wood geometry. I see things in person I want to show with the camera, and sometimes it just doesn’t work out. But I can tell what you have done so far and you should be in good shape for planking, as it’s easier to take away wood than add it. ;)
In addition I thought you were undecided on planking the hull? If you don’t, then obviously the rabbet is a moot point. I would plank one side and keep the other unplanked below the lower wales. But it’s your ship and I know you will do her proud regardless of your decision.
 
Me, evil? No, never, I don't have a bad bone in my body. I'm merely offering you a suggestion to make this a one of a kind build.
Good morning Johan and Paul. Clearly I’m more sinister than you Johan as I truely believe Paul should go for the split hull- some more “wiley provocations” - Paul’s Sirens need to start singing ;) .

Seriously tho Paul, your Rabbet is brilliant. You were concerned in an earlier post but you pulled it off. Question- what methodology did you use to make this.
Cheers Grant
 
Work continues on the square frames. This bunch is ready for creating the faux chocks and fore/aft surface sanding...

View attachment 358377

I have also now completed the preliminary work on the rabbet. I'll hold off on the final shaping for when the frames are in place (and the hawse timbers in the front and transom pieces in the back). Taking photos of the rabbet was difficult, but these will give you a sense of where I am at...

View attachment 358379

View attachment 358381

View attachment 358382

View attachment 358380

View attachment 358378

View attachment 358383

Thanks for taking the time to stop by! There are some pretty remarkable projects underway on the forum right now (both old and new) - I hope you are all taking advantage of the terrific learning opportunities!
You must have had a hard time taking photos of rabbet, as I don't see Bugg's anywhere in the photos! ROTF
 
It looks great from this angle Paul. The frames looks great as well. It will be a lovely ship, cut in two just above the waterline to see all that beautiful interior...what a spectacle this will be....can't wait!

Peter
 
Work continues on the square frames. This bunch is ready for creating the faux chocks and fore/aft surface sanding...

View attachment 358377

I have also now completed the preliminary work on the rabbet. I'll hold off on the final shaping for when the frames are in place (and the hawse timbers in the front and transom pieces in the back). Taking photos of the rabbet was difficult, but these will give you a sense of where I am at...

View attachment 358379

View attachment 358381

View attachment 358382

View attachment 358380

View attachment 358378

View attachment 358383

Thanks for taking the time to stop by! There are some pretty remarkable projects underway on the forum right now (both old and new) - I hope you are all taking advantage of the terrific learning opportunities!
This is looking very nice, Paul. :) Discussions about when and how to the shape of the rabbet ……… mmhhh, I’ve heard that before ……;)
And about that saw:
When you consider even the slightest possibility, it is already done. Just take the possibility into account and work towards it.
You already have a ship with a beautiful vole hull, so why not....... Maarten, Uwe, myself …… we are glad we did it.
And on the other hand, when not sawing, no problem. Build a beautiful one side planked PoF. Then you can also enjoy that open view.
Regards, Peter
 
Question- what methodology did you use to make this.
Cheers Grant
Since I've cut a grand total of one rabbet (well, two - one on the port side and one on the starboard) I'm reluctant to think I should be teaching or sharing my approach. But you asked... (I didn't take pictures so you'll have to use your imagination):

I first established the upper and lower limits of the rabbet using a scribing tool (drafting compass). I then used an XActo to cut the depth of the rabbet at the midpoint of those scribed lines (to a depth of about 1 mm). In my trials I tried using a #11 (pointy) blade but it wanted to run off the centerline even when guided by a metal ruler. I found a curved blade worked much better [#10 (smaller) or #22 (larger)]. I then shaved down to that center line at an angle from the two scribe lines using a curved blade (#10) held at 45 degrees. A sharp bench chisel worked just as well.

It was here that I needed to be really patient. It's easy to rush this step or try to remove too much material all at once. The shape of the rabbet changes along the length of the ship so I had marked some transition locations ahead of time so I wouldn't get lost in the process of cutting. I then smoothed everything down with the corner of a scraper and folded sandpaper.

Boxwood is hard on cutting edges so I went through a fair number of blades. I did practice with a v-shaped gouge as well and I think that worked nearly as well if I remained patient (taking 4 or 5 pases to get to final depth). Despite all my practice the rabbet is far from perfect, but the experience will be useful for future efforts.
 
Thanks, everyone, for your kind words about my small steps of progress.

I have received the updated vaccine that protects me from the present scourge of ship cutting so I'm safe. But who knows what might happen on a future build :rolleyes:.
Two drawbacks:
1. Protection will not kick in until two weeks after vaccination.
2. The vaccine will only protect you for six weeks.
Enjoy!
 
Work is slowly continuing on the square frames.

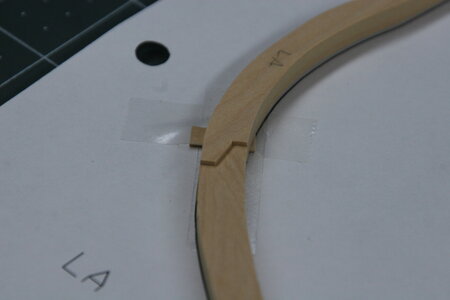
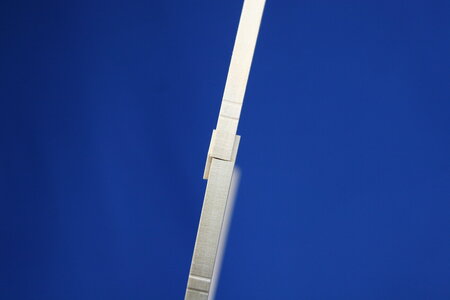
While the vast majority of them follow the same subtle stepping pattern (cross chocks, floors, and first futtocks are 10", second futtocks are 9 1/2", top timbers are 9" - all actual sizes) there are 6 frames that have 'offset' top timbers. Some of the offsets are small, but others are rather substantial.

In order to create the offset accurately it was simply a matter of custom fabricating spacers of the required thickness:

IMG_9371.JPG

A closer look at the offset:

IMG_9373.JPG

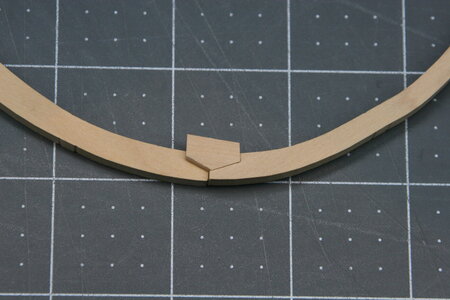
While I am able to split the thickness of the chocks for the normal 1/2" step that would create a very narrow overlap zone for these offset frames. To that end I inserted some faux chocks:

IMG_9376.JPG

IMG_9380.JPG

And now roughly shaped:

IMG_9381.JPG

There is still some work to do here but my research has not yet revealed what to do with these offset areas now that I have the faux chocks in place...

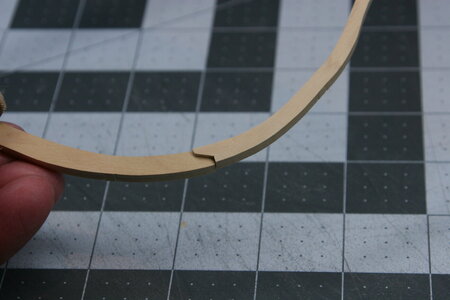
There are also some special frames that have 'bent' top timbers (cast frames). On a scratch build these would simply be created from dimensional stock - but the kit uses a layering technique.

(Yesterday I received my order of boxwood so theoretically I could now build these cast frames from scratch - but I thought I would give the kit design a shot to see how it would look.)

Here is the addition of a layer of wood (about 2 mm at scale) on the forward side of one of the frames:

IMG_9378.JPG

And now roughly shaped:

IMG_9384.JPG

So far, so good.

Next, I'll need to remove the same amount of wood (2 mm) from the aft side to create the bend. I would show you that attempt but I'm working tomorrow morning and I have some preparations to complete so model building will have to wait for another day.

I hope I'm getting all these frames right! It's quite a lot of work without really knowing if things are being done properly...

Thank you for visiting!
 
Back
Top