- Joined
- Apr 10, 2020
- Messages
- 132
- Points
- 213

Update 32
To my shock I see that the last update is from July, which is more than 3 months back.
My only (weak) excuse is that in the meantime there was a meeting at the Maritime Museum in Amsterdam where you were able to see the model.
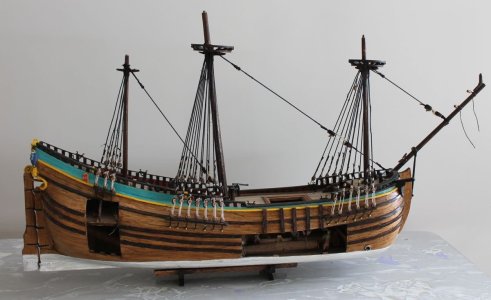
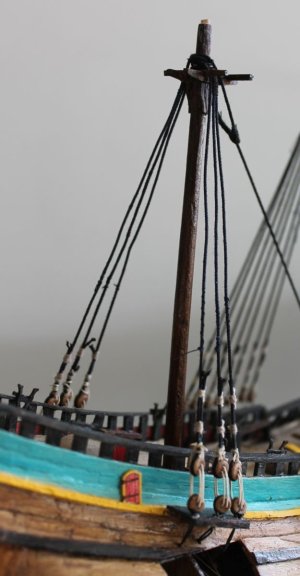
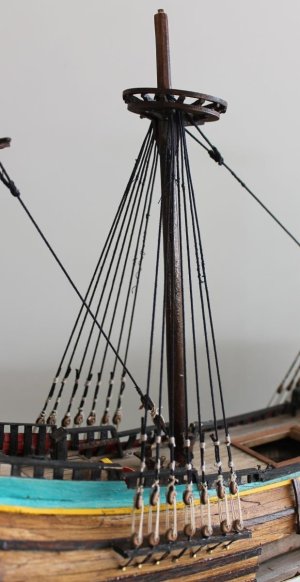
The hull was already mostly finished only the channels were missing. I have recently applied those.
On the drawing I saw that the mizzen channel is mounted on the upper wale. Without further investigation I also mounted the main channel and the fore channel on the upper wale.
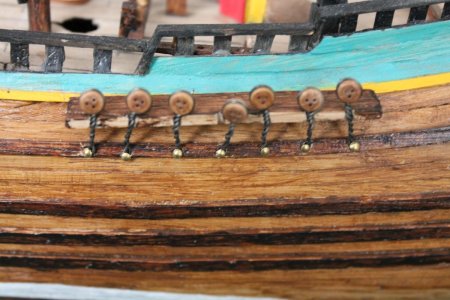
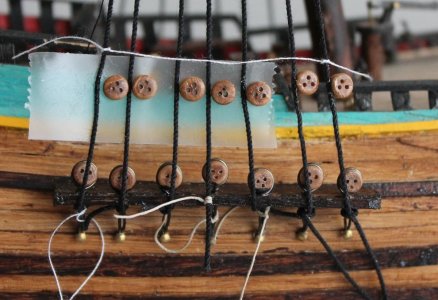
I also completely twisted the channel plates here. Fortunately, I discovered the error after the starboard side before I started on the port side. And also I saw that the bb indicates not to twist the channel plates. Only one stroke to secure the deadeye.
Seems logical to me too because you don't twist a bar of iron a few inches thick. So on the renewed attempt I ran them in parallel.
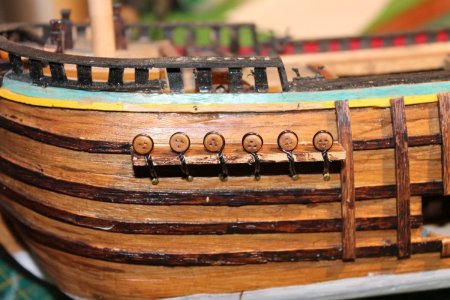
Here they are right.
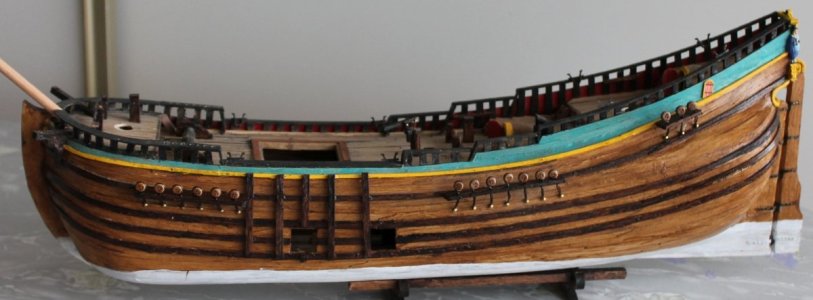
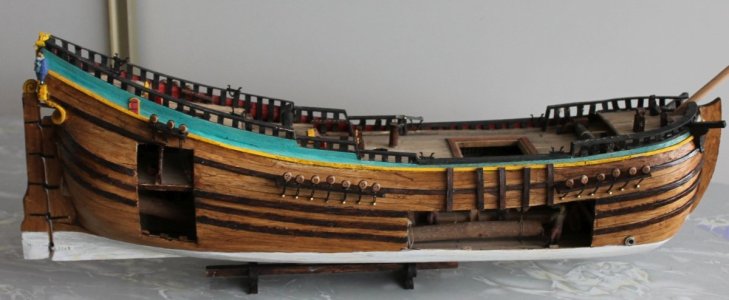
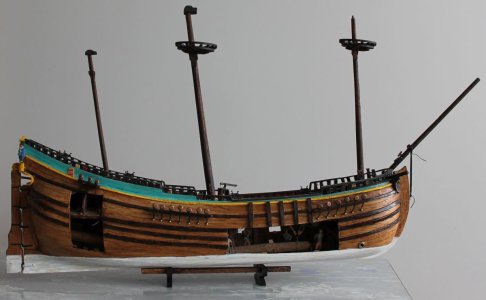
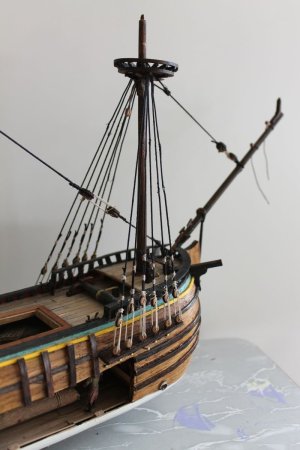
Then I just glued a piece of wood against the channels and reparate some color here and there then the current state is like the pictures below.
Port side
Starboard side
Top side

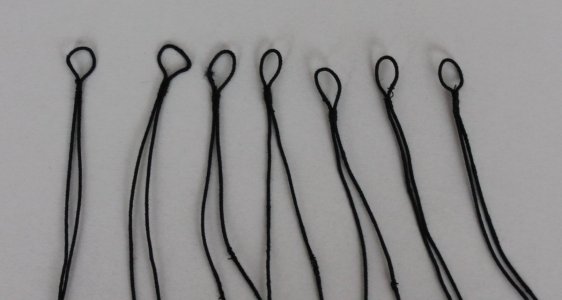
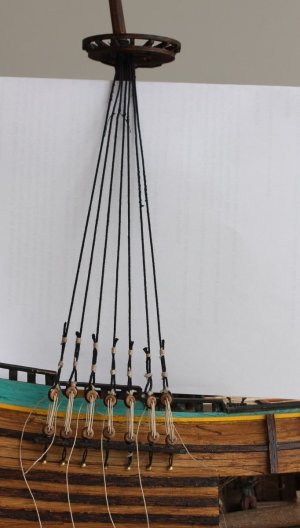
The next thing is to assemble the masts and start applying ropes. I plan to implement the entire rigging with self beaten rope. To this end, I also recreated Stephan's rope maker and performed some tests, not all of which turned out well. But I did learn how to do it in the meantime. So now to start practicing with a lot of rope and rigging the flute.
But that's for later.
Translated with DeepL.com (free version)
To my shock I see that the last update is from July, which is more than 3 months back.
My only (weak) excuse is that in the meantime there was a meeting at the Maritime Museum in Amsterdam where you were able to see the model.
The hull was already mostly finished only the channels were missing. I have recently applied those.
On the drawing I saw that the mizzen channel is mounted on the upper wale. Without further investigation I also mounted the main channel and the fore channel on the upper wale.

I also completely twisted the channel plates here. Fortunately, I discovered the error after the starboard side before I started on the port side. And also I saw that the bb indicates not to twist the channel plates. Only one stroke to secure the deadeye.
Seems logical to me too because you don't twist a bar of iron a few inches thick. So on the renewed attempt I ran them in parallel.

Here they are right.
Then I just glued a piece of wood against the channels and reparate some color here and there then the current state is like the pictures below.
Port side

Starboard side

Top side

The next thing is to assemble the masts and start applying ropes. I plan to implement the entire rigging with self beaten rope. To this end, I also recreated Stephan's rope maker and performed some tests, not all of which turned out well. But I did learn how to do it in the meantime. So now to start practicing with a lot of rope and rigging the flute.
But that's for later.
Translated with DeepL.com (free version)








 happy birthday Jan, have a nice day!