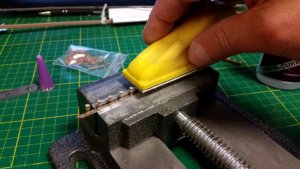
A piece of wood dowel from the kit was selected by the closest matching diameter to the plans and cut to the specified length with and additional 20mm for the drill or lathe chuck to hold onto. To support the free end, the dowel was clamped into the lathe, and the center spindle on the back rest was used to dent the wood and mark the center. Then a small drill bit was used to deepen the hole to 1.5mm. A small spindle was clamped into the drill press vice and positioned under the drill press. The dowel was supported between that spindle and the drill press chuck. A sanding block with 80 grit sandpaper was used to rough out the taper of the mast, checking the diameter frequently with digital calipers. After shaping with 80 grit, 120 grit sandpaper was used, then the part was removed from the drill and sanded by hand to remove circumferential scratches, then polished with 1000 grit paper to a smooth finish. For the square portions of the masts that form the mastheads, the round areas were filed square with the dowel laying horizontal in a small vice. The vice jaws were set to control the amount of material removed. The part was rotated 90 degrees in the vice jaws and filed again and again, until the square masthead was formed and within the proper dimensions.
Smaller mast parts and yards are done using the same method except using the metal lathe. The tail stock does a great job supporting the end of the dowel, and even 2mm diameter parts can be sanded to shape. On the thinner parts, it's recommended to pinch the part with two hands between two pieces of sandpaper. This supports both sides of the part and prevents you from breaking it because of too much force it the transverse direction. For both lathe and drill, set the speed fairly high and apply sandpaper with a light touch. The ball on the masthead for the main mast was shaped with careful application of a triangular metal file, using light strokes while the part is spinning. You will be surprise how small in diameter you can make the parts without breaking them, if they are supported properly, and you sand from both sides at the same time.
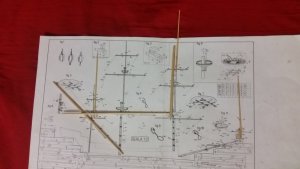
For the mainmast, the main, top, and topgallant masts were completed today, and for the foremast, the main and top masts were shaped. The jib boom and the mainmast mainsail yard were also shaped. Tackling mast and yard construction had made me nervous, but making a few parts today was hugely confidence building, and they were made much faster than anticipated.
Pressing the center spindle into the end grain of the wood while the lathe is spinning will allow you to make a perfectly centered conical depression in the dowel. The wood fibers are simply crushed to make the depression. Do not push the center in too deep or the wood will split. This depression is used to support the end of the dowel while sanding.

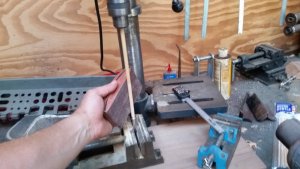
A drill press with a center spindle supporting the bottom end of the dowel can also be used to taper masts and yards using two opposing sanding blocks.

The center spindle is held in a bench vise, and the dowel is held firmly between the center and the chuck above.

Only one sanding block is shown here. I use two on opposite sides of the dowel with the dowel pressed between them.
Completed, tapered bowsprit.

Mainmast with masthead squared off using hand files.

More mast parts.

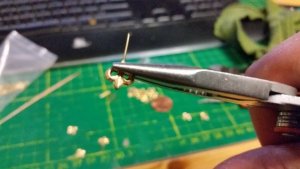
Flag staff with the ball end shaped using long easy, low pressure cuts with a needle file while spinning in the lathe. The part of the dowel on the that the center spindle supported will be cut off, and the top of the ball shaped by hand sanding.
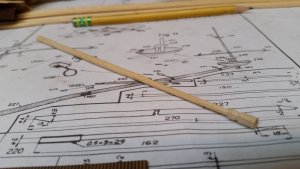
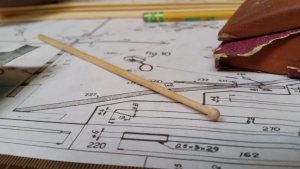
Flag staff after forming the ball.


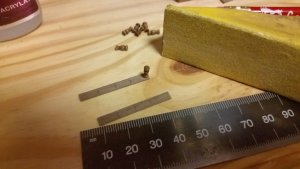


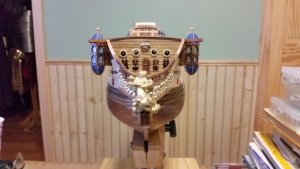



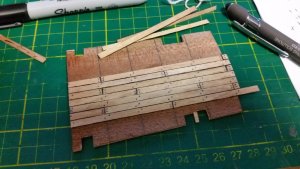
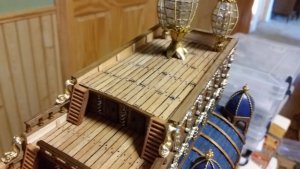
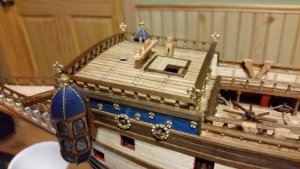
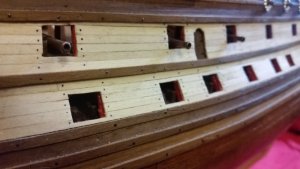
 , I've been waiting for this part for a long time. After attaching all the hinges to the remaining 44 gun port covers, I started work in the poop deck. The deck was planked with tanganika planks like the other decks. Nothing new there.

