La Renommée - French Frigate 1744 (1/48) - Based on Monographie from J. BOUDRIOT

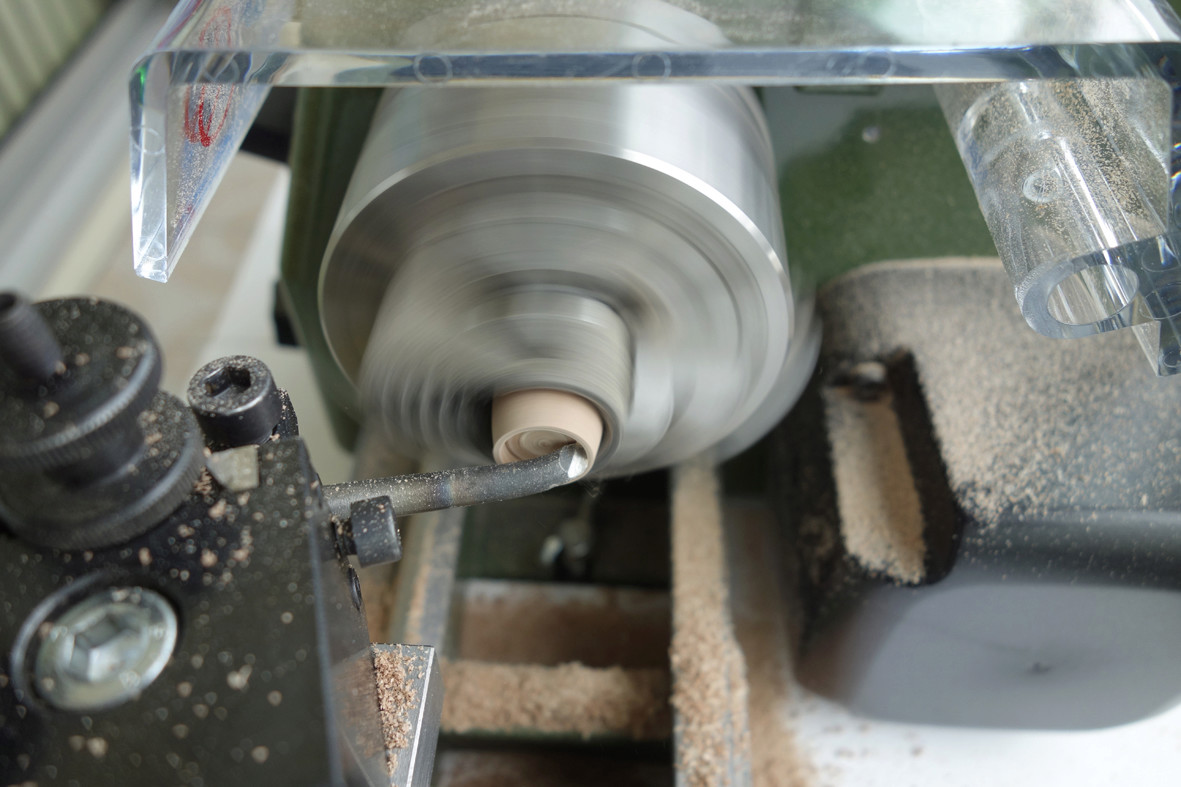
It advances, slowly certainly, but surely:


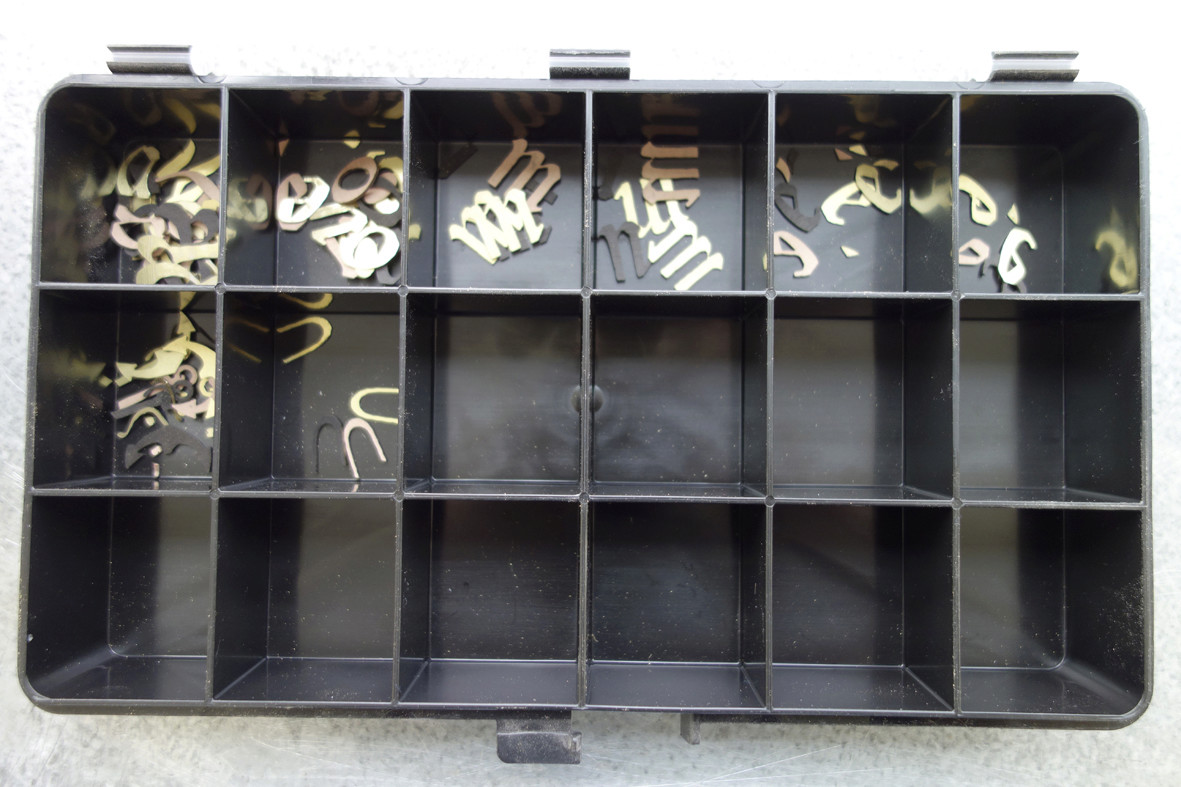
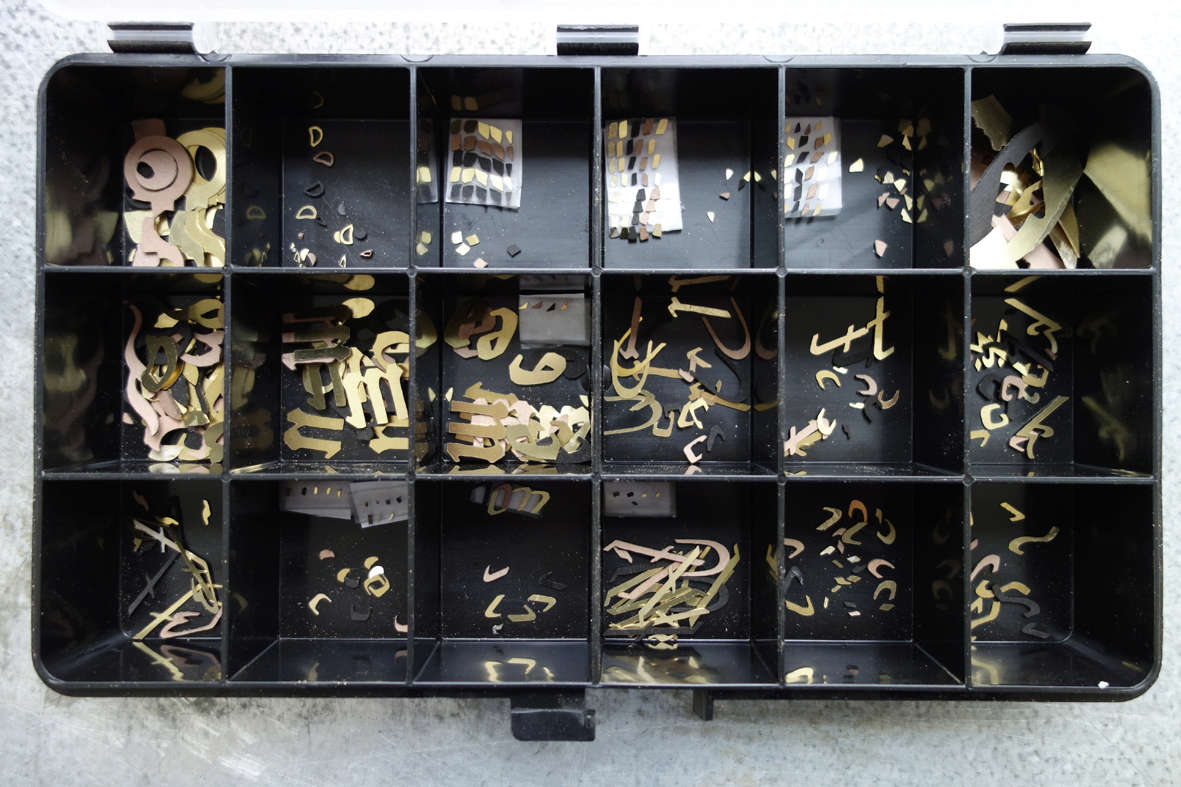
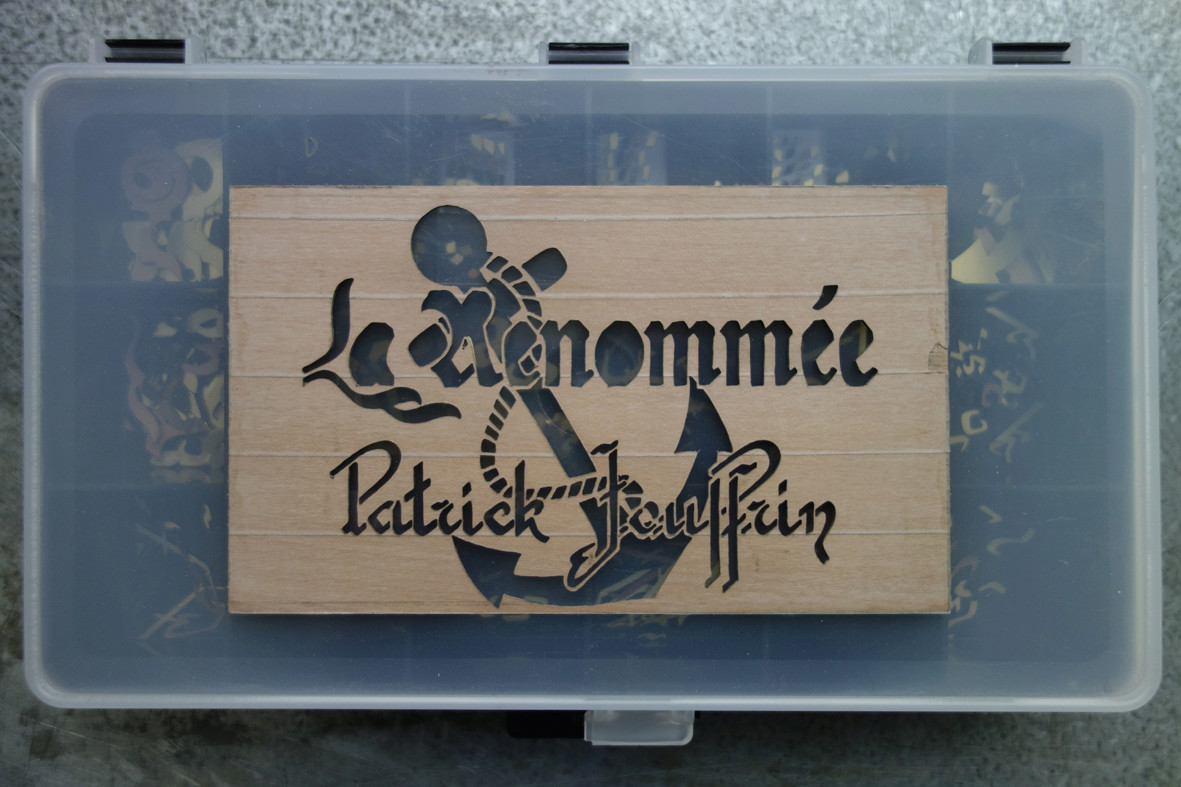
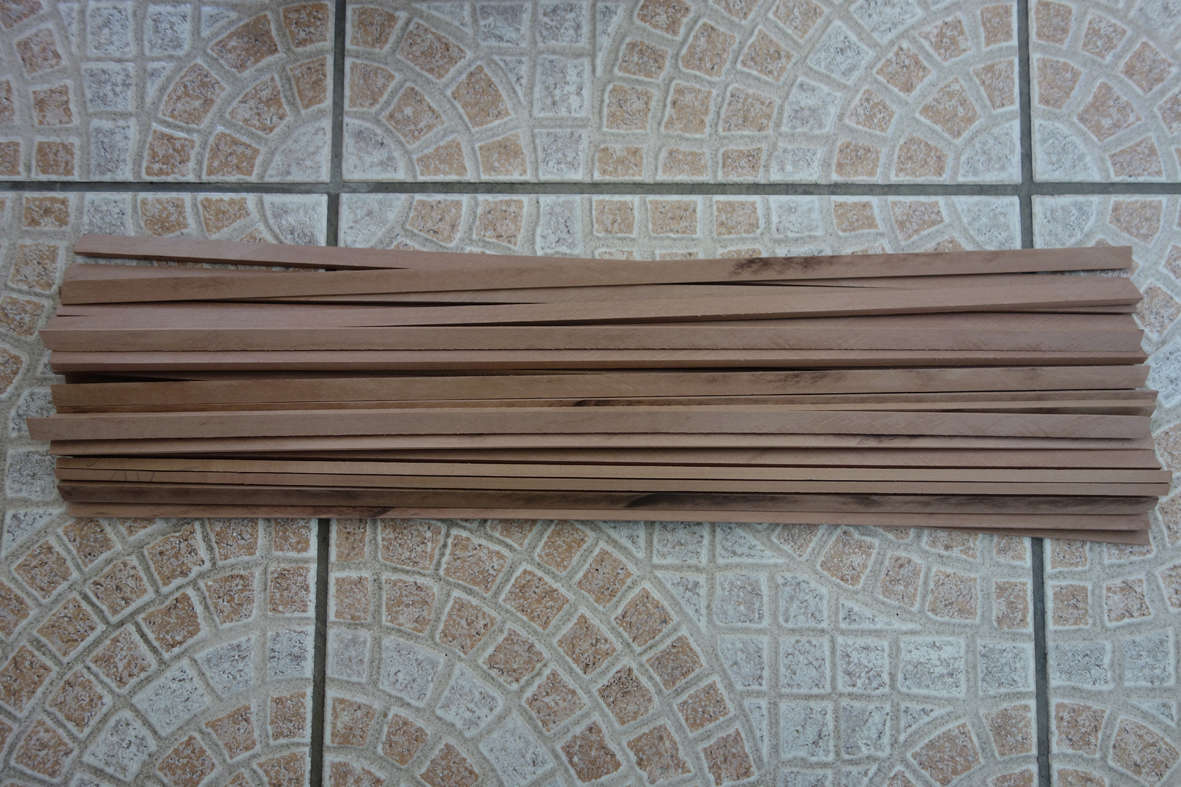
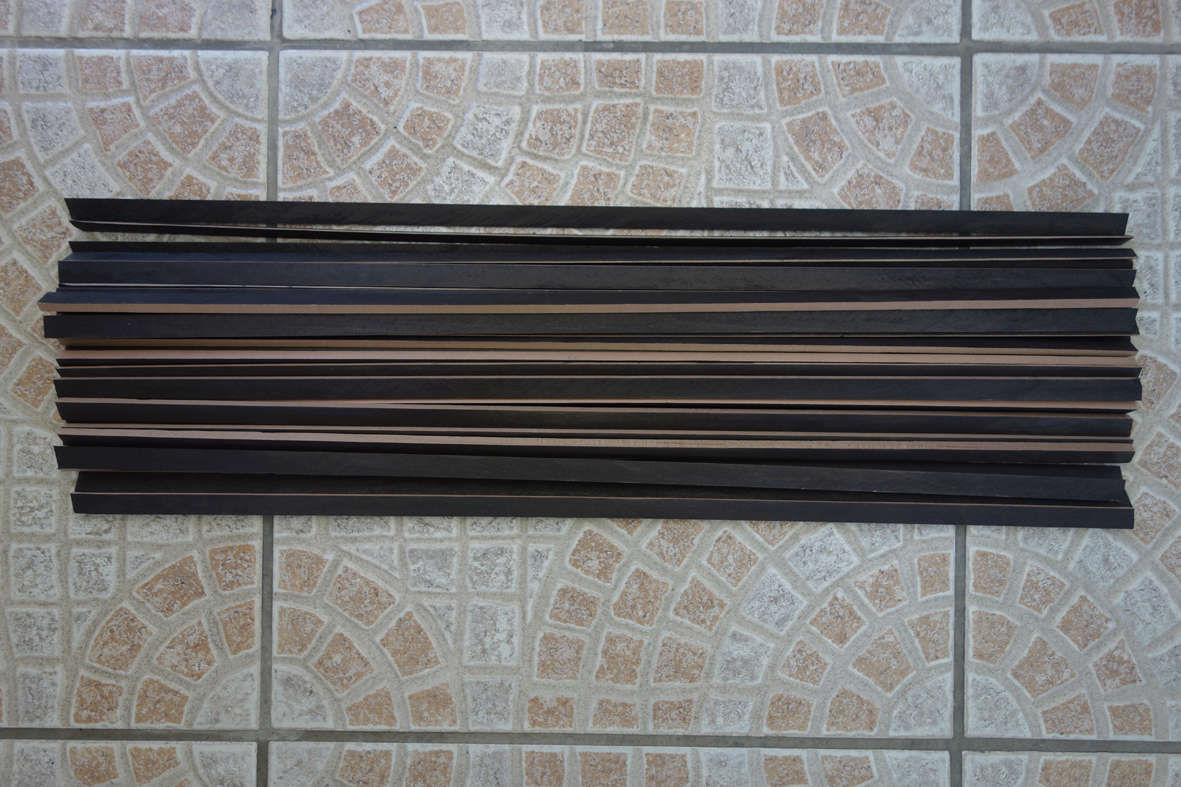
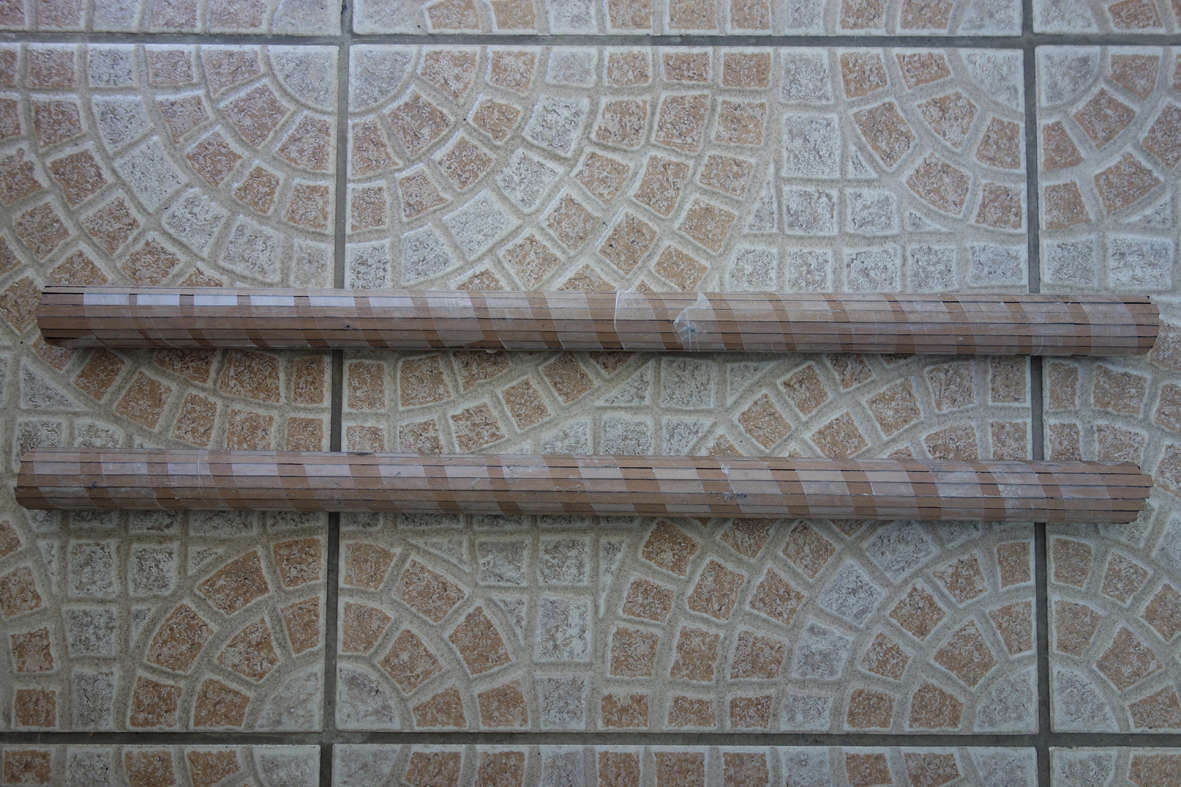
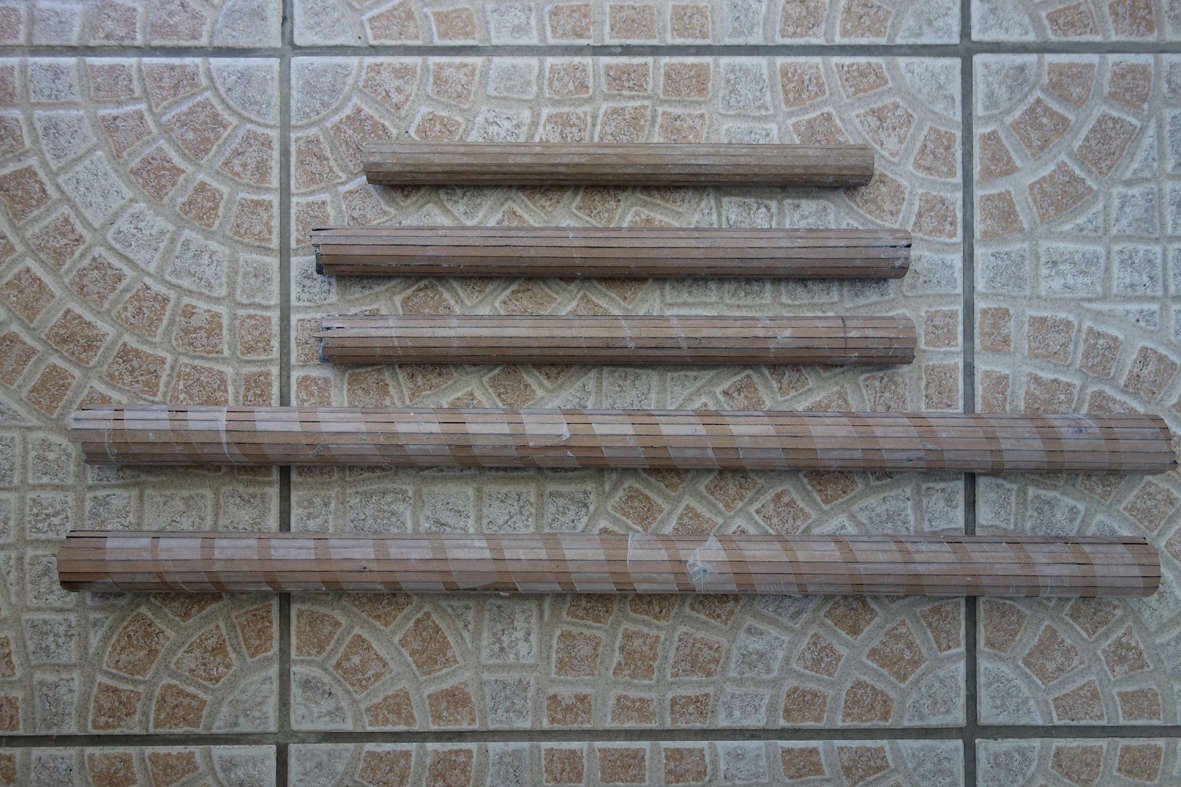
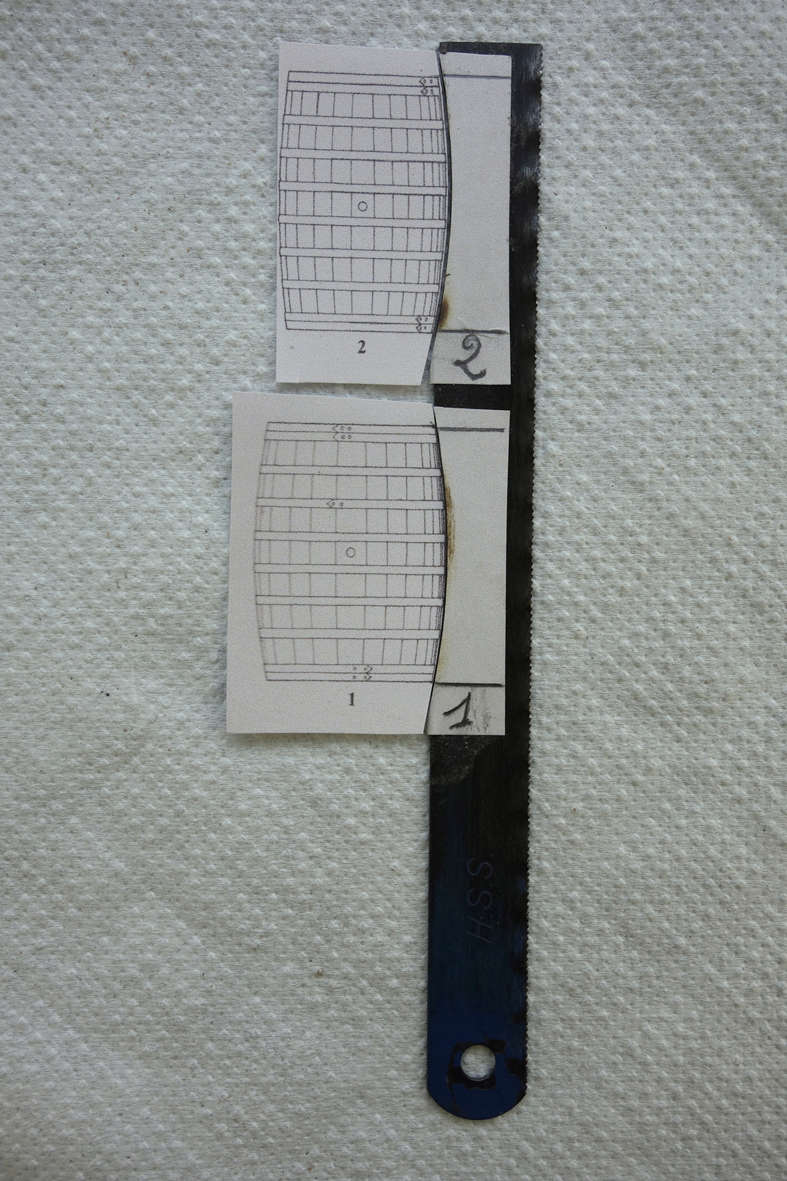
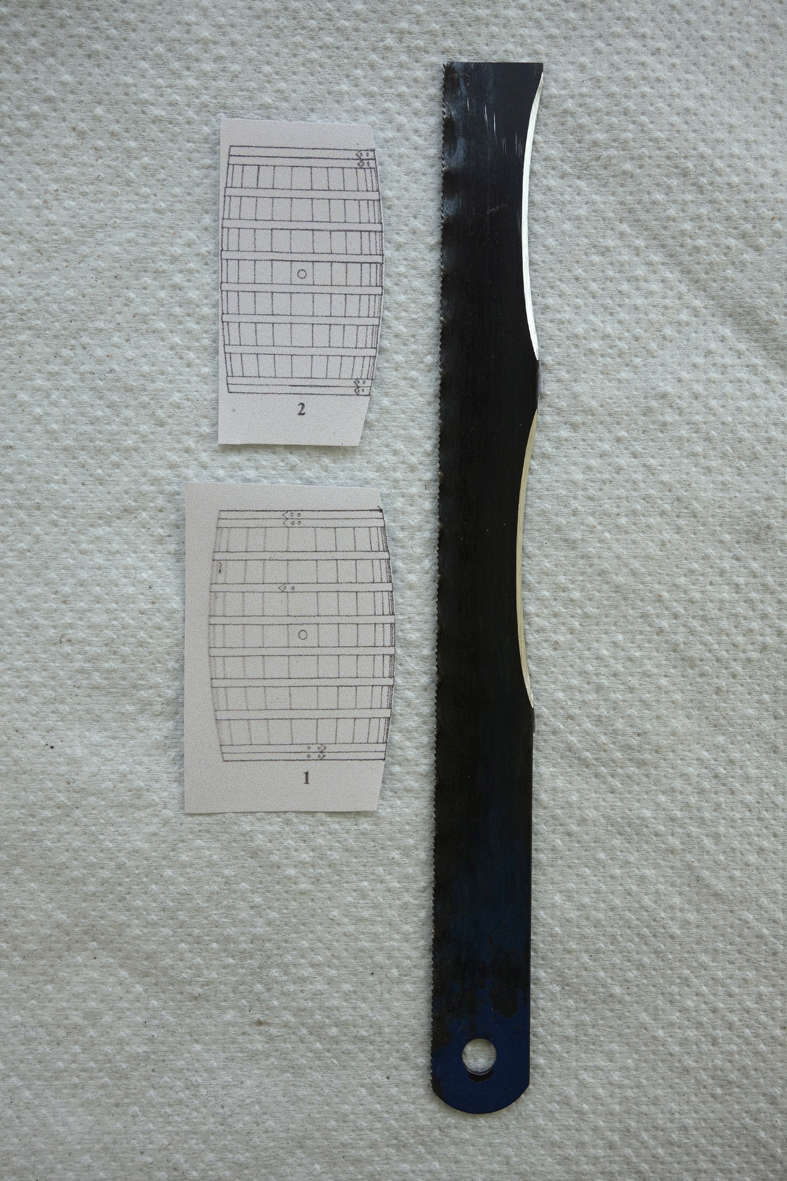
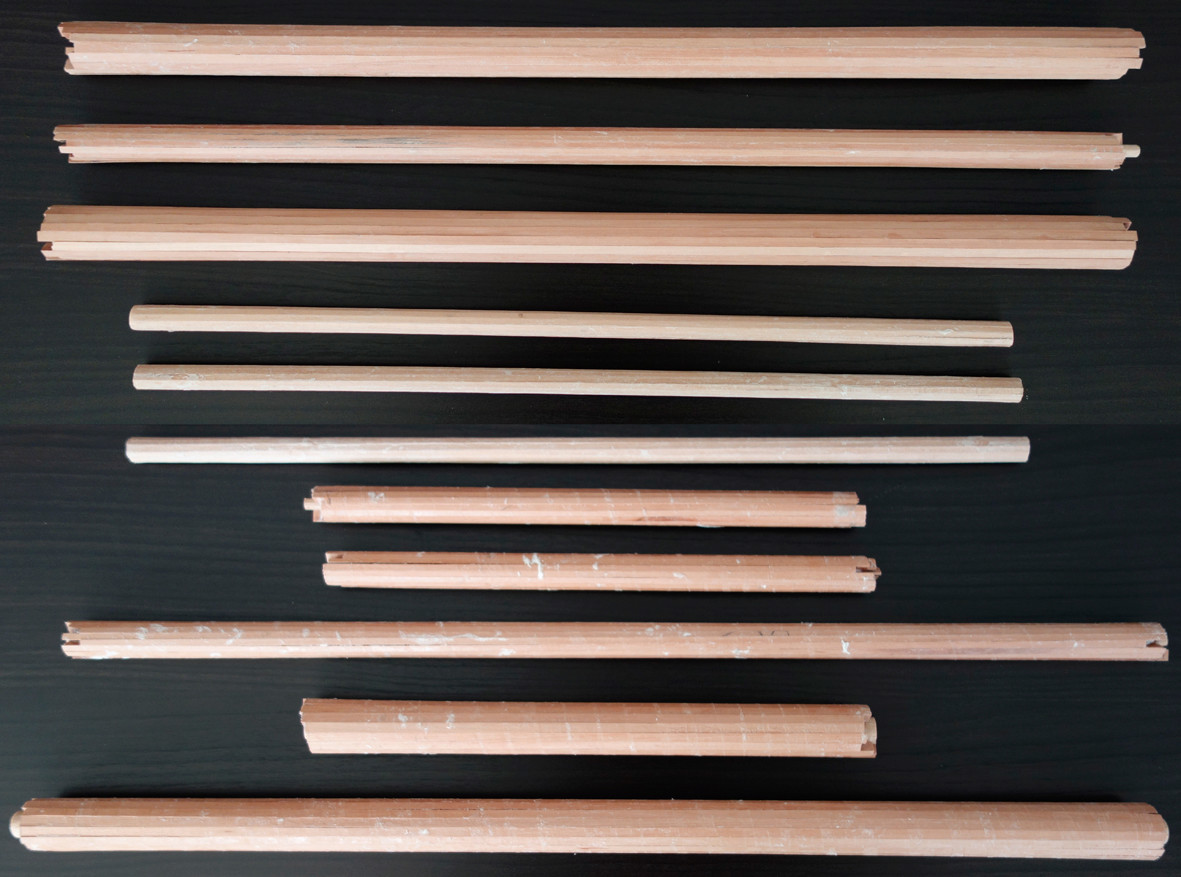
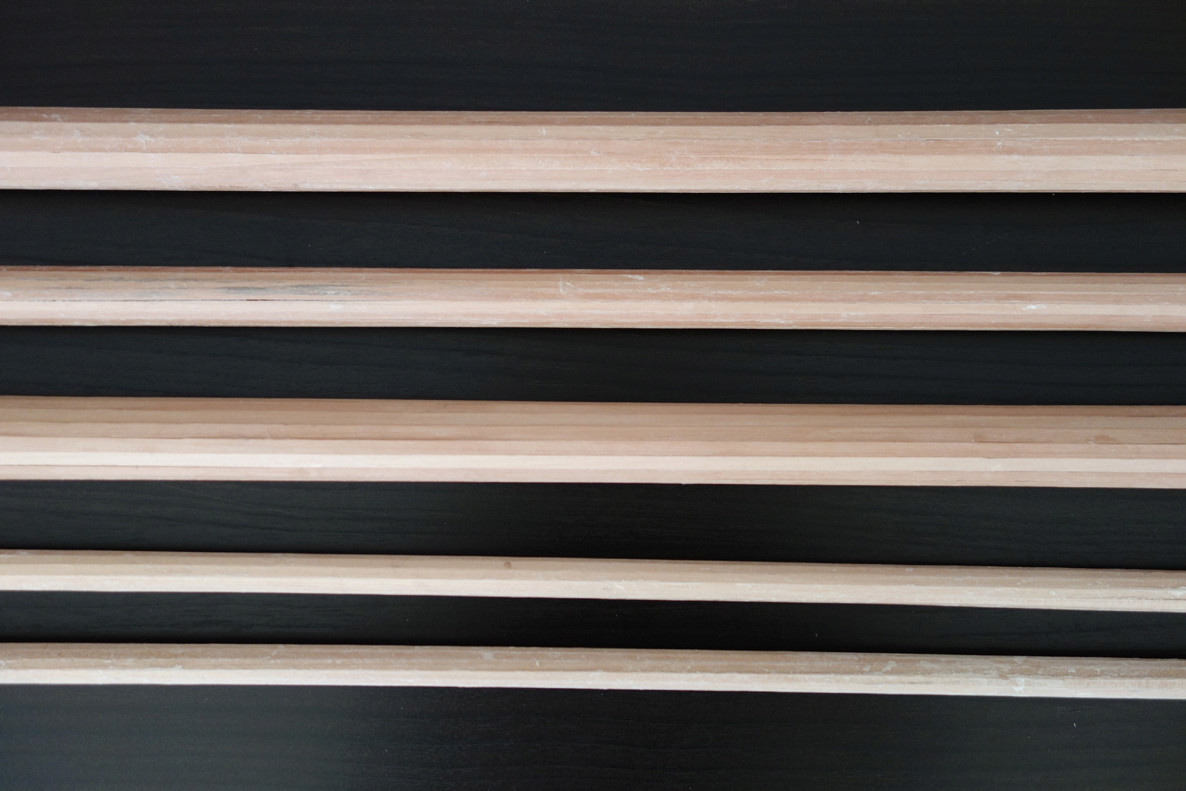
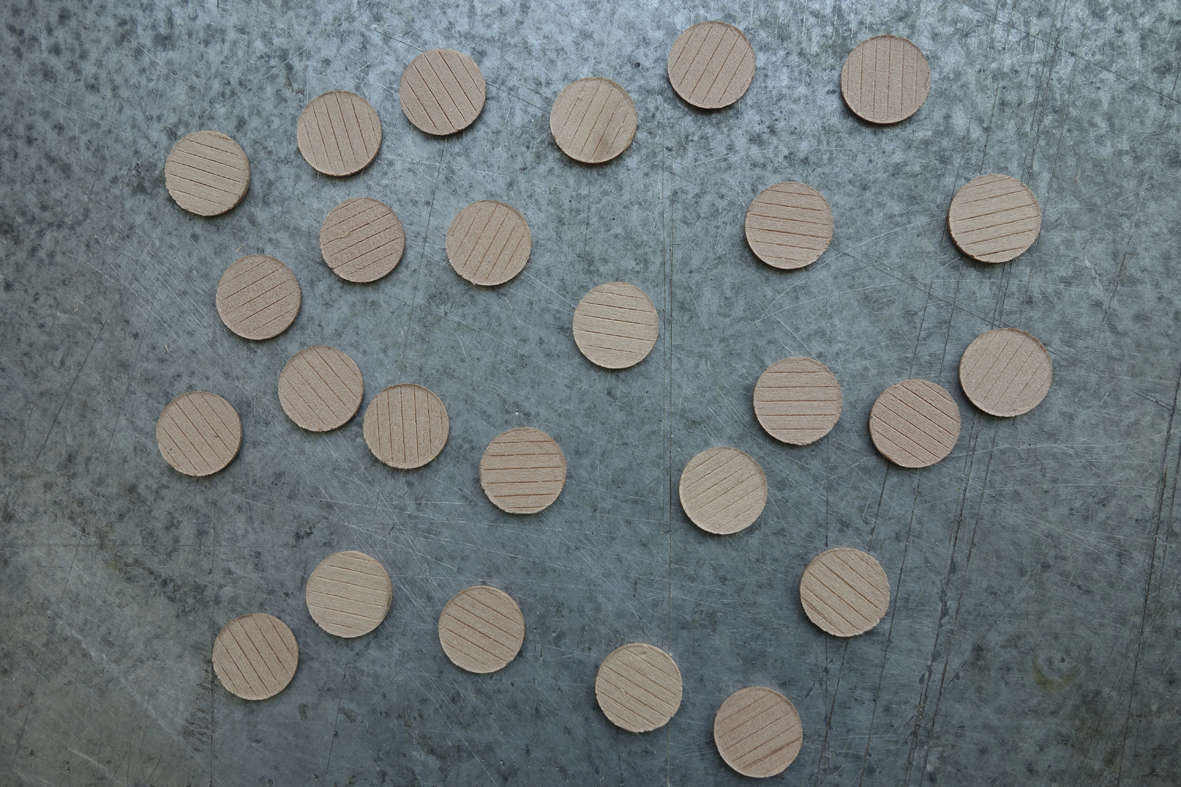
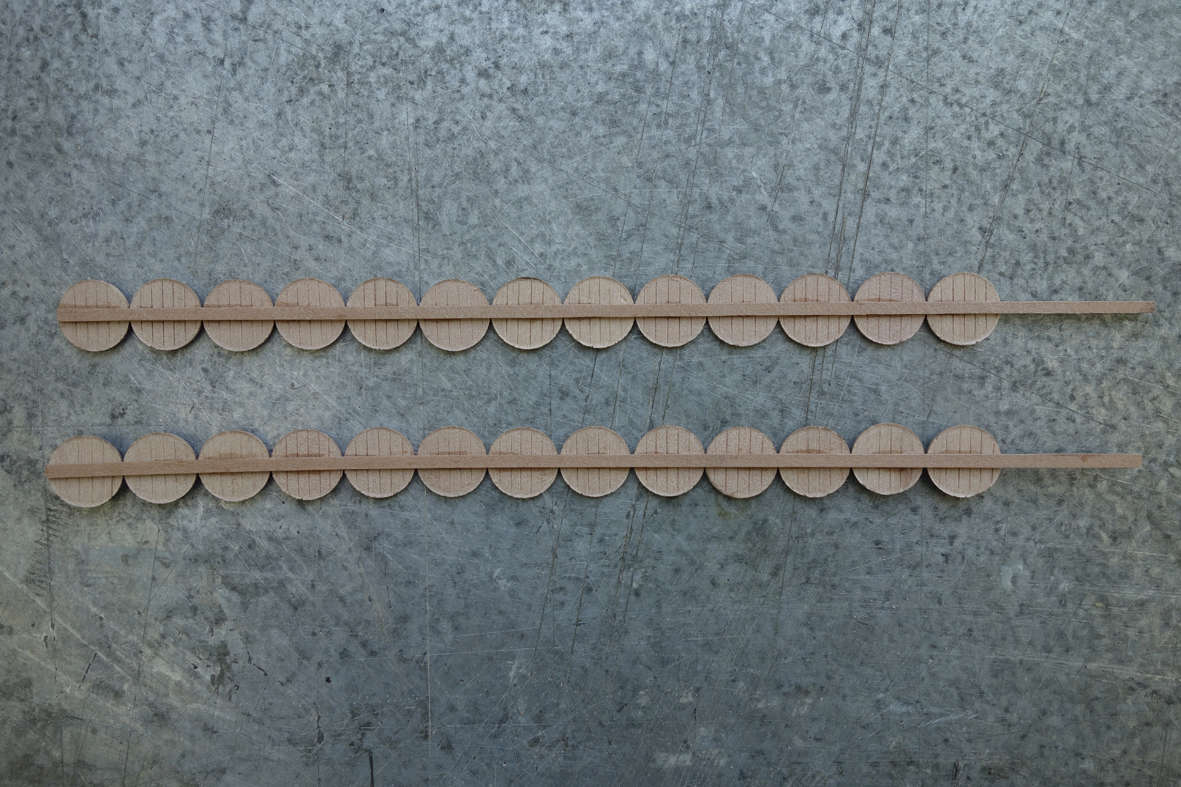
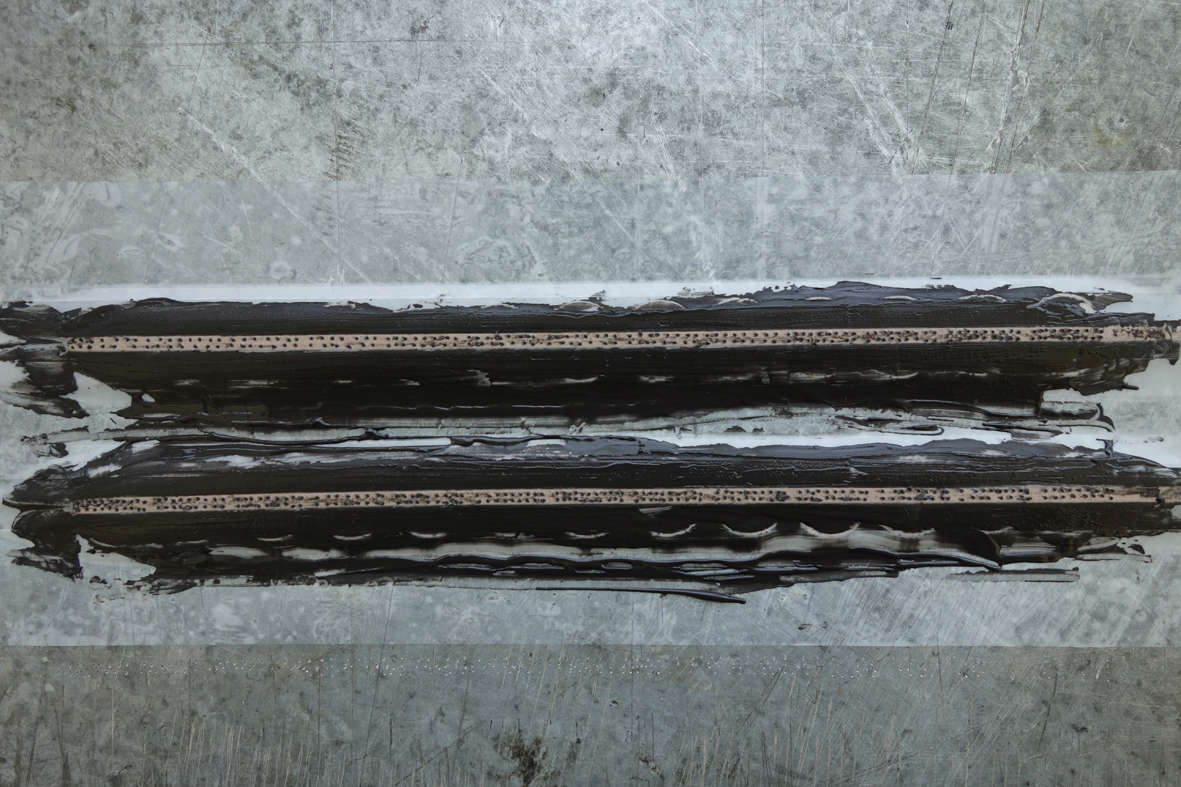
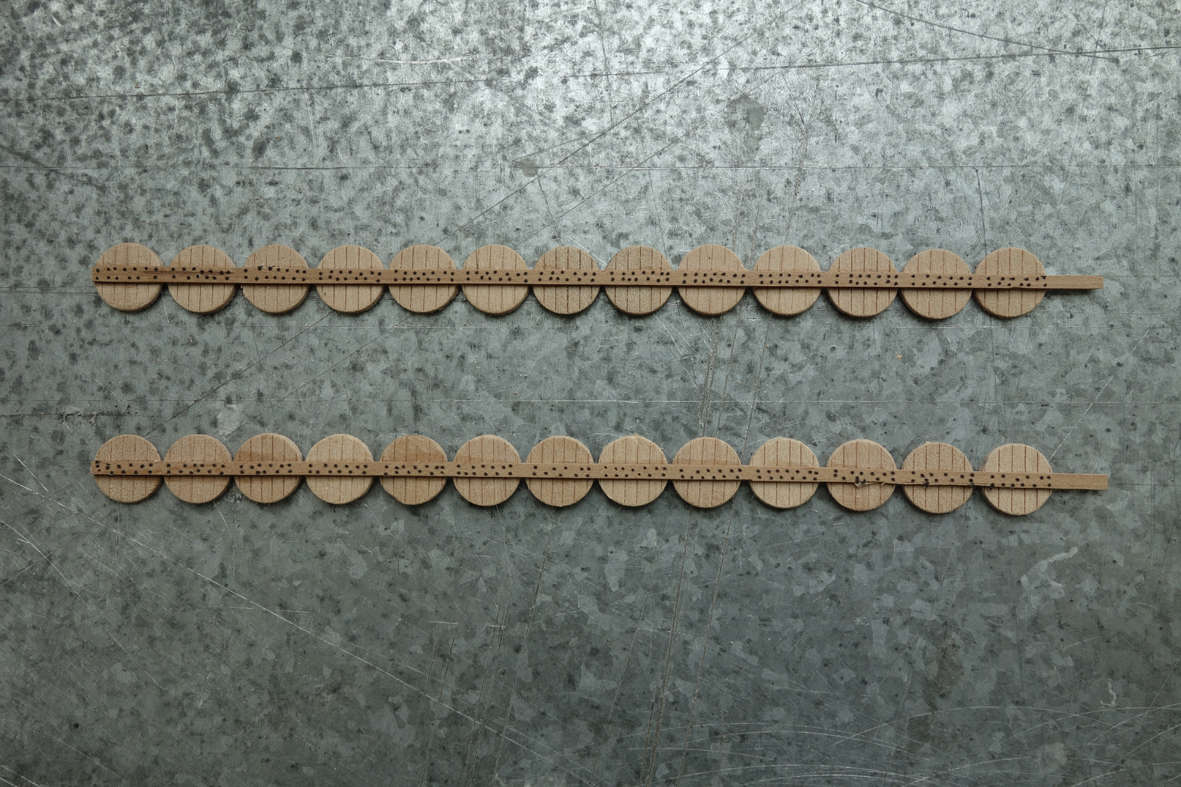
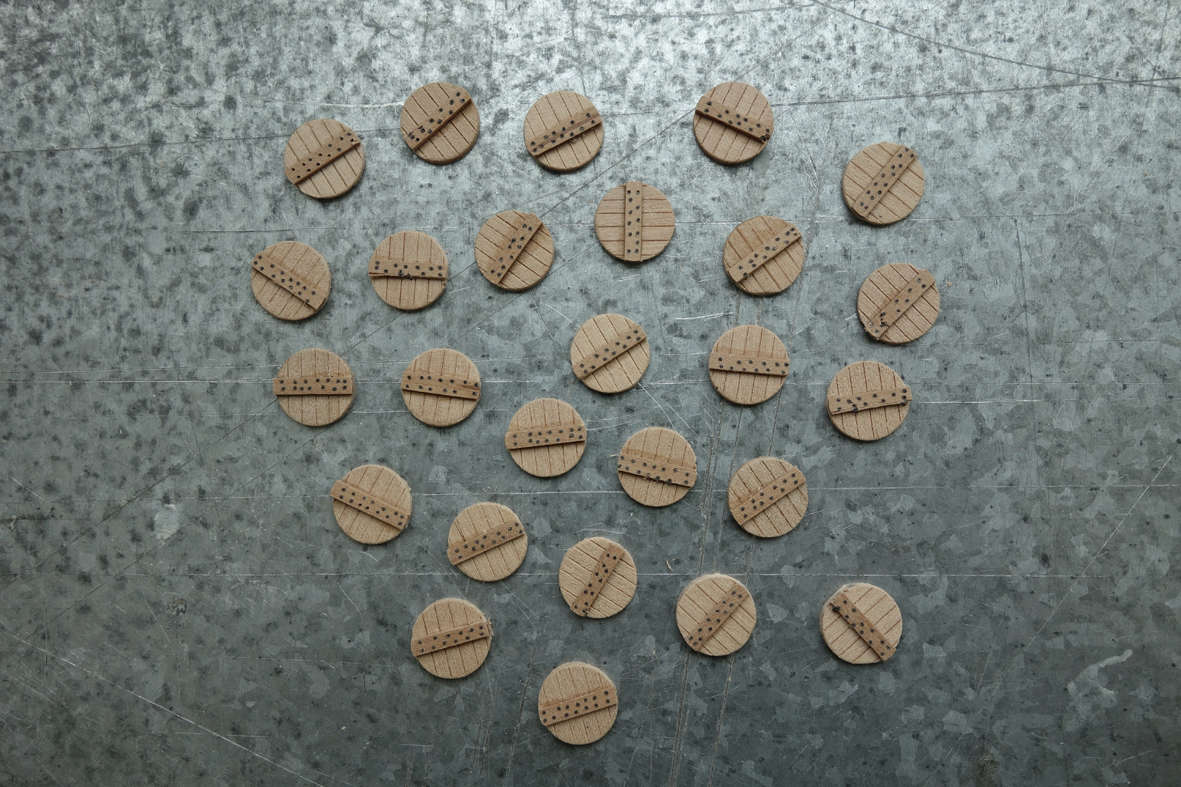
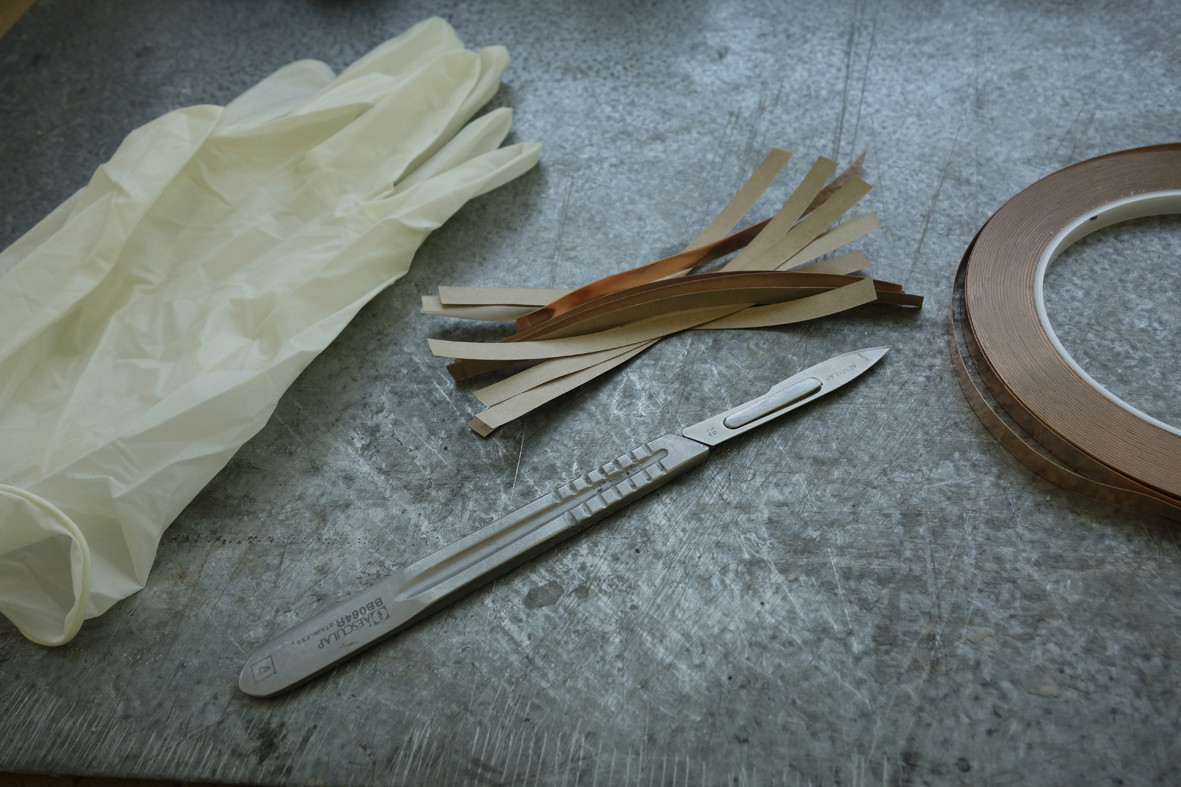
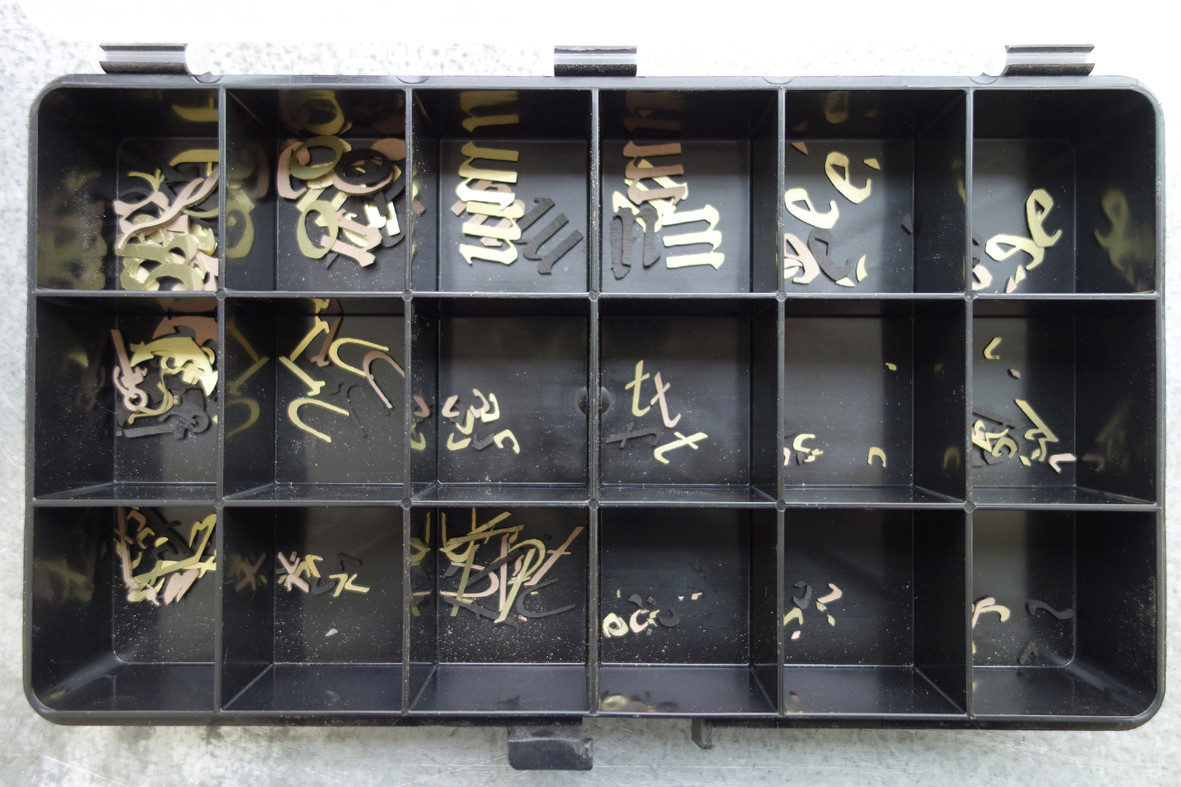
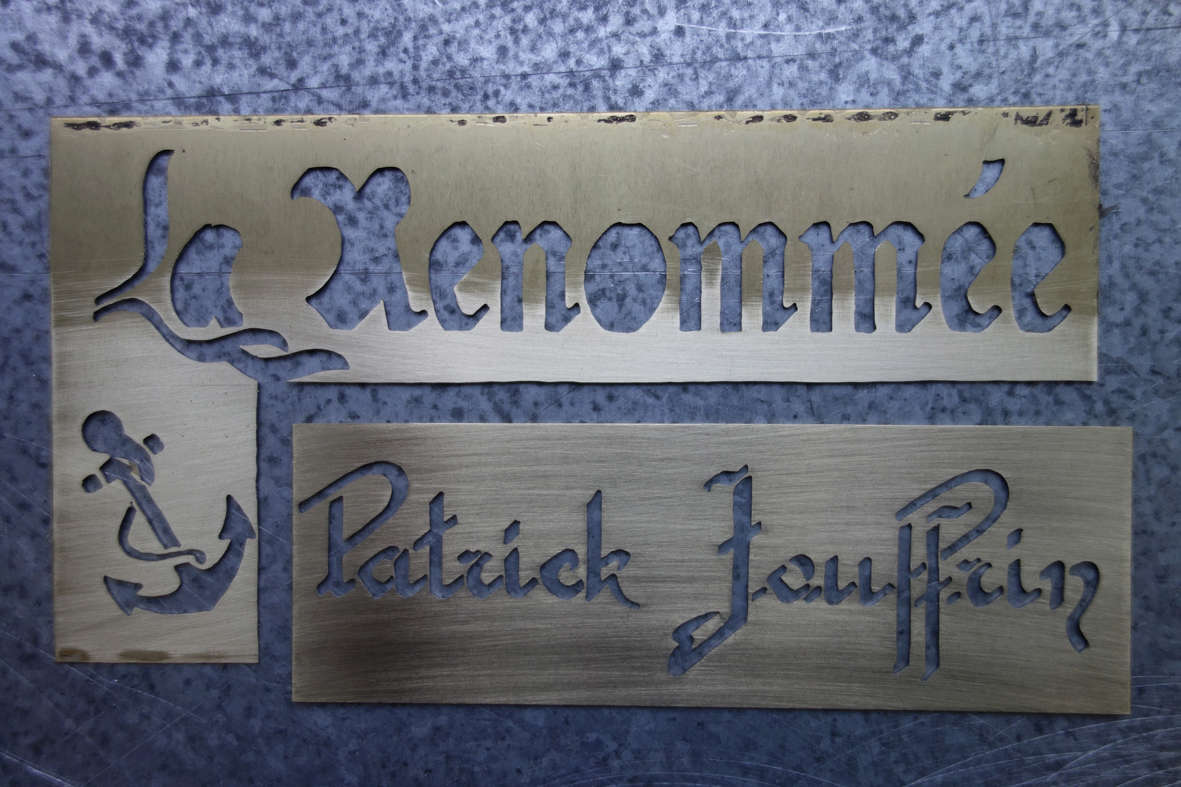
After about thirteen hours of work, spread over two days, about 25 broken blades, here are all the pieces cut and arranged:


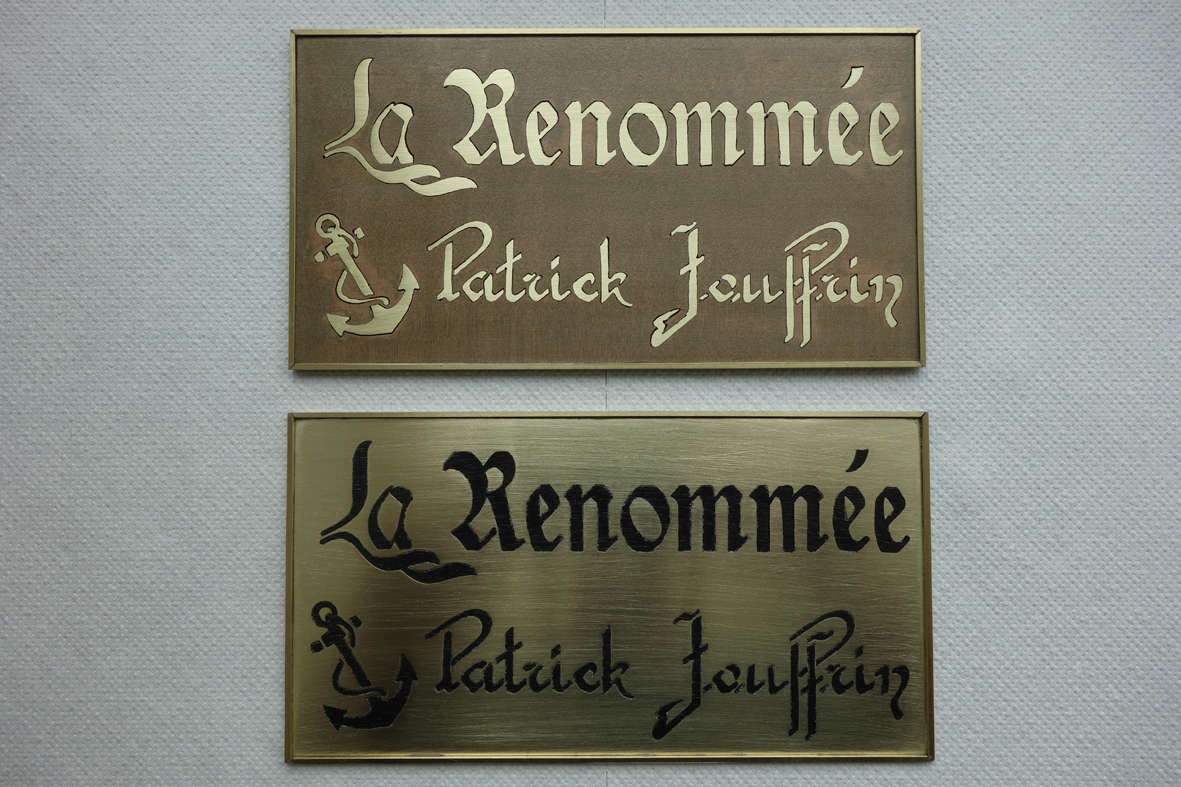
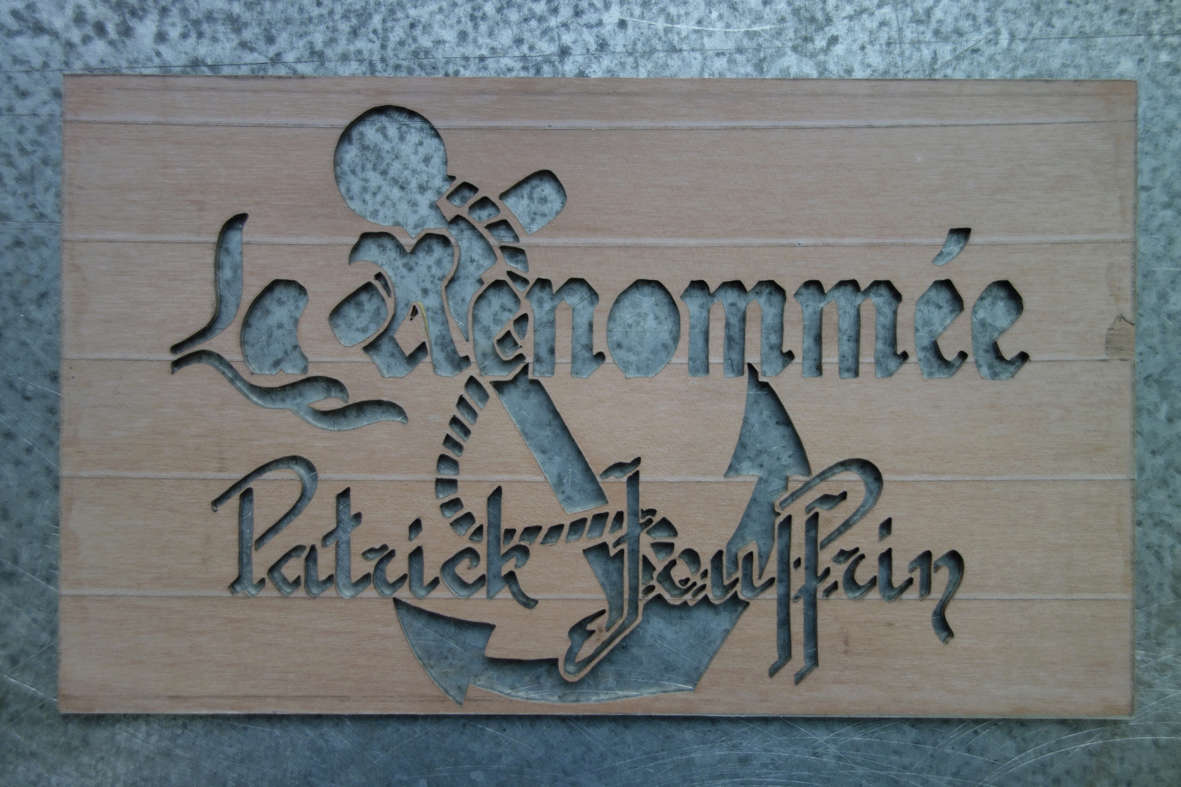
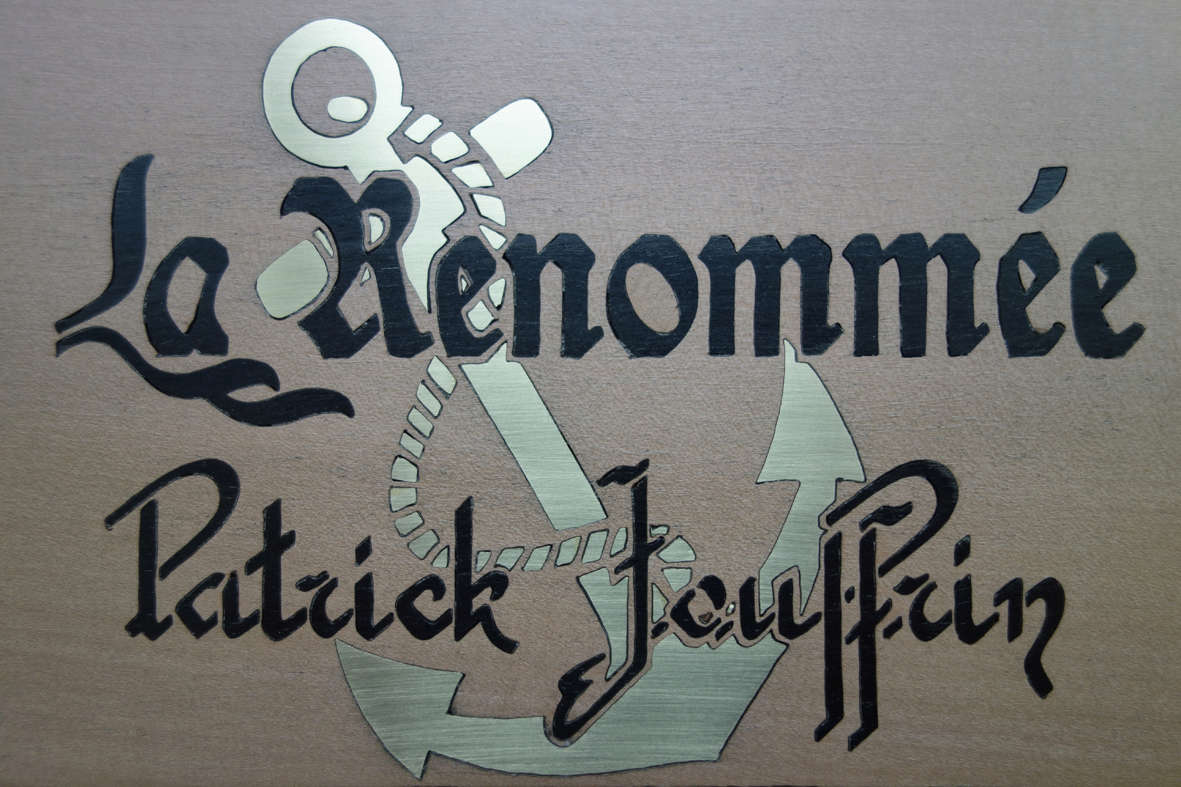
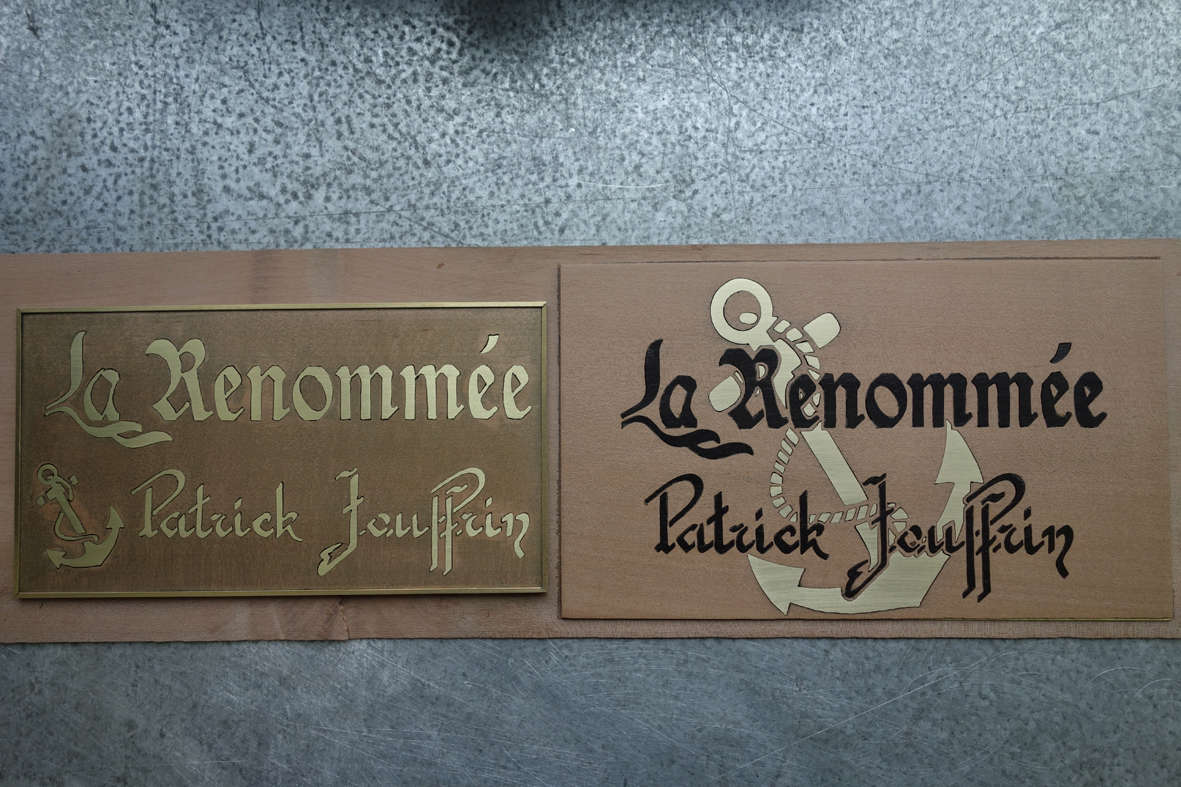
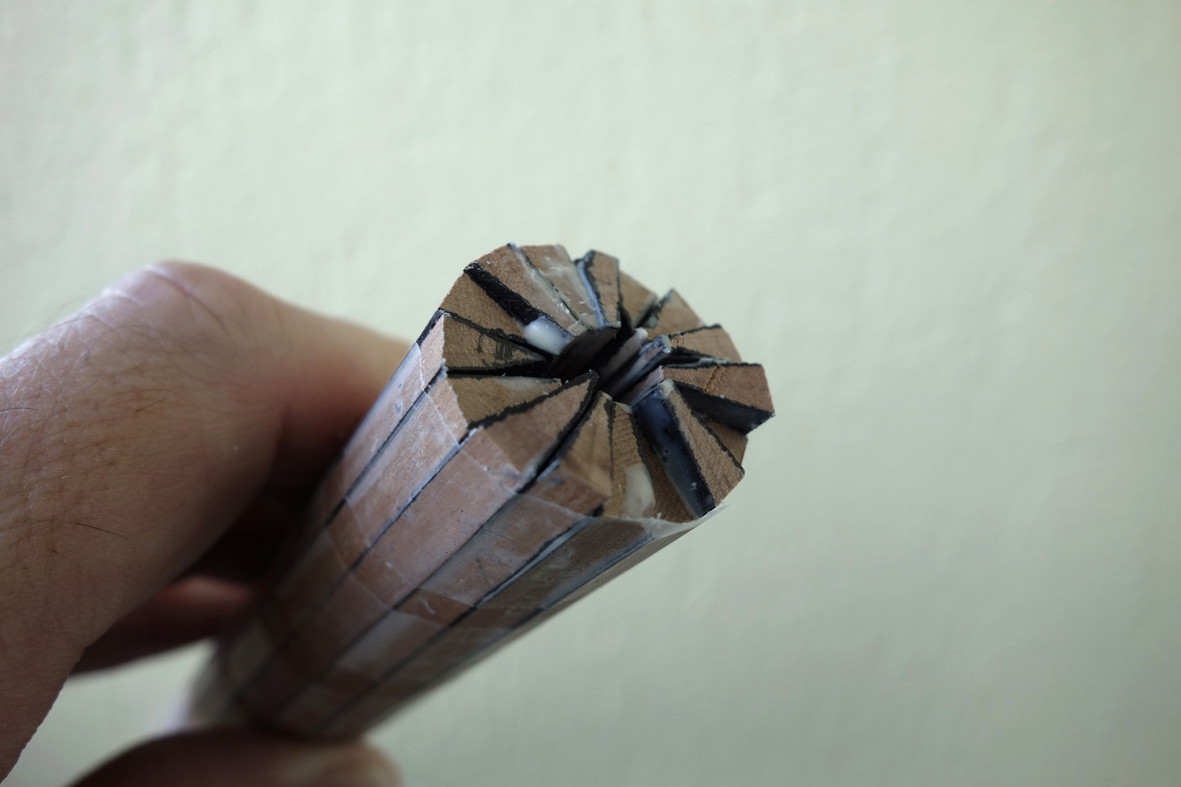
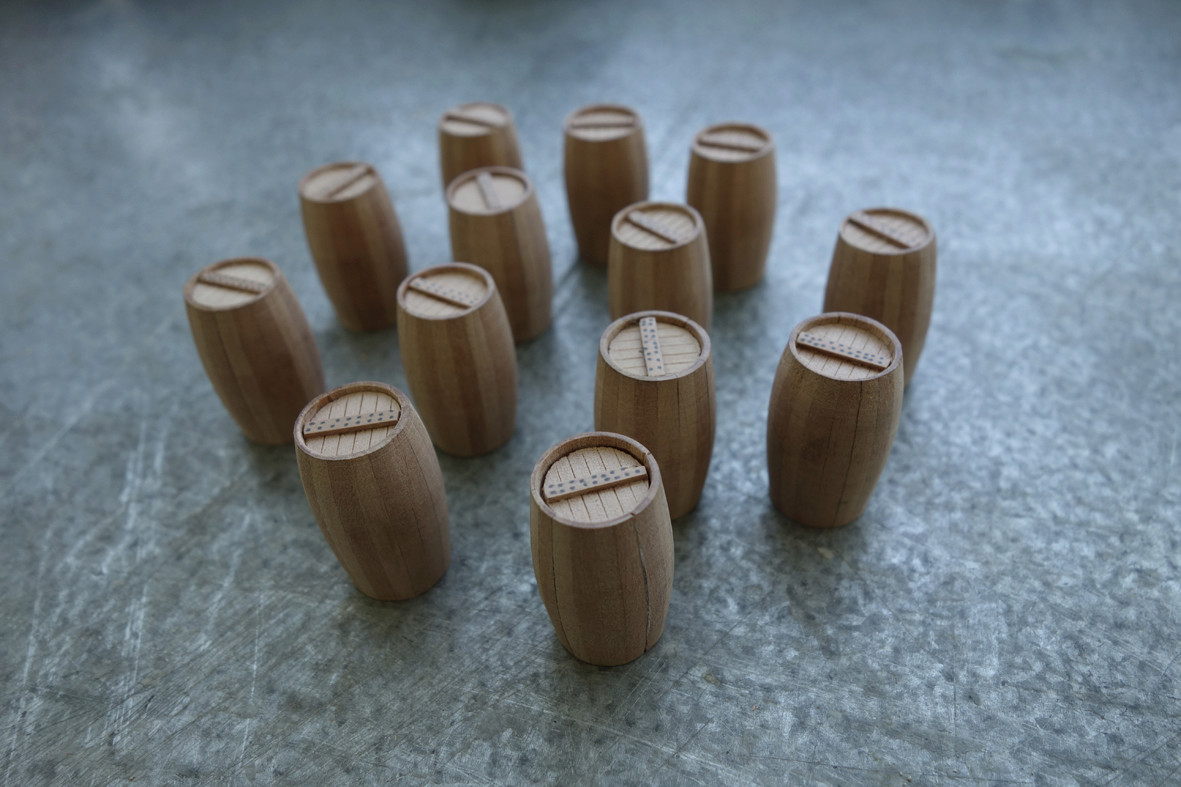
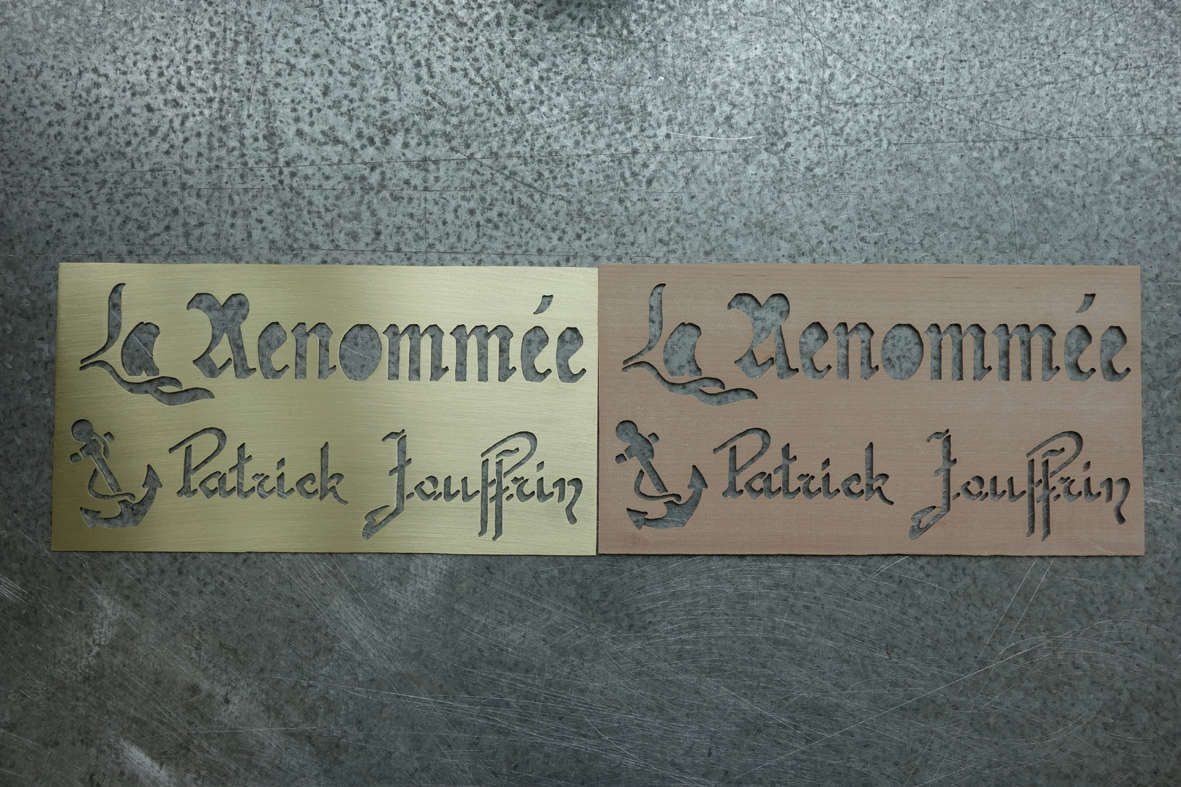
I can dismantle the "package". In the end, I will be able to make two plates. One in pear tree (with brass lettering):


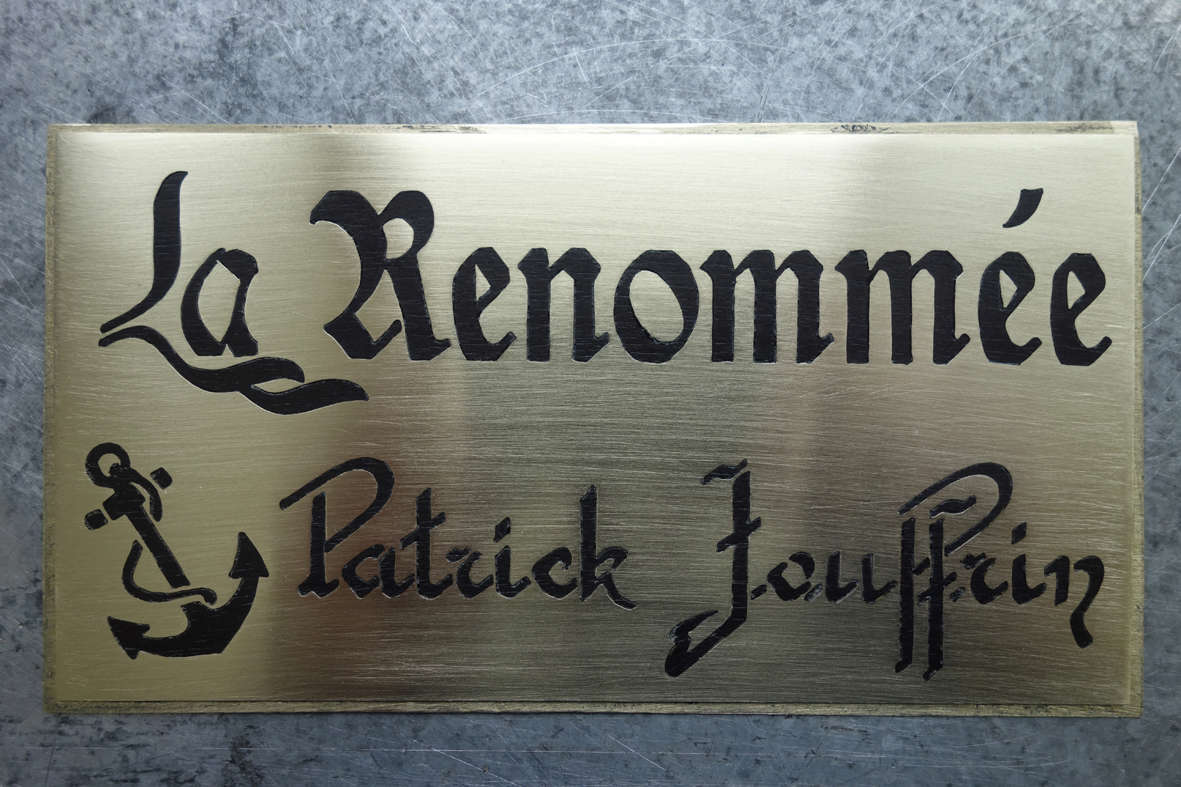
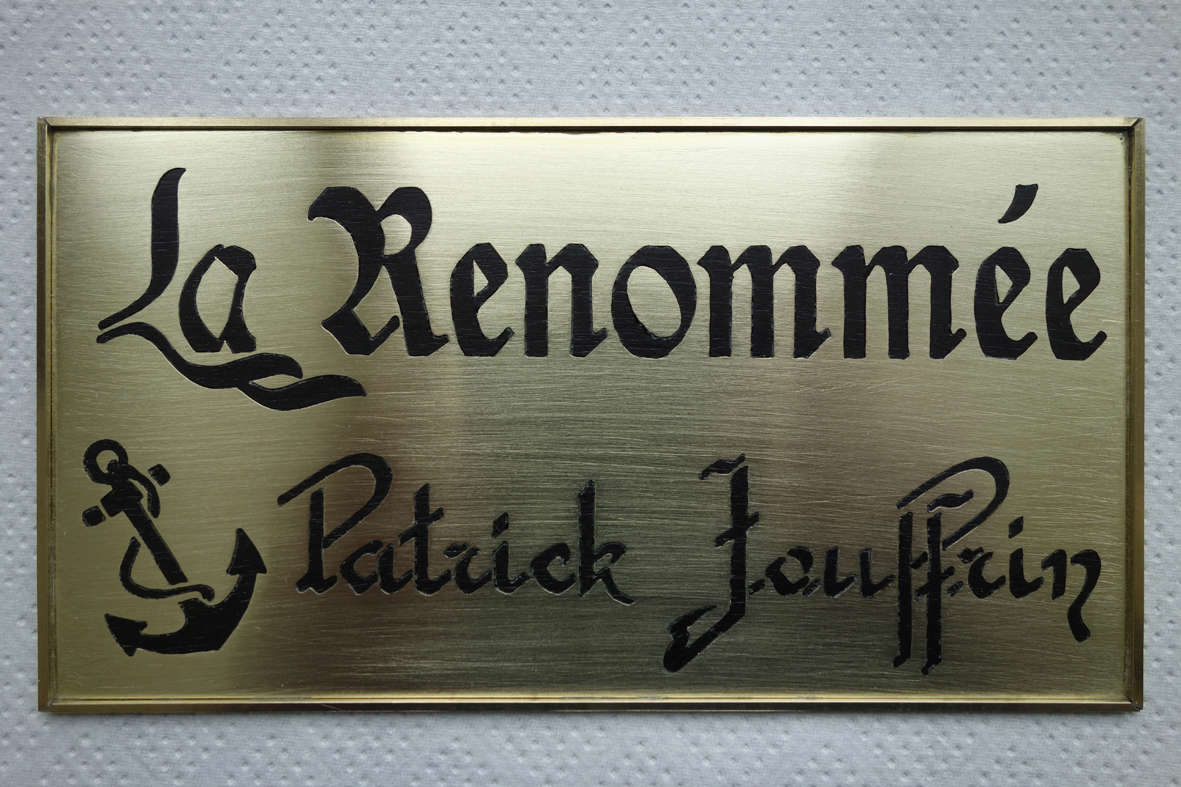
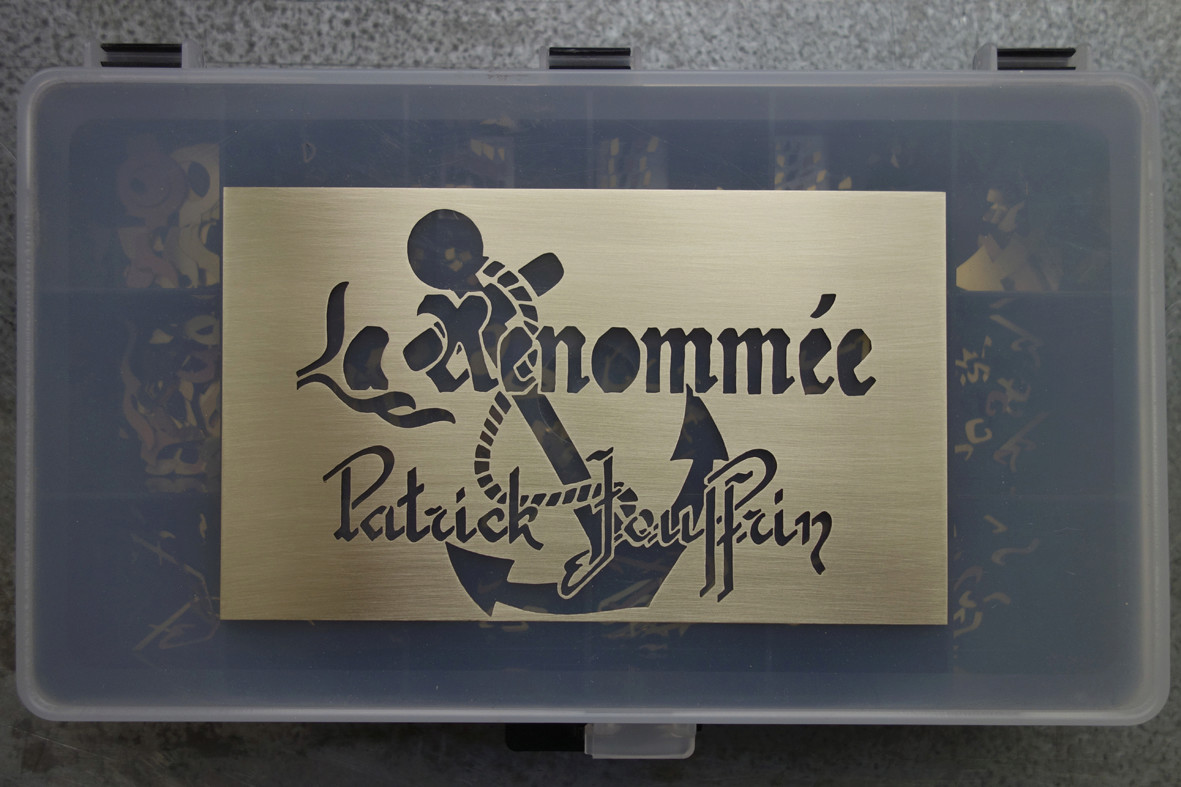
and one in brass (with an ebony lettering):


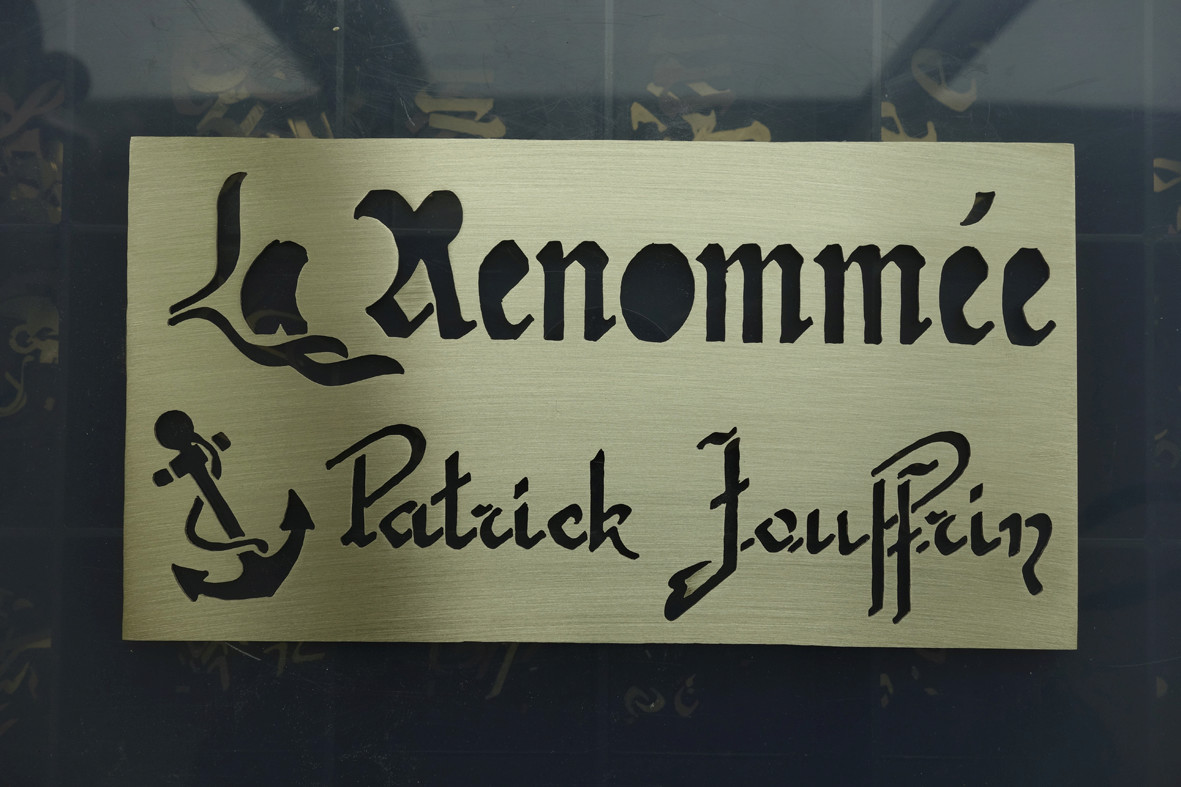
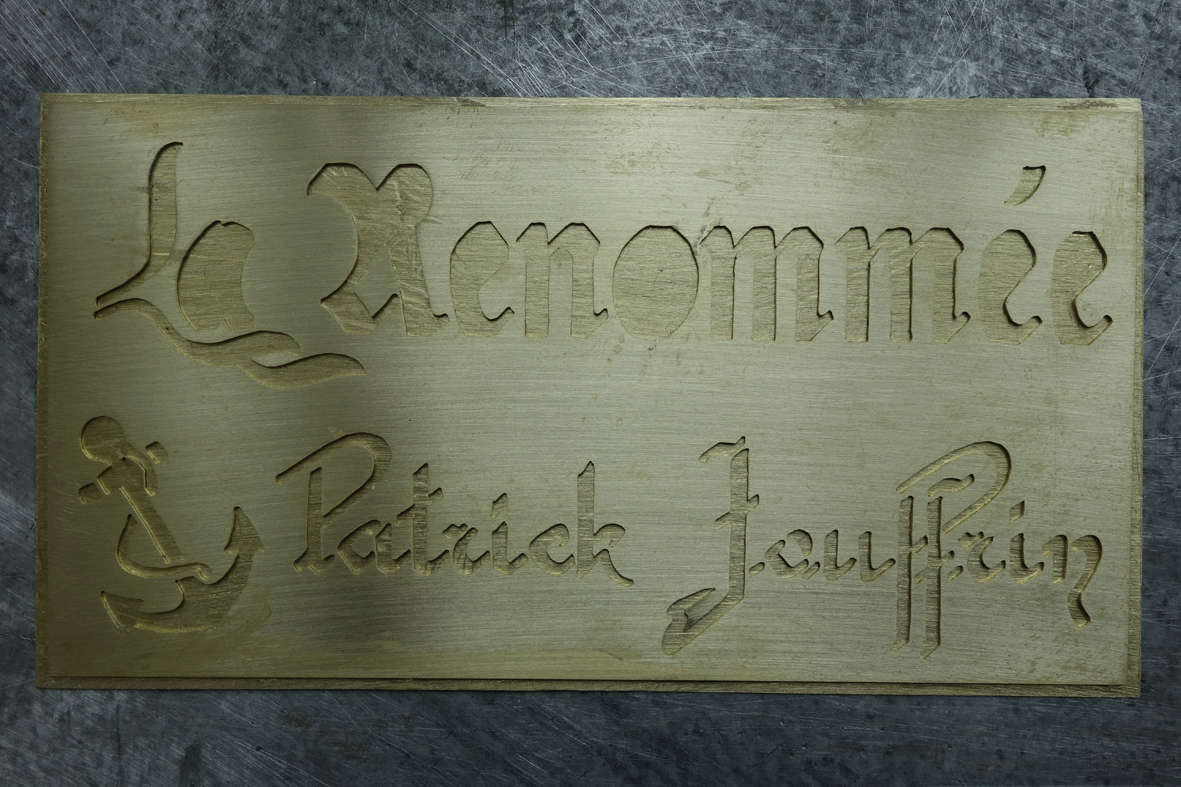
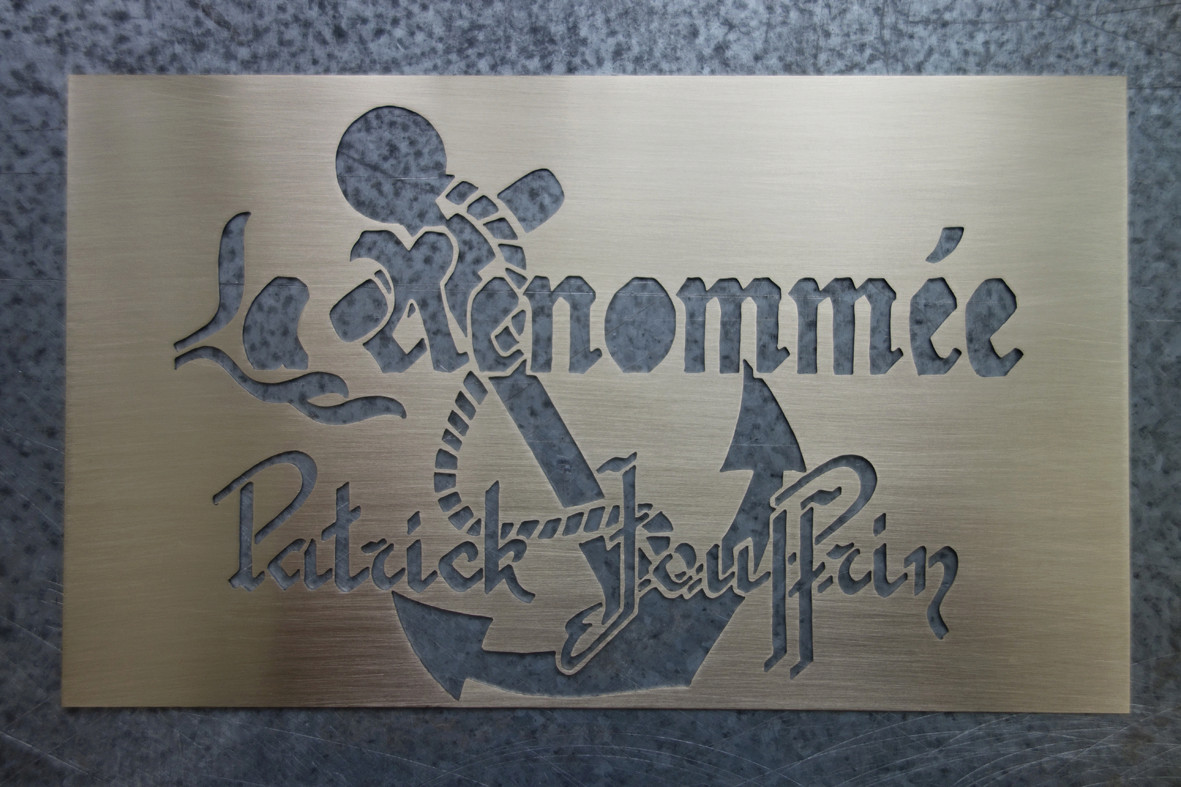
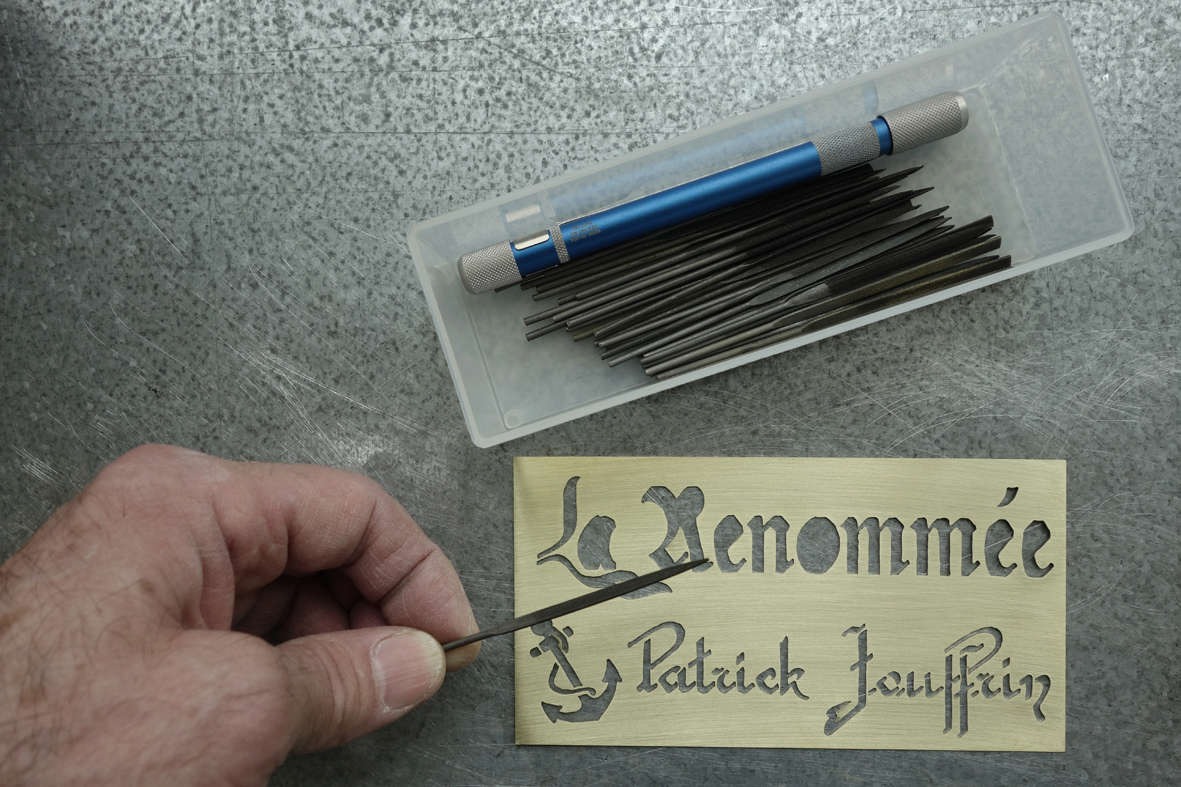
With the second brass plate I will make a small plaque to my name, as it is:


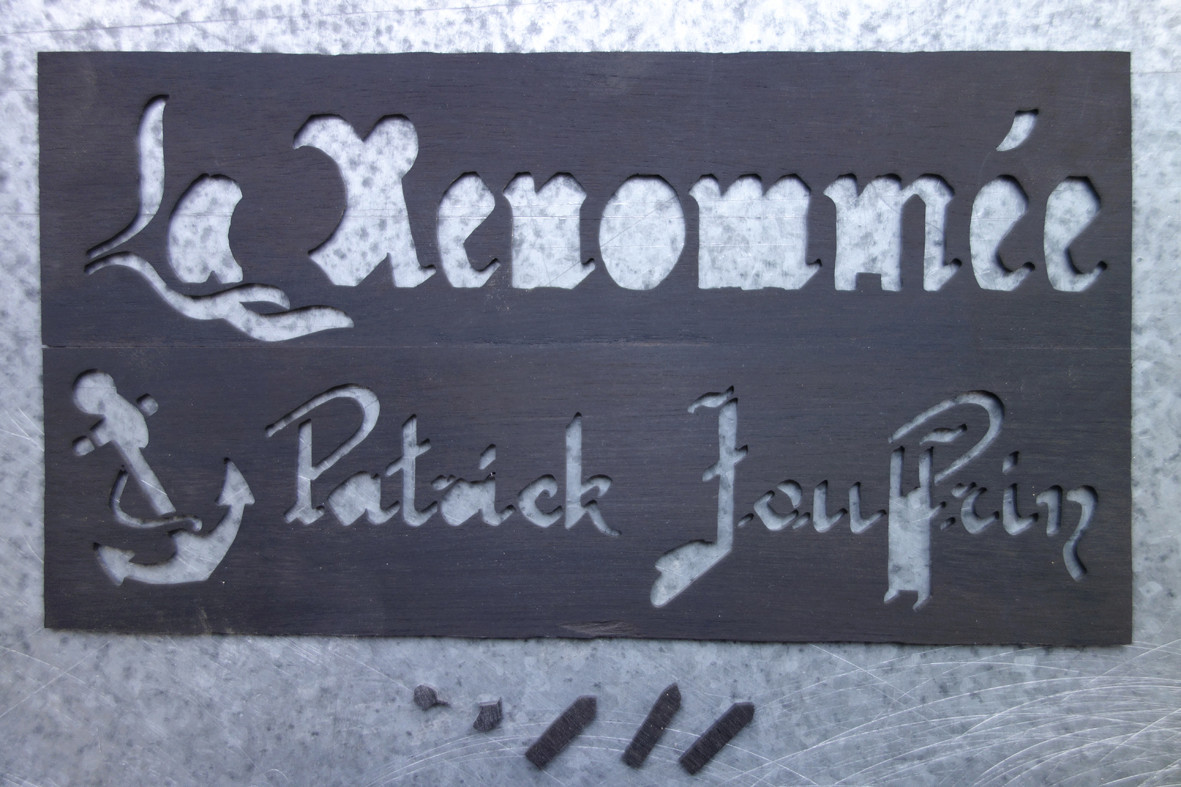
The ebony plate is unusable: it broke out in several places:


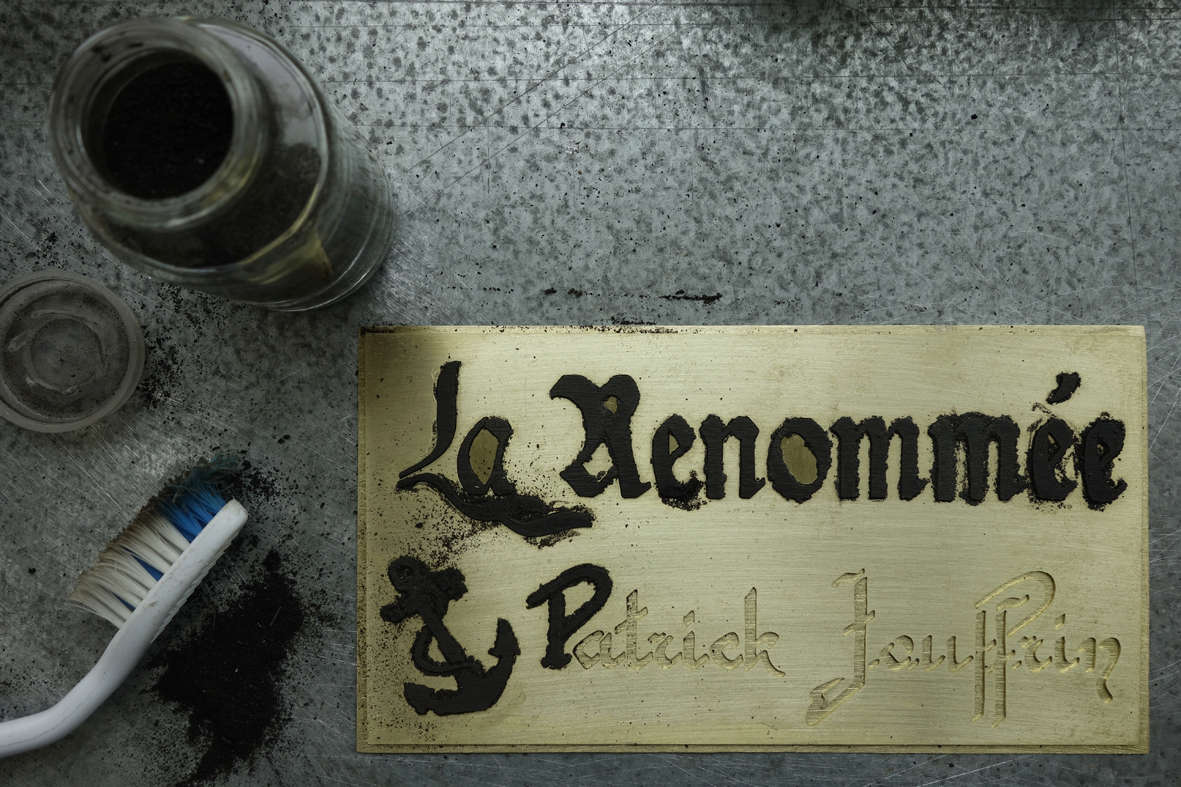
Before continuing, I rectify some small defects on the brass plate. Really almost insignificantly:


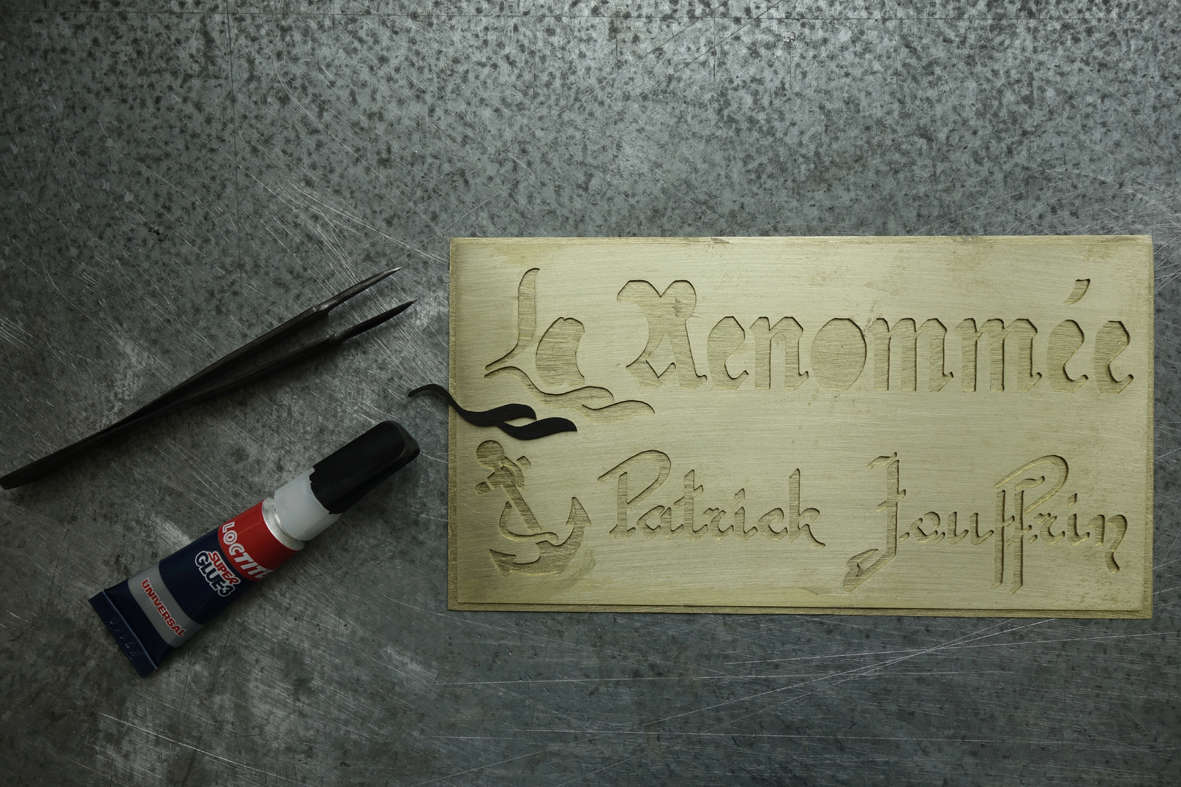
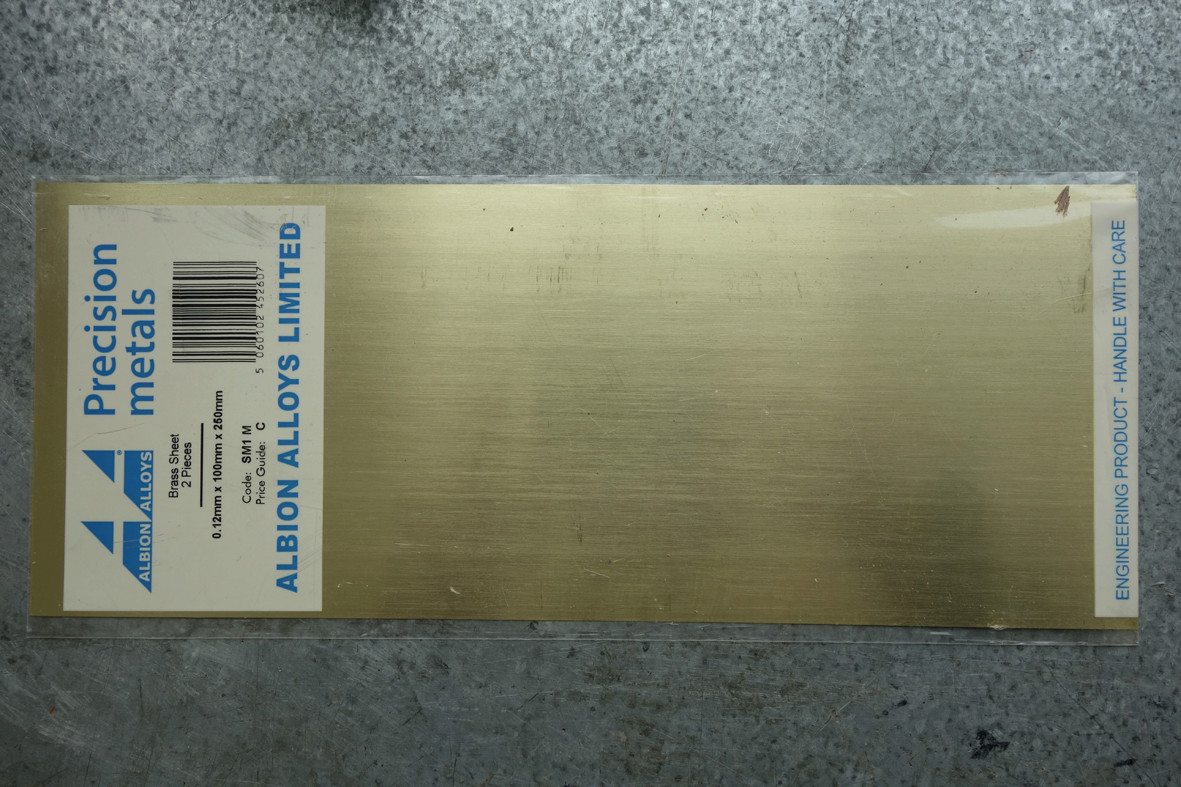
I stick my brass plate on a support - brass - also (Super-glue "GEL"):


It remains for me to stick my ebony pieces. I use Super-glue "UNIVERSAL" this time: it insinuates itself better in the interstices:


Taking advantage that the glue is not dry yet (we have a few seconds), I sprinkle ebony dust that I had put aside: it will fill any small interstices remaining. I know, it's not very pretty but ... patience:


Four hours later, it's over: the pieces are glued, the whole plate is sanded, a little "Polish" and here is the result:


To complete it all, a small border with a brass profile:


Voila, I hope that my cut "Jouffrin laser" you liked!

I will continue with the second plate - in pear and brass. Photos as soon as it's over
 
Contrary to what I said, I did not go back to working on La Renommée but I continued on the plate ...

I was not entirely satisfied : the drawing seemed a little bland, banal in its design. So I decided to redo with a more worked drawing, but the problem is that it complicates a lot of cutting ! Even judge yourself :


After studying the feasibility, I relaunched. I will not explain again : I did as the previous time. I simply tape the ebony plate and pear to tape to protect the wood because the cuts will be very "delicate" for some. I took about sixteen hours to cut everything, but I broke less blades: only ten. Here are all my little pieces :


And here are the two plates that I will be able to exploit (the ebony plate will not be) :


A view a little closer where you can see that in places the cuts are at most what I can do :


Finally, after five to six hours of assembly and sanding, the final result on the pear plate :


I find it much better than the previous one and it's her that I'll keep for the showcase ... in 20 years !

 
A small activity "annex" to change a little: the barrels.
I am planning to include some of them in the boat. I based myself on this page of the "Vaisseau de 74 canons" of Jean BOUDRIOT, I will try to realize the models for which I calculated the measurements at 1:48


I set my circular saw on an inclination of the blade of 11 °:


I then debit my pear sticks. These are 1cm in height:


Then, each stick is passed in black felt on 2 sides:


The sticks are then glued together at the rate of 16:


Adhesive is used to tighten the glue drying time:


I thus constitute myself several games of different diameters - function of the future barrels:


For the rest of the steps, I print J.BOUDRIOT's page with a reduction coefficient of 50% so as to get my barrels at 1/48 (the page representing them at 1/24):


The next step is to make tools to turn the barrels. On an old saw blade, I stick my templates:

 
I then shape them, first the general form:


Then I create a "cutting edge":


Result:


I then cut them to the right length:


I first "mark" the form on the lathe:


Then I continue with the chisel to rough:


Then I finish with the tool:


I realized a little more than 40 barrels without major problem, except that it is quite long:


To dig the ends, I could use a mill for small barrels, but it's not terrible: it vibrates:


So I decided to continue with the lathe, anyway I would not have the mill needed for larger diameters. The problem was to find a way not to "mark" the barrels with the jaws of the lathe ... The solution: rubber "toothed" like this one:


It works very well, all of which is to center the barrel:


I shot at 2000 RPM:


No problem for very small barrels:


All barrels have been treated on both sides:


For the rest, I used "punch" ? on striated pear with a point. With a little work of adjustment, my diameters were sufficient for all barrels:


For strapping, I will use this:


that I will mark at first at the tip and cut with scissors: considering the small thickness it works, but it is long:


Burnishing:


Finally, pose: it's long and delicate! I started with the smallest model to see:


I'm not unhappy with the result, but there are still more than 40 to do ... I'll have to be very patient!

Especially since there is still work on each barrel: bungs etc ...
 
Following the mistake I made by positioning a black join - not to simulate a caulking - but to show that the barrels were composed of several pieces, I decided to start all over again.

So I trimmed my chopsticks, without the join this time :


Then I ordered copper roll (Petr - my new Czech friend - advised me) :


Back on the lathe, still using a rubber band allowing me to machine both sides of the barrels without damaging them :


Vérification :


Then the result on a serie :


The lids :


For the continuation of the work on these lids, here in pictures, how I proceeded, for those that it could interest :


Then comes the work of copper. I use gloves so as not to 'grease' and I cut small strips corresponding to the size of barrels :


The advantage of this copper roll is that it can be immersed in a liquid without altering the self-adhesive part :


For rinsing, I followed Petr's advice : "Bicarbonate de soude" dissolved in distilled water :


After drying, the copper strips are cut into thin lengths using a ruler and a scalpel, then it is patience :


Nothing complicated, but it's quite long.

In the end, I declined 6 series of barrels :


To obtain 88 barrels :
 
Continuing work in the the bottom of the hull ...

This remark, from another forum :

[Quote = "left"] Hello
Nice work, watch out for the rear bunker the cross section is wrong, you have to reduce the housing of the lantern.
Good luck for the future.
Patrick [/ quote]

is quite accurate: if we stick strictly to the cross-sectional plan, it does not work. So I 'managed' with some difficulty to bring all this !


The local of the lantern is not yet glued ...

It suits me, despite the small difficulty compared to the plan! That it serves the following modellers ...
 
Back
Top