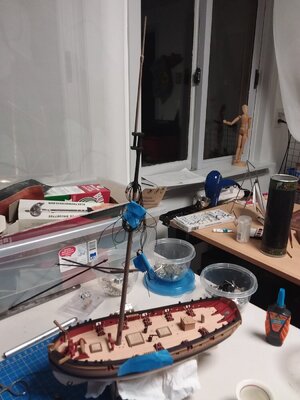
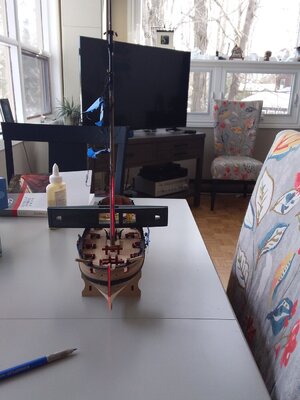
Lady Nelson - Amati 1:64 by Tangopapa - First time PoB Project [COMPLETED BUILD]

But then I see on the cutter drawings of the period that those ports were there. So, they are historically accurate. But why? It's fine, I've worked around the issues at the how, but I'm curious about it.
Anyway, the breasthook has been modified, and the catheads located to suit. I coloured a thin strip of 120# watercolour paper with a black indelible pen and applied one to the top of each cathead at the outside of the 90 degree bend to simulate iron reinforcement bands. Looks good, I think.

Next job is hatch covers. I regret adding the catheads now, when called for in the instructions. I caught one with my hand already and snapped it. 20201230_230718.jpg20201230_230750.jpg
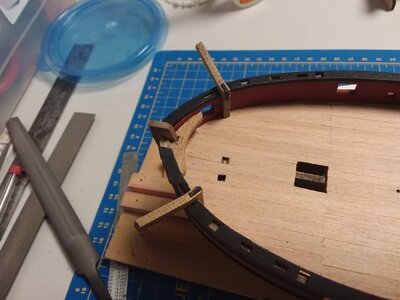
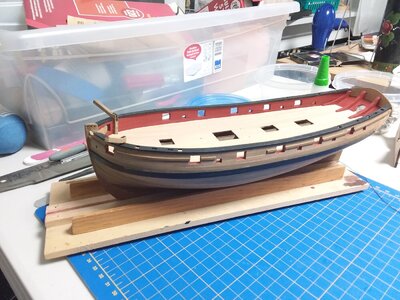
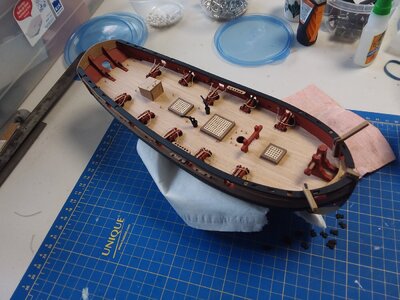
At this point I should be drilling the keel for the brass pedestals, if not before. But since the instructions don't mention how to do it and I didn't reinforce a suitable spot on the false keel to take the screws, I am going to go with a cradle stand I think. Rhe one that came with the ship fits poorly, but I cn easily make a nice one using the bulkhead outlines from the stock sheet as a template and line with felt. It seems like I'd need a #2 woodscrew 2 inches long (sorry metric world, in Canada we are mostly metric but do woodworking in Imperial units)? I just don't think the result would be very robust. The slots in the brass pedestals are too wide and loose and the pedestals are the same height but the keel should be slanted up toward the bow.
 
Last edited:
I started out following a series of videos from Modelers Shipyard and Amati, how to build the Lady Nelson. I haven't followed it exactly for different reasons, but I really want to see how Leon did the mast. Its not a straight taper, it has a kind of inverted lampshade on it. The trouble is, the details seem to be shown in their Build Log - 17. The Amati site has only up to episode 8. Their Facebook page has every log EXCEPT 17. I've searched the web and Youtube. Can anyone point me to that video? Also, his method of assembling and gluing the hatch gratings is perfect.
 
Last edited:
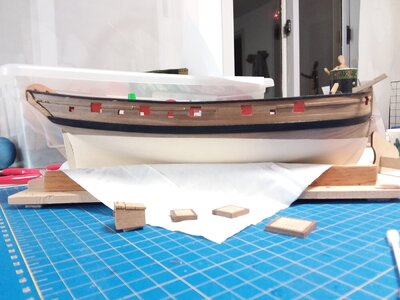
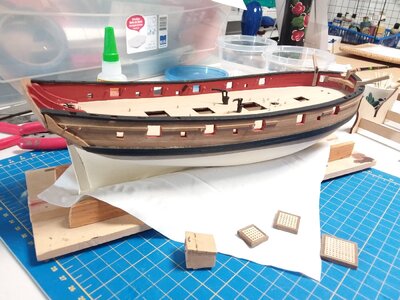
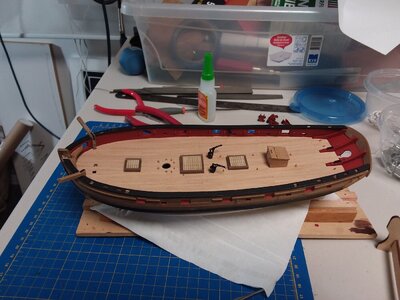
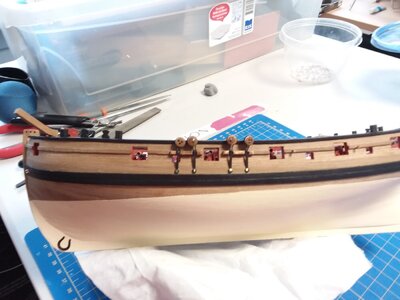
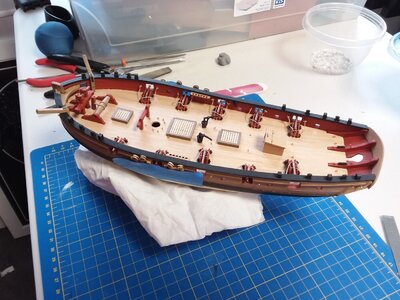
I had a lot of arguing with myself about whether I would paint below the waterline or not. I finally did so, and am glad that I did. These things had a fairly deep draft for their size and not too much freeboard and painting the waterline displays that feature well. It helps in picturing these smallish craft out on the ocean, maybe crossing the Bay of Biscay or in a channel storm. A hard life and a wet one, I am sure! Here she is after painting and with all of the eye bolts added in place and the pumps. Third photo is with 20210107_195927.jpg20210107_195834.jpg20210107_201518.jpgthe companionway and hatches in place. I think I will install the cannons next before moving to the bitts and then that is it while I start the mast and spars. I sure wish I could find that missing Amati video chapter 17, but I imagine that Leon used his trusty finger plane on the mast and I do not like using mine. It is too choppy. I will not install the rudder until just before I step the mast to avoid damaging it.
 
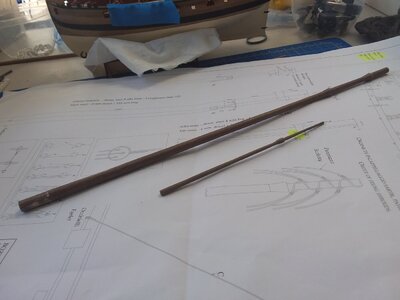
I started the bowsprit because I thought that I would need more than one attempt. I also did a mockup of the mast in similar sized hardwood dowel to try spinning it in a drill while shaping it against a spinning sanding drum mounted on a drill press. It worked amazingly well. I have no photo of that because I would need a third arm.

I made a bit of a very temporary jig to spin the dowel for the bowsprit. It is thinner, so needed a more delicate approach. I used a wood file to do most of the tapering, then fine sandpaper. Worked great. Had it turned in no time. Then had to carve the little knob at the outer tip. I used my carving chisels. They come in handy quite often. 20210109_115443.jpg

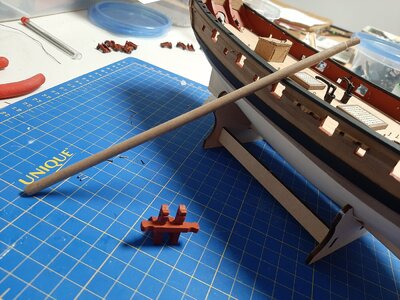
Also had to alter the frame that the bowsprit mounts on. If you installed it as made the bowsprit would point downwards. Luckily I learned of this from another person's build log! So the cross member needs to be lowered so the top of it is 3mm lower or 13mm above the deck. A 2mm square pin is supposed to go horizontally through frame uprights and the bowsprit, but first of all the two square holes are at different height on each side. Second, they tell you to drill a 2mm hole in the bowsprit for the 2x2 mm piece of wood, but it would take almost a 3mm hole to accept it. I will mount it a different way, pin it in place.20210109_205115.jpg20210109_205115.jpg
 
Bitts in place and bowsprit dry fitted. Cannons in place and recoil hawsers installed. I modelled the starboard side guns in a kind of stowed position, as I imagine it, and on the port side guns are either fully out in firing position or fully back in recoiled position, just to model 3 different cases. I left the cannons in the colour provided. I just liked it. The swivel guns will be black iron. Also the belaying pin racks are in place. They were tricky to tuck up in place under the railing -- a race against time with the 90 second epoxy. I installed pins under the legs of the bitt in front of the mast, down into the deck. There were no holes in the deck for it and it would be too weak otherwise. Next I will fit the rudder or maybe the timber heads and swivel gun posts.20210113_123635.jpg
 
I started out following a series of videos from Modelers Shipyard and Amati, how to build the Lady Nelson. I haven't followed it exactly for different reasons, but I really want to see how Leon did the mast. Its not a straight taper, it has a kind of inverted lampshade on it. The trouble is, the details seem to be shown in their Build Log - 17. The Amati site has only up to episode 8. Their Facebook page has every log EXCEPT 17. I've searched the web and Youtube. Can anyone point me to that video? Also, his method of assembling and gluing the hatch gratings is perfect.
I found log 17 on Facebook
 
Can you post the link? All others I found on FB, incl 16 and 18! I know how I want to do the spars now and made a little jig to do it, but would still like to see Leon's approach. TIA.
 
I've added a few more pieces, the replacement windlass that I ordered from Cornwall, which looks much better than the bulky, oversized one the kit came with. It is plain, but one key think is that there is room for the ratchet teeth in the centre to match the pawl post that the kit comes with, whereas the supplied windlass had holes there for the windlass posts (whatever they are called). I also installed the chain plates and lower dead eyes. That went very well. I am glad that they included two extra of each photo etched part. The brass is quite malleable, and the rings bent open and closed just fine, but on crimping the chain plates tight over the stem on the rings, two snapped off.

In order to align the chain plates with the same point on the mast where their associated shroud will run, I inserted the raw mast dowel into the deck. I marked the height ofmthe point on the mast where the shrouds will loop over the flare on the mast a few cms below the mast cap. At that point, I taped a piece of string and ran it tight down to each notch in the channels where the chain plates would sit. I then drew a line with pencil to show the angle that the chainplate must sit at so that it they all point to that same attachment point on the upper mast. Or hopefully they do.

There is a little piece of wood that goes over top of the channels, locking in the chainplate, but I will leave that off until after the dead eyes are threaded. I dont want the inside face of the deadeye hard against the rail when I am trying to get thread through it. I used masking tape to cover them so that a careless move does not knock them off or break a chainplate now that I have no spares.

Now to make the mast.20210121_093700.jpg20210121_093446.jpg
 
Last edited:
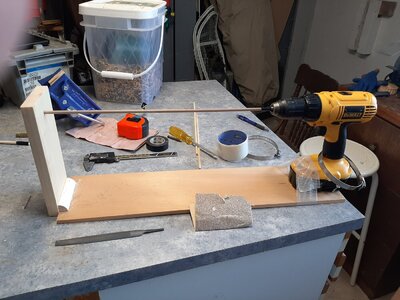
Masts done, now onto the yardarms and booms. I used the "lathe" I set up as shown above, using my variable speed drill. If you can picture it, instead of chisel to work up and down the shaft to shape it, I used a Dremel with a fine sanding drum. You have to support the work gently with your free hand (leather work glove on), and of course safety glasses. I was amazed that I could turn the tip of the topmast down to about 1.5mm in this way, from a 4mm dial parent dowel. I even shaped the flared feature on both masts this way. 20210123_120402.jpg
 
Most windlasses do have a post and pawl, and the slots for the pawl are in the centre of the windlass drum. The one in the kit has the holes for the pikes in the centre of the windlass drum, so there is no way a pawl or post will do anything with this windlass. Not a big deal but just another reason I left it off
I’m trying to understand how to properly rig the windlass on the lady Nelson. How does it work exactly
 
I’m trying to understand how to properly rig the windlass on the lady Nelson. How does it work exactly
The only "rigging" is the anchor line going around the drum on each side. If you look at the completed ship photo gallery you will see one recently finished by glbarlow and can see how he did it. The instructions with the kit don't say and the drawings don't show the anchors with ropes attached -- whatever the nautical term is for that. I agree having them is a nice touch.
 
The only "rigging" is the anchor line going around the drum on each side. If you look at the completed ship photo gallery you will see one recently finished by glbarlow and can see how he did it. The instructions with the kit don't say and the drawings don't show the anchors with ropes attached -- whatever the nautical term is for that. I agree having them is a nice touch.
Thanks appreciate it. Think plans could have been a little better. How far along are you in the build. I am ready to start the rigging. Challenge since this is my first build
 
Progress over the past week has been adding the small locating blocks of wood on all of the spars, and some of the blocks etc. I've added the heavy lines to the mast...the 4 shrouds per side, two backstays, and the mainstay. For the latter I had to fudge a mouse and seized it to the large deadeye. Looks good. It worked out ok. After I finish adding all of the blocks and pendants to the mast, I will step it and then do the shrouds. Before that, I might put the boom and gaff in place with associated lifts and halyards, so that the fine running rigging on the centreline is done where the shrouds will block easy access. I may mount the two upper yardarms before stepping the mast also, but not the main yard. It will be in the way for ratline tying I think. The thing with pre-mounting the yards without their associated rigging is that they are vulnerable to getting knocked off.

So in this photo it looks like a big tangled mess of threads, but they are coiled and sorted.

The mast is just loosely fitted to keep it out of the way.
20210129_223151.jpg
 
I’m trying to understand how to properly rig the windlass on the lady Nelson. How does it work exactly
I came across this while reading "The Naval Cutter Alert 1777" by Peter Goodwin this morning. The two anchors were kept ready and the cables passed back to the main hatchway and then down to the cable tier in the hold. Without this excellent20210130_122326.jpg book, I would have just run them down the foremost "hatch", which is actually a companionway.
 
Last edited:
I came across this while reading "The Naval Cutter Alert 1777" by Peter Goodwin this morning. The two anchors were kept ready and the cables passed back to the main hatchway and thence down to the cable tier in the hold. Without this excellentView attachment 209696 book, I would have just run them down the foremost "hatch", which is actually a companionway.
 
Back
Top