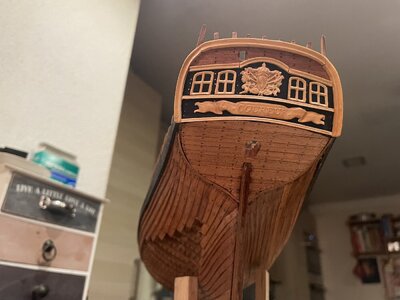
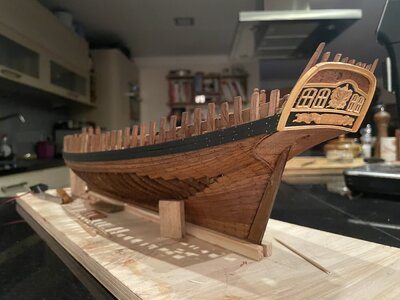
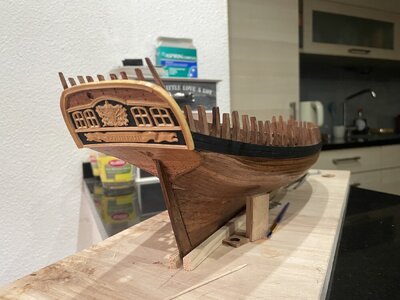
Le Coureur

Wow Tobias, you are building fast and with a lot of added details. Love it. Also the lighting is a great addition, where did you get the micro leds from?
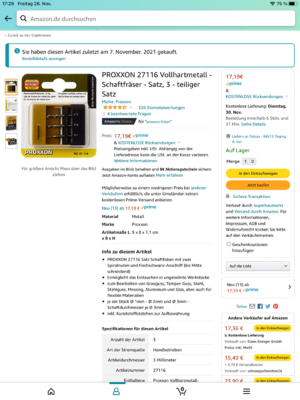
Hello Maarten, I ordered the Micro LEDs from Amazon

 
Permanent marker - must be of much better quality than Sharpie. Never had any success with it, bleeds to much into wood. This is worth trying. Thanks both for the tip.
Hallo Tobias, Hallo Genaro, I also use the Edding marker, have made good experiences with it.

Man Tobias you are really from the fast troop, I can not keep up. But it has become very beautiful.
 
Last edited:
Hallo Tobias, Hallo Genaro, I also use the Ediing marker, have made good experiences with it.

Man Tobias you are really from the fast troop, I can not keep up. But it has become very beautiful.
Hello Adi, thank you, during some drying phases I always prepare parts that I will need later. I prepared the rear mirror a few weeks ago. Glued, watered and bent. At the moment I can't go on with the decking because my little dog thought he had to step on it and play with it. Well, I'm waiting for my order now.
 
Very good progress - and very good execution
Bravo my friend Thumbsup
I have the feeling, that we will see in Augsburg three Le Coureurs with the appr. same status of performance
 
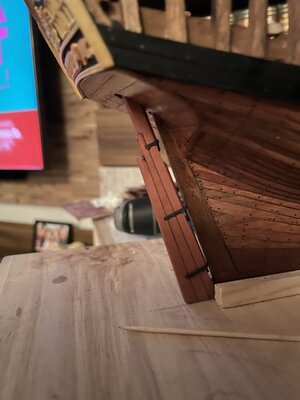
Nice looking black joints - so you can see better, that the rudder blade was built out of three pieces.
Although I think that these joints were not caulked..... Important in my opinion, is that you reduced the thickness of the rudder, that you tappered it to wards the bottom
Now the works with the hinges fixed to the hull are necessary ...... enjoy
044a0532-6329-473f-89ba-45c329b5dc4a-jpeg.270552

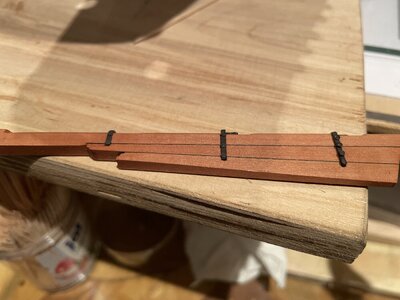
Hello Uwe, here the milling process, the rudder was tapered downwards by 2mm as can be seen in Ancre's monagraph
 

Attachments

  • 8259A8A2-32B0-4EE4-B8EC-32E771D22B16.png
    8259A8A2-32B0-4EE4-B8EC-32E771D22B16.png
    660.3 KB · Views: 12
  • 888953A7-750A-4D0B-97C1-1BC61633F298.jpeg
    888953A7-750A-4D0B-97C1-1BC61633F298.jpeg
    182.1 KB · Views: 12
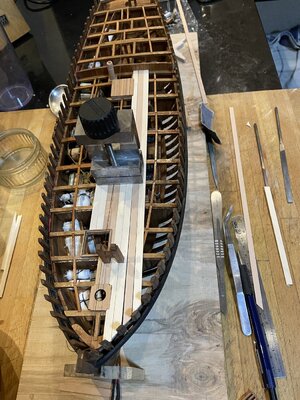
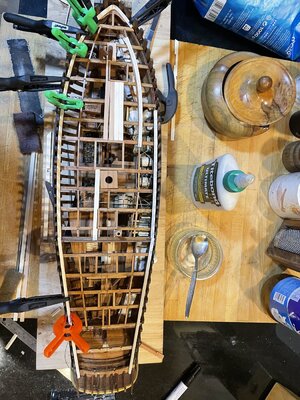
is it your intention to mix different timber for the deck planking?
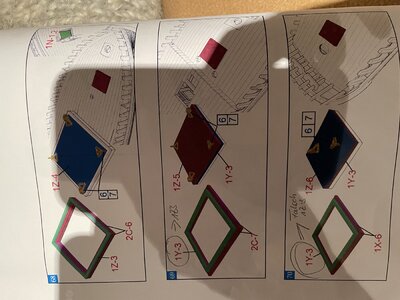
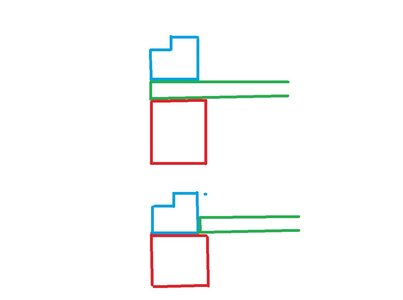
Another hint if it is allowed. I am not 100% sure, but Boudriot is showing in several monographs, that the frames of the hatches were installed on top of the planking and not on top of the beams..... as mentioned, I have planned to make here a more detailed research

Take a look also into this topic, where we discussed this subject once


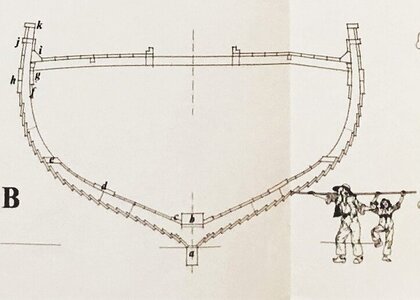
Here on top the french way, at the bottom the british way (red - beam, green - deck planking, blue hatch frame)
hatch.jpg
 
Ist es Ihre Absicht, verschiedene Hölzer für die Terrassendielen zu mischen?
Noch ein Hinweis, wenn es erlaubt ist. Ich bin mir nicht 100% sicher, aber Boudriot zeigt in mehreren Monographien, dass die Rahmen der Luken auf der Beplankung und nicht auf den Balken installiert wurden..... wie erwähnt, habe ich geplant, hier a . zu machen genauere Recherche

Schauen Sie auch in dieses Thema, wo wir dieses Thema einmal diskutiert haben


Hier oben der französische Weg, unten der britische Weg (rot - Balken, grün - Deckplanken, blauer Lukenrahmen)
View attachment 272199
Hello Uwe, Thank you for pointing this out, unfortunately it is not clear from the instructions from CAF and according to Boudriot's plans I didn't look.
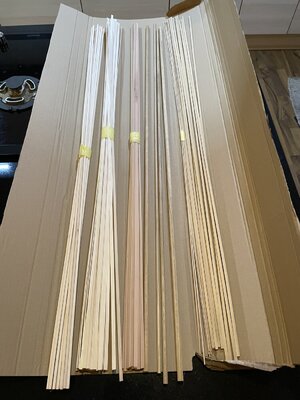
Yes, I use two different types of wood for the deck.
You never stop learning and that's one reason I'm here to learn from experienced people like you.
coureur18aa.jpg
 
Last edited:
Very good work on the scratch waterway - the elements are fitting well -> I am looking forward to see your deck planking, you do not have to solve the adjustments with the deck planking, because you will make also the planking from scratch...... very good work

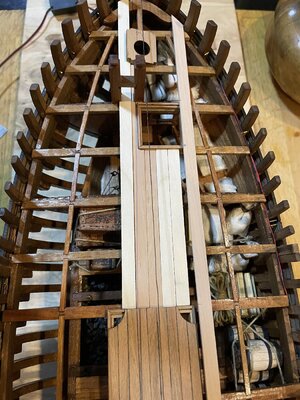
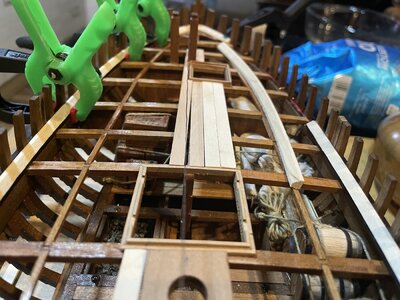
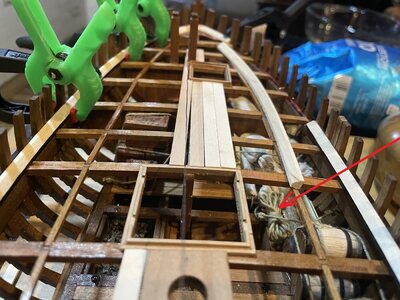
Just realized the spare rope you have in the hold - in this diameter (in scale) it would be a very heavy rope or cable, so it would not lay like now - it is looking unrealistic - I would try to correct here the way it is stored (in moment it is twisted and the end is wrapped around)
3683E4BC-02CE-4AB1-8AC1-8A8B32A7F75F.jpeg

In the other photo we can see, that you use tidebond glue - in the past I used normal Sekundenkleber from Loctide, but since I have these tidebond -> they are 1000% better to use and best bonding. How is your experience with it? I am using usually "thick"......
 
Back
Top