Le Rochefort 1/36 - Build Log by Moreplovac

OK, some dust was made..
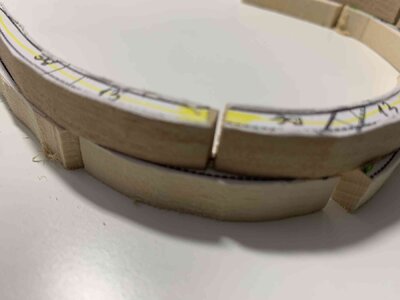
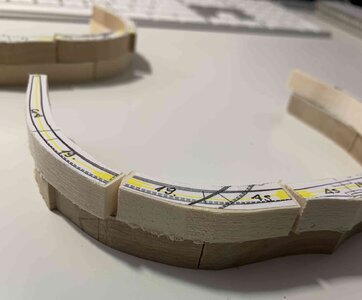
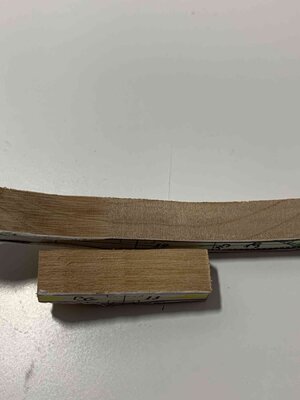
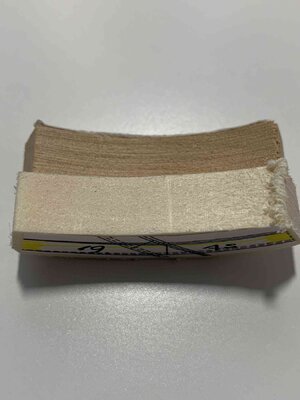
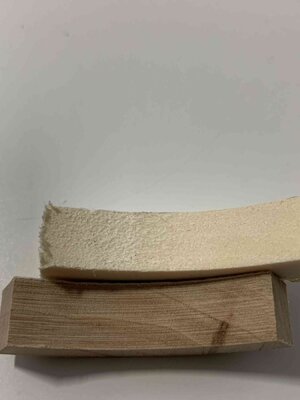
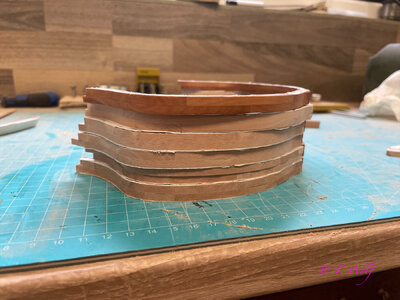
I started to experiment a bit with different types of wood; the idea is to have a bit of a contrast in frames (rear and front) so the construction is clearly visible, to test easiness of cutting, sanding, etc and to make sure frame parts will keep the sharp edges... I do have pear wood purchased and it will be used for sure. This time I tested two frames on four different wood types: basswood, beech, cherry and aspen.

Rochefort-0013.jpg

Rochefort-0014.jpg

Rochefort-0017.jpgRochefort-0015.jpg

I like the contrast of aspen/cherry and beech/bass but not sure how will aspen keep the edges... but cheery-beech is also a good combo.

Cherry-beech
Rochefort-0018.jpg

Aspen-Cherry
Rochefort-0019.jpg
Cherry-basswood

Rochefort-0020.jpg

Anyone experimented with these wood types?
 
OK, some dust was made..
I started to experiment a bit with different types of wood; the idea is to have a bit of a contrast in frames (rear and front) so the construction is clearly visible, to test easiness of cutting, sanding, etc and to make sure frame parts will keep the sharp edges... I do have pear wood purchased and it will be used for sure. This time I tested two frames on four different wood types: basswood, beech, cherry and aspen.

View attachment 444874

View attachment 444873

View attachment 444875View attachment 444877

I like the contrast of aspen/cherry and beech/bass but not sure how will aspen keep the edges... but cheery-beech is also a good combo.

Cherry-beech
View attachment 444884

Aspen-Cherry
View attachment 444883
Cherry-basswood

View attachment 444882

Anyone experimented with these wood types?
In my experience and similar experiments, pear, beech and aspen all are suitable and hold an edge well. Swiss Pear is my favorite followed by Boxwood. Cherry and beech are lower on my list as they seem to splinter more easily. And basswood did not make the cut. It’s too “fuzzy” in my opinion.
 
Good morning Moreplovac,
I can only agree with Oliver. Basswood is a very good wood for filling gaps when you have a closed hull or for the first planking. It is often included in kits. It is not really suitable for POF construction as it is too soft. Cherry is good, but I can't say anything about aspen. Beech is also good but the grain is too coarse for my taste. Pear is clearly the favorite, Oliver is talking about the Swiss pear, the tree is actually called service tree and has nothing to do with a pear. The wood is identical though and has a very fine grain. Boxwood or Castello are also great woods, you can also use holly here, both are expensive types of wood. If I were you, I would stick to one type of wood for the frames, even if you make them from the same wooden board, you will be able to distinguish the individual parts from one another easily after oiling or varnishing.

eZy Watermark_16-03-2022_10-23-11AM.jpeg

Here are my first test frames untreated and the upper one oiled.
 
In my experience and similar experiments, pear, beech and aspen all are suitable and hold an edge well. Swiss Pear is my favorite followed by Boxwood. Cherry and beech are lower on my list as they seem to splinter more easily. And basswood did not make the cut. It’s too “fuzzy” in my opinion.
Thanks you, I also noticed basswood leving much blur after sanding and as you mentioned, being a bit fuzzy.

Cheers
 
Good morning Moreplovac,
I can only agree with Oliver. Basswood is a very good wood for filling gaps when you have a closed hull or for the first planking. It is often included in kits. It is not really suitable for POF construction as it is too soft. Cherry is good, but I can't say anything about aspen. Beech is also good but the grain is too coarse for my taste. Pear is clearly the favorite, Oliver is talking about the Swiss pear, the tree is actually called service tree and has nothing to do with a pear. The wood is identical though and has a very fine grain. Boxwood or Castello are also great woods, you can also use holly here, both are expensive types of wood. If I were you, I would stick to one type of wood for the frames, even if you make them from the same wooden board, you will be able to distinguish the individual parts from one another easily after oiling or varnishing.

View attachment 444975

Here are my first test frames untreated and the upper one oiled.
Yeah, I have ordered pear and will use it for frames... Could not get the good contrast combining different wood types that will not be to obvious and on the other hand clearly visible but as you mentioned, after oil treatment I parts will be visibly distinguished between each other...
Thanks for suggestion..
 
As Olivier and Tobias said, you obviously can't go wrong with a good supplier of quality pear wood. I used it for my carvings on my scratch build of HMS Serapis and was able to get superb detail.

I opted for alder for all the framing and timbers, as it was much less expensive. However, it worked awesome, held an edge great and accepted various oils well.

Looking forward to following your build!
 
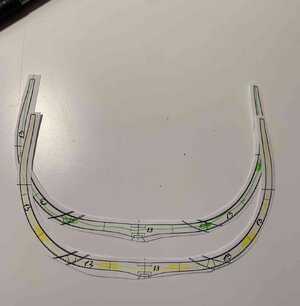
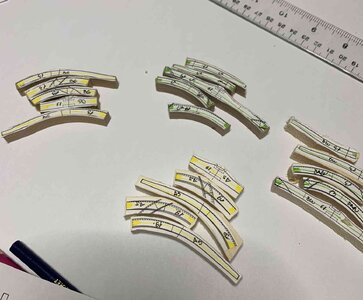
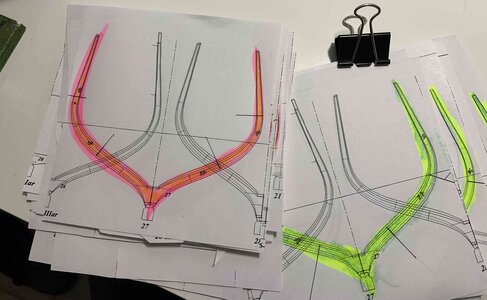
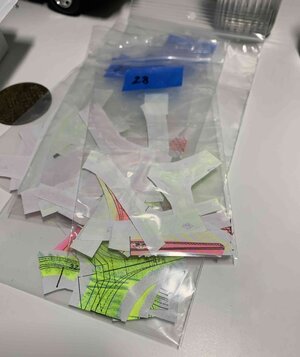
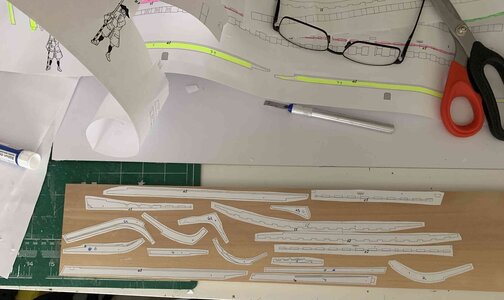
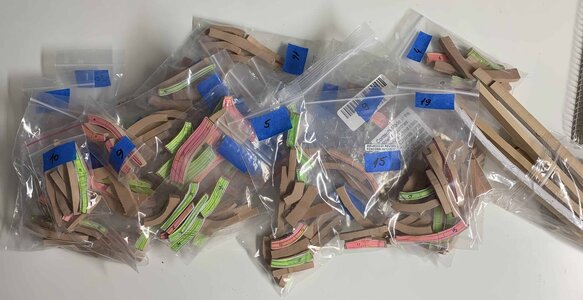
This time I marked all frames on the plan, and cut them into individual pieces. Then all pieces for one frame are put in a bag, where I will be keeping cut parts for the same frame. Or I can just use rubber bands...

Rochefort-0021.jpg

Rochefort-0022.jpg

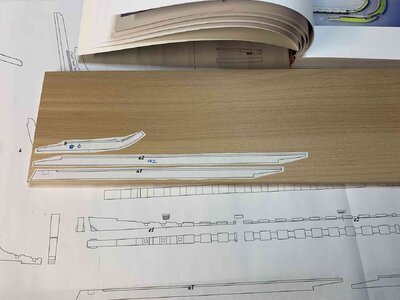
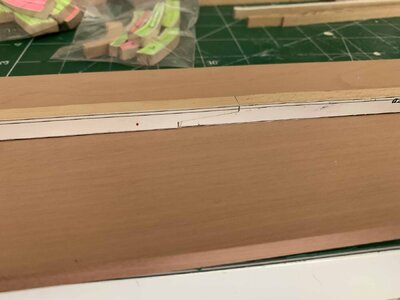
Then I put all keel/keelsen parts on one piece of wood, this time I am testing alder wood. These will not be on the model, for model I do have purchased pear for keel as well. Testing will allow me to see how things are done in real life, what glue to use for glueing on the board, making sure I check cut pieces for level once they are on the board, position of templates on the board to utilize the most of the board, what cutting tool to use, etc... pretty much the whole process. Maybe a bit overkill but being my first build of such type... next scratch build model will be breeze...

Rochefort-0023.jpg

Rochefort-0024.jpg

The board is a bit ticker (10mm) then needed, and will need some sanding or cutting to the correct width.

Happy modelling..
 
Did you guys find it extremely hard working in a shop while the weather is nice and sunny? I don't have an option to open shop doors so have to make a choice...
A bit of a progress... corrected position of few keel parts to follow the wood grans as best as possible.. still don't like G1 position...will make another copy of that part and glue it differently, then will cut both parts and see how they work..

Rochefort-0025.jpg

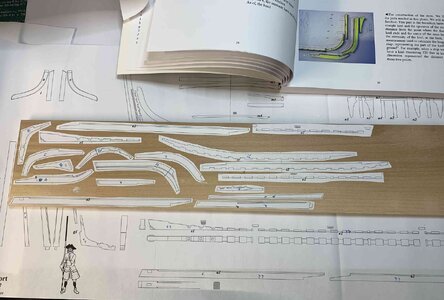
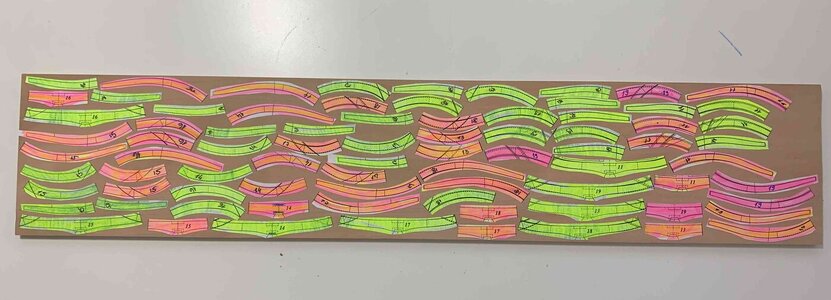
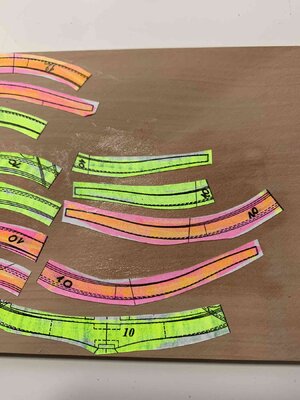
Few frames were glued to the board.... first adding glue to the paper frame part and put them on the board, second picture is adding a small amount of glue to the board first, then arranging frames...

Since I am testing, no harm to see what ending up results will be ..

Rochefort-0027.jpg

Rochefort-0026.jpg

Happy modelling..
 
My test cuts are done and now it is time to sand them all correctly; some parts are already sanded to the lines.

Since the wood is ticker that needed and once all parts are sanded (or before, will need to decide), wood need to be run thru the table saw or band saw to reduce the thickness to correct dimension.

These steps might looks too much but need to test the process and tools required and "repetitio est mater studiorum".

Rochefort-0028.jpg

Happy modelling..
 
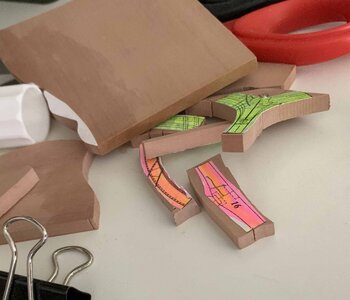
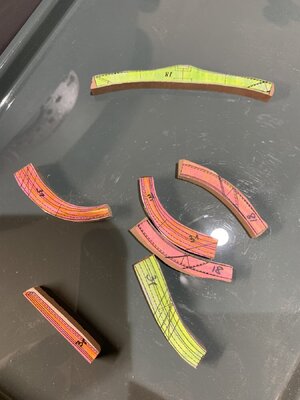
All frame parts were cut and rough sanding will be the next step.

Rochefort-0031.jpg

Few pieces will need replacement.. some glued to close to each other, for some cuts were damaging the part...

Rochefort-0033.jpg

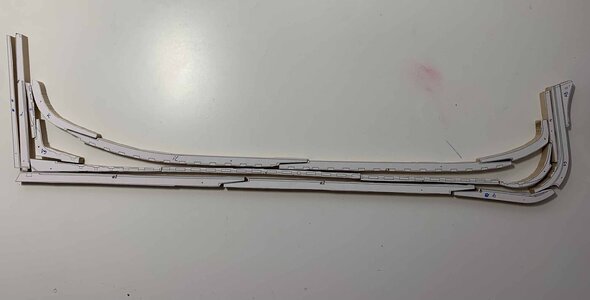
Here is my test keel; I was testing the process and tools I might be using and this is end result. I was more concerned about those parts connecting to each outer, making sure the lines matching correctly... still need to do a bit sanding on the top of these two pieces but I will be ready to cut the "real" keel parts next.

Rochefort-0032.jpg

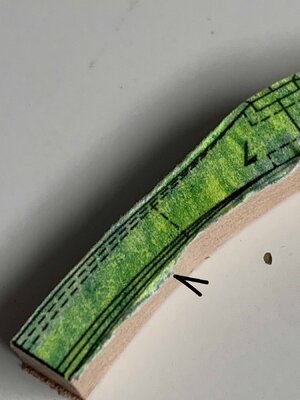
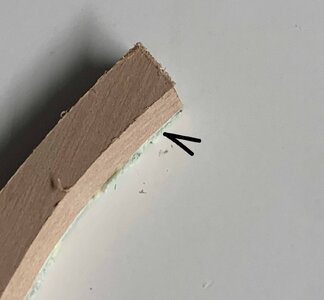
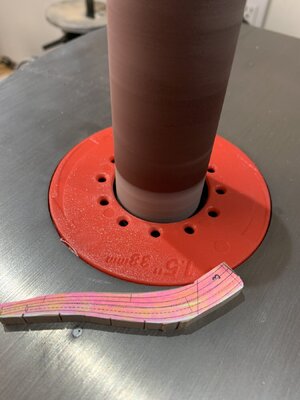
Question for you guys: I noted when using oscillating sander for inner parts of the frame, it leaves a bit of a paper burr at edges, most likely due to the sander motion (up, down).. How you guys are dealing with this? I can certainly remove burr afterwards but piling up paper during sanding prevents from clearly see the line.. Outside edges of a frame are OK since I am using disk sander rotating counterclockwise and pushing the paper down on its rotation cycle..

Rochefort-0030.jpg

Rochefort-0029.jpg

Happy modelling..
 
Question for you guys: I noted when using oscillating sander for inner parts of the frame, it leaves a bit of a paper burr at edges, most likely due to the sander motion (up, down).. How you guys are dealing with this? I can certainly remove burr afterwards but piling up paper during sanding prevents from clearly see the line.. Outside edges of a frame are OK since I am using disk sander rotating counterclockwise and pushing the paper down on its rotation cycle..
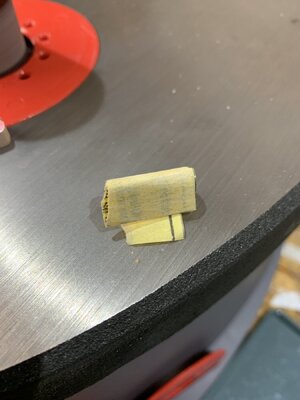
Hi Moreplovac. What I learned was if you take small sanding block or even a small folded piece of sandpaper and scrape down lightly on the frayed edge at about a 45° angle the fray will disappear and you’re left with a clean edge revealing your reference line.
 
Hi Moreplovac. What I learned was if you take small sanding block or even a small folded piece of sandpaper and scrape down lightly on the frayed edge at about a 45° angle the fray will disappear and you’re left with a clean edge revealing your reference line.
Thank you OlivierF; I was on the same page with you, just was wondering that during sanding using oscillating sander, if there is a way to eliminate that effect so I can clearly see the line while sanding; similar to the process of sanding outer lines using disk sander... but it looks like we are stuck for longer time while sanding inner edges..
Thank you, appreciated.
Maybe someone else has a different method but this is only way I know. I just take my time and sneak up on the finish line. ;)
 
Thank you friends... i was leaning towards the same results, just was wondering if there is any "easier" way to get rid of those...

Anyhow, some inner sanding was done for few frames using oscillating sander and paper burr was removed with a small piece of sander paper. Result is very nice and acceptable. This is rough sanding, still leaving some meat close to the line for final sanding..

IMG-7727.jpg

IMG-7728.jpg

IMG-7726.jpg

Happy modelling..
 
Back
Top