Le Rochefort build log by OlivierF

Since I had to order more thread for my Esmeralda rigging I’m back on Le Rochefort framing.
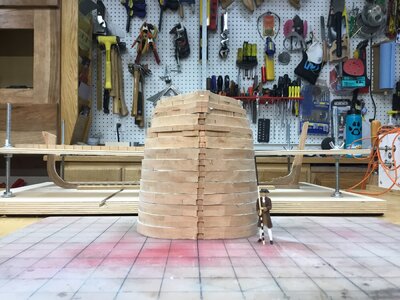
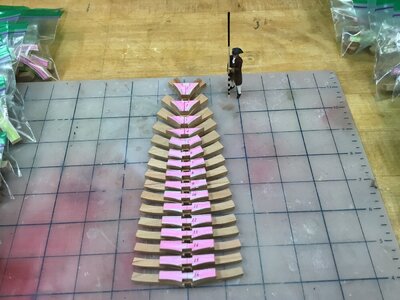
I’ve completed all the fore frames and rough sanded them square (I still need to sand a couple but need to let the glue dry).
One question I do have though, do I bevel the frames before assembly or do that once the frames have been mounted to the keel?
D6425420-7B60-4B32-A1DA-0004BCE68565.jpeg

per Tobias’s suggestion I should also override the assembly frame by 1mm or so to allow for the oversized fames. I’ll attempt that next. I’m loath to attempt this free hand with a sanding wheel so think I’ll figure out how to scribe a 1mm offset so I have a reference to sand to. Worst case I’ll need to rebuild the top…
 
I’ve been busy watching bears lately and haven’t been working on Le Rochefort. They‘re quite a distraction… Ok, back to work!
IMG_9030.jpegIMG_9029.jpegIMG_9049.jpeg

I did decide to scrap my first attempt of building the frames and the keel assembly. I learned a lot which is an accomplishment in itself. So I spent a few weeks watching YouTube videos, perusing many other build logs on SOS (not just Le Rochefort), reading and rereading Adrian’s and dissecting the plans.
For my latest attempt I’m following Adrian’s method fairly closely And working very slowly. I’ve been verifying measurements and tolerances so there is only a little progress. But I’m much happier with the current results so far.

IMG_9073.jpeg
I’ll finish building the floor assemblies (frames 17-32) and then tackle the keel assembly. I plan on fitting each floor section to the rising wood and keelson as i build the assembly and try not to introduce progressive errors as I work…
As the tortoise told the hare, “slow and steady will win the race.”…
 
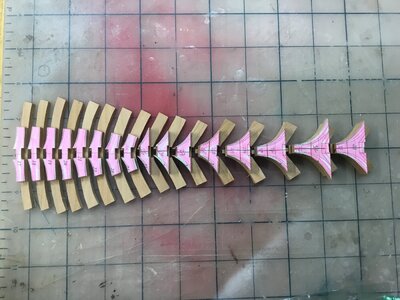
I completed the floor frames 17-32 and have roughed out the axial assembly.IMG_9113.jpegimage.jpg

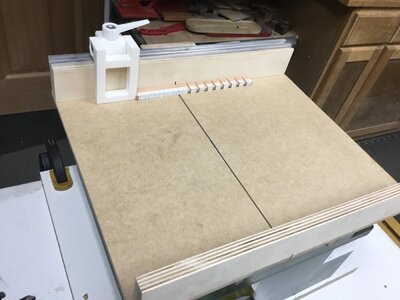
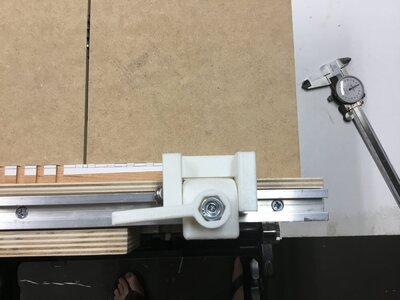
I’m starting to notch the rising wood for the floor frames. I decided to use the table saw to make the notches but was struggling with accuracy so I 3d printed a stop block which works a treat. I think I’m going to add a micro adjustment… we’ll see.
IMG_9167.jpegIMG_9168.jpeg
 
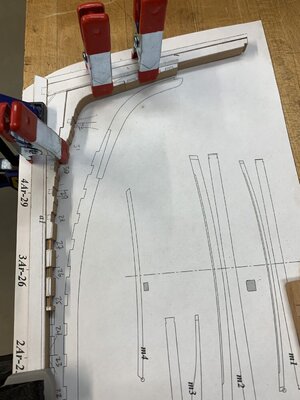
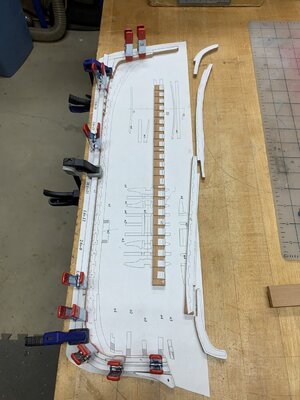
I’m slowly working on the keel assembly. So far my effort matches the drawing perfectly. I’m quite pleased if I do say so myself.

IMG_8155.jpeg

IMG_8156.jpeg

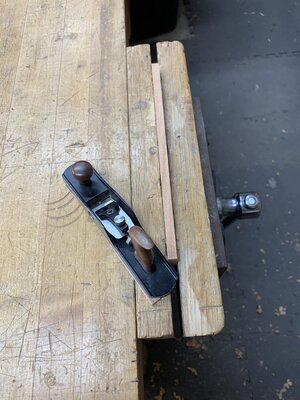
I’m also glad I invested in this little smoothing plane from Veritas. With it I’m able get a dead flat and square edge on all the straight pieces…
IMG_8152.jpeg

IMG_8154.jpeg

Next I’ll work on the rising wood. I plan on fitting the floor frames one at a time prior to attaching the rising wood to the keel. I’m not 100% sure it’s necessary but I’m trying to minimize any compounding errors before completing the frames and installing them… Others with more experience feel free to offer any advice or criticisms. Thanks!
 
I’m continuing to work on the keel assembly and dry fitting the frame floors to make sure they all fit correctly.

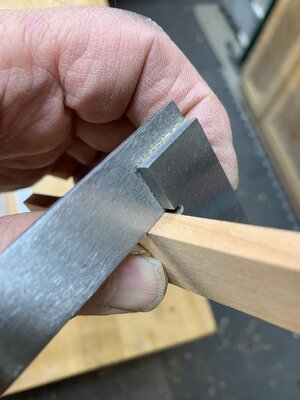
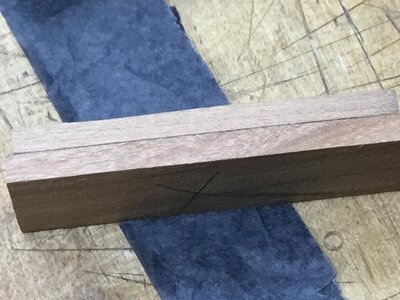
While doing that I have also been following @Tobias and @Nersch discussion about the caulking between the keel members and the planking. Per GD the correct caulking for the period was pine resin impregnated hemp which is a reddish brown color. I haven’t been able to locate any reddish brown tissue paper so I did complete a sample with dark grey tissue paper. (The photo makes it look blue…)
IMG_9199.jpeg

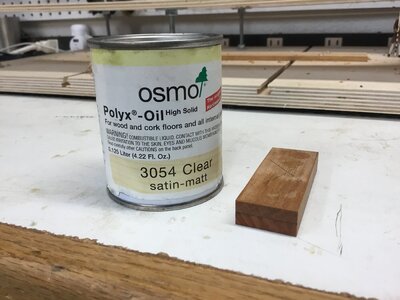
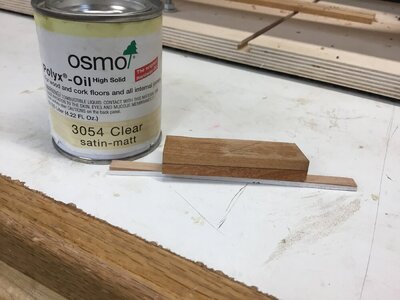
I then finished my sample with Osmo Satin Oil.
IMG_9203.jpeg
IMG_9204.jpeg
It’s hard to tell but the end result seems to have a reddish tint to it.
At any rate, this is what I plan to use. My question though is whether you think the caulking is thick enough? I used a single layer of tissue which is about 0.35mm. Thanks again for all your help.
 
Hello OliverF,

My tissue paper has a thickness of 0.04 mm. Does your paper really have a thickness of 0.35 mm?

In the USA you can get a different color from Amazon: https://www.amazon.com/Burgundy-Tissue-Paper-Wrapping-Decoration/dp/B07PQ323XC

The color I use is called Mulberry, but it's from our local Amazon site: https://www.amazon.de/dp/B07Y3TQ8DB?psc=1&ref=ppx_yo2ov_dt_b_product_details

I'm happy with that thickness for my 1:24 Le Rochefort, but to be honest, I really have no idea if that's right or not. I just want to make the chalking a little visible without overdoing it. Maybe @Tobias has a better knowledge about this question.
 
I’m continuing to work on the keel assembly and dry fitting the frame floors to make sure they all fit correctly.

While doing that I have also been following @Tobias and @Nersch discussion about the caulking between the keel members and the planking. Per GD the correct caulking for the period was pine resin impregnated hemp which is a reddish brown color. I haven’t been able to locate any reddish brown tissue paper so I did complete a sample with dark grey tissue paper. (The photo makes it look blue…)
View attachment 376915

I then finished my sample with Osmo Satin Oil.
View attachment 376916
View attachment 376917
It’s hard to tell but the end result seems to have a reddish tint to it.
At any rate, this is what I plan to use. My question though is whether you think the caulking is thick enough? I used a single layer of tissue which is about 0.35mm. Thanks again for all your help.

Hello Oliver,
I wouldn't worry about the color. I posted my two variants in the French forum, and GD likes the brown one better. As I said, the color varies and in the end it's a matter of taste in my eyes.
 
So Frustrated!!
Is anyone else building with cherry? I keep having the small pieces break off from the piece I’m working on.
I ended scarfing the broken off pieces back on with glue as I don’t want to have to rebuild the deadwood or keel again…
IMG_9222.jpegIMG_8159.jpegIMG_8157.jpegIMG_8158.jpeg

I’m going to go have a beer and sulk…
 
Hello Oliver,
unfortunately I have no experience with cherry wood. I can well imagine that it is very annoying when it comes to splinters. Above all, you don't want to build a new building because the danger is very high that it will happen again. As long as you can fix these things, it's totally fine. I think you are on the right track and it looks very clean so keep it up.
 
Hello Olivier,
I know how it feels. I already have a nice collection of parts that I made a second time because they broke on me, mostly because I made a mistake in milling. I also glued a broken part back on, because it was too much work for me to make it completely new. The glue joint is almost no longer visible, which will be the same for you. It's your model and in time you will remember all the setbacks with pleasure, because you learned from them and because you didn't give up.
So please keep going. Everything looks very good and the model will end up being a gem.
I have no experience with cherry wood. I use Castello and have experimented a bit with pear.
 
Hello Oliver,

I feel your pain. It is frustrating to put a lot of effort into making a piece only to have it break or splinter. I am sure you will be able to make the repairs. Moving forward, I will be very interested in see how the cherry continues to works for you. I just ordered a lot of cherry for an upcoming build.

Also, your build is coming along great and looks beautiful.

Bill
Thanks Bill.
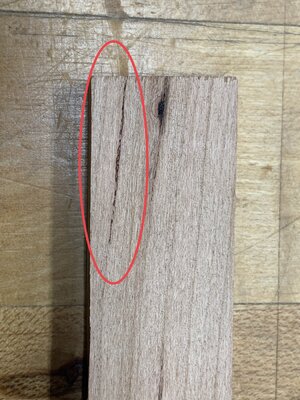
for the most part cherry is easy to work with. That said, I’m discovering that I need to be very selective in laying out templates for best grain orientation and to be wary of small defects in the grain. These defects are weak areas and appear to be where things break off if they’re in the “wrong” place.
IMG_8161.jpegIMG_8160.jpeg
I originally planned to use pear but @Dave Stevens (Lumberyard) was having issues with supply so I opted for cherry. I really can’t complain because Lumberyard is sponsoring my wood expense. Thanks Dave!
 
Hello Oliver,

When I was getting ready to order the wood for my build, I talked with the supplies on the phone. I told them I was using the wood to build a model ship. They told me to ask for a good straight grain for building ship model. I'll be curious to see what it looks like. They said they would get the planks from quarter sawn lumber.

Bill
 
Back
Top