-

Win a Free Custom Engraved Brass Coin!!!
As a way to introduce our brass coins to the community, we will raffle off a free coin during the month of August. Follow link ABOVE for instructions for entering.
-

PRE-ORDER SHIPS IN SCALE TODAY!
The beloved Ships in Scale Magazine is back and charting a new course for 2026!
Discover new skills, new techniques, and new inspirations in every issue.
NOTE THAT OUR FIRST ISSUE WILL BE JAN/FEB 2026
You are using an out of date browser. It may not display this or other websites correctly.
You should upgrade or use an alternative browser.
You should upgrade or use an alternative browser.
A friend just gave me the centennial model of the Constitution he picked up at the museum. Although it says it’s a museum quality kit (it was, after all, sold in a museum), it has a solid wood hull and is not as detailed as my Billing Boats Connie. He bought it in 1984, so I don’t think he’ll get around to building it himself. I think I’ll build it and give it back to him.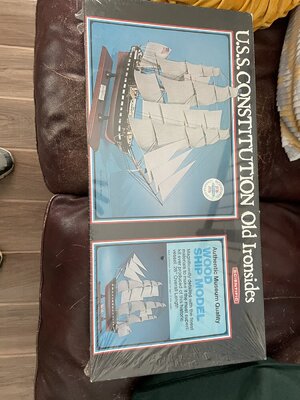

RIPE for the BASHING!A friend just gave me the centennial model of the Constitution he picked up at the museum. Although it says it’s a museum quality kit (it was, after all, sold in a museum), it has a solid wood hull and is not as detailed as my Billing Boats Connie. He bought it in 1984, so I don’t think he’ll get around to building it himself. I think I’ll build it and give it back to him.View attachment 308114
Probably, but I don’t think I’ll dig into it to provide multiple decks with fully rigged gun carriages like you did! Maybe if I can get the Admiral to buy me a milling machine for my birthday…. She’d probably make me use a hand drill after seeing your work on the mast collars.RIPE for the BASHING!
EXELENTI used a different epoxy. It works!View attachment 305665View attachment 305666
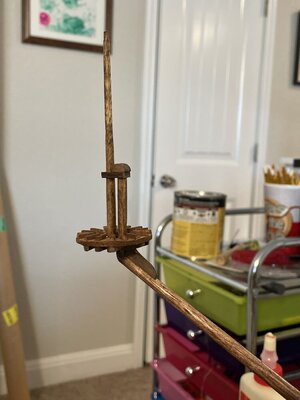
Looks nice VicFinally completed my first crow’s nest. I’m not sure if I got it right. Everything is getting more complex as I move forward. View attachment 308263
EXELENT
Thanks, guys! It’s been a challenge.Looks nice Vic
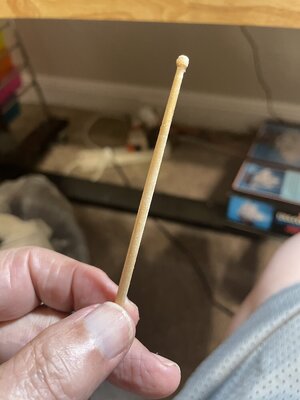
Nice flag staff, Vic. It's the small diameter spindles that are a bit of a challenge. Great work!Still learning how to use my wood lathe. View attachment 308273
I would say you have fairly mastered it.Still learning how to use my wood lathe. View attachment 308273
Very nice work.It’s on. Now let’s see if it’ll stay on.
View attachment 308265
I see what you are saying. My 2mm x 2mm sticks are too big to put that many on them. I'd have to find a way to make them thinner. Are these instructions for the Soleil Royal? Also, you posted a picture of the halyard ropes going through a knight (knecht). Did you do the same thing on the main mast? Do you have more pictures to show how that was rigged from top to bottom?I didn't really like it.The knits should be thinner and have a slope towards the middle of the site.And the number of them should be more.
View attachment 308356
View attachment 308357
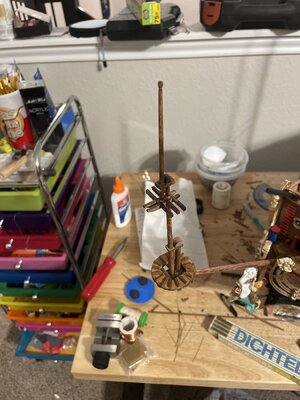
I once read a post about how to square up the top of the mast. I’m not having much luck at squaring my foremast. Does anyone remember how it goes? Maybe Kurt @DARIVS ARCHITECTVS ?
This was how I did it. This works if the width of the square section, flat to flat, are smaller than the diameter of the round section of the mast. If for any reason you need the square section width, facet to facet, to be EQUAL the diameter of the diameter of the round section, you need to turn a square dowel round using a lathe.I once read a post about how to square up the top of the mast. I’m not having much luck at squaring my foremast. Does anyone remember how it goes? Maybe Kurt @DARIVS ARCHITECTVS ?
For the square portions of the masts that form the mastheads, the round areas were filed square with the dowel laying horizontal in a small machine vice. The vice jaws were set to control the amount of material removed by setting vertical position of the dowel correctly relative to the top surface of the vice jaws. The part was rotated 90 degrees in the vice jaws and filed again and again, until the square masthead was formed and within the proper dimensions. Once the first facet is made, rotate the dowel 90 degrees and clamp it with one jaw only contacting the flat of the facet. This ensures the next facet you file is 90 degrees to the first one. Rotate the dowel again to the 180 degree position, then 270 degrees, and you have four evenly made facets. Keep a close eye on how much material you remove for making each facet. Using this method, it is important that the vertical position of the dowel be exactly the same when clamped in the vice, and that the dowel is perpendicular to the top surface of the jaws, or else the dowel's square section will end up being tapered. I file octagonal sections of yards in a similar fashion, except that the dowel is rotated in 45 degree steps. Precision with your hands and dowel placement is necessary for this to work. Test fit parts after you think you're done, because you may not be, and tweak the dimensions by filing or sanding as necessary.
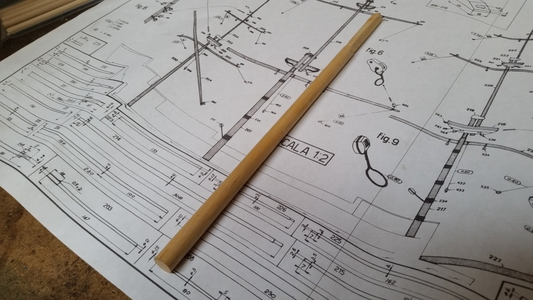
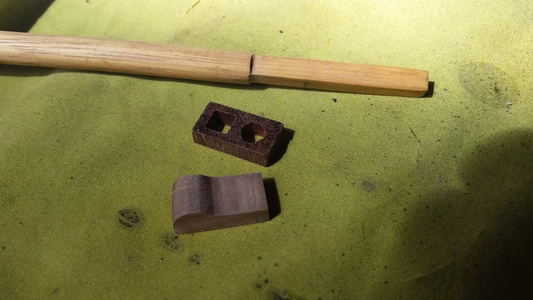
Last edited:
And here is how I did mine... https://shipsofscale.com/sosforums/threads/vasa-1-65-deagostini.5904/post-201256I once read a post about how to square up the top of the mast. I’m not having much luck at squaring my foremast. Does anyone remember how it goes? Maybe Kurt @DARIVS ARCHITECTVS ?
I started with round stock that was larger in diameter than needed...sanded down everything but the future squared portion on a mini-lathe to the required mast dimension...and then did what is shown in the post above to create the square area. In my case I needed the 'flat' on the squared portion to equal the width of the round portion (as Kurt described above).
Another option is to make a stand-along square section and pin and glue it onto the round section (that is, make the mast in segments along its length). The challenge here would be to keep everything straight... There will be a visible seam but no one will notice because they will be admiring the paint job you did on the horse figurehead
It’s a SEAhorse! Thanks, guys! I’ll try that on my main and mizzenmast. No pictures for the foremastAnd here is how I did mine... https://shipsofscale.com/sosforums/threads/vasa-1-65-deagostini.5904/post-201256
I started with round stock that was larger in diameter than needed...sanded down everything but the future squared portion on a mini-lathe to the required mast dimension...and then did what is shown in the post above to create the square area. In my case I needed the 'flat' on the squared portion to equal the width of the round portion (as Kurt described above).
Another option is to make a stand-along square section and pin and glue it onto the round section (that is, make the mast in segments along its length). The challenge here would be to keep everything straight... There will be a visible seam but no one will notice because they will be admiring the paint job you did on the horse figurehead.


