Marvel's Hydra Coupe 1/12 scale full scratch build

Was beginning to wonder if we would ever see the end result. Enjoy your vacation and look forward to your next posting.
...henry
 
At least tell us where you are enjoying your ski holiday do we can enjoy it vicariously - and especially since I'm now a former 35 year skier that can't any longer due depth perception problems (and bad knees)
 
Hi all, I'm back home and slowly restarting the Hydra project. But after over a month off, It's kinda hard to do.
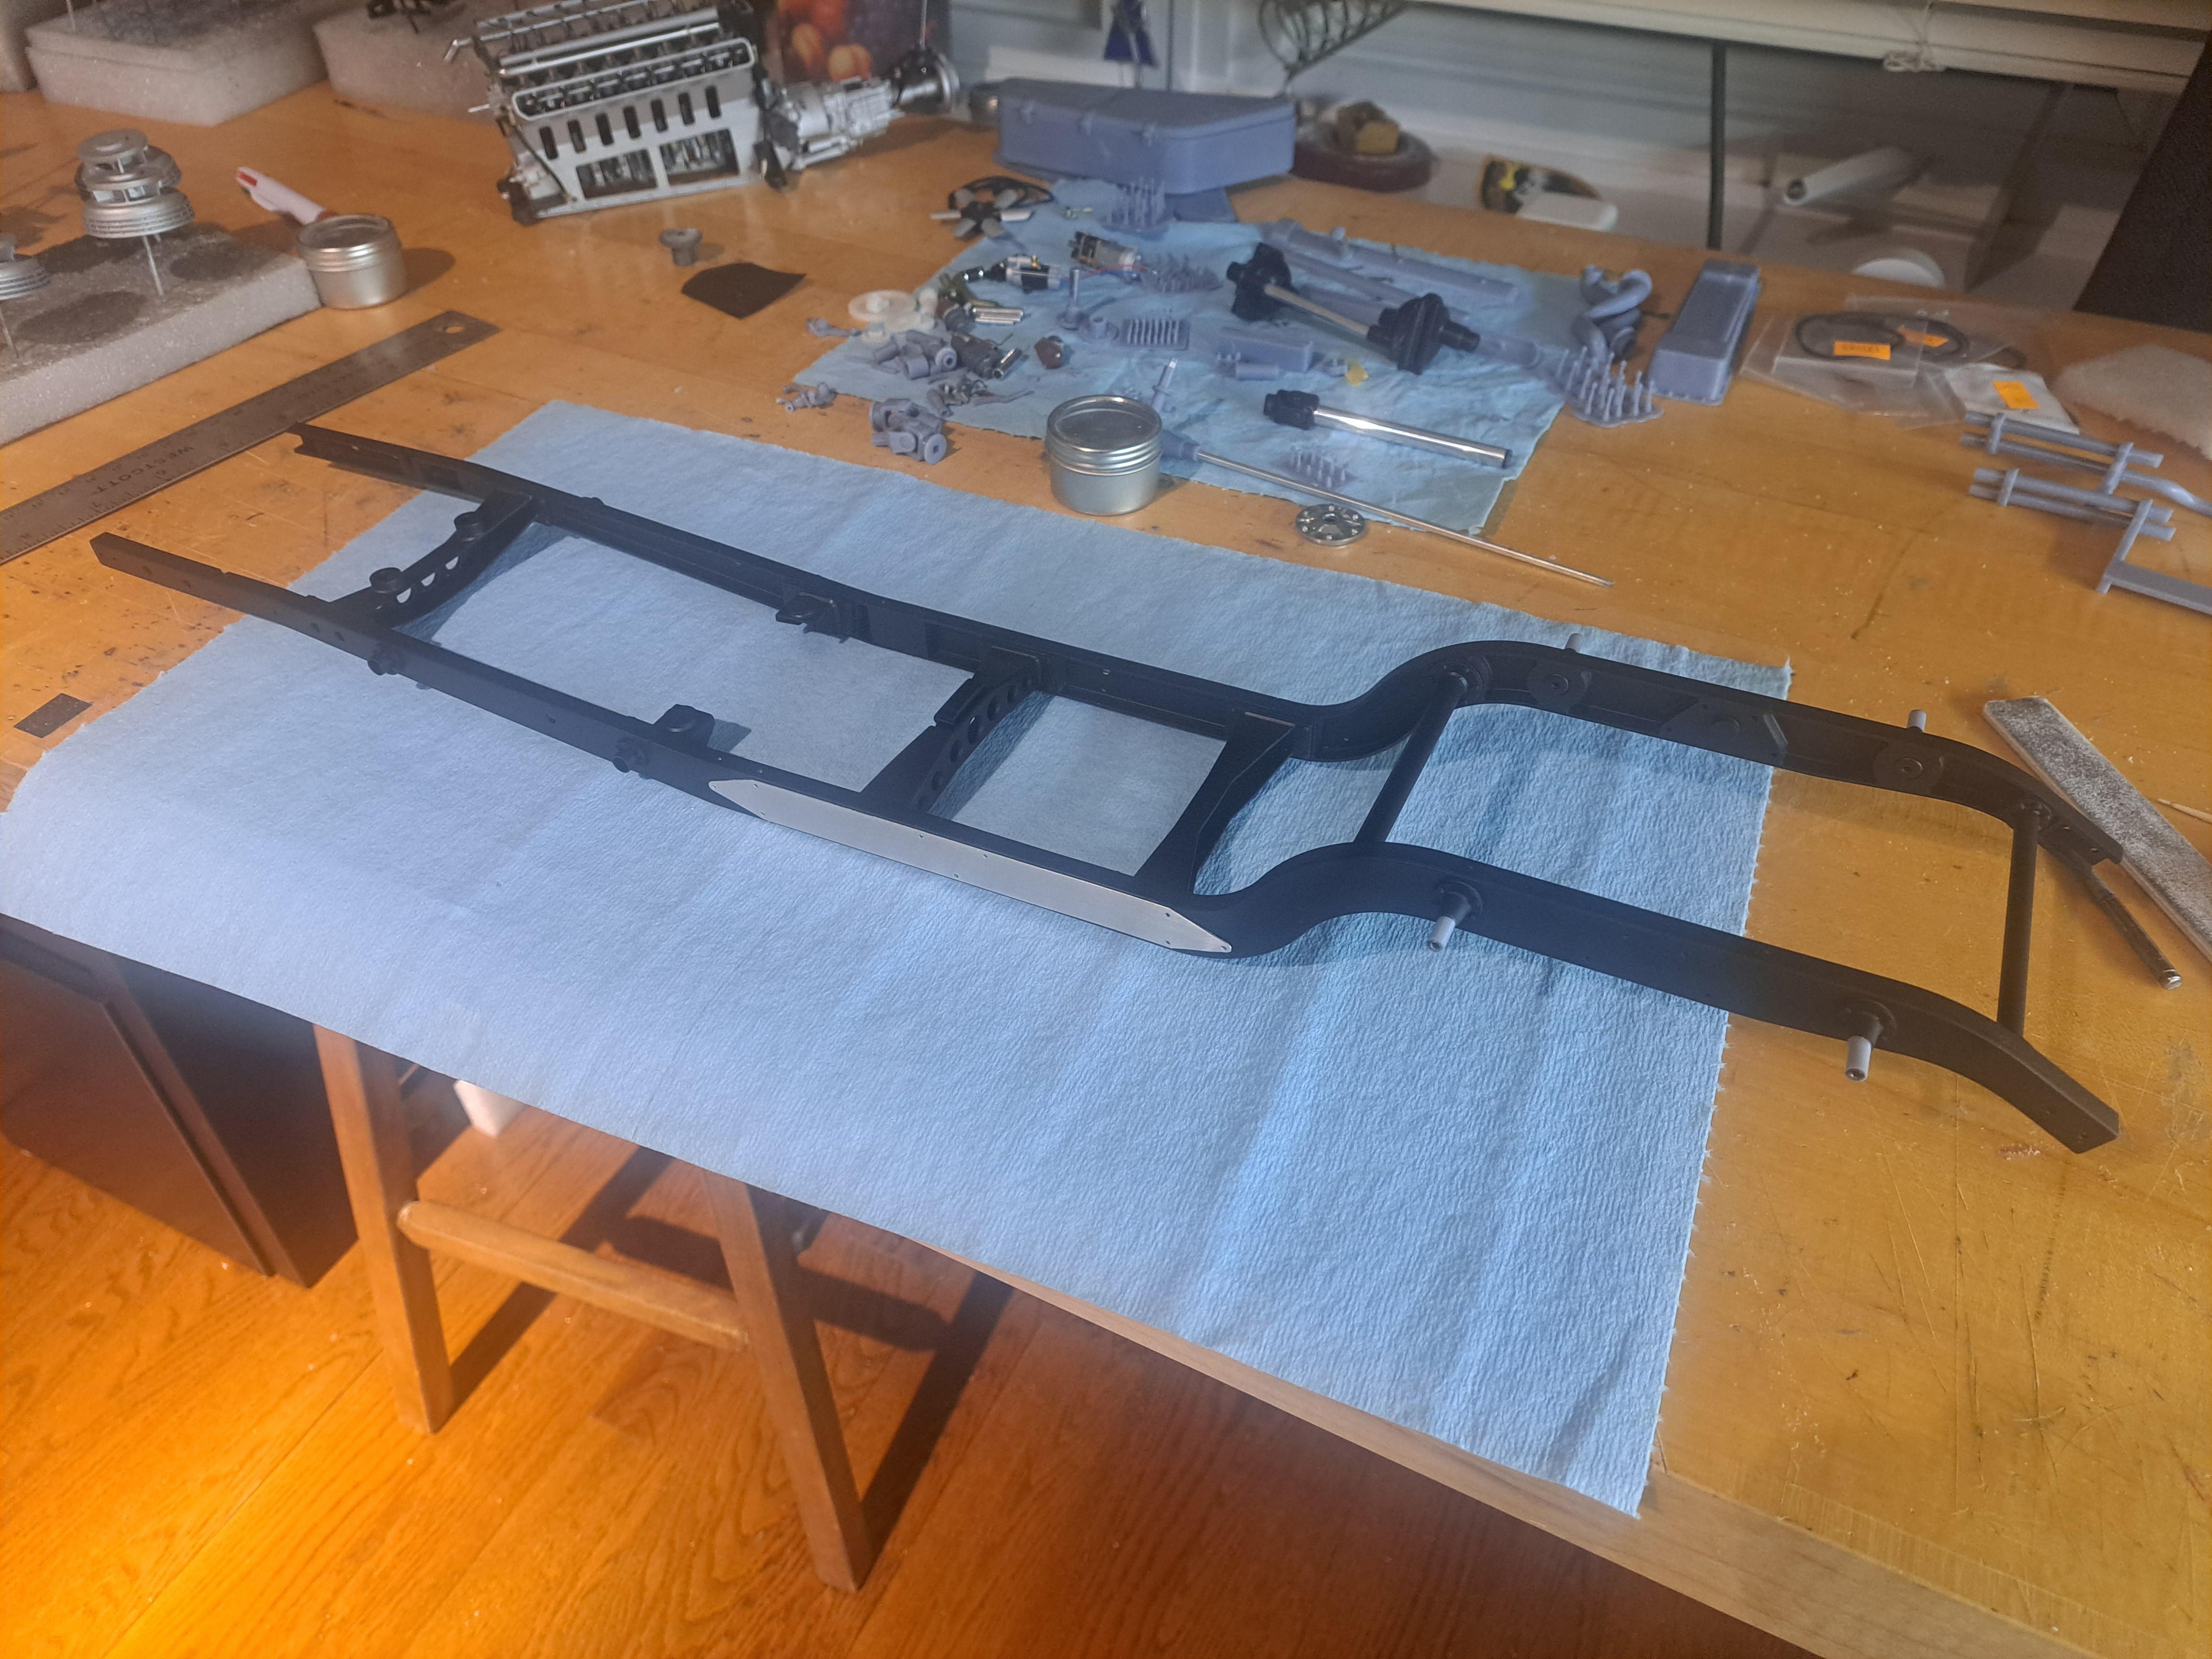
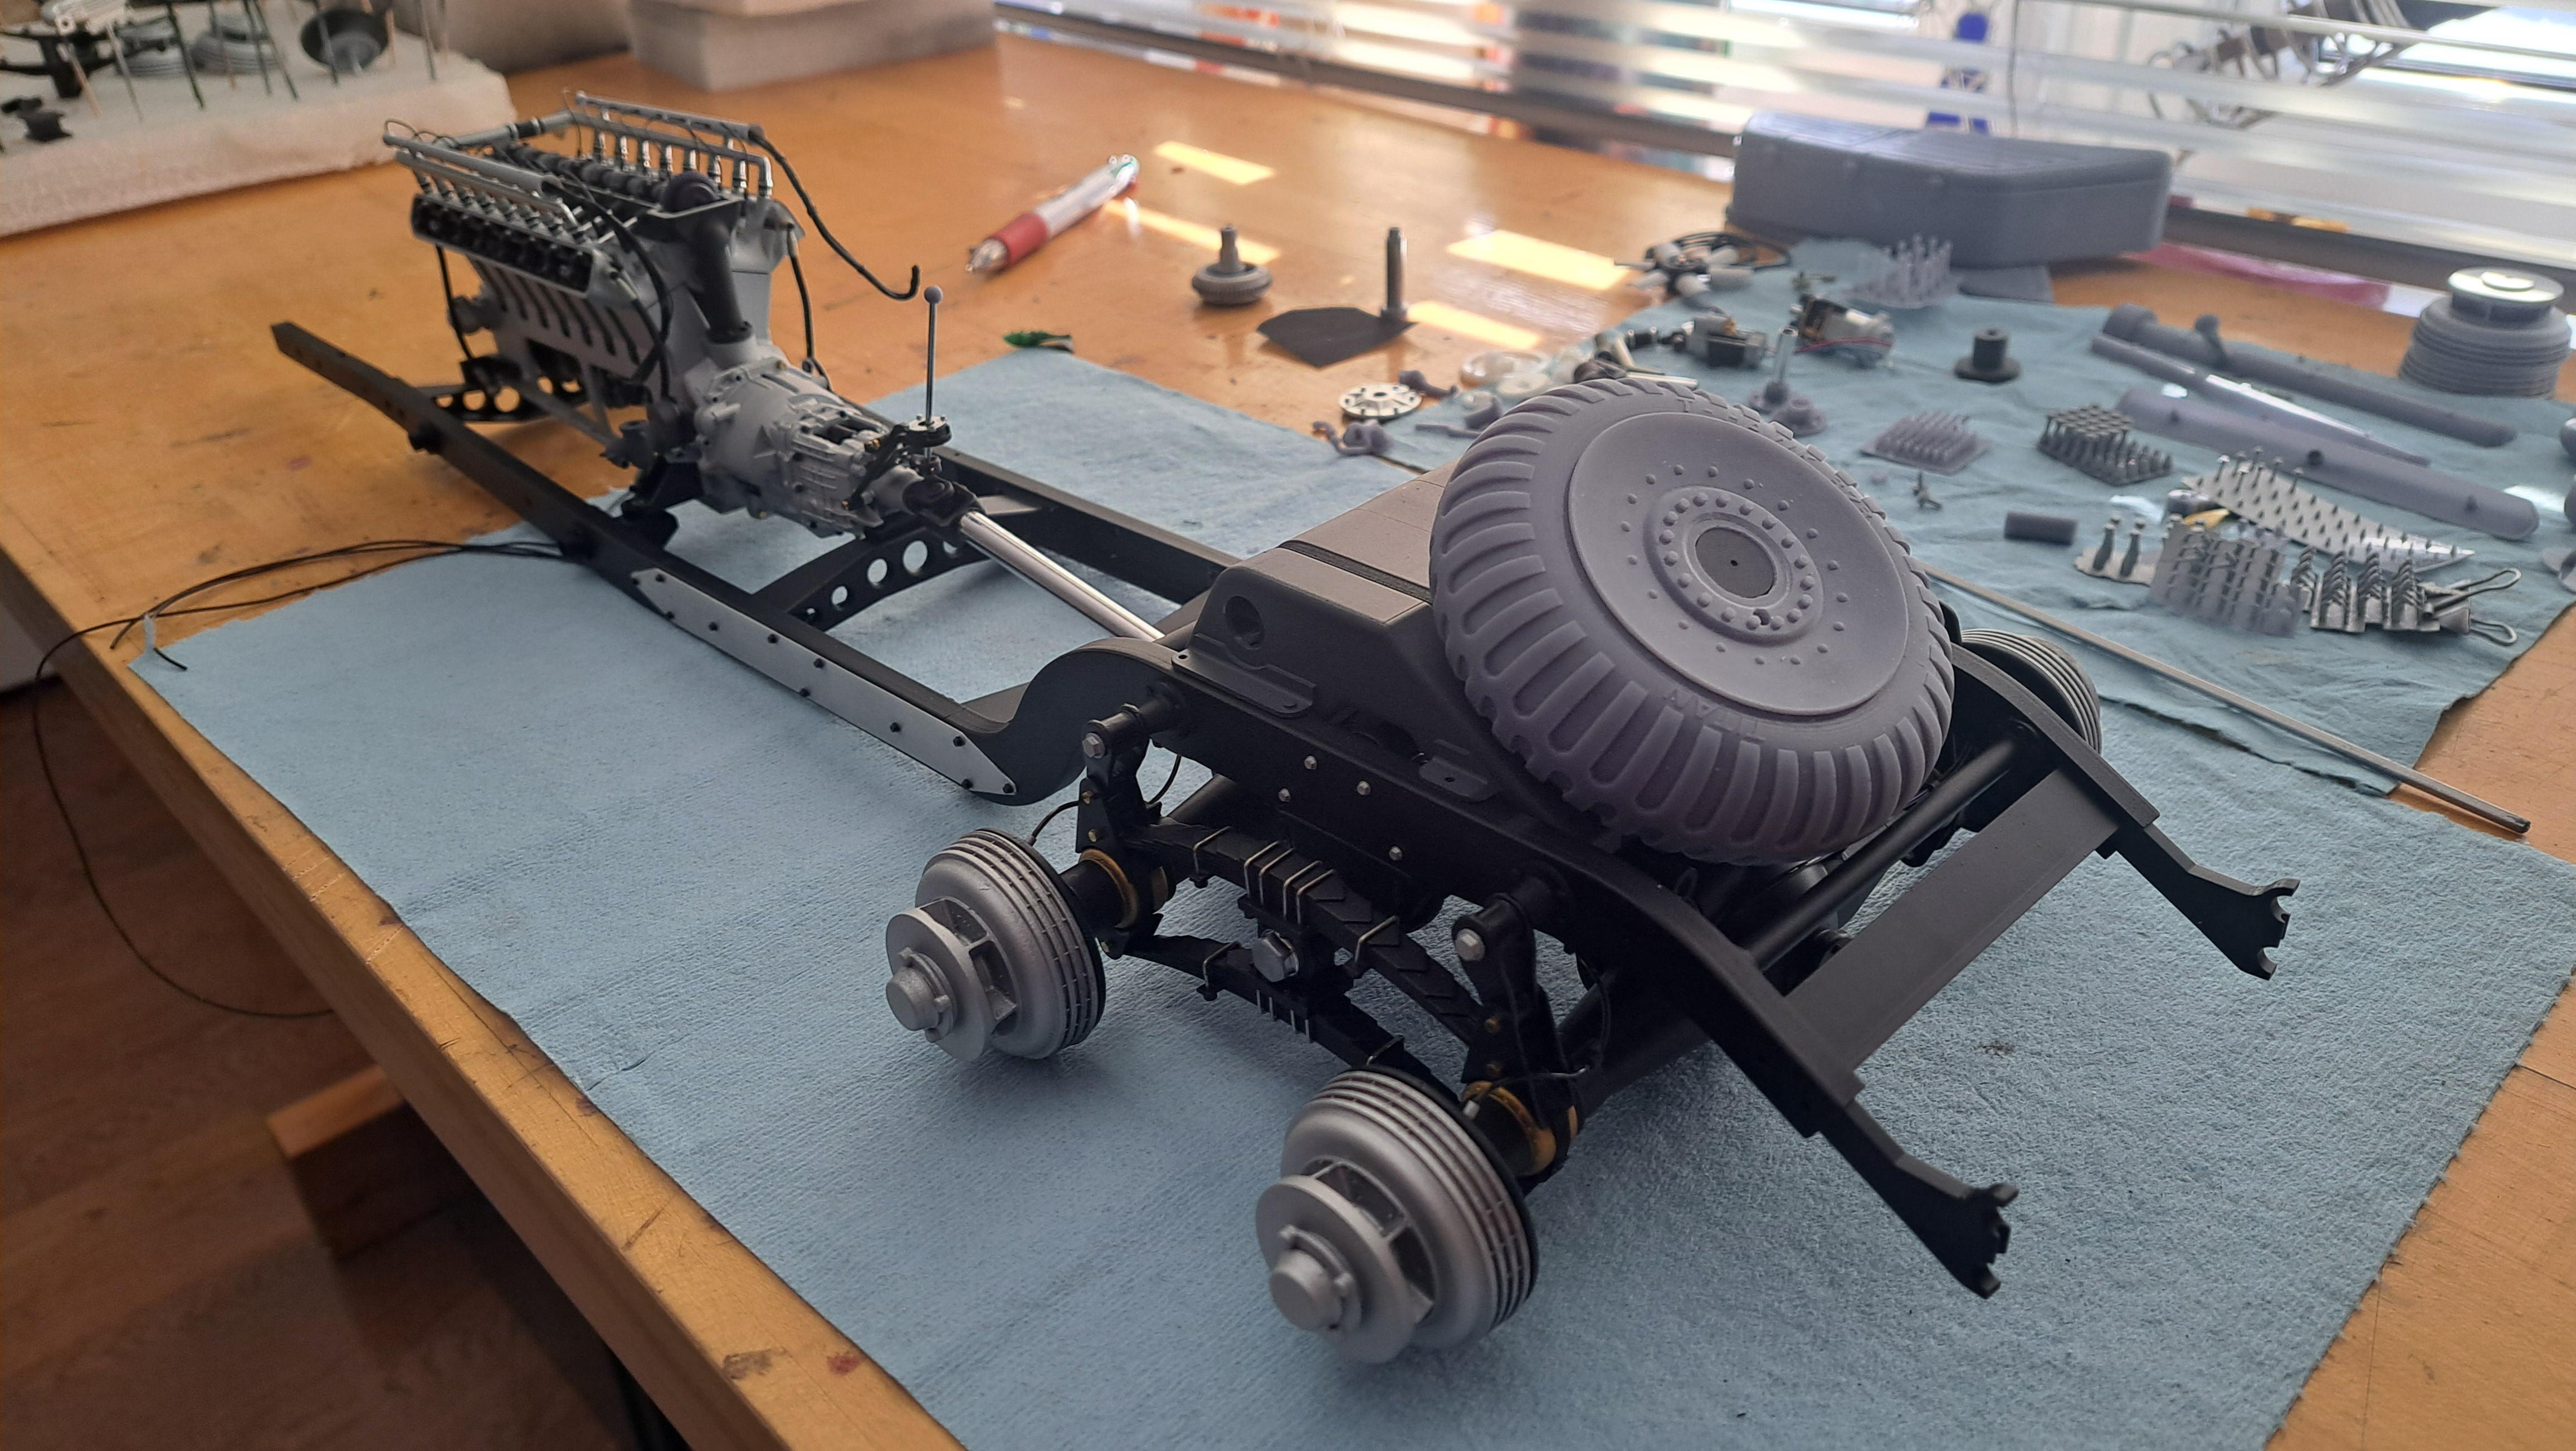
I started painting the bunch of parts I printed for the frame and drive so I should have a fully assembled frame with front and rear axes in place in a few weeks. In the mean time, here are some pictures of the painting job.

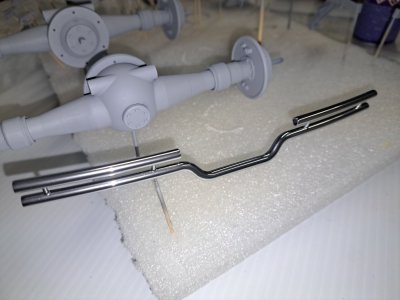
The chromed front bumper
20250306_192934.jpg

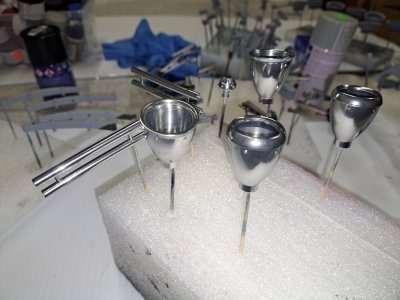
The front lights
20250306_192930.jpg

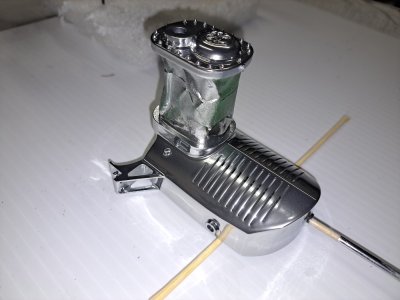
And chromed radiator
20250306_192945.jpg

A bunch of parts primed and ready for final paint
20250306_192955.jpg
 
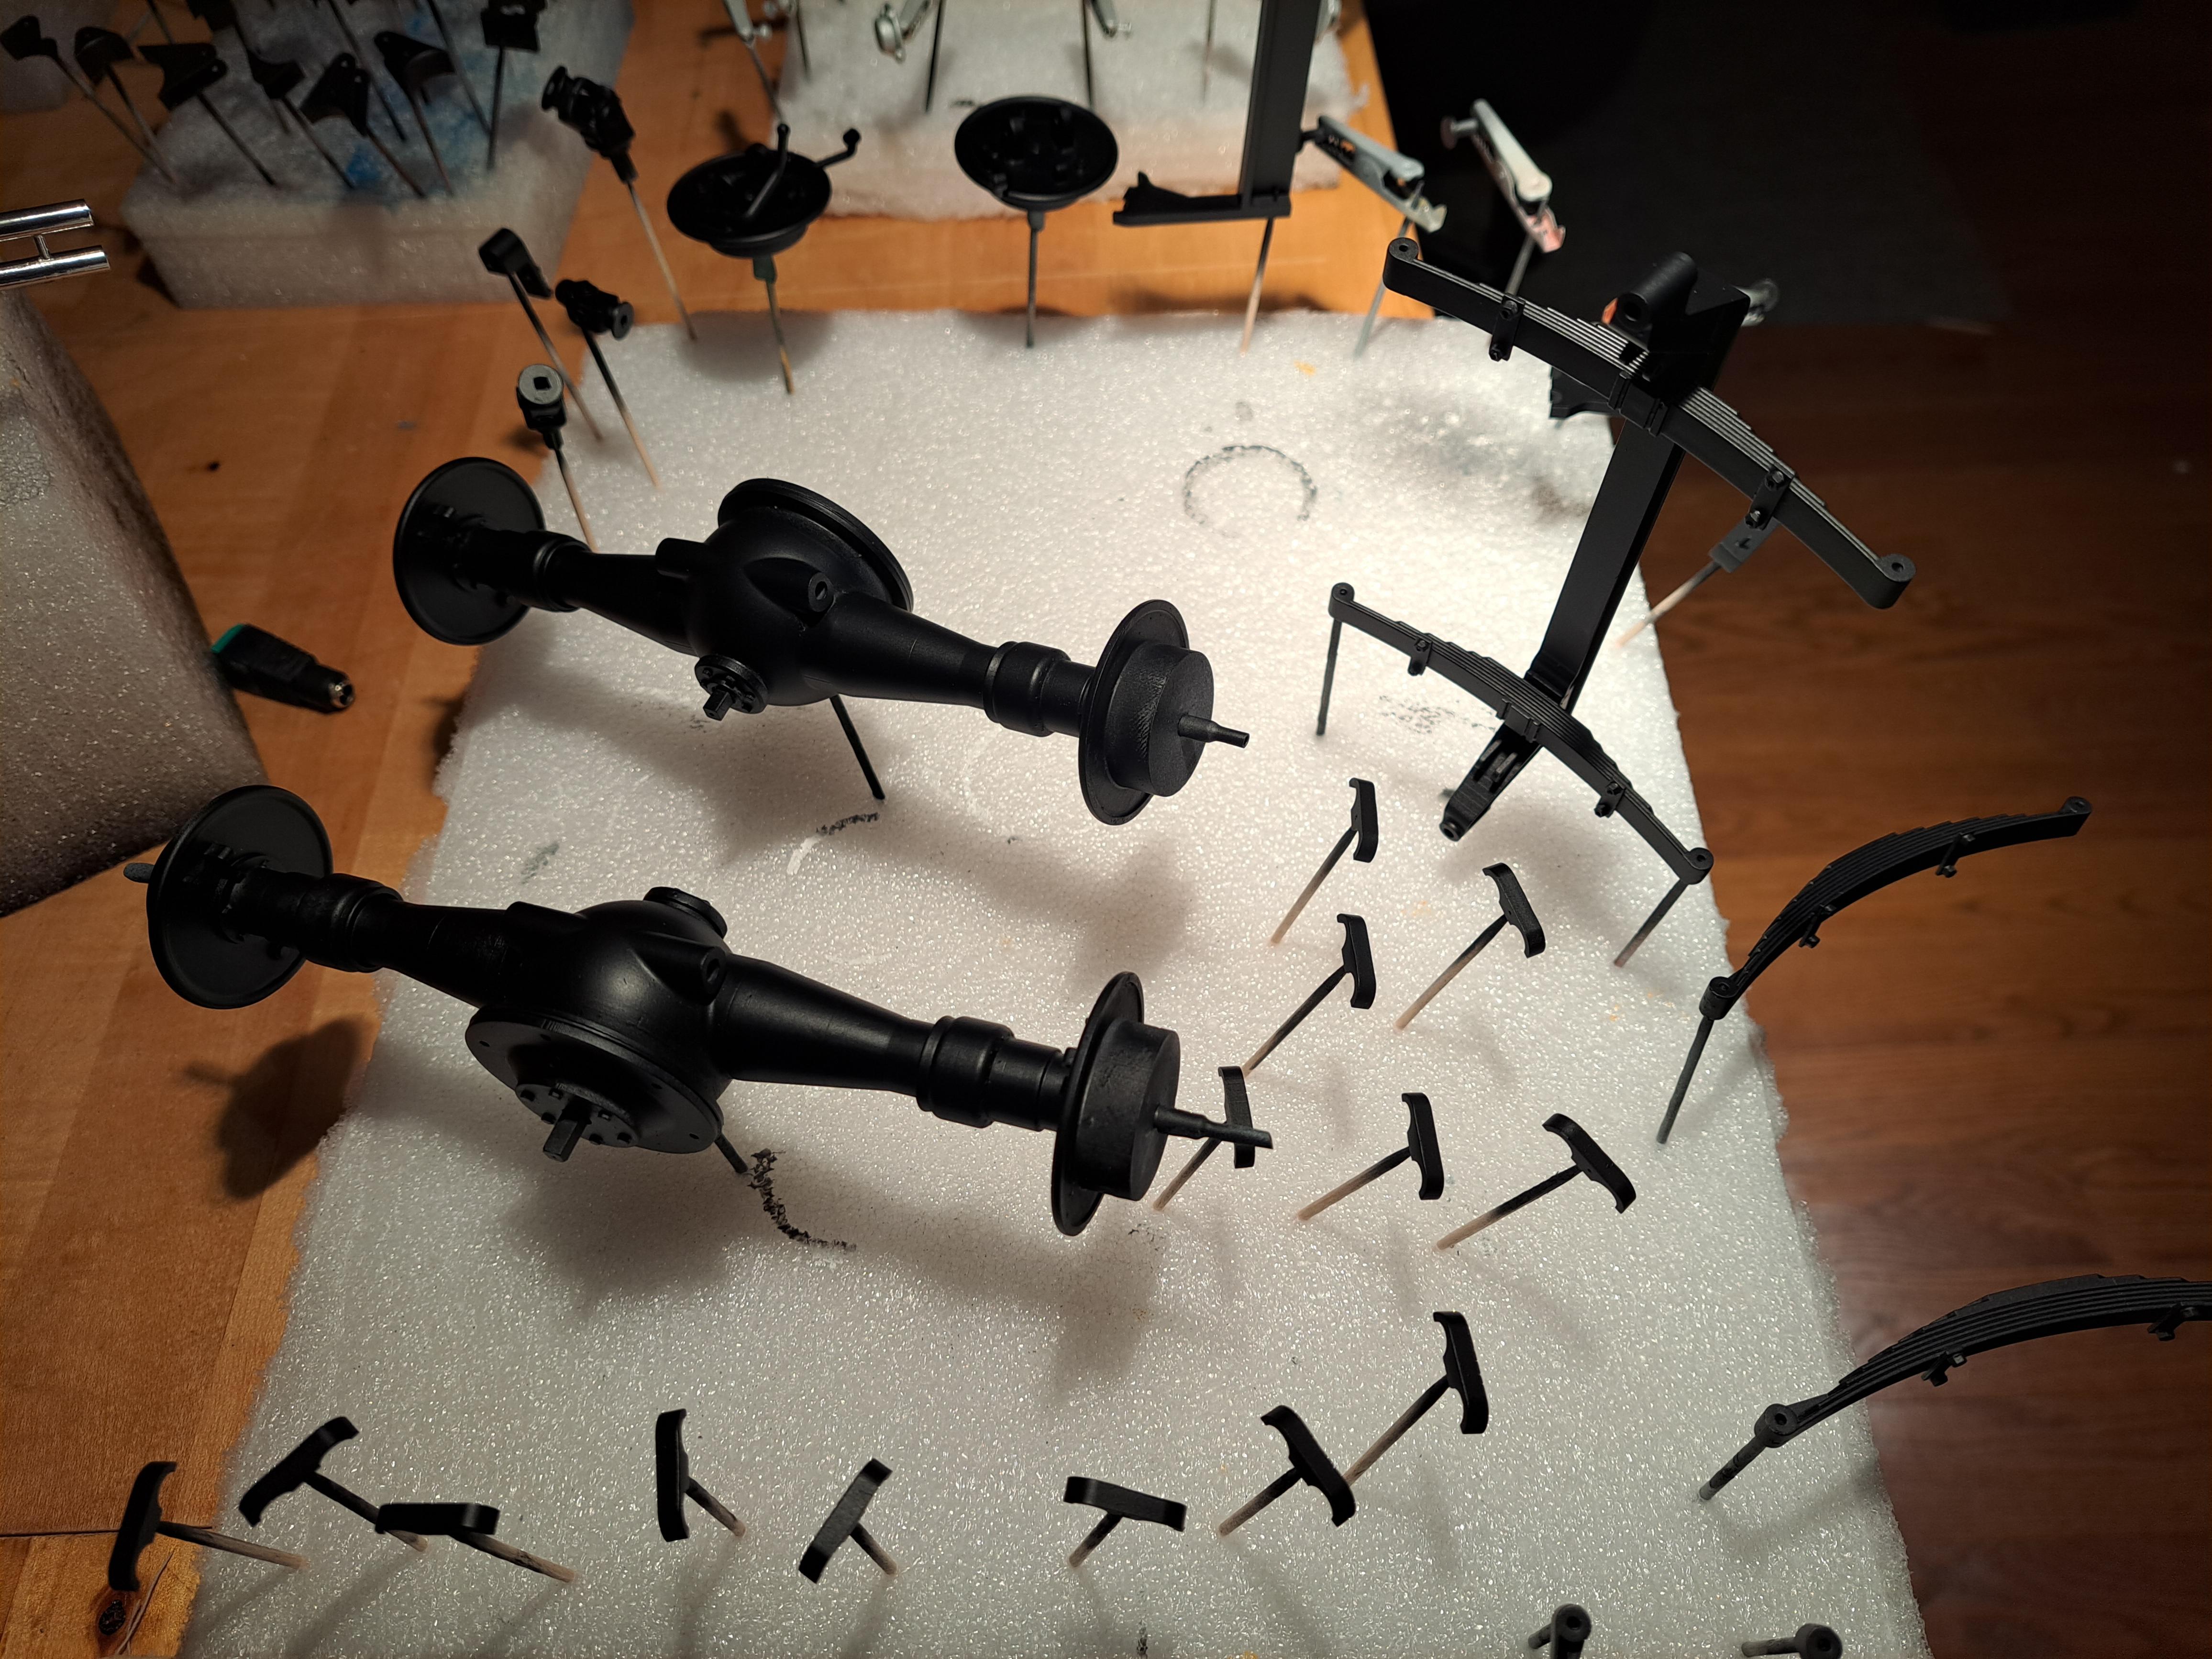
Finished painting all the frame parts using Revell's silk black (same color I used on the Bentley's body. I could find it in spray can format so I got the little plastic bottles instead. By adding a bit of revell aqua thinner (it's a water based paint) in a 3 paint to 1 thinner ratio, I got a very nice airbrushable consistency.

20250309_220025.jpg.24a86ac1371a5930472b0fc667b959be.jpg


20250309_215957.jpg.92eb4a023e28f5c262e4fe2f28c49846.jpg


20250309_215942.jpg.dda165d0bfd0d4a88f2c1e4652b360fa.jpg


I also made the aluminium stiffener plates that are installed on both sides of frame (still need to but the bolts in).

20250309_193758.jpg.7d5d8fa991bfa2d959a0850de36028e8.jpg


20250309_220038.jpg.6219b06416a3d894df8242f3f894f09d.jpg
 
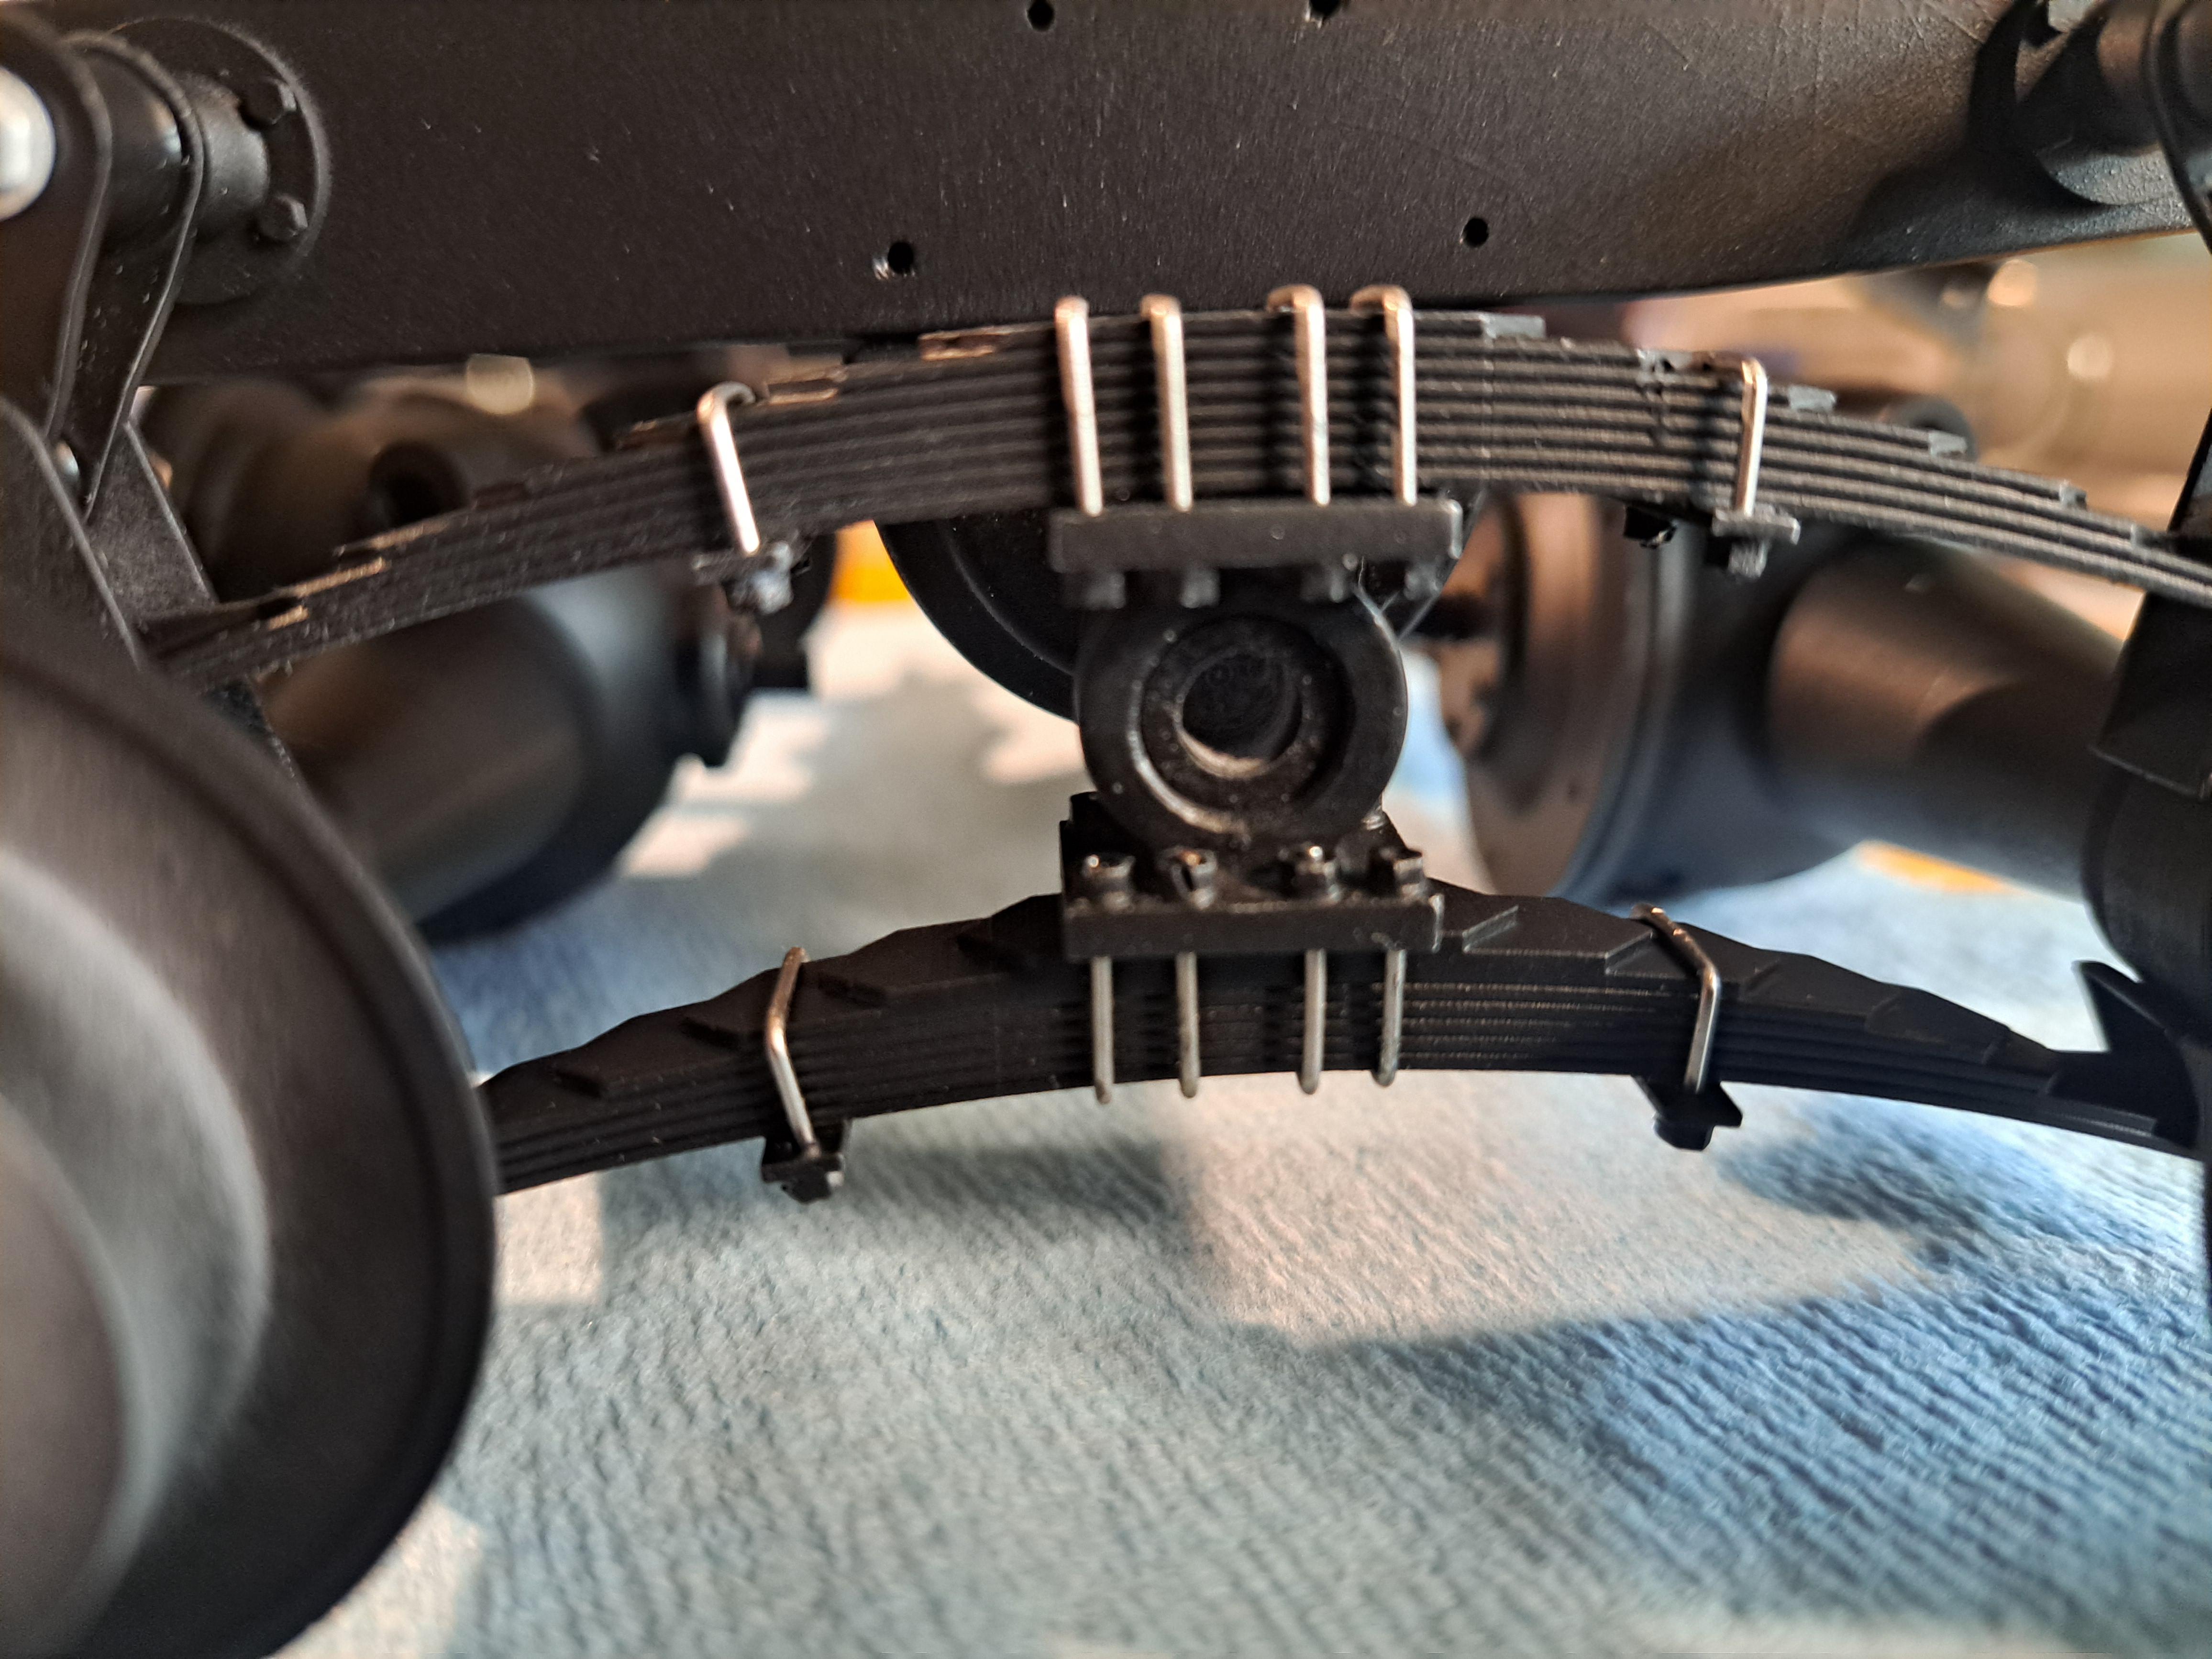
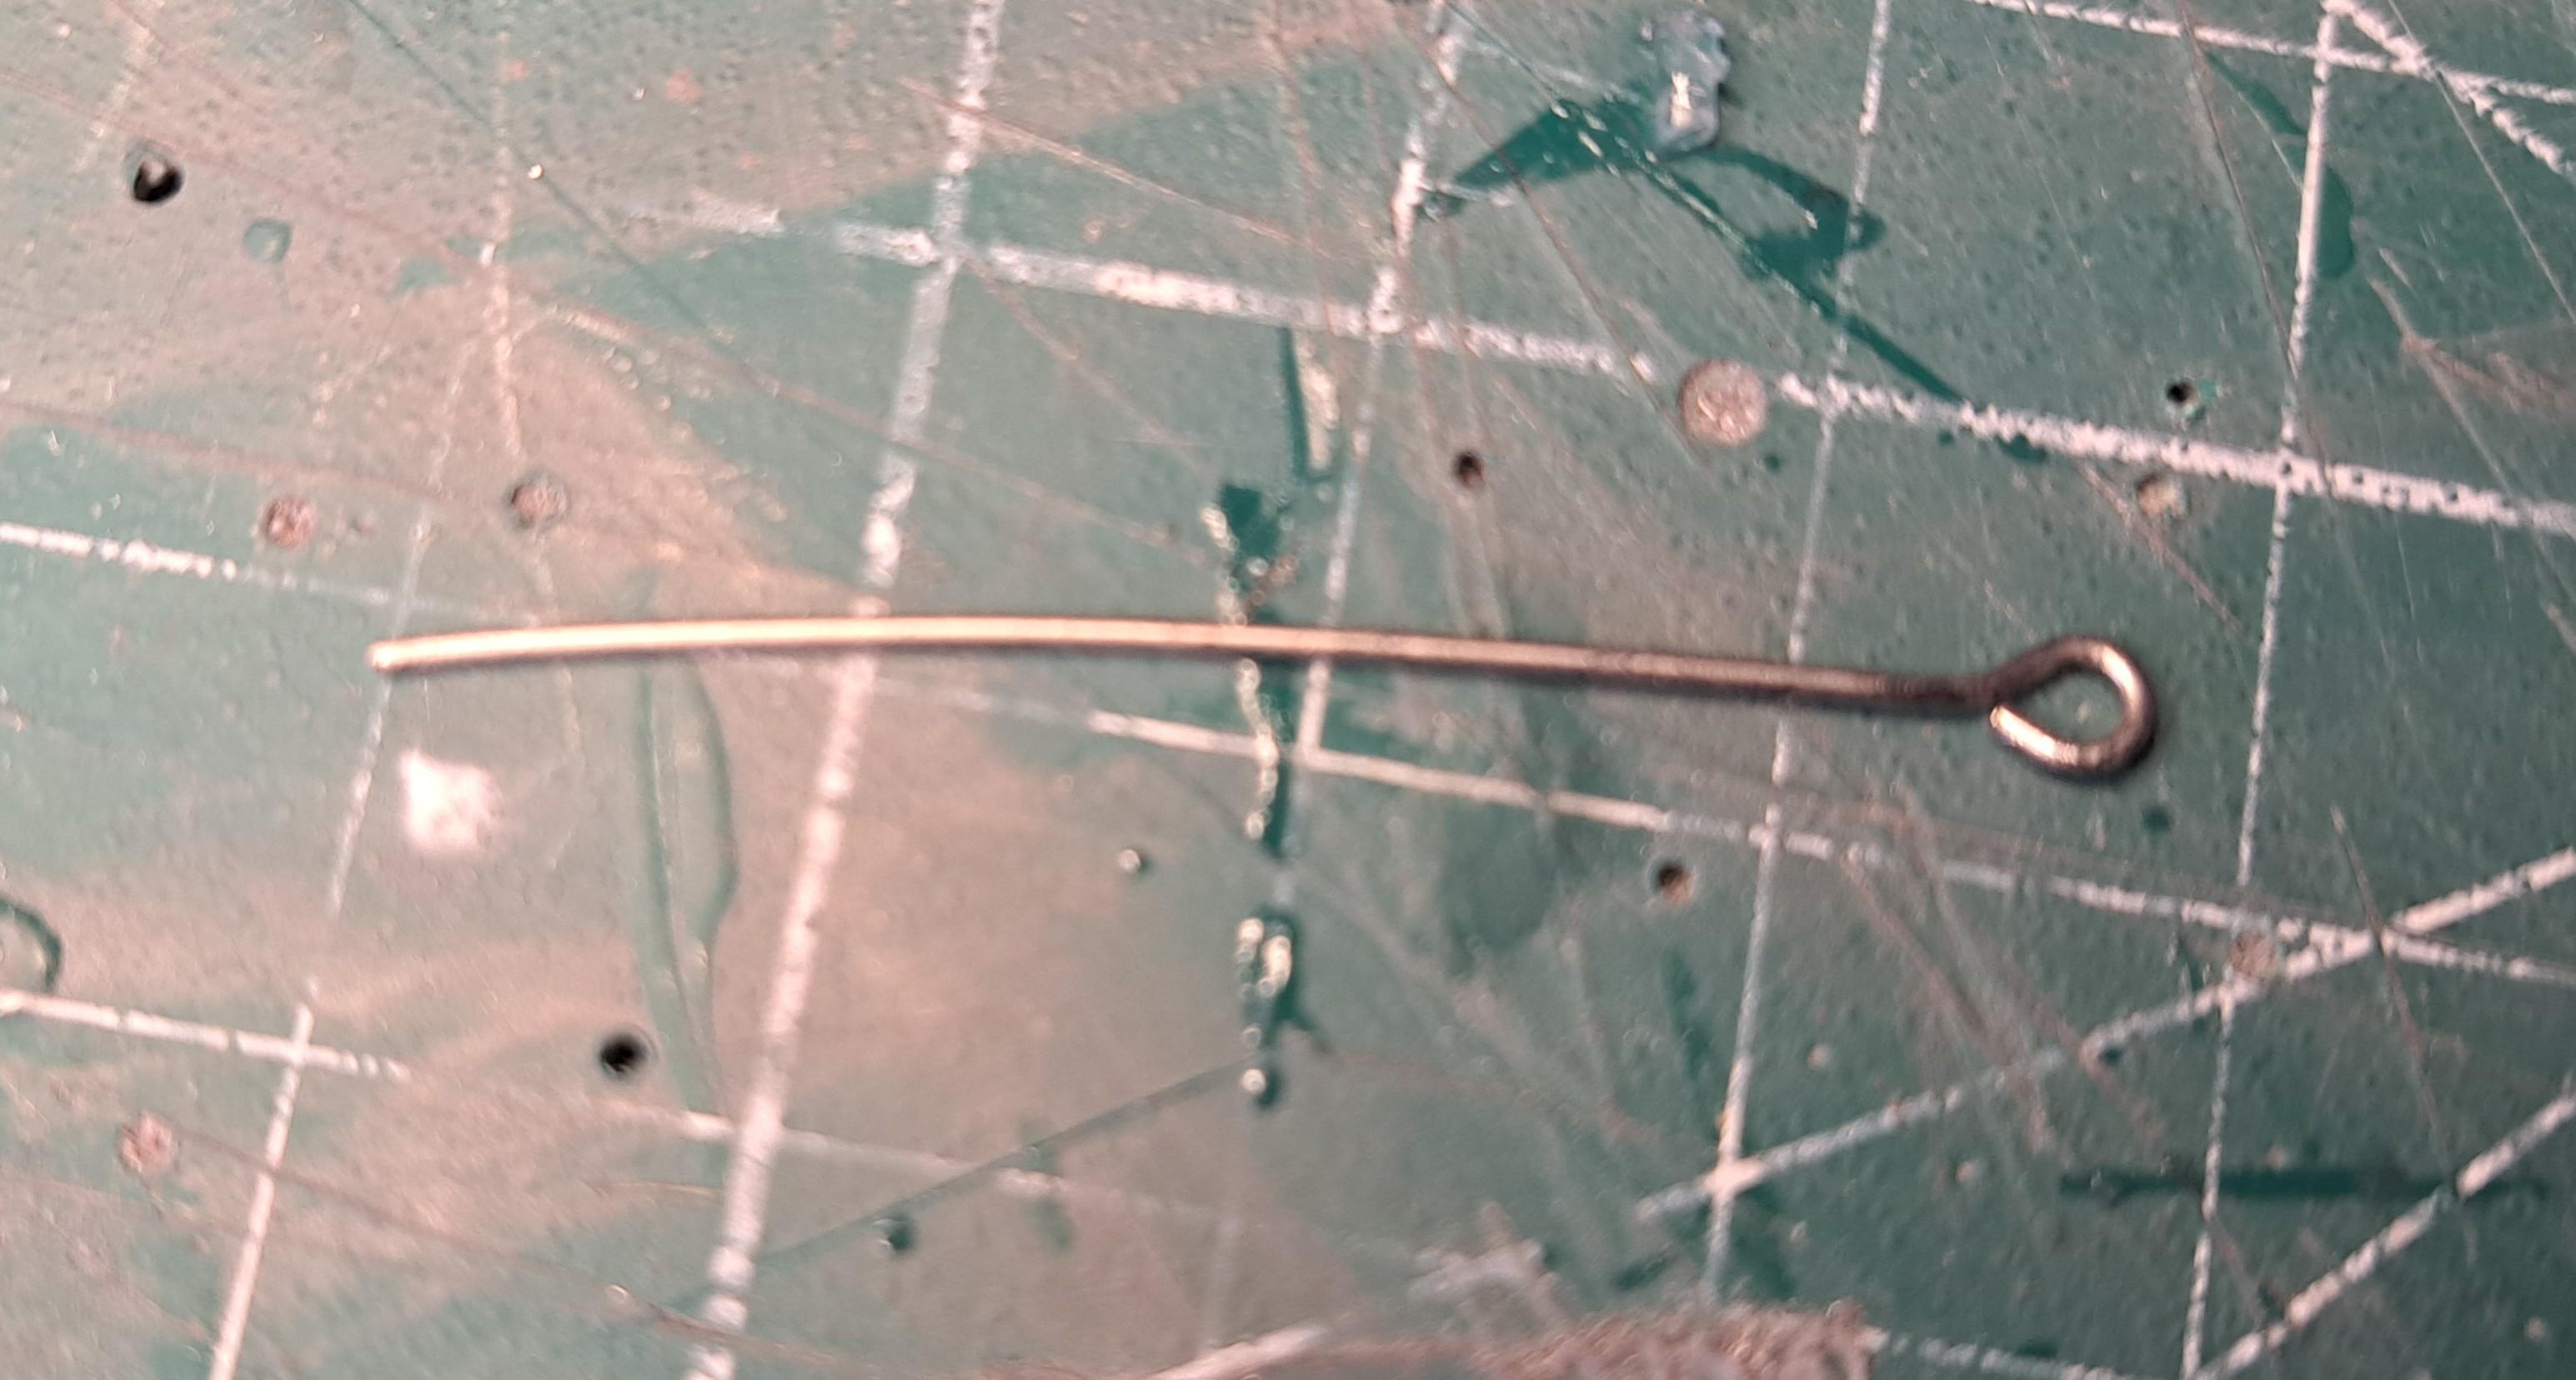
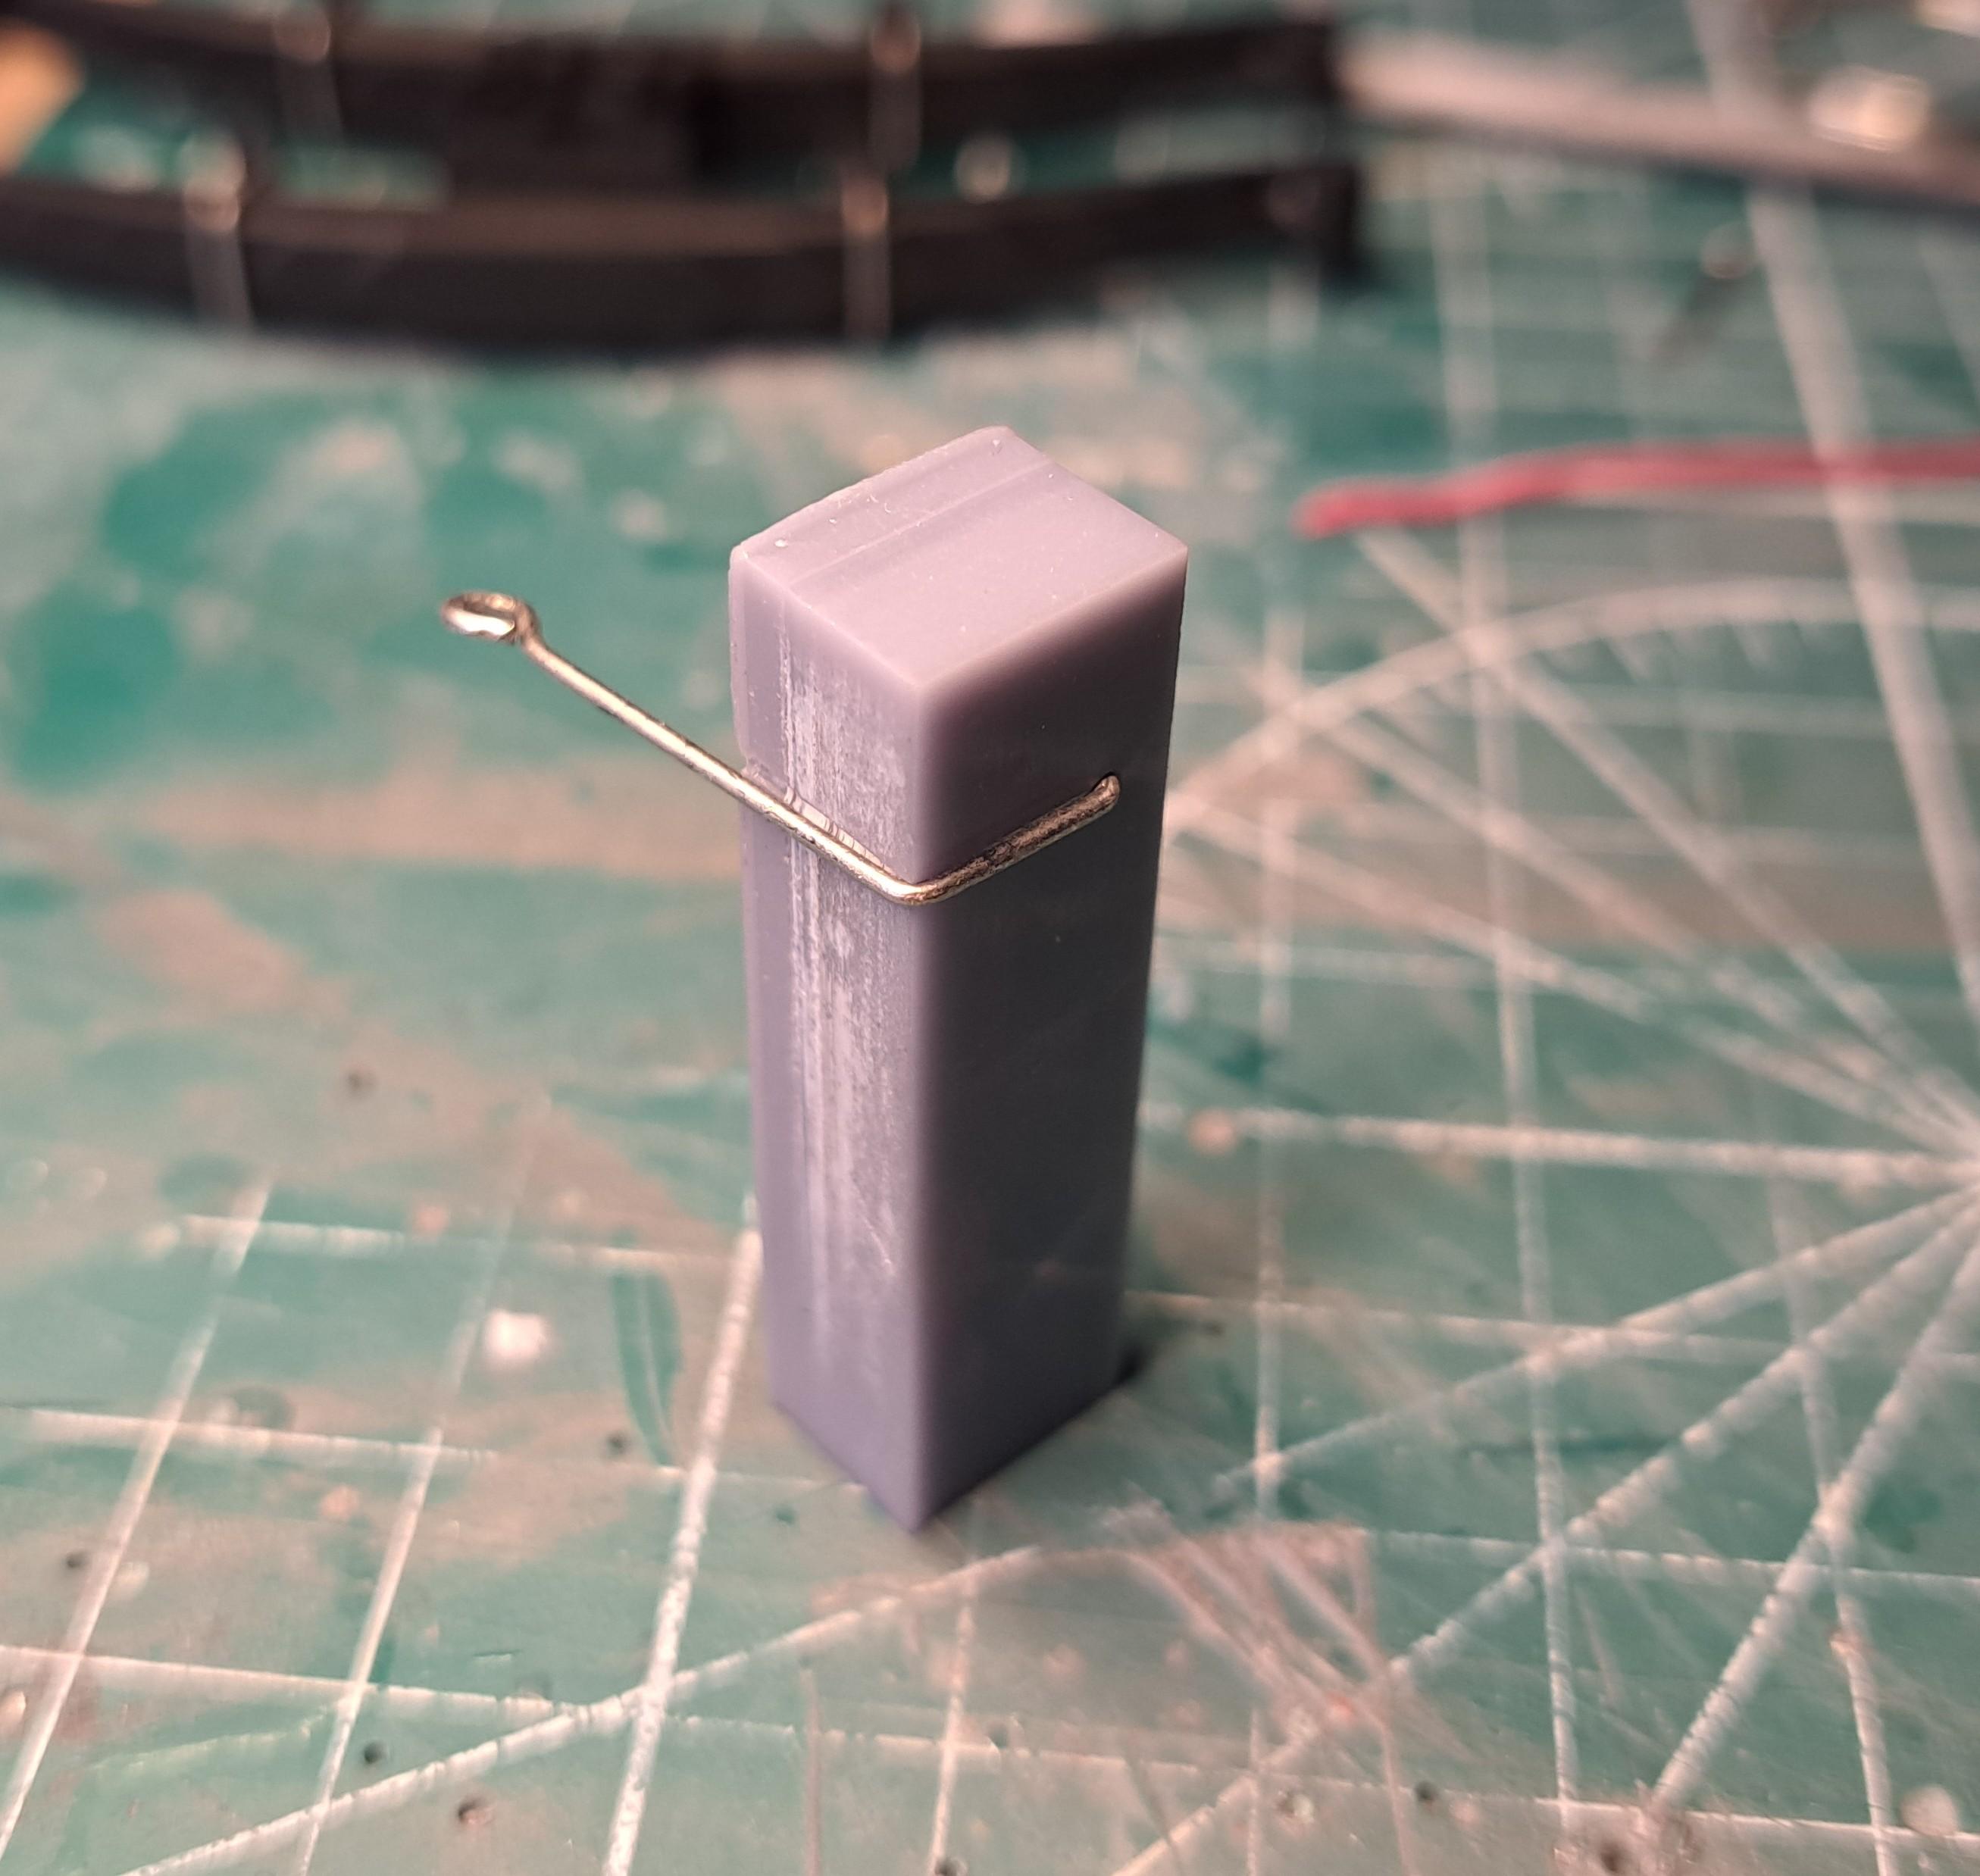
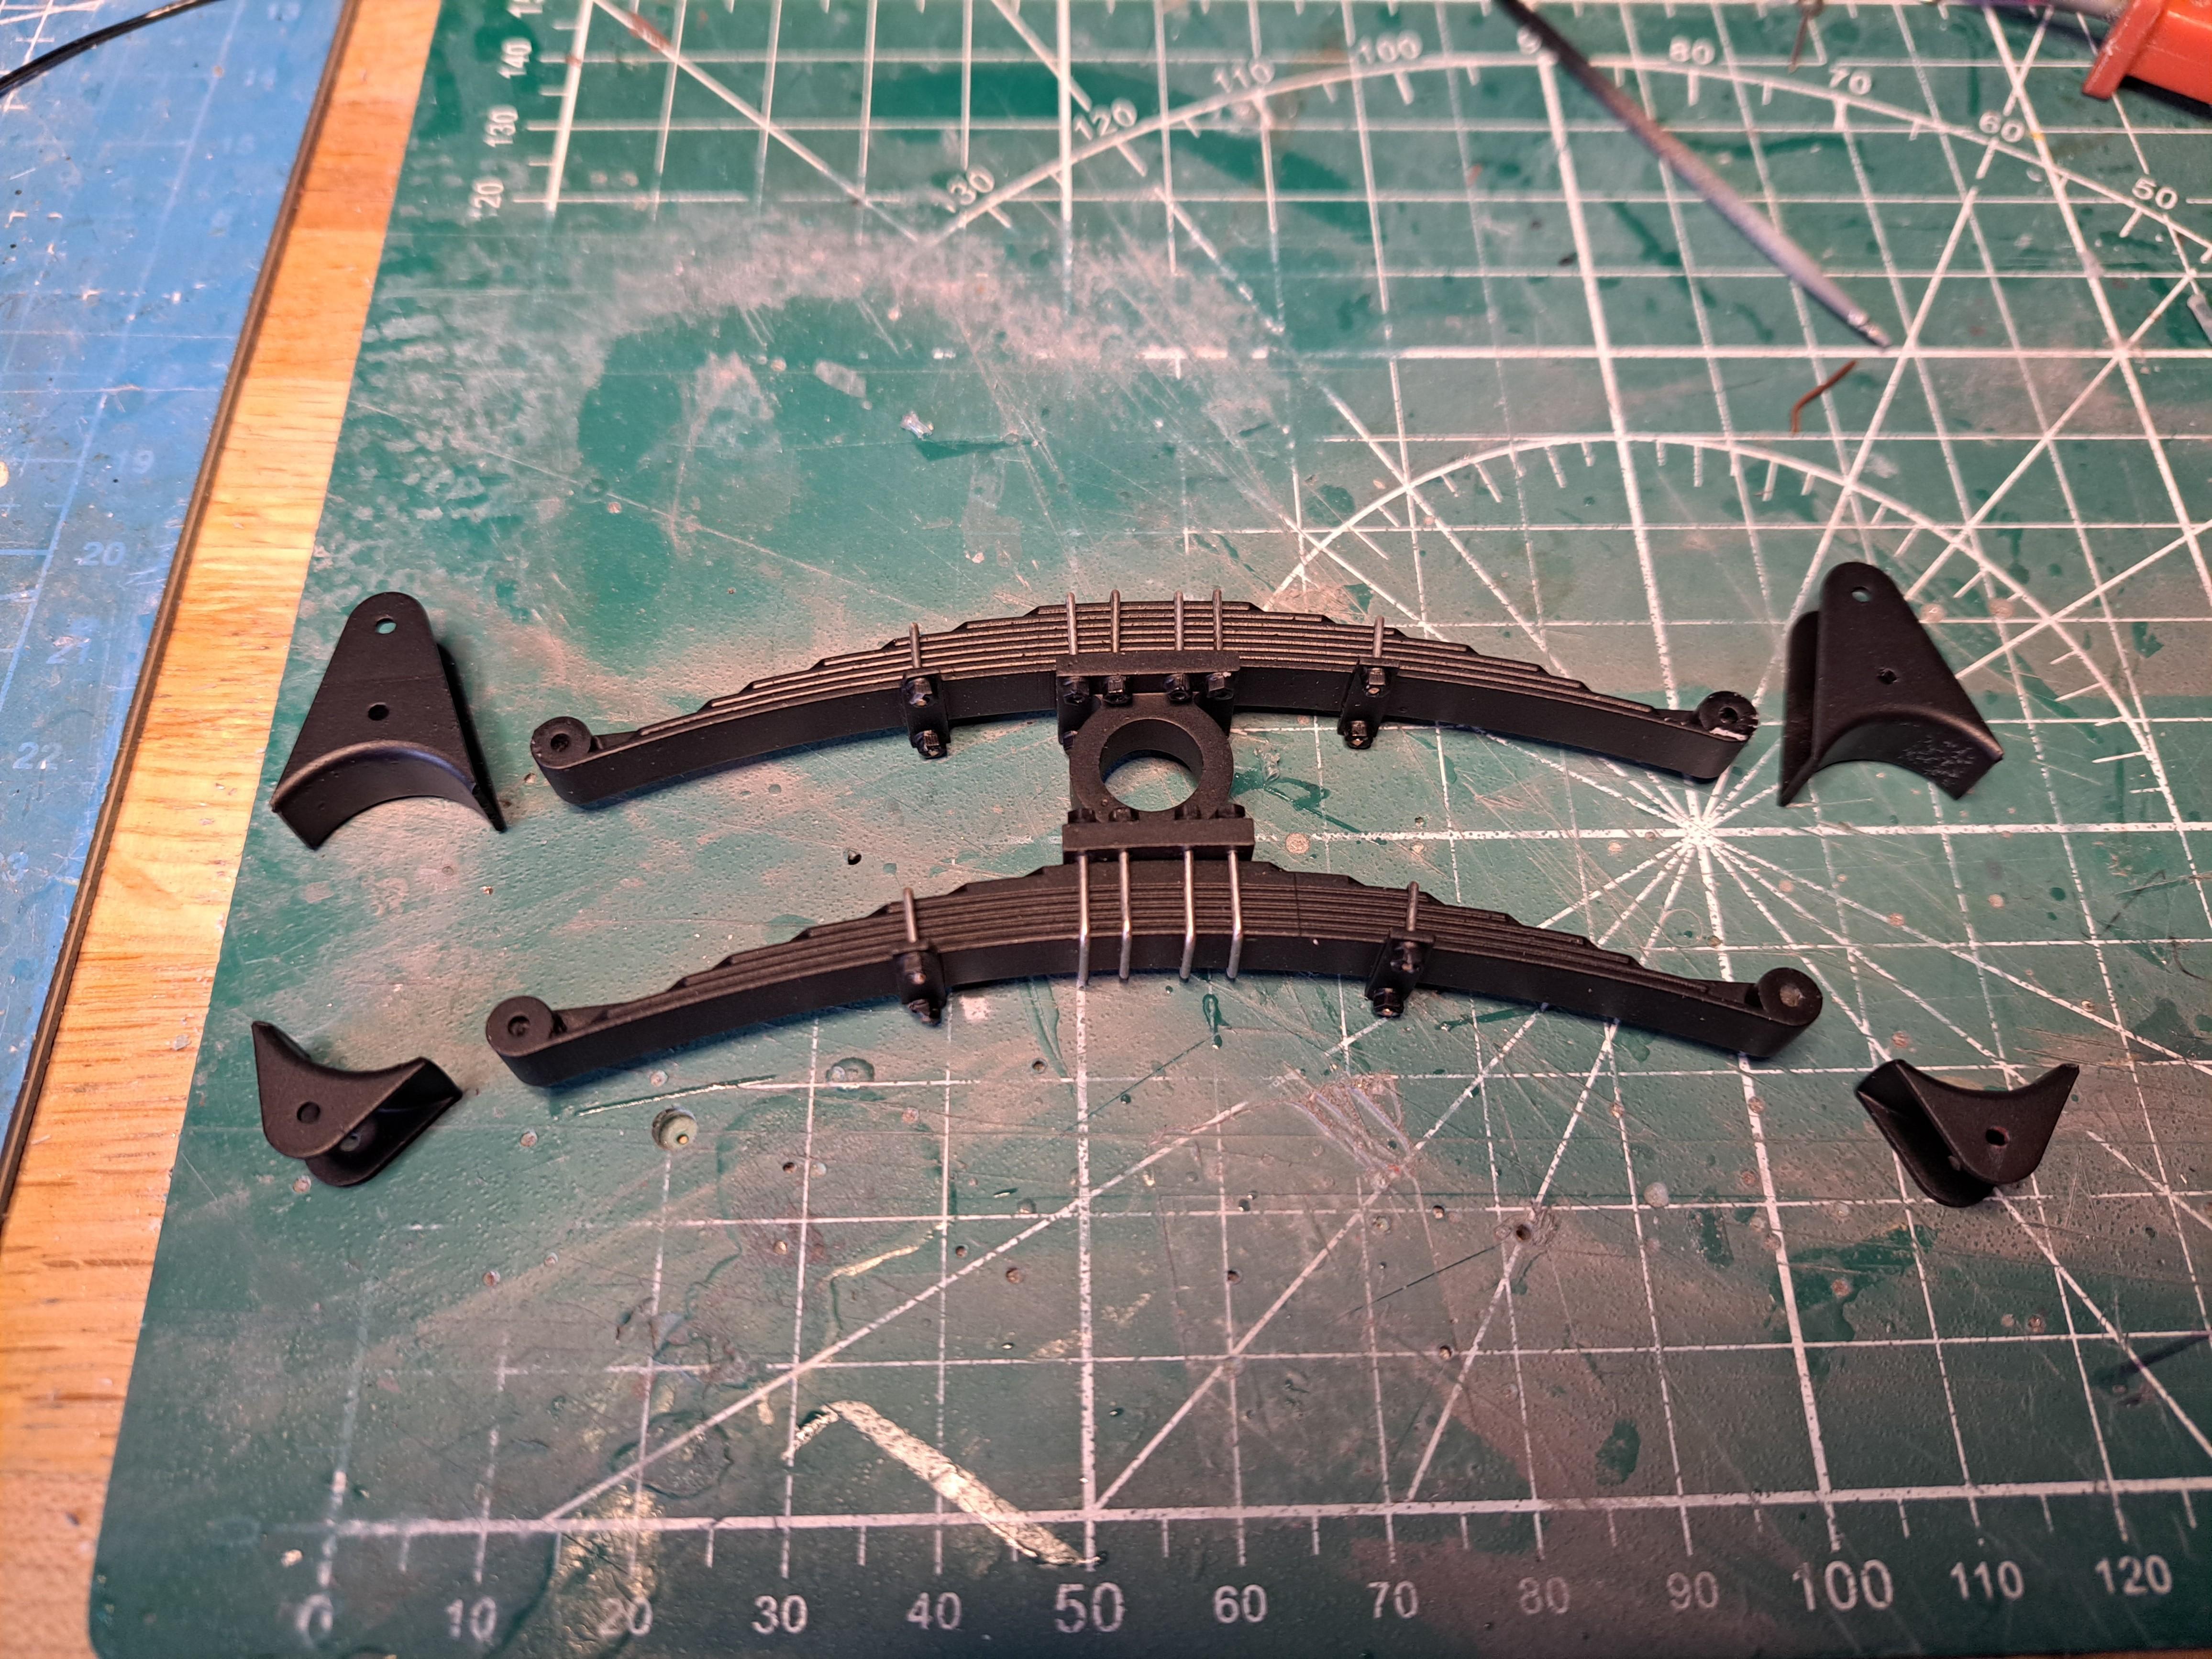
I finished all the ubolts for all the leafsprings assembly, here's how I proceded in order to get identical shapes.

Raw material (cheap steel pin)

20250311_151659.jpg.d3120cfb59cfcc78fcea4df5d6fdce96.jpg


inserted in bending jig

20250311_151716.jpg.06d422f7dc9728615dea05dac5dc3b80.jpg


After bending

20250311_151757.jpg.dbad81a6adae607196095424e70f2c62.jpg


After trimming

20250311_151828.jpg.848264ac2b91420742913cc47c0fdfc3.jpg


Finished rear leafspring

20250311_152530.jpg.633c1b147e6bbaa59d4dbbd31d80bdf0.jpg


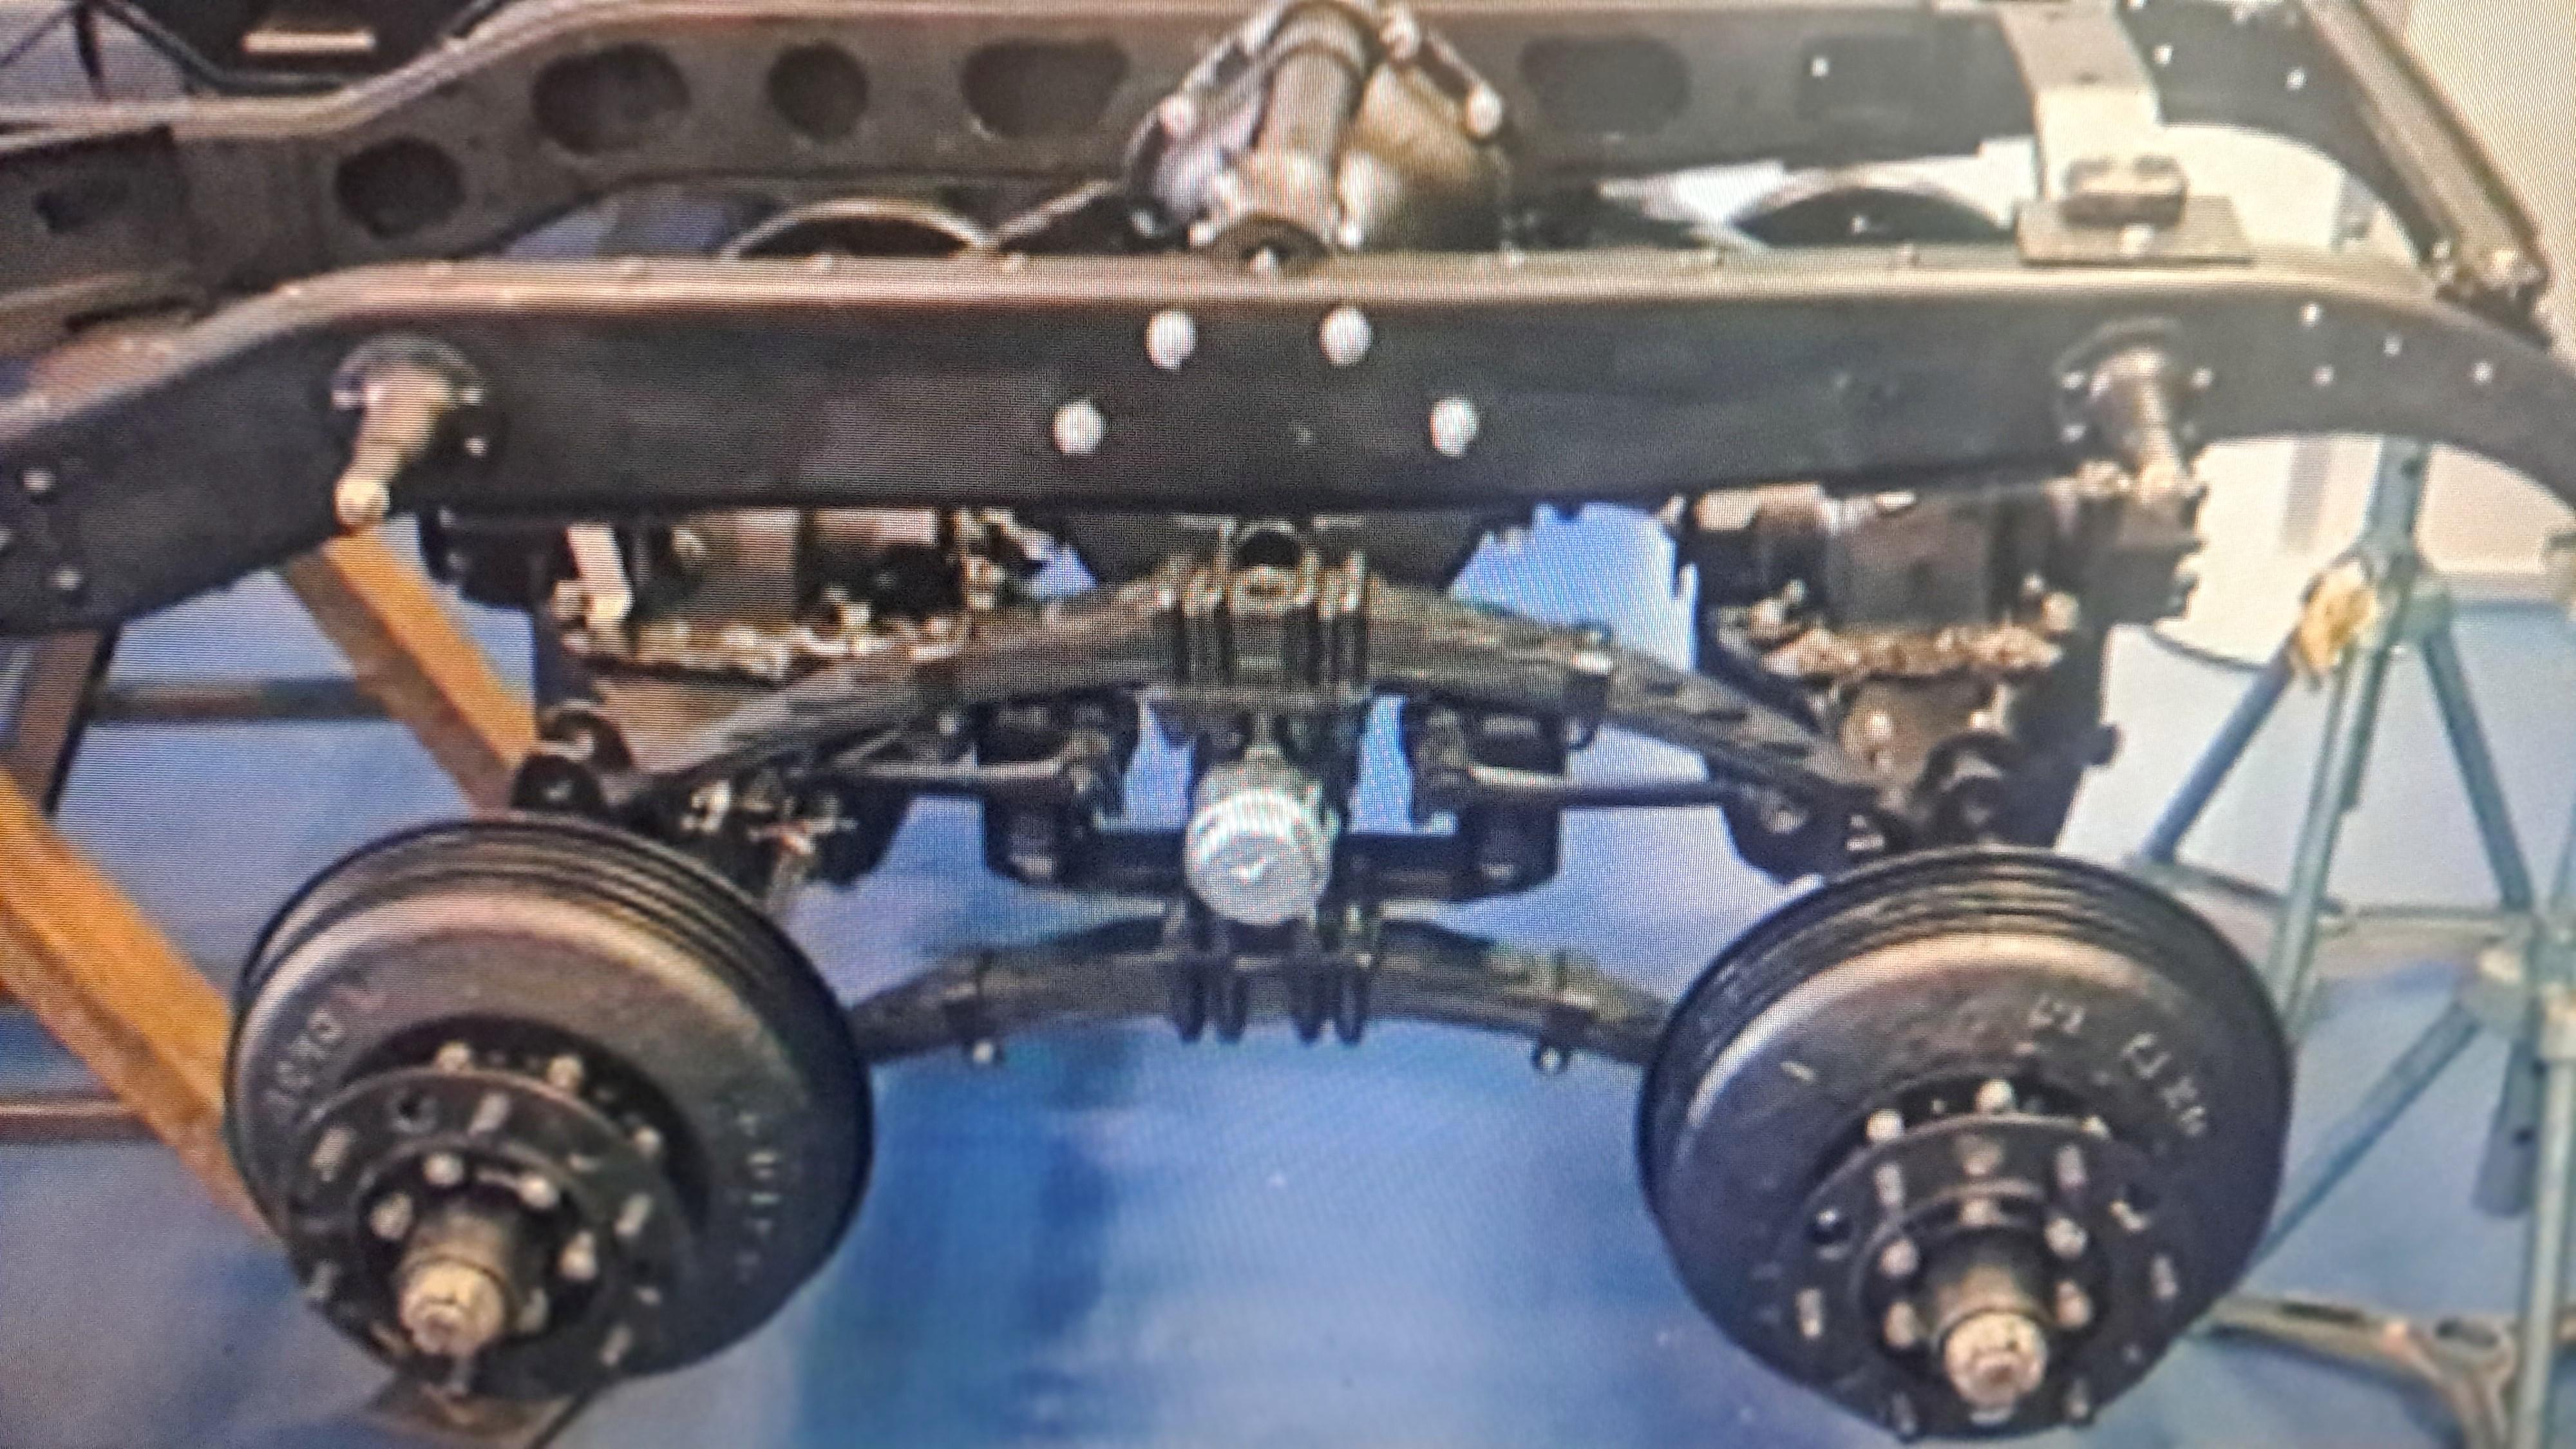
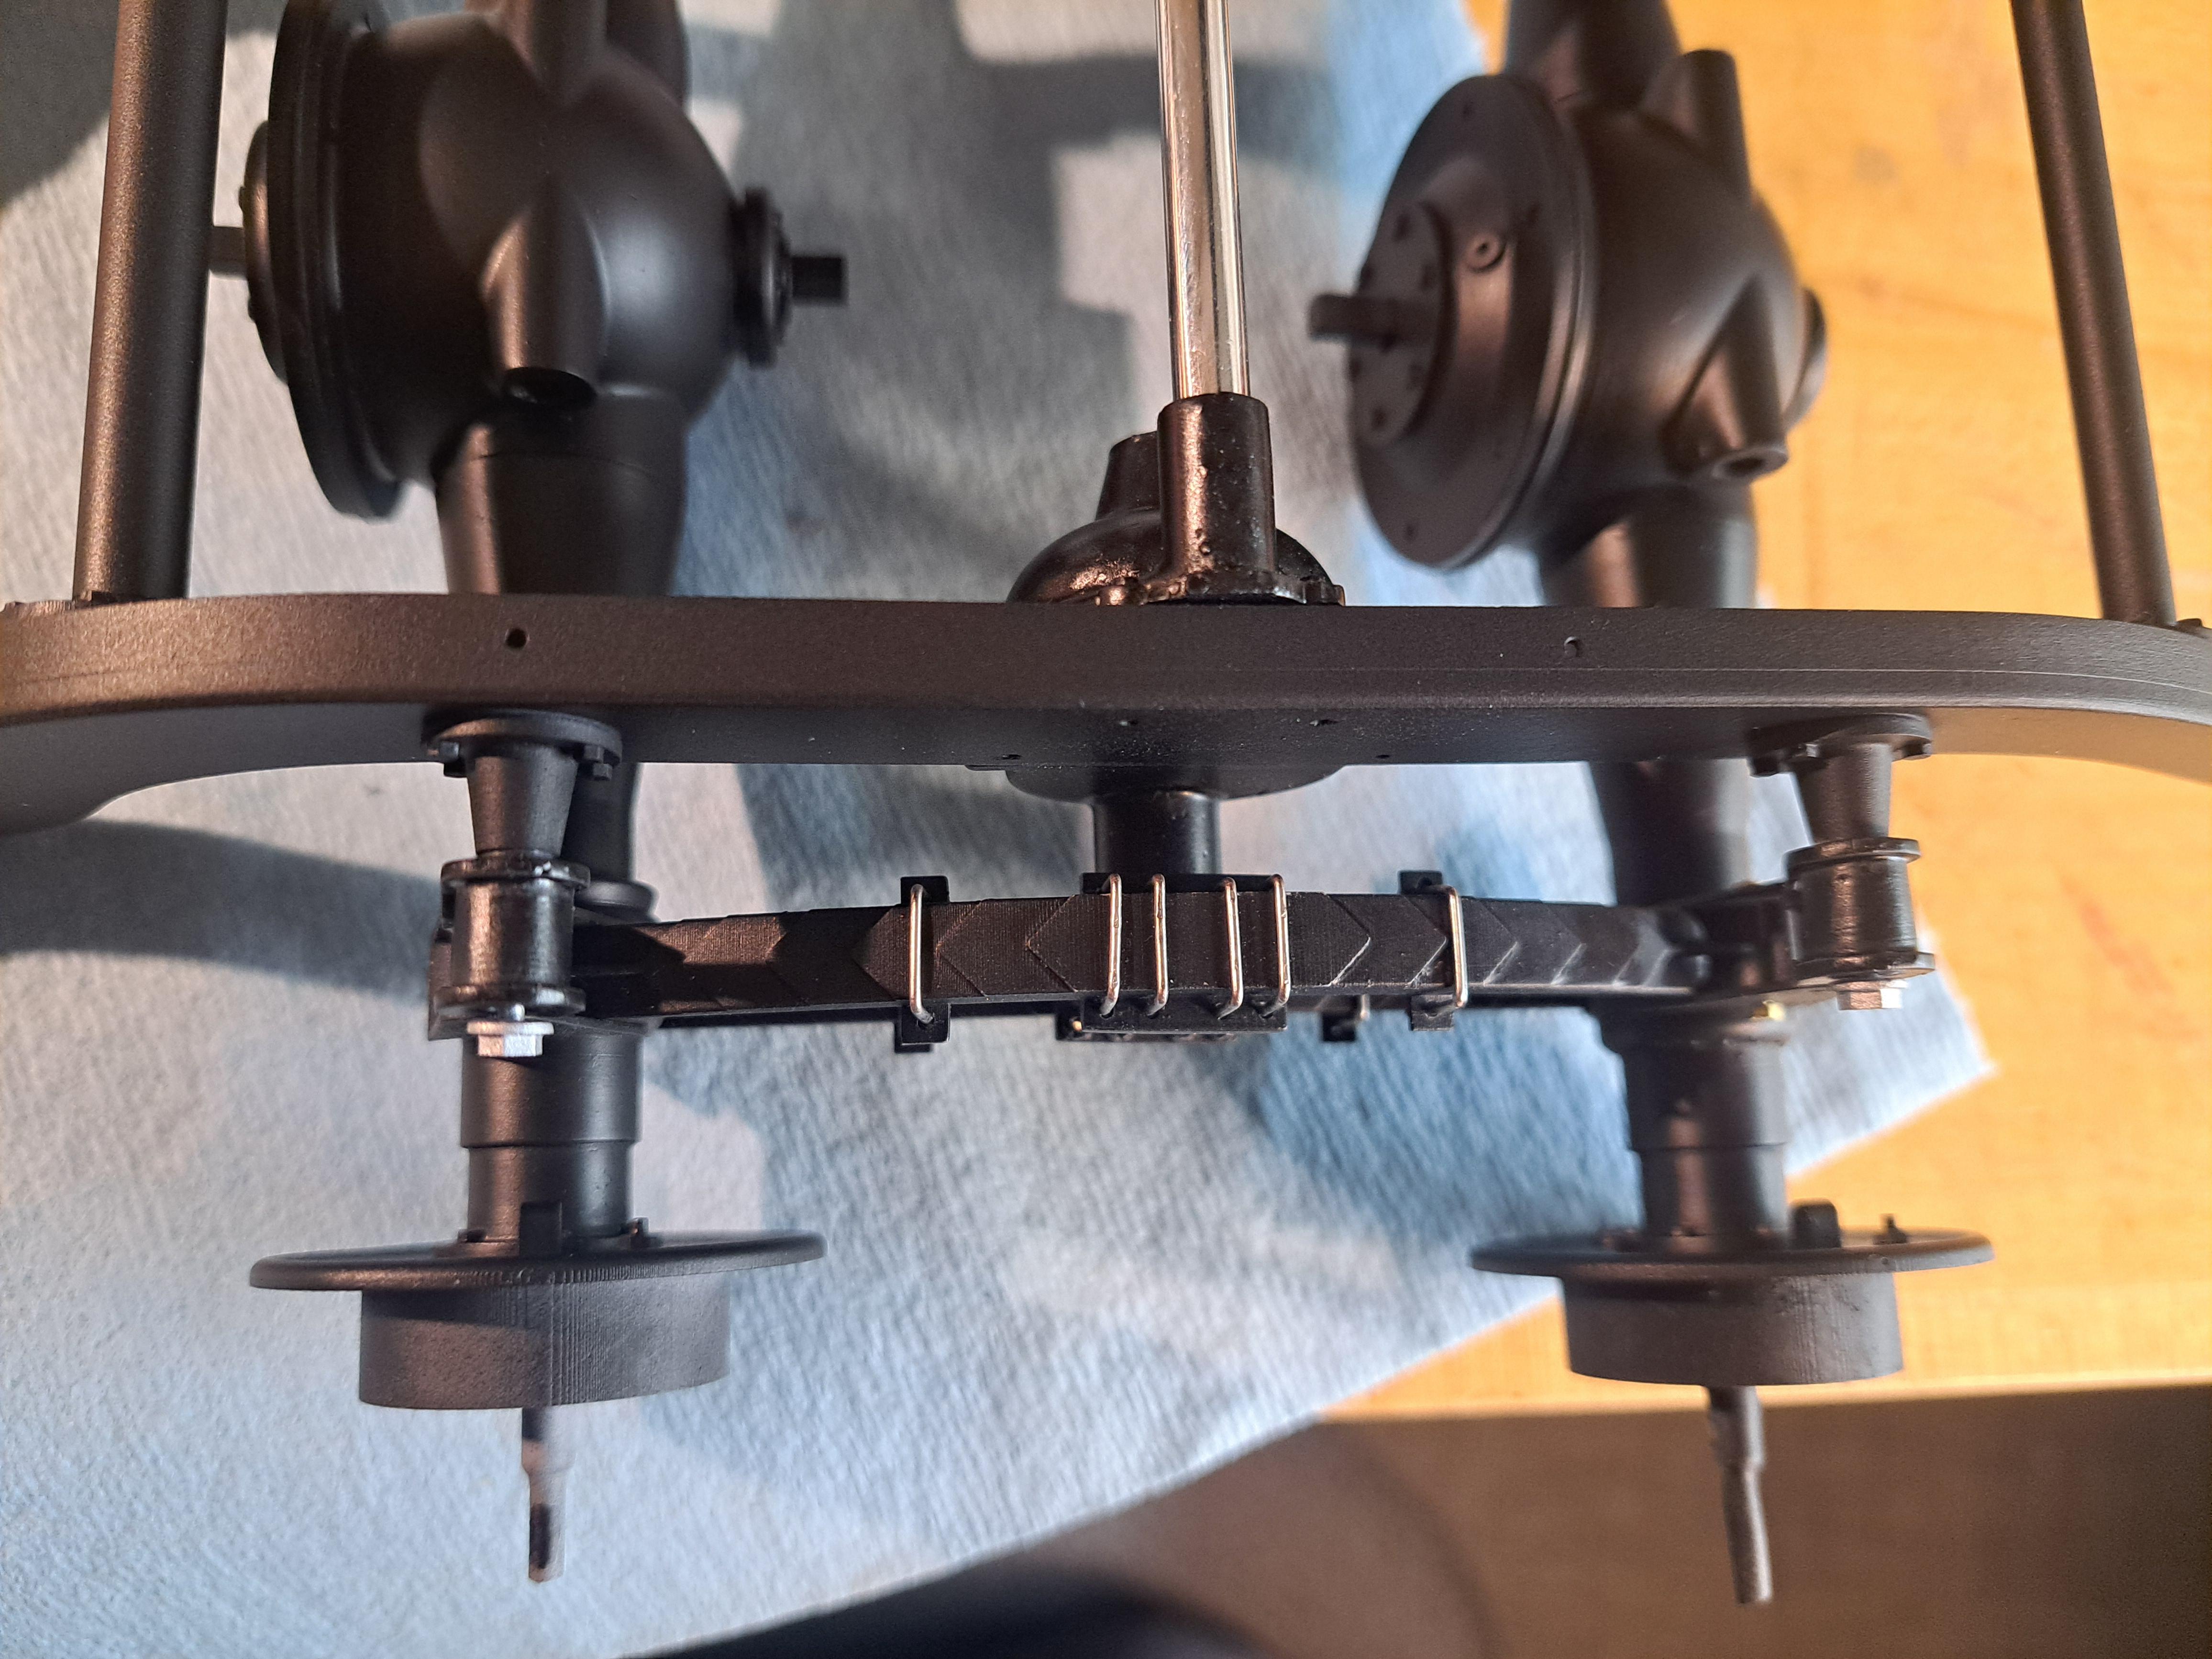
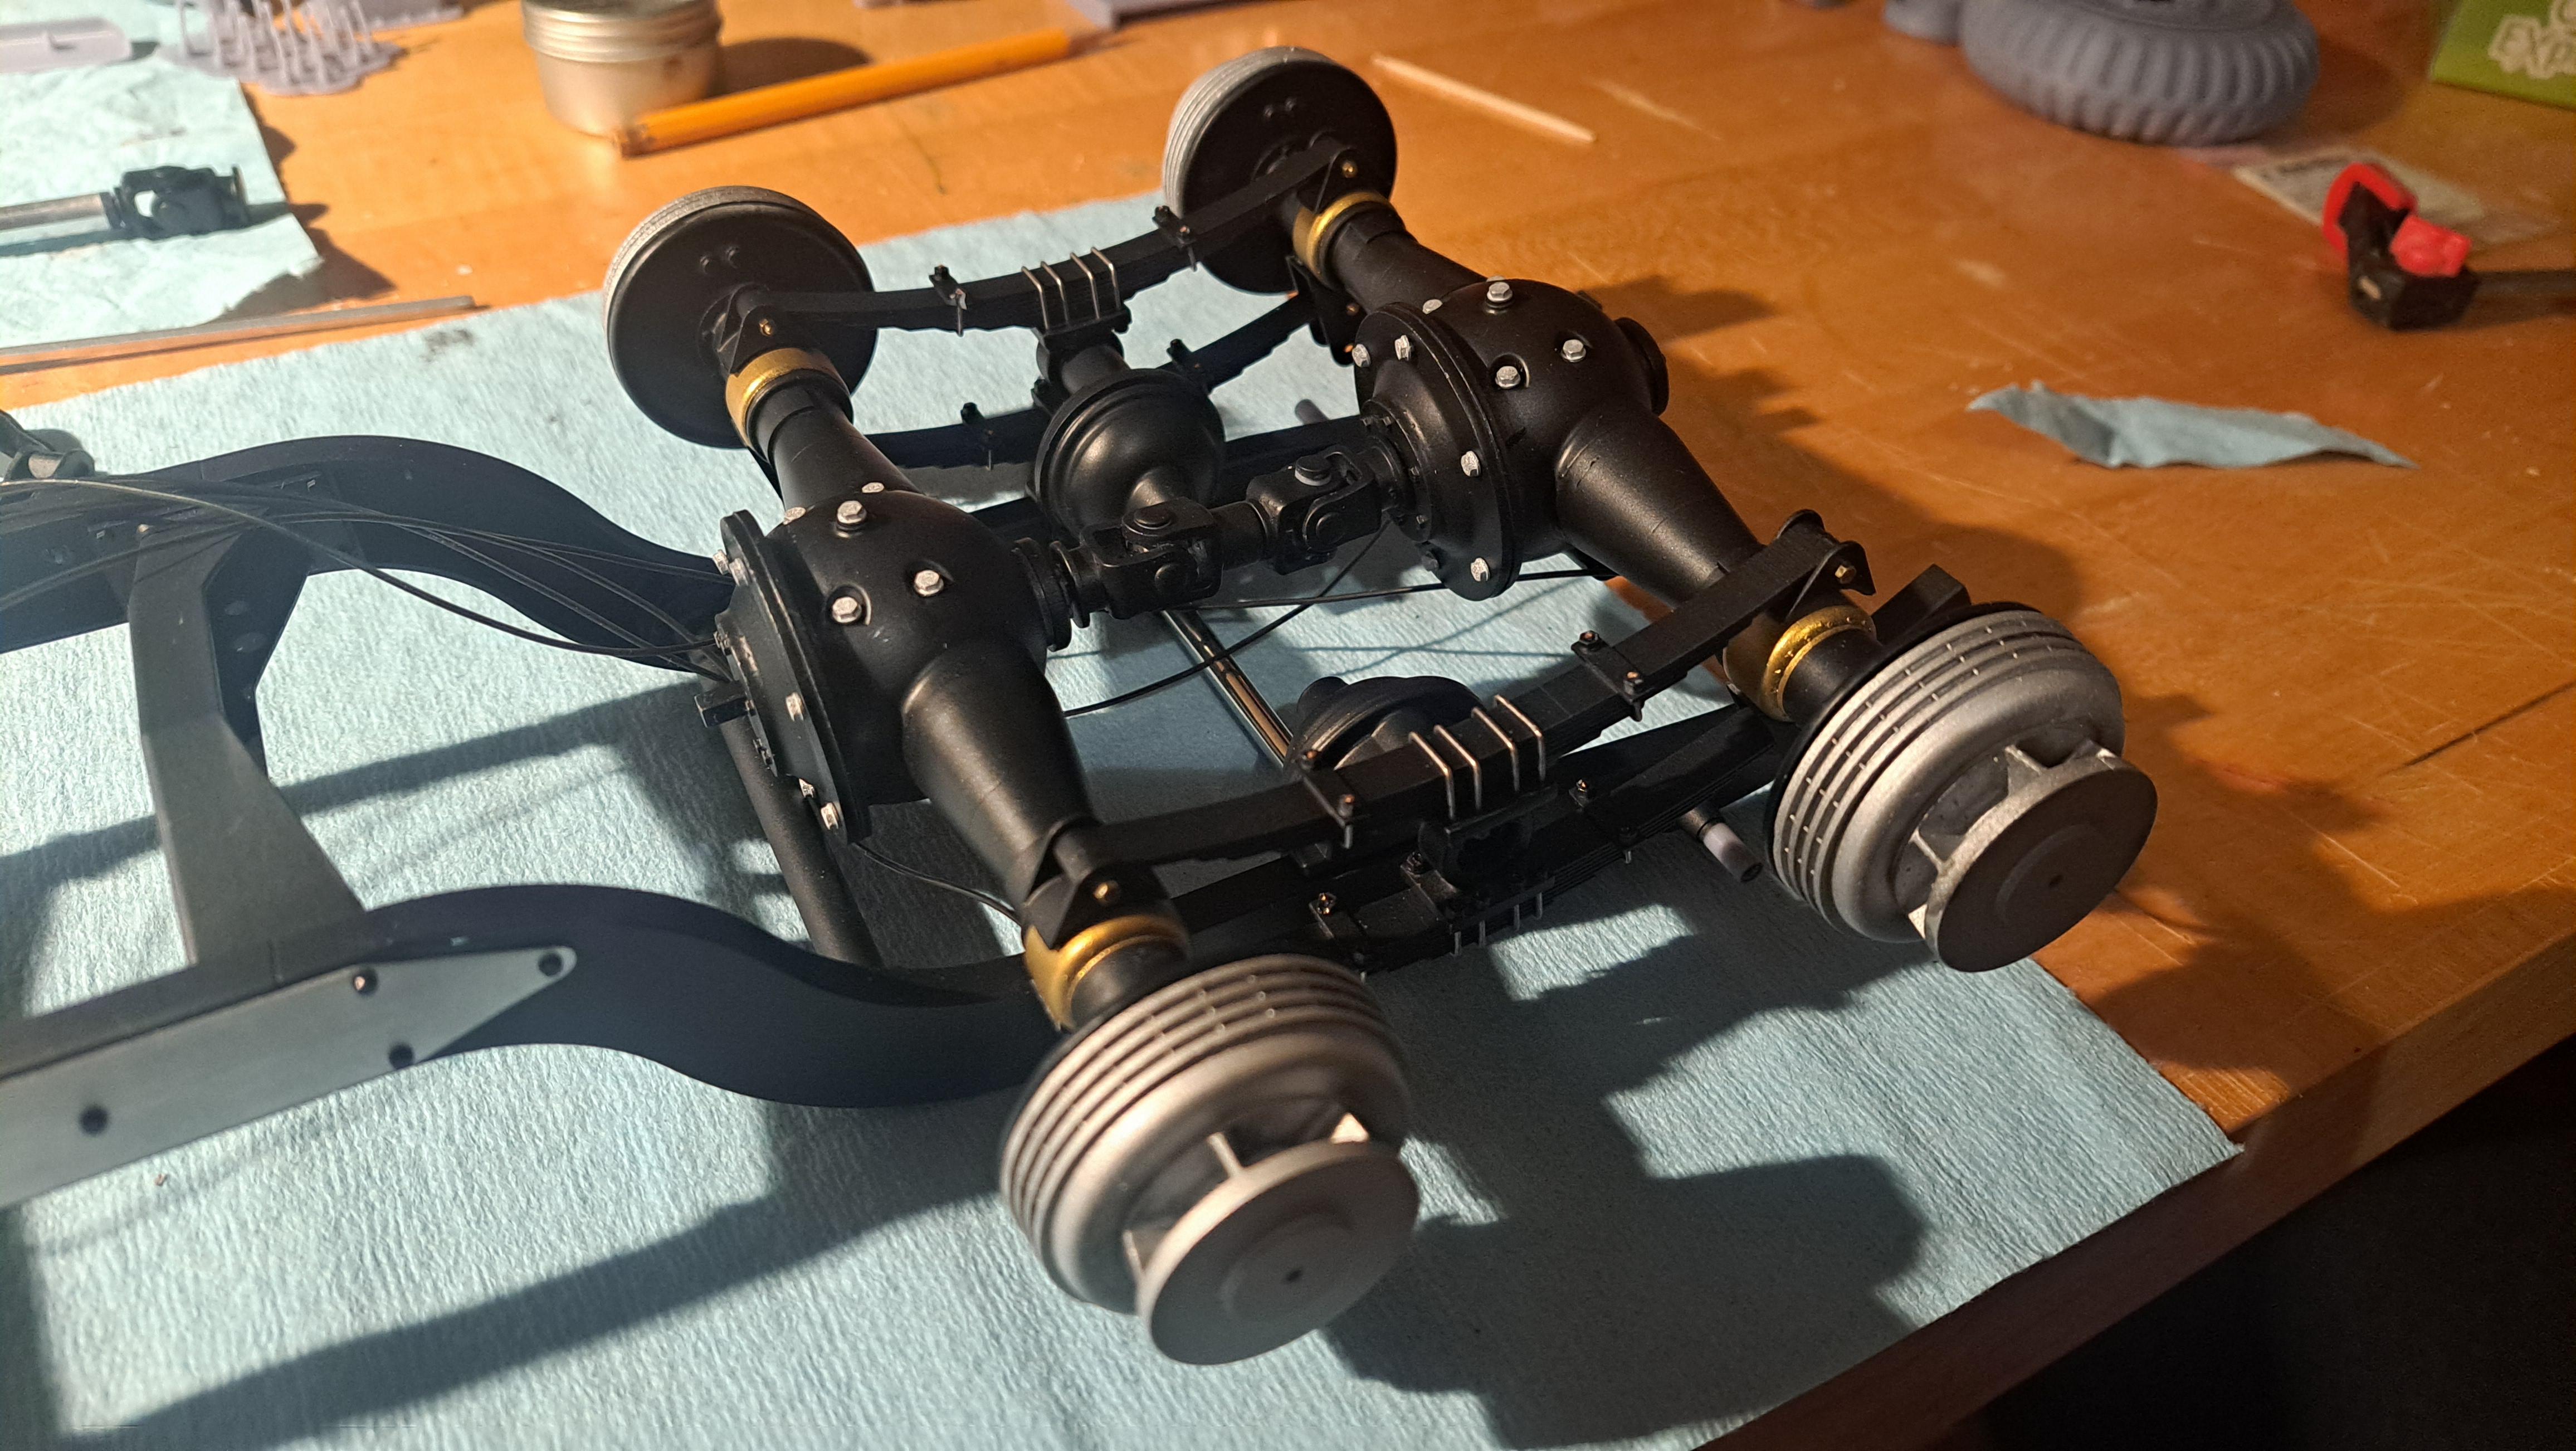
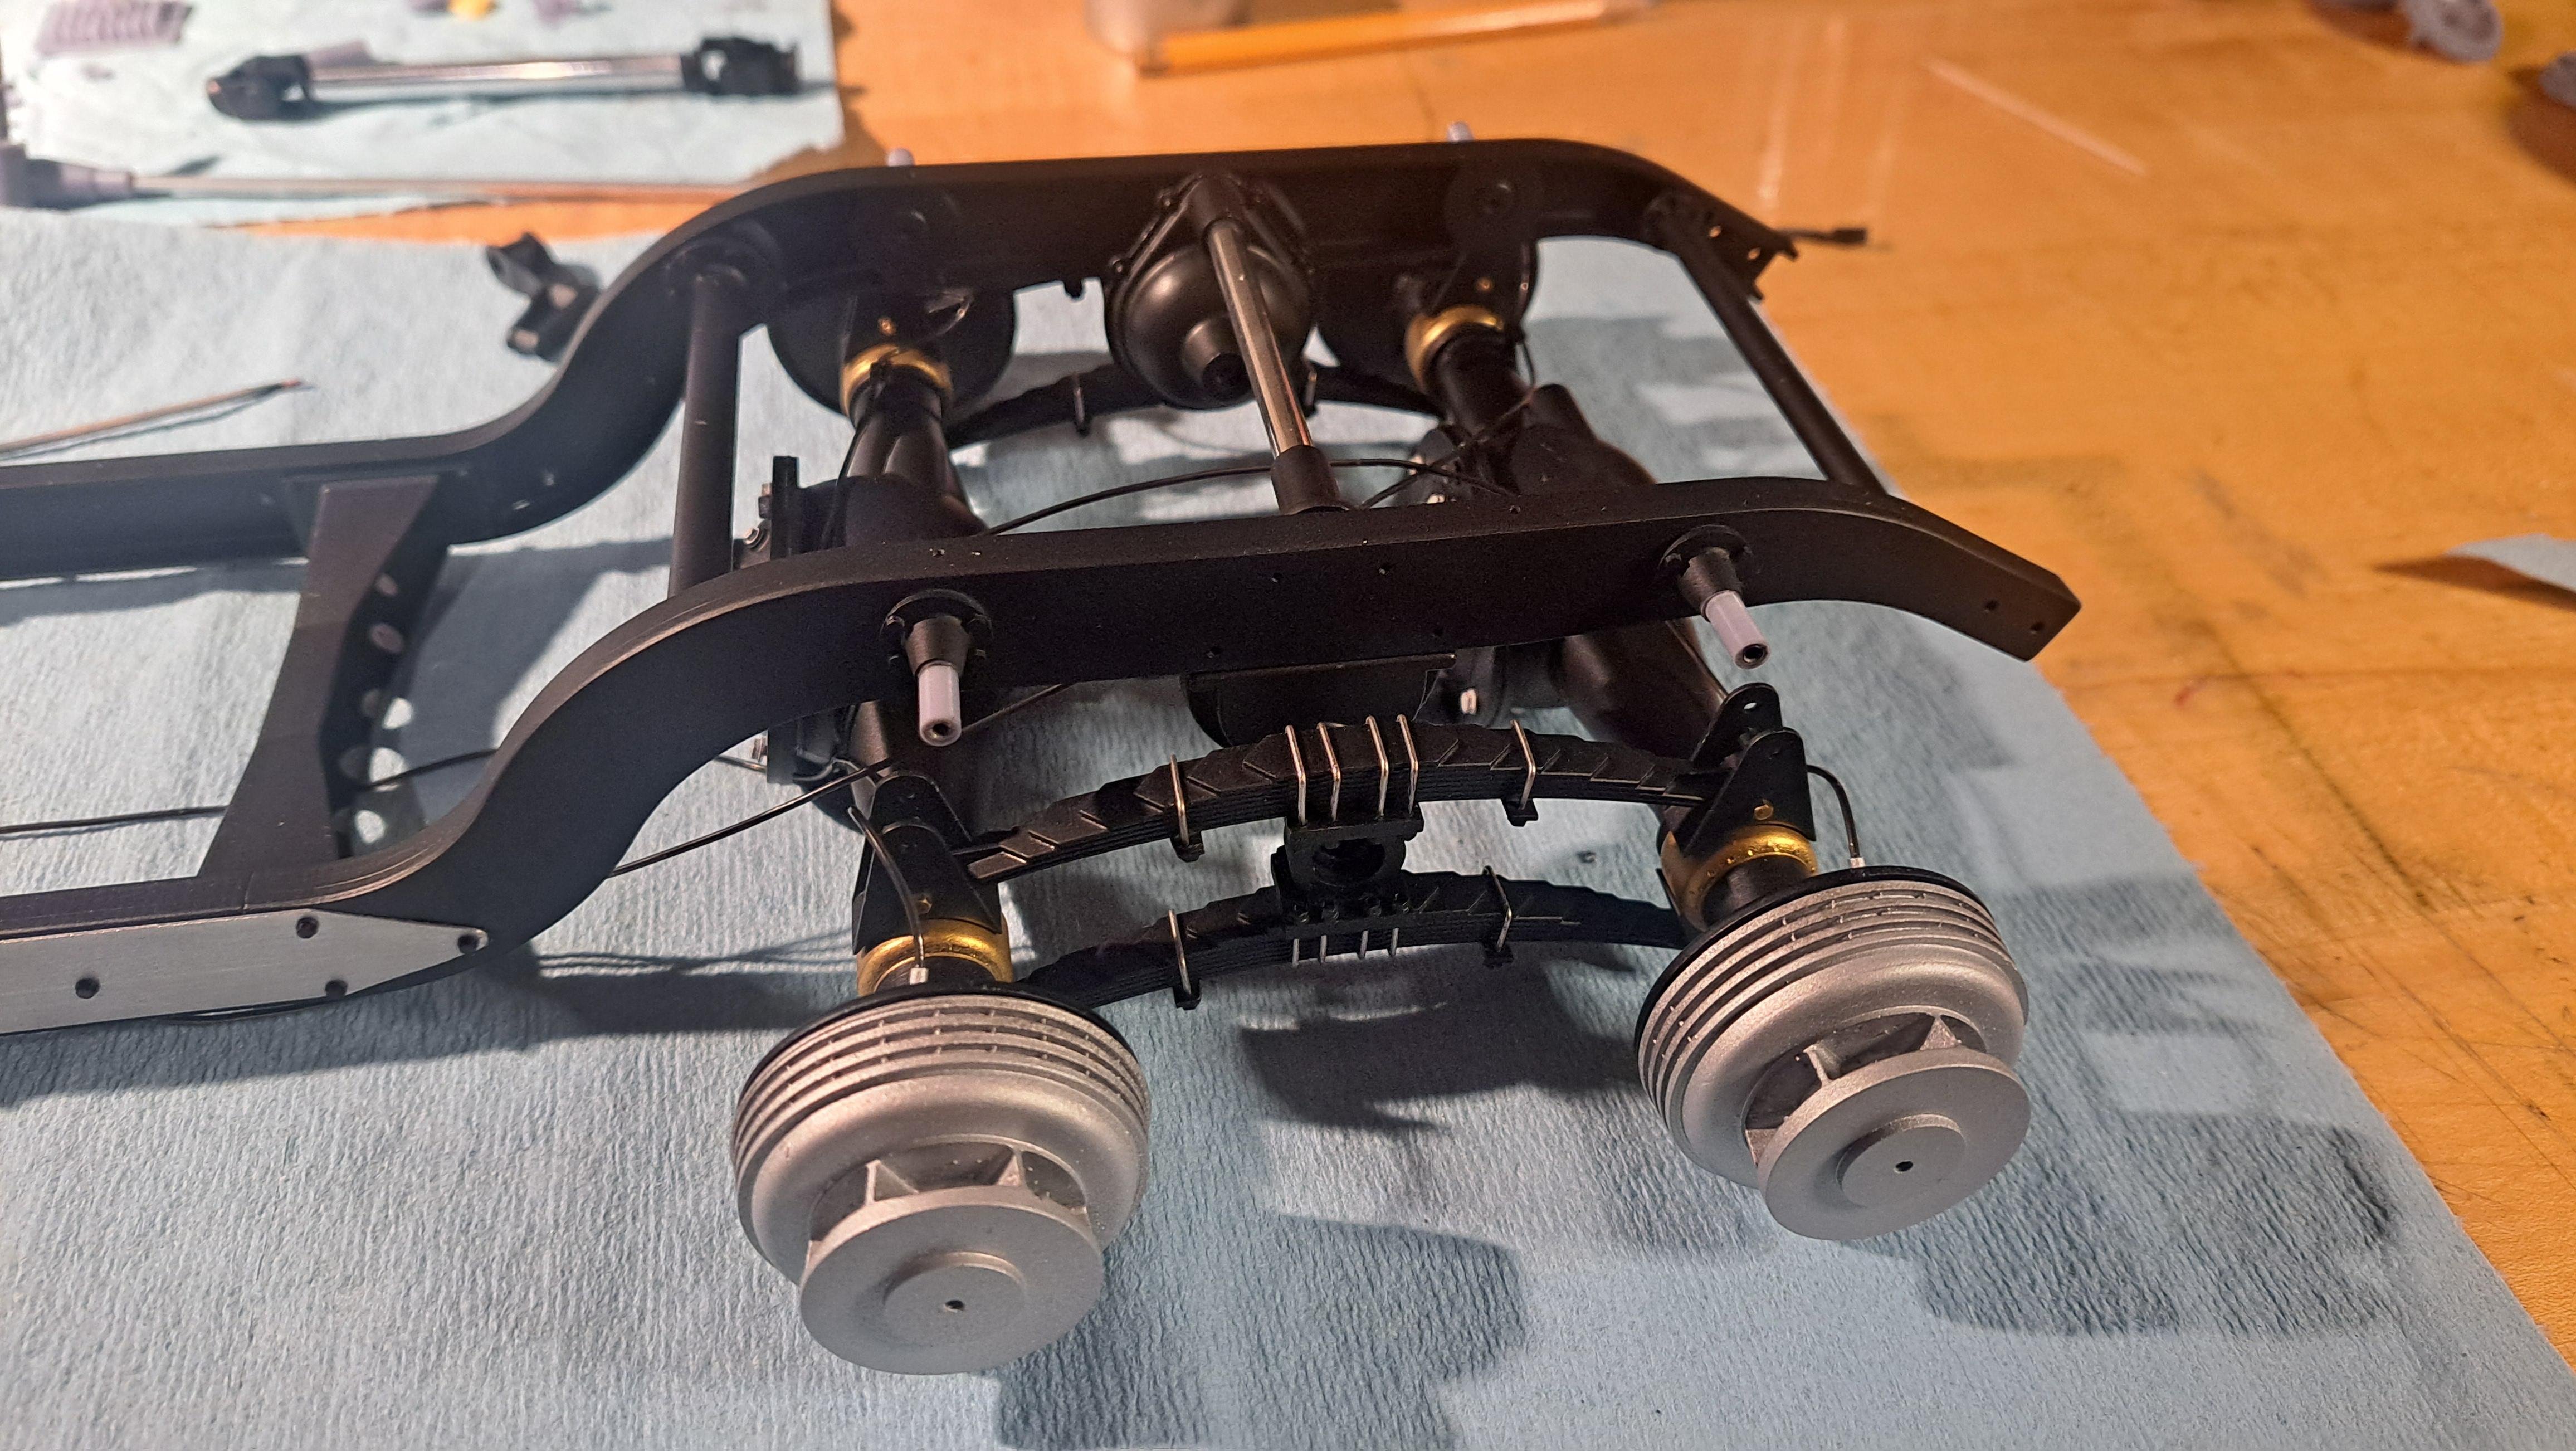
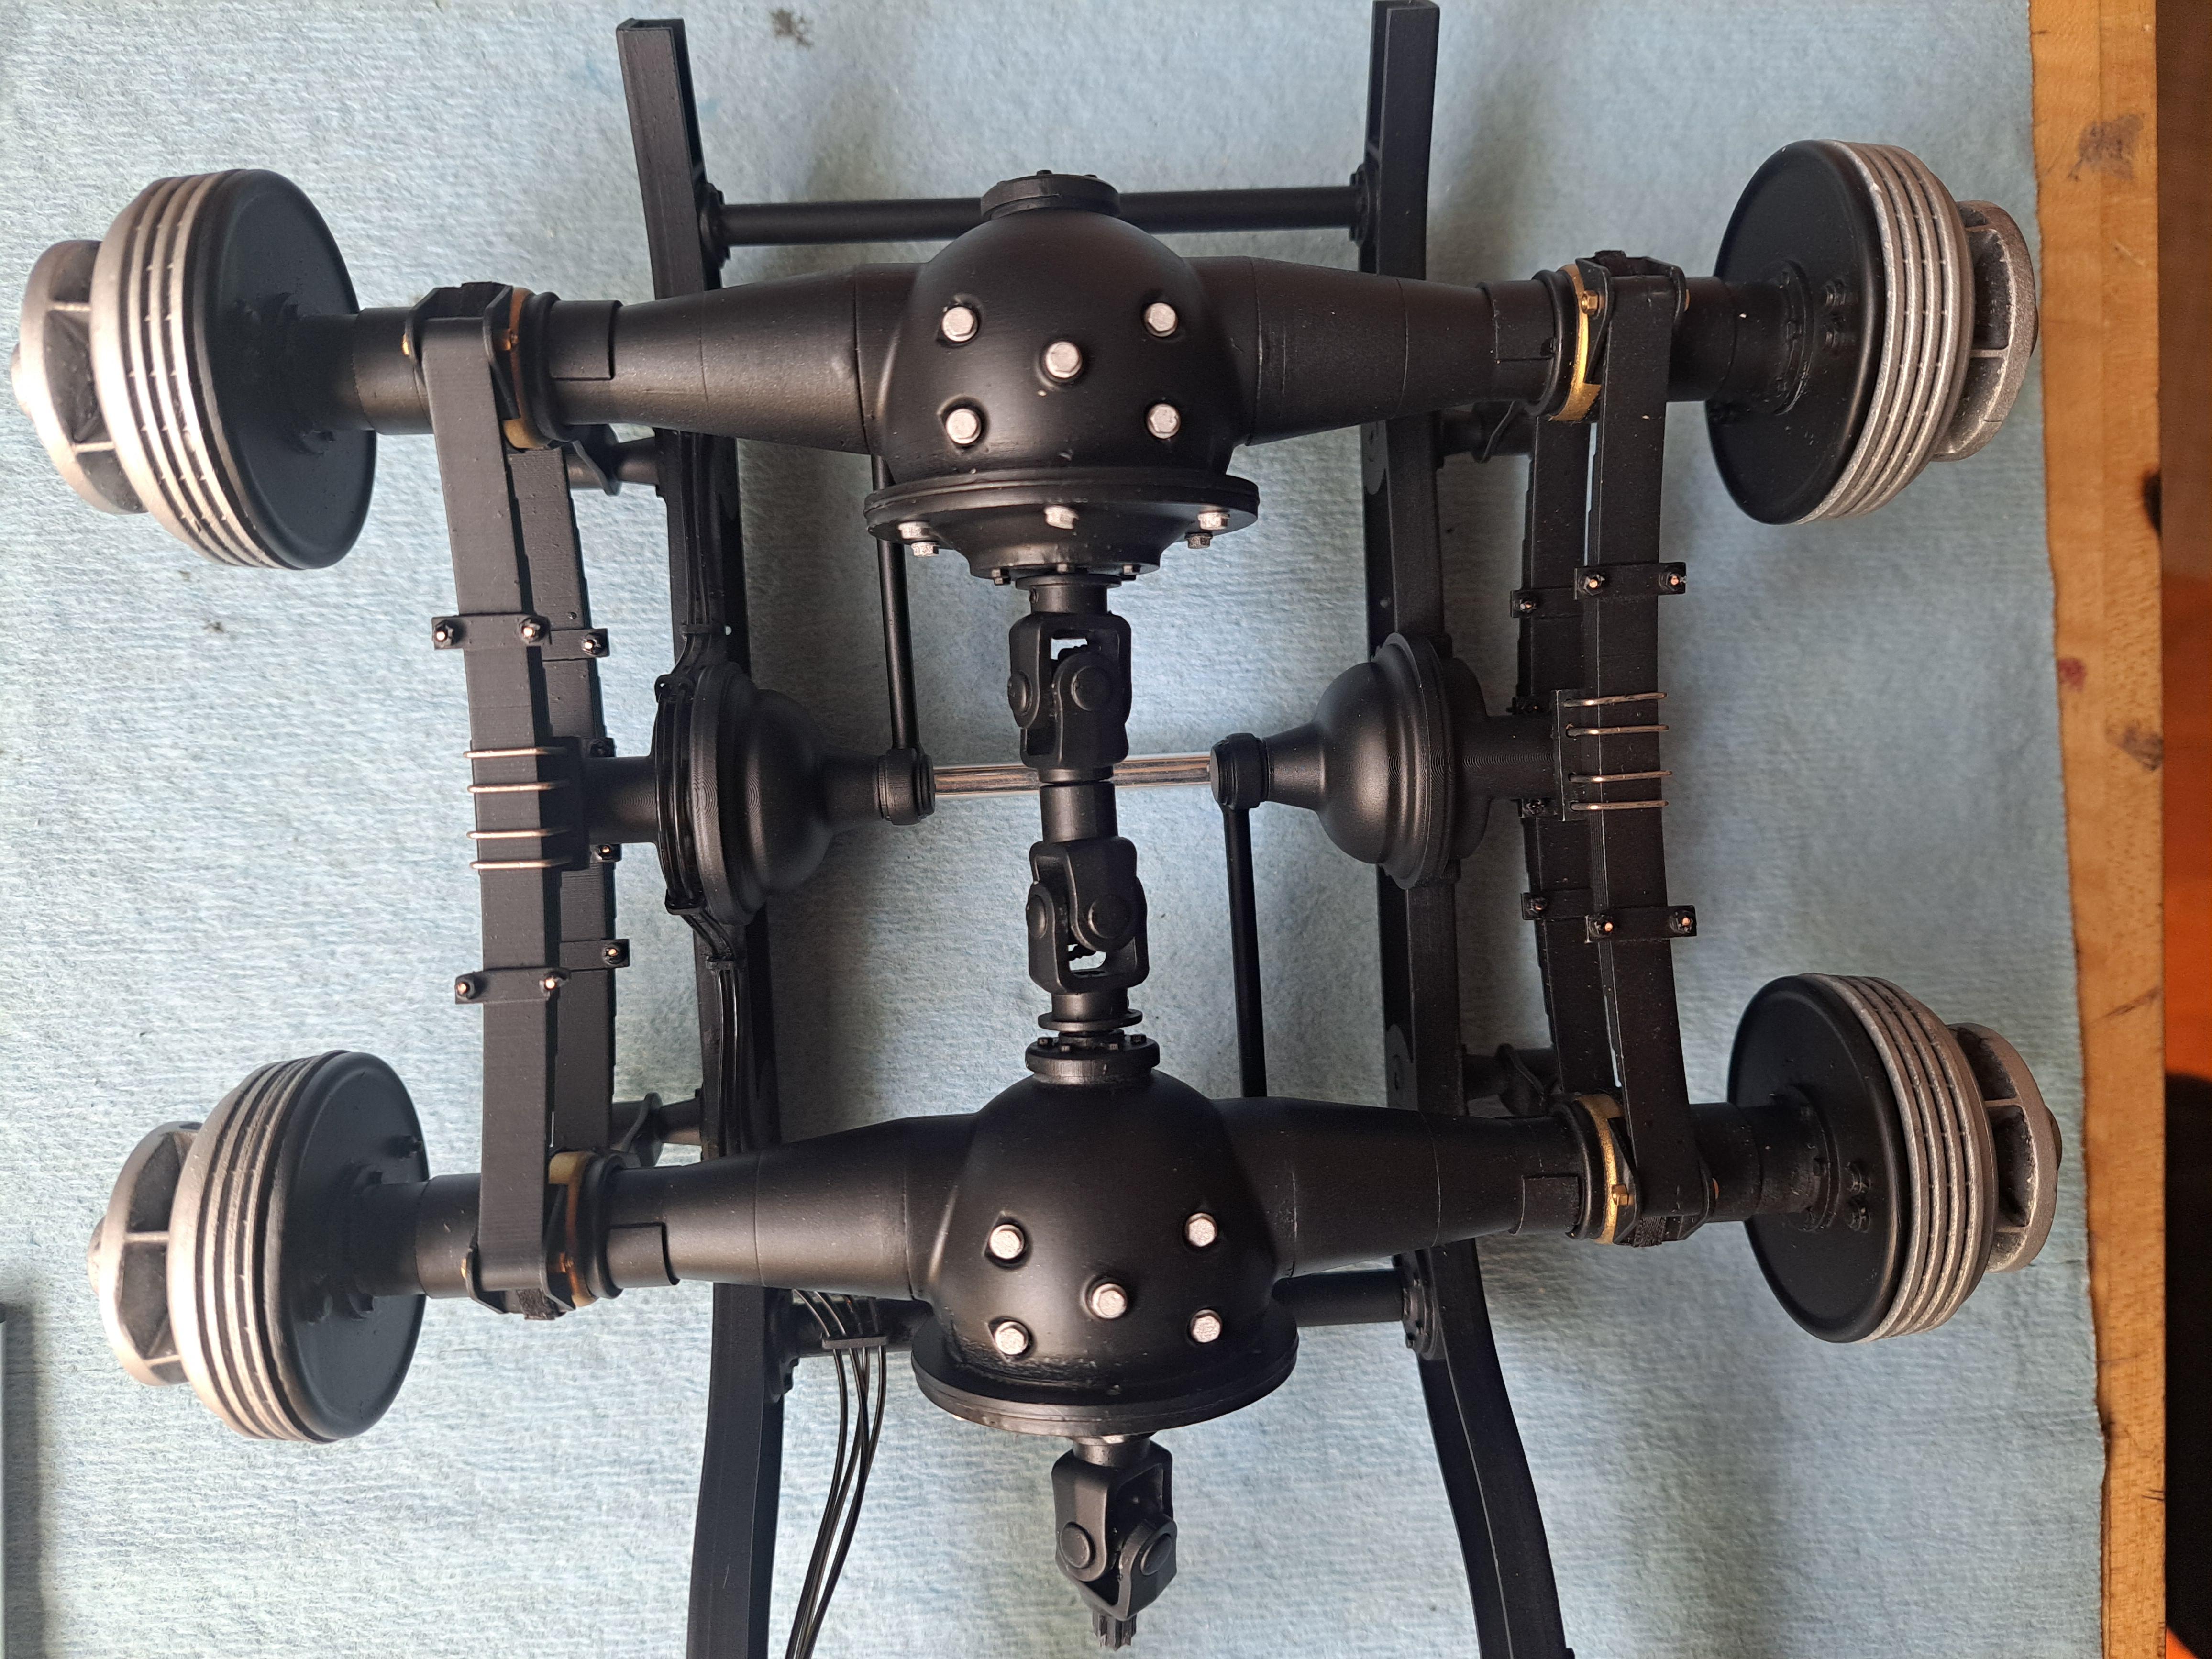
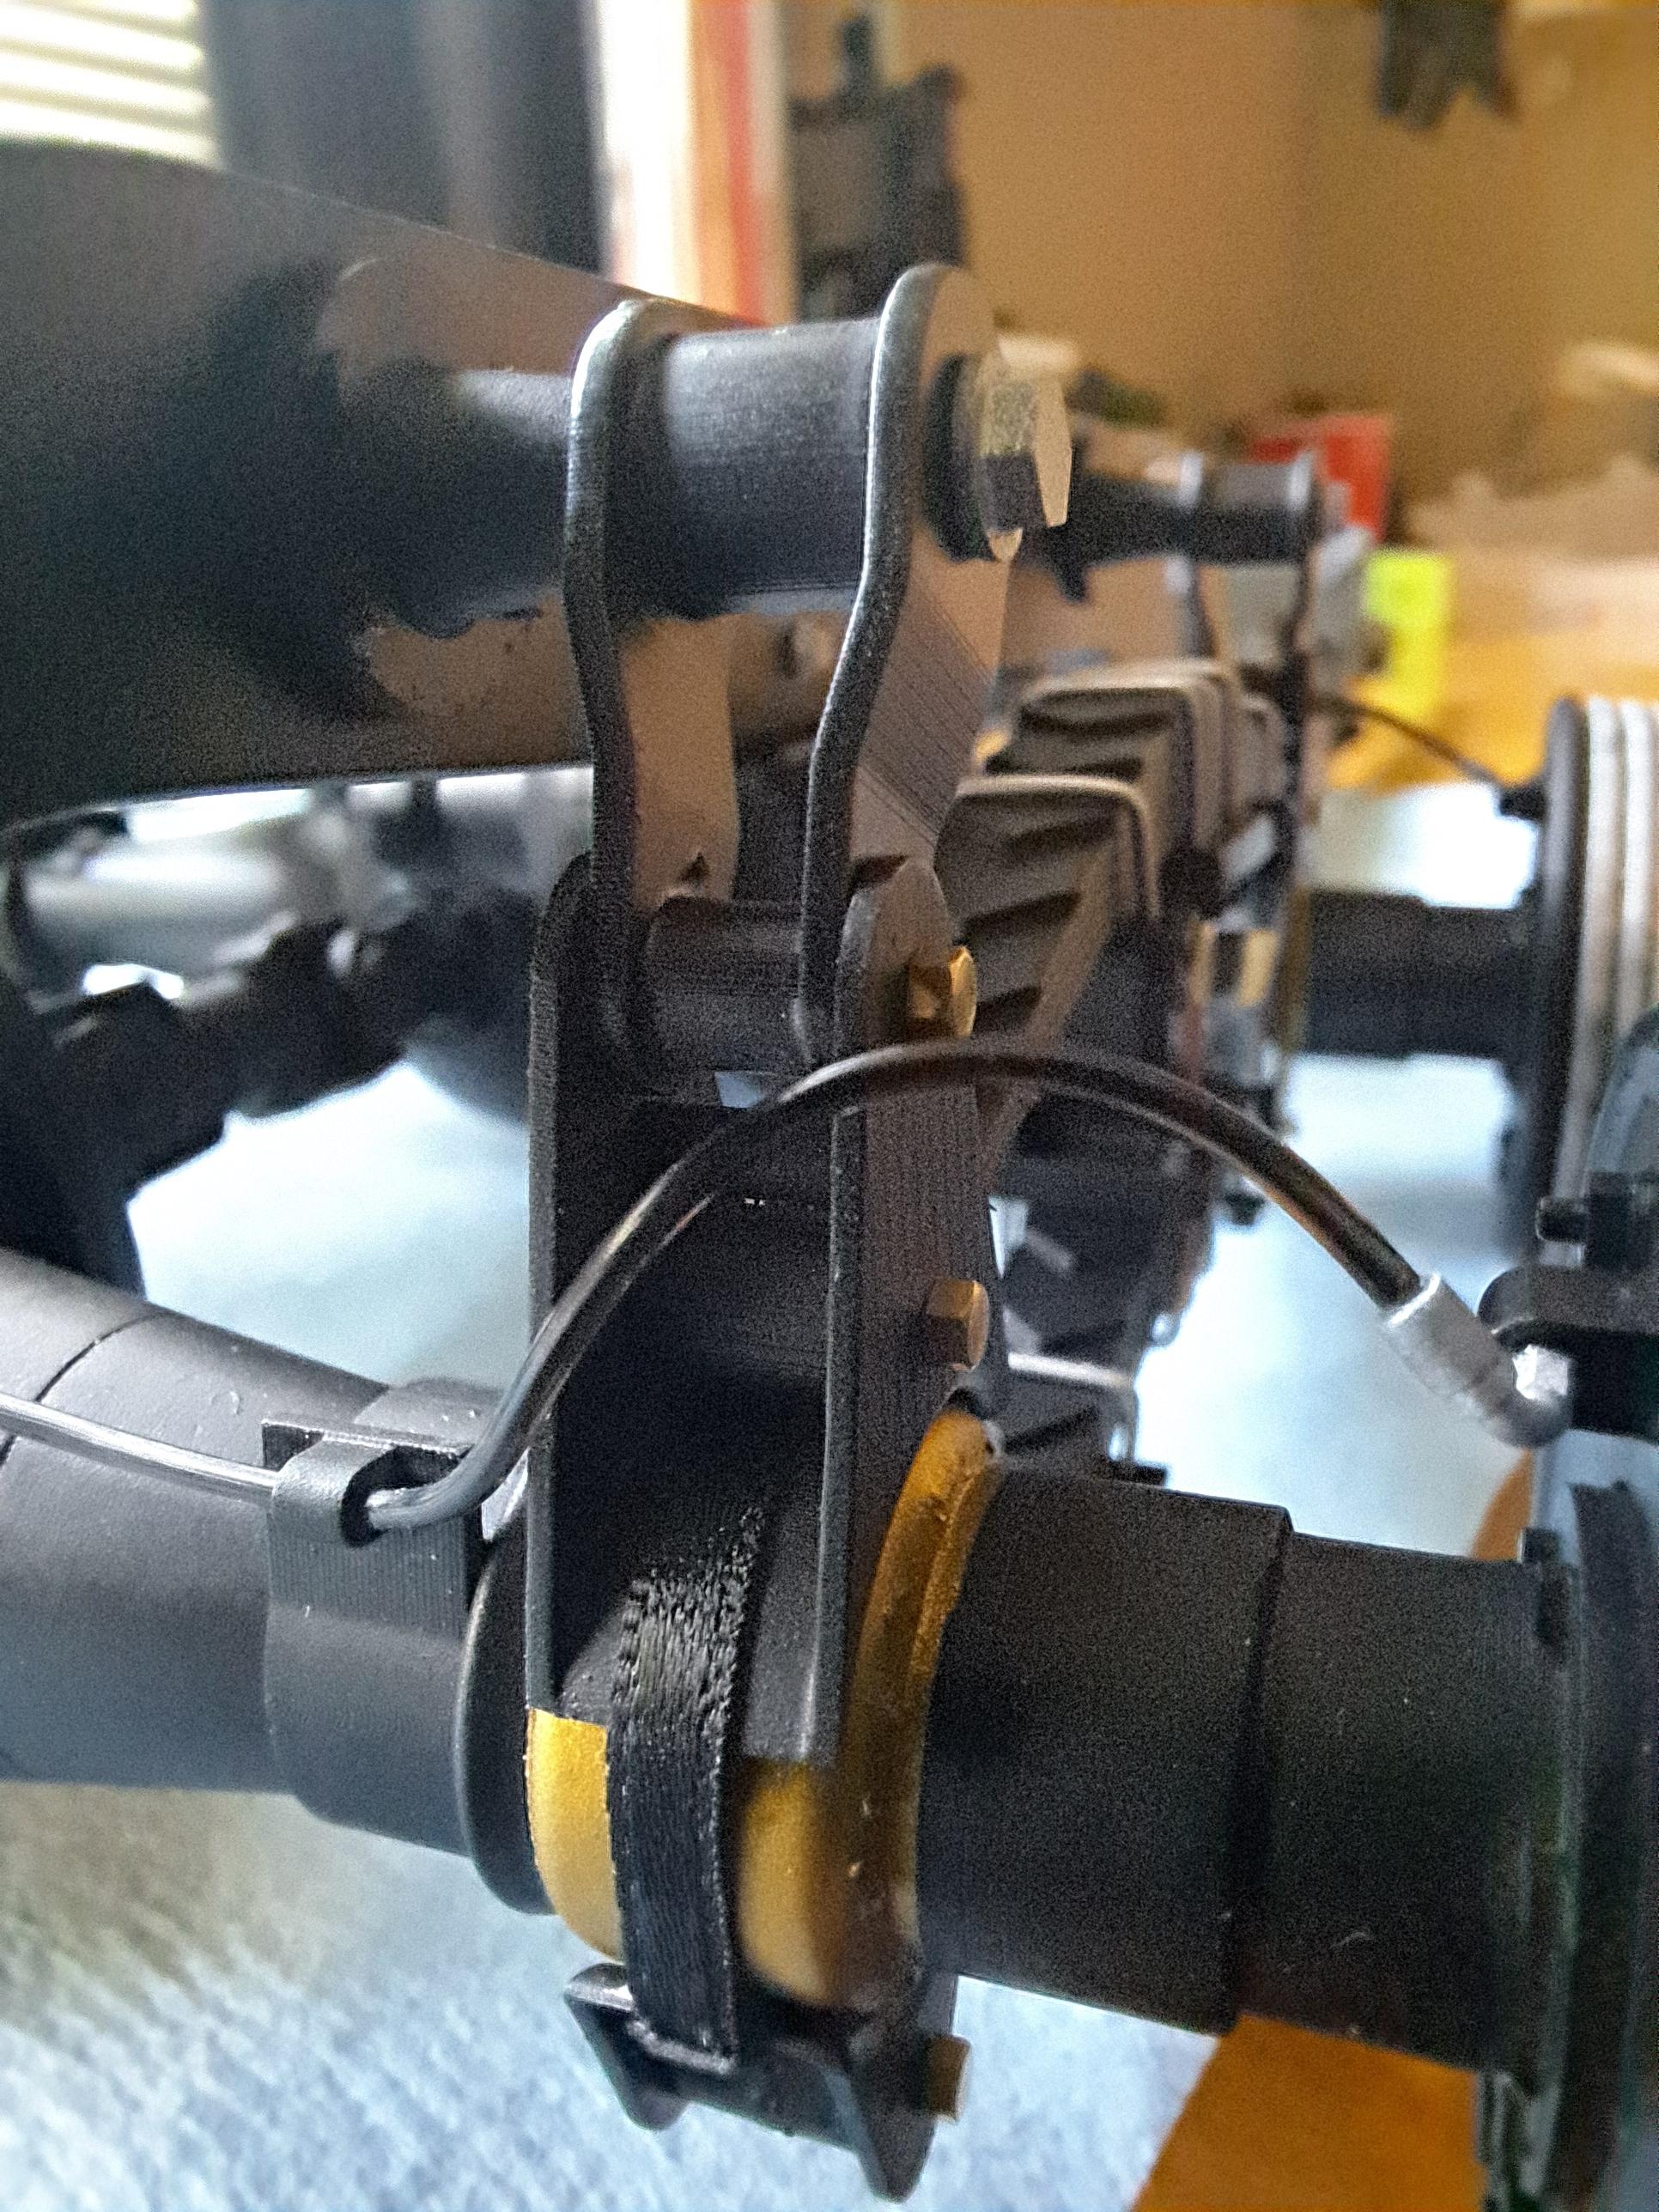
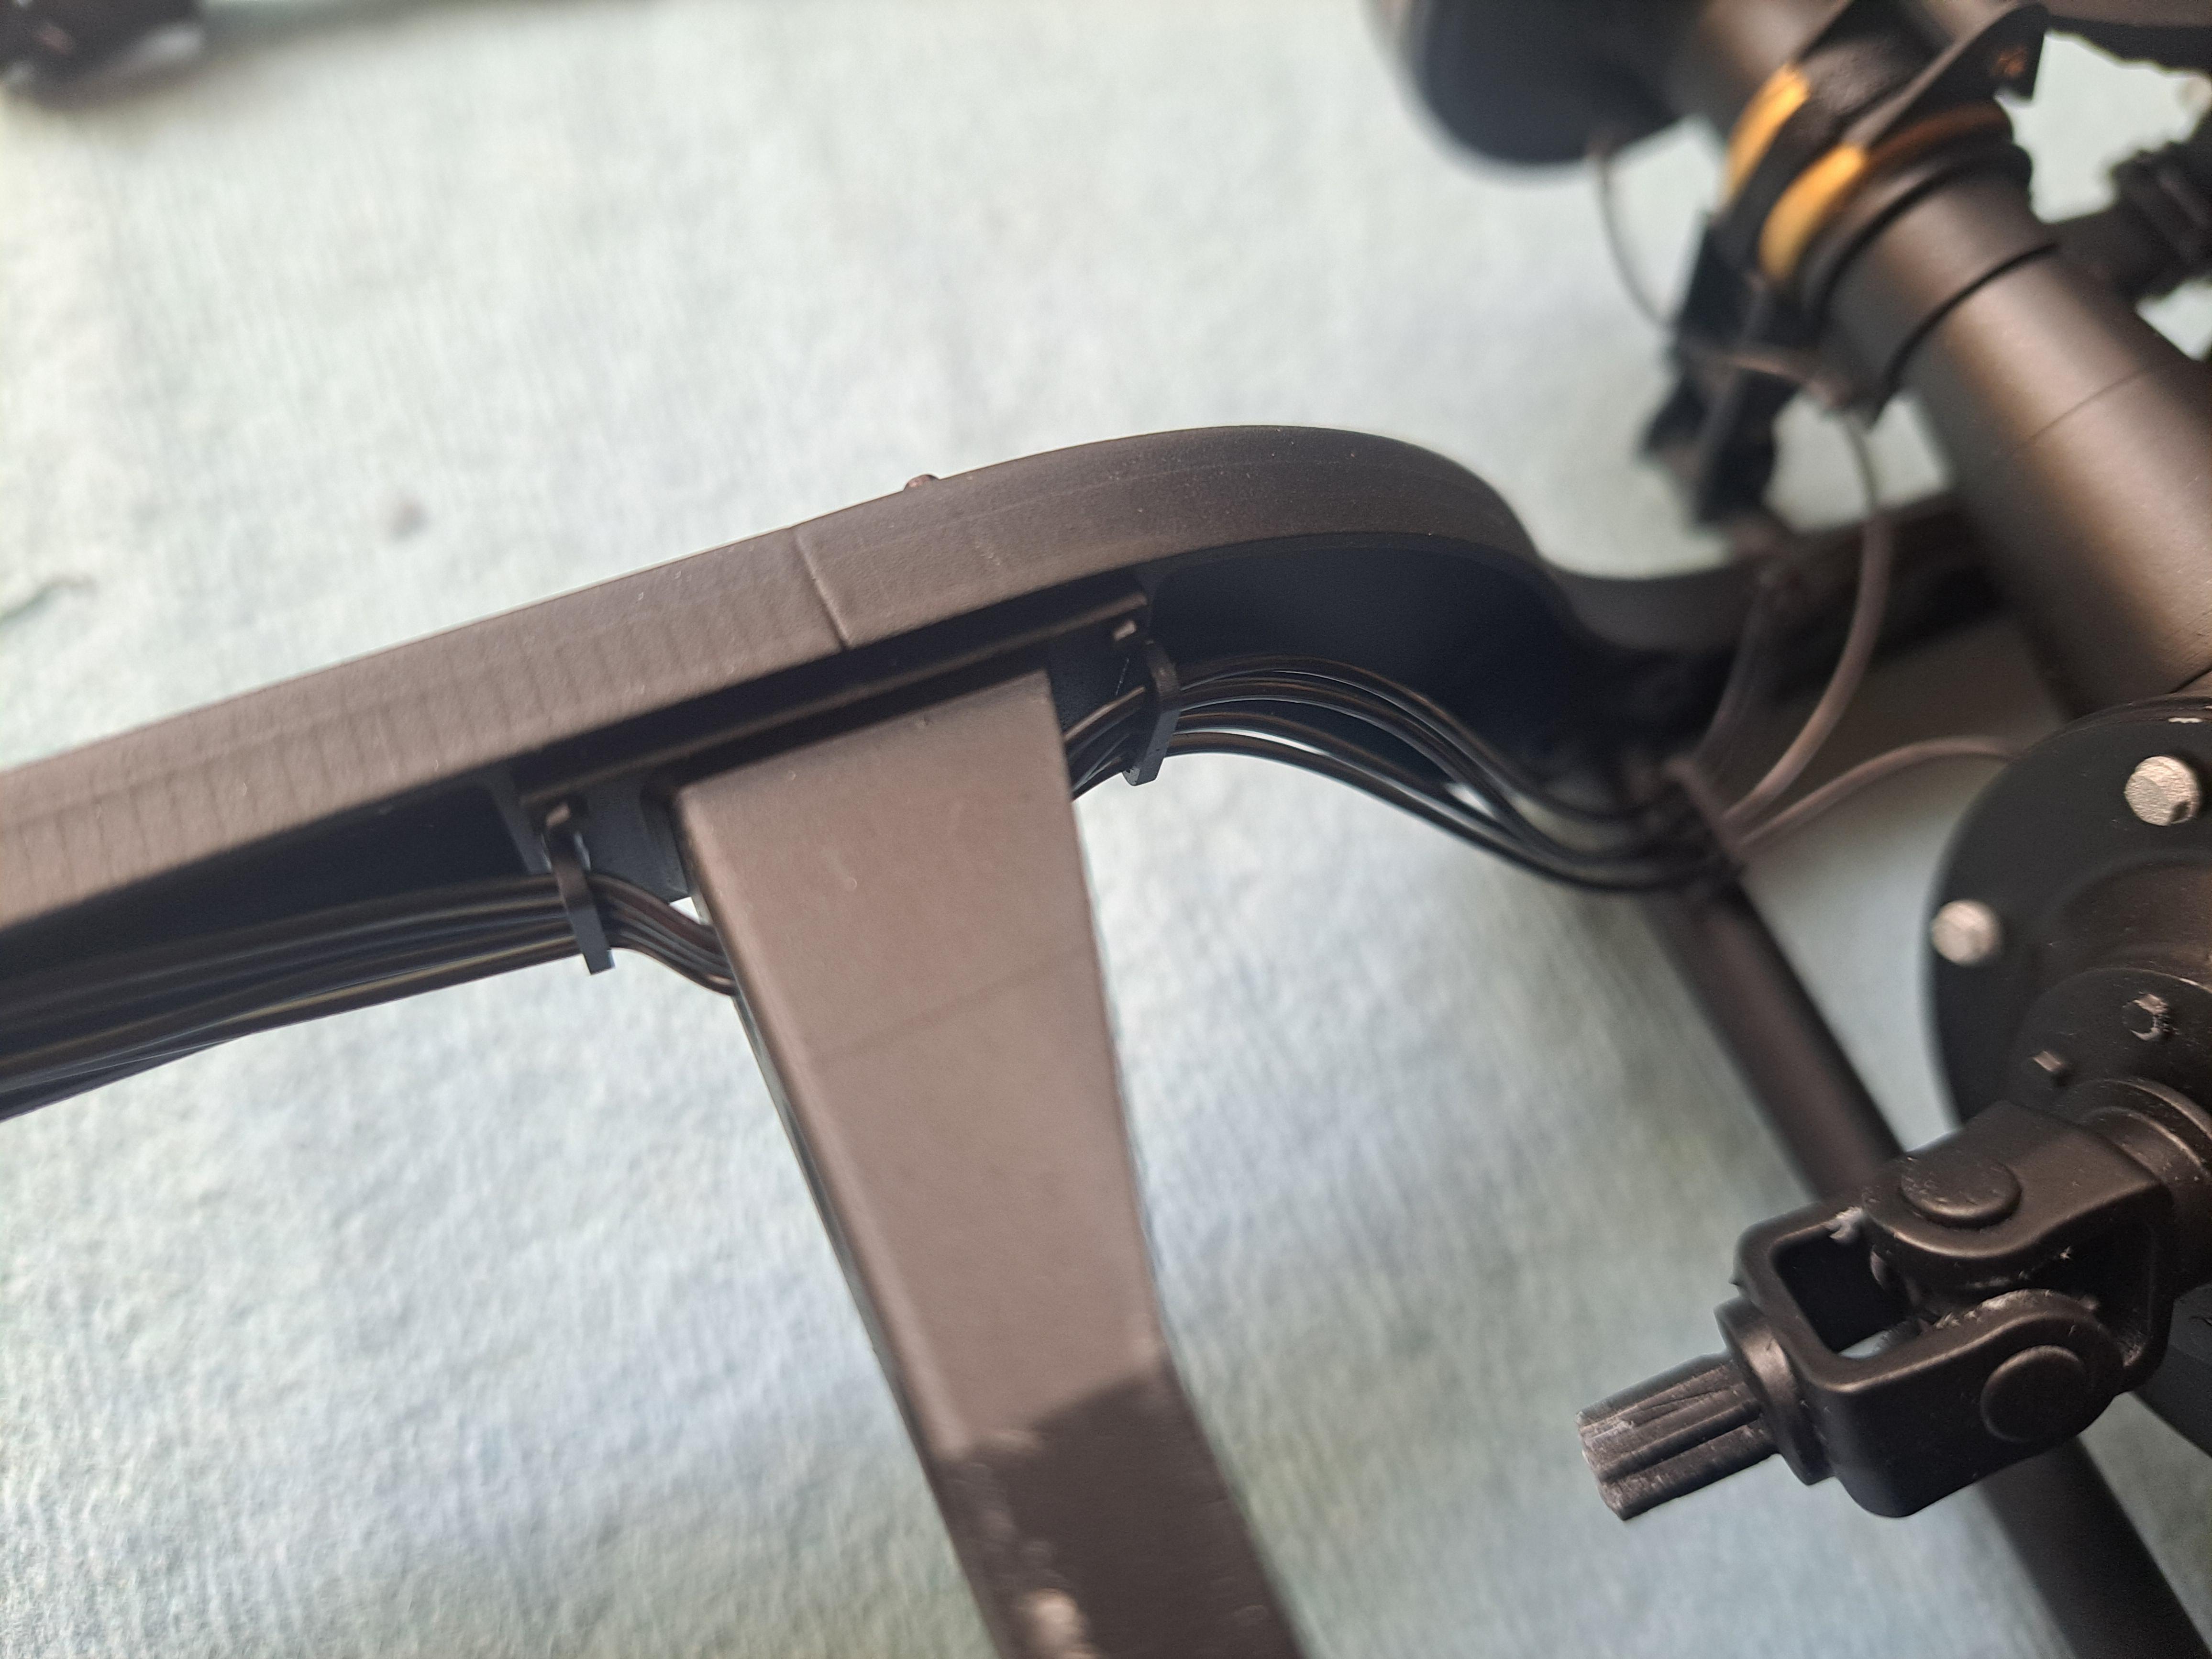
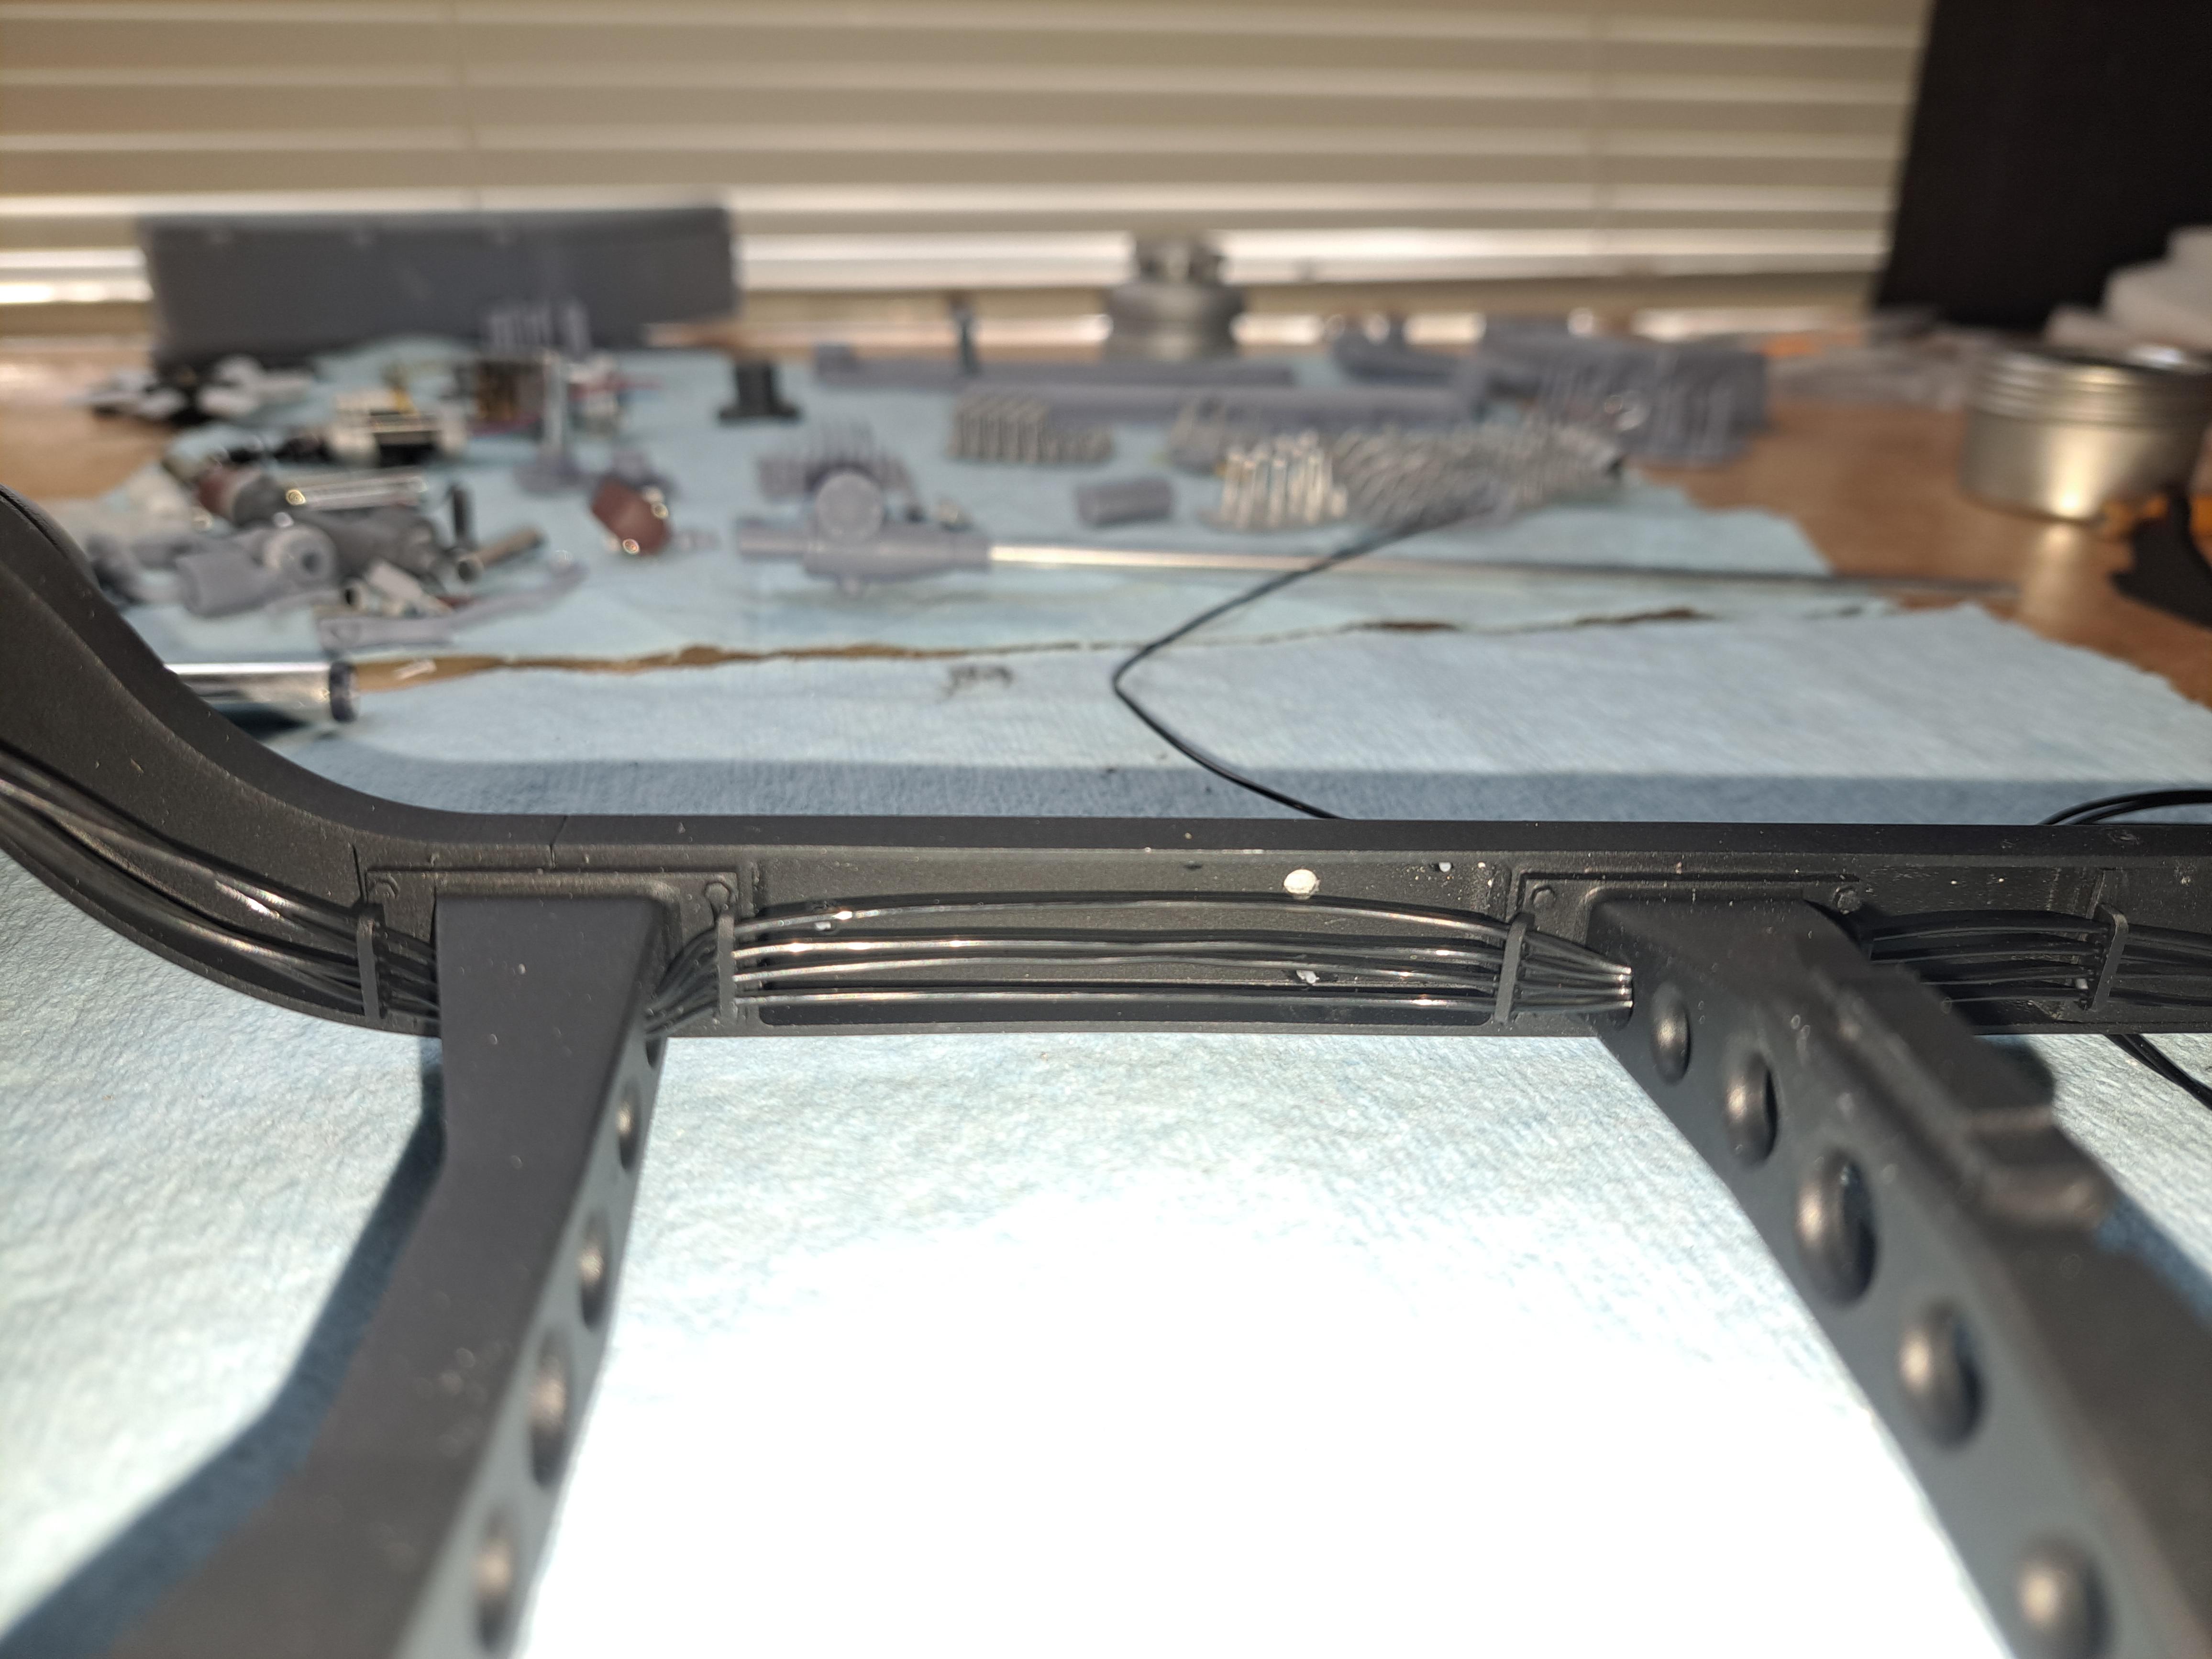
I dry fitted the rear suspension with both rear axels, althought not easy to get in place, everything seems to fit perfectly. I installed the brake lines (black rubber hoses) that will eventualy be routed towards the firewall and brake booster. Similar lines will also come from the front brakes.

20250312_212951.jpg.6d486c0ec2b37d102d8ea3416b866543.jpg


20250312_213040.jpg.b3cfe359d4565fbf583301eedfaad57f.jpg


20250312_213157.jpg.683e3ab6f210ed24d25aa0d40558e517.jpg


20250312_213213.jpg.2b1569953834006a157a715750d639bc.jpg
 
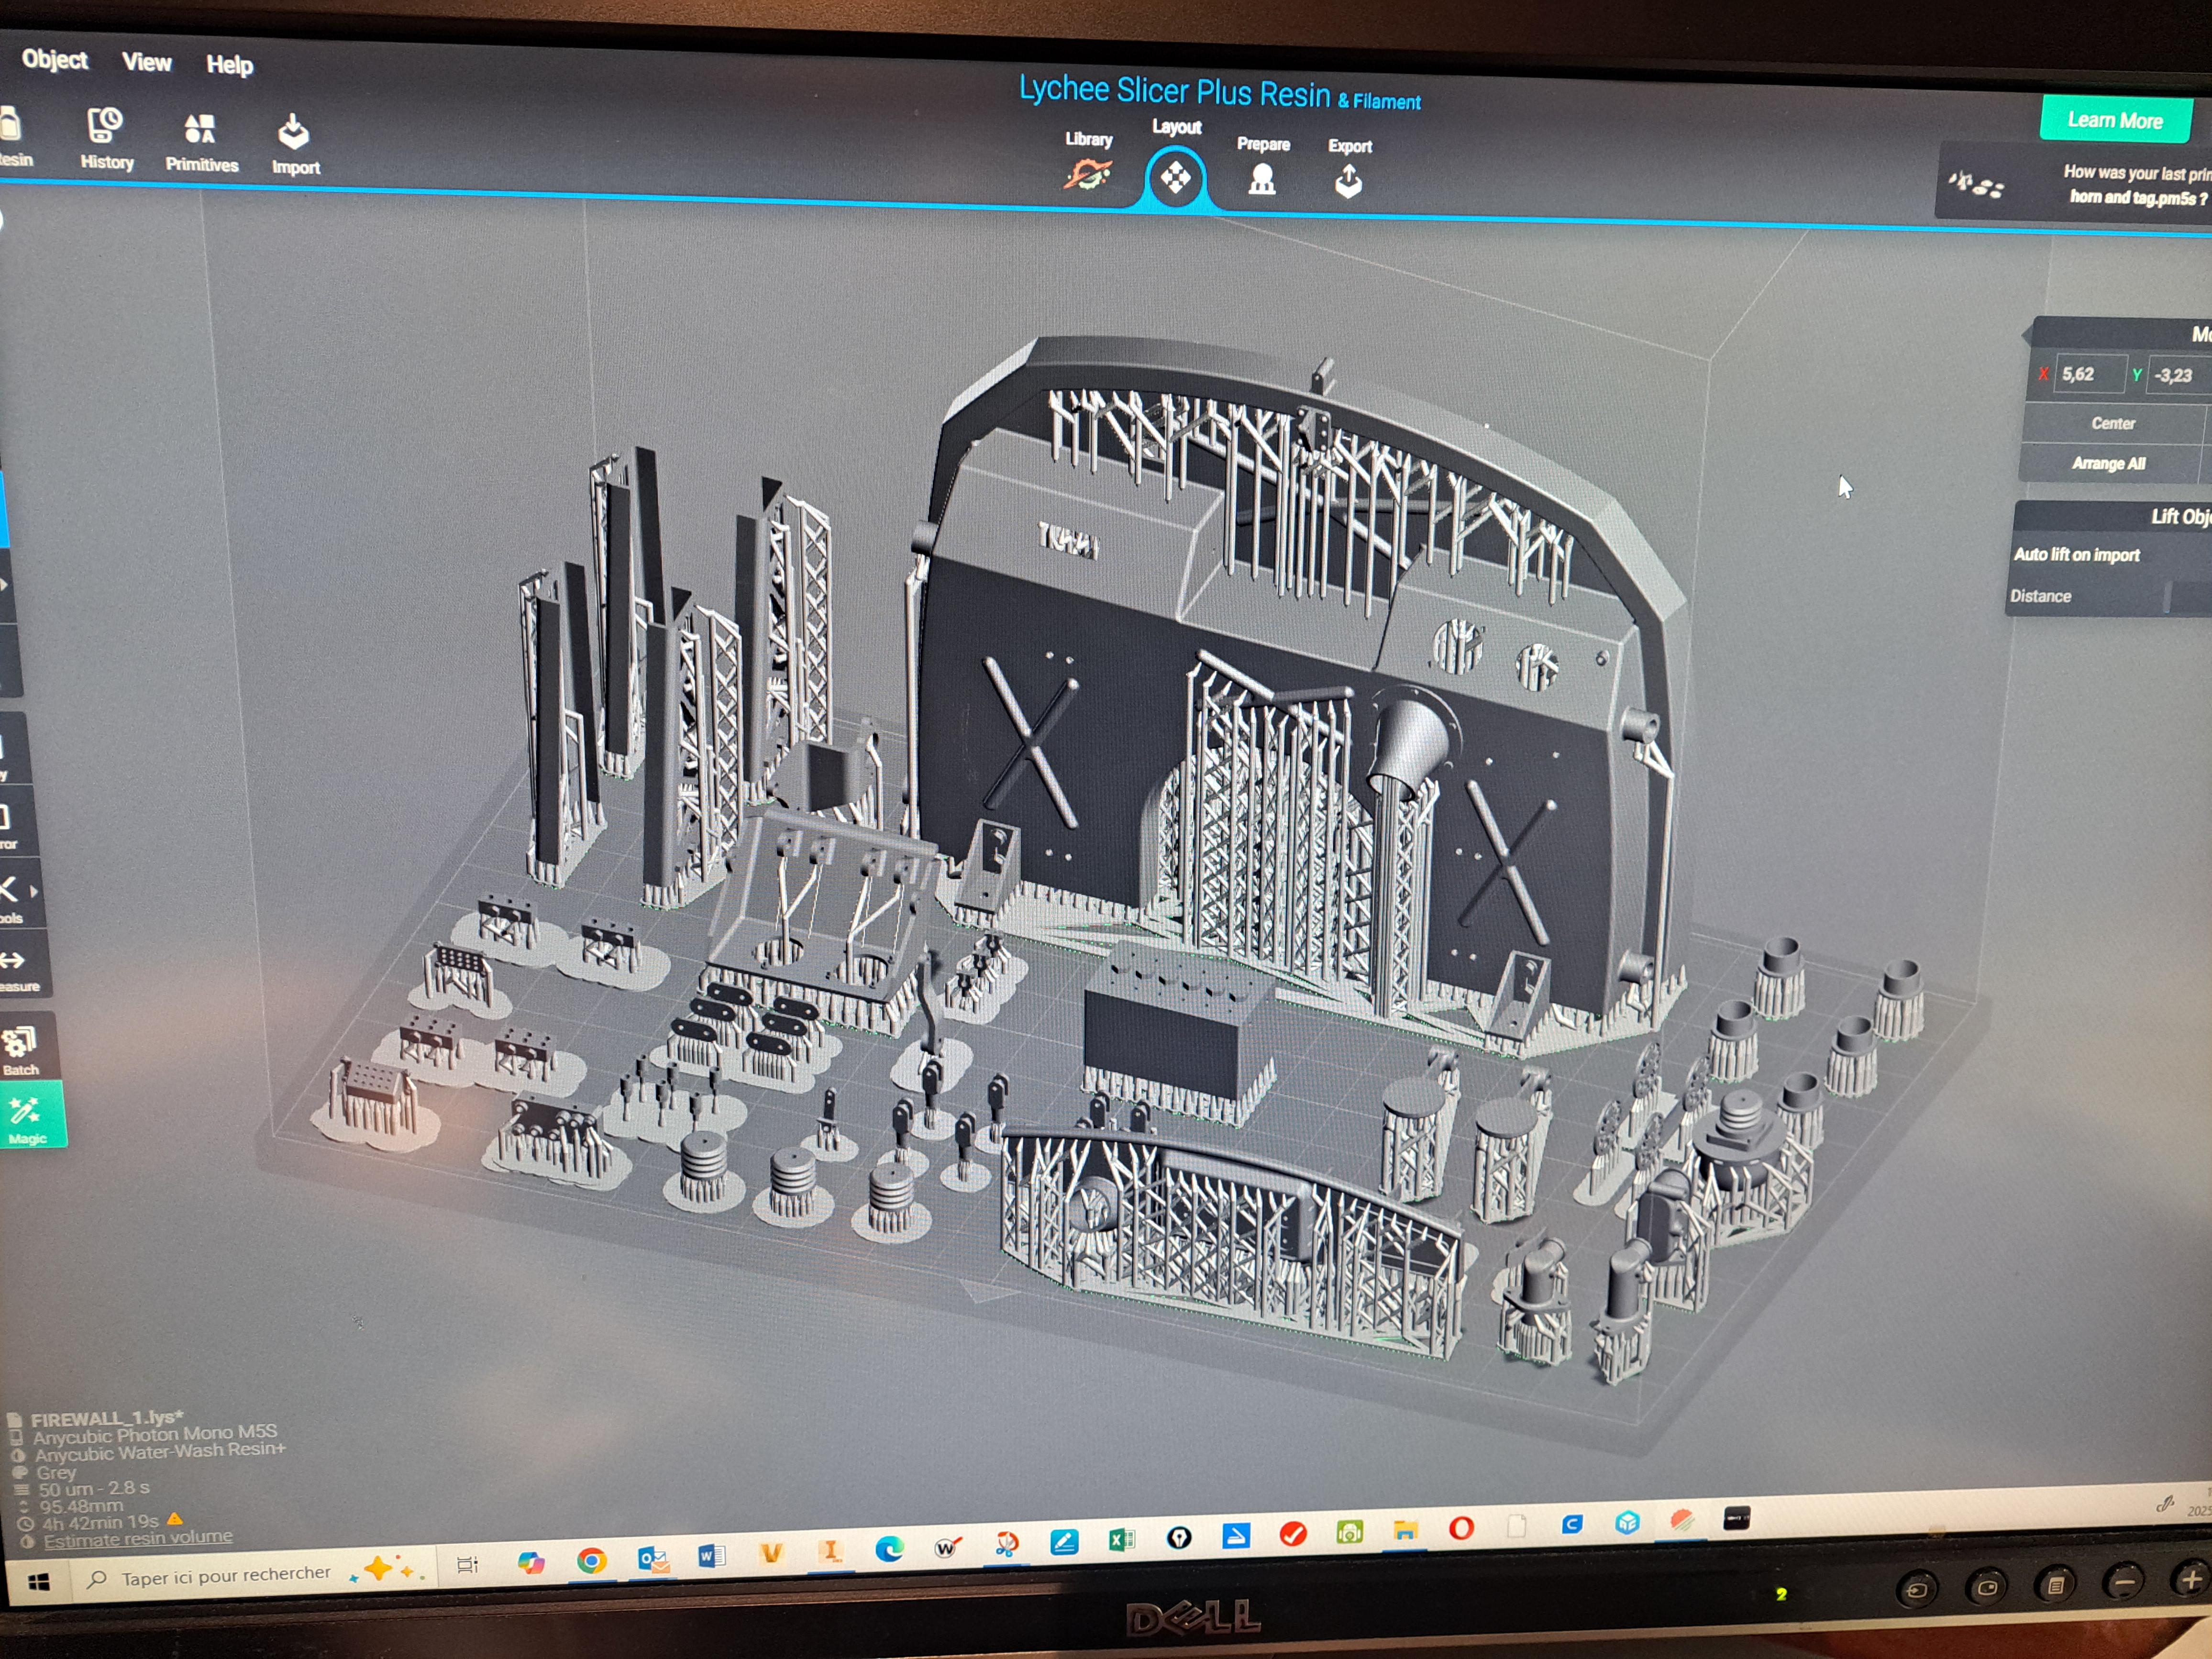
Just looking at the printer plate CAD it looks like a large percentage of product goes into the support framework. Just curious but do you know what to allow for framework vs final product?
 
Daniel, it always depends on the complexity of the parts to be printed. On this particular plate, it's about 2x more for the supports. But the firewall (the large part) is very big and tall so it requiered a lot of supports. Sometimes, it can be 50/50 and it can even be more parts and less supports.
 
A lot was done today.

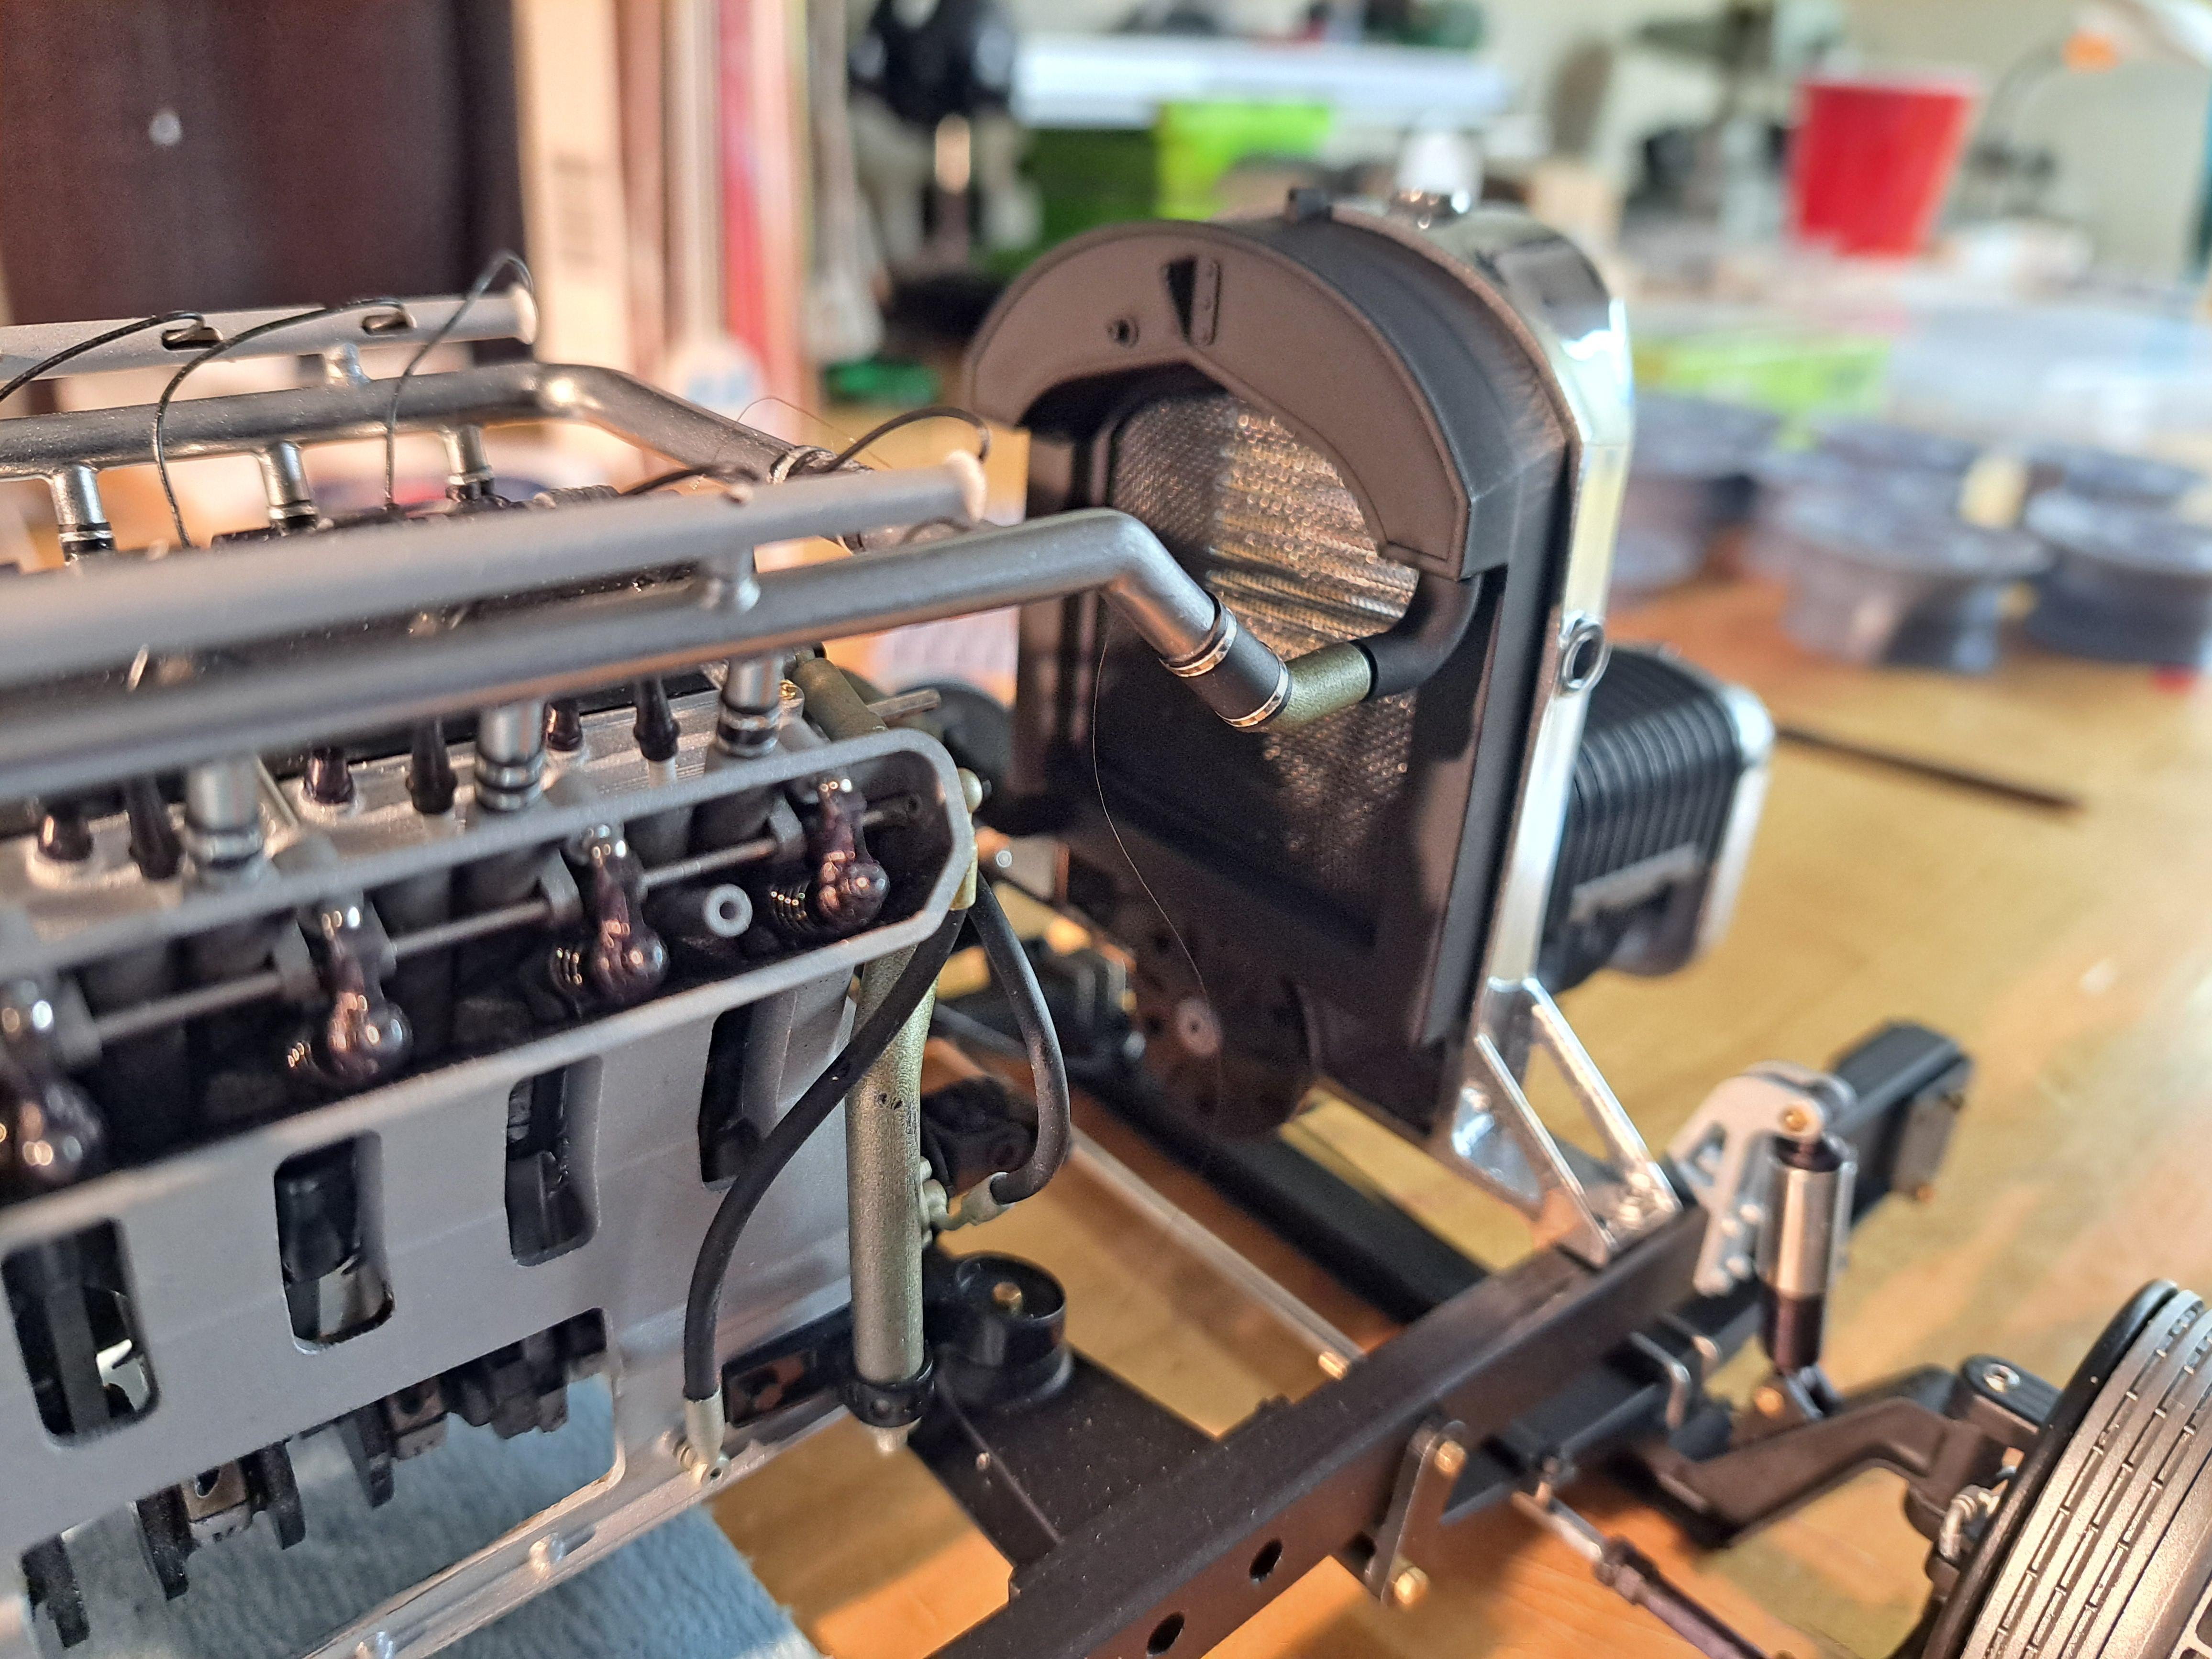
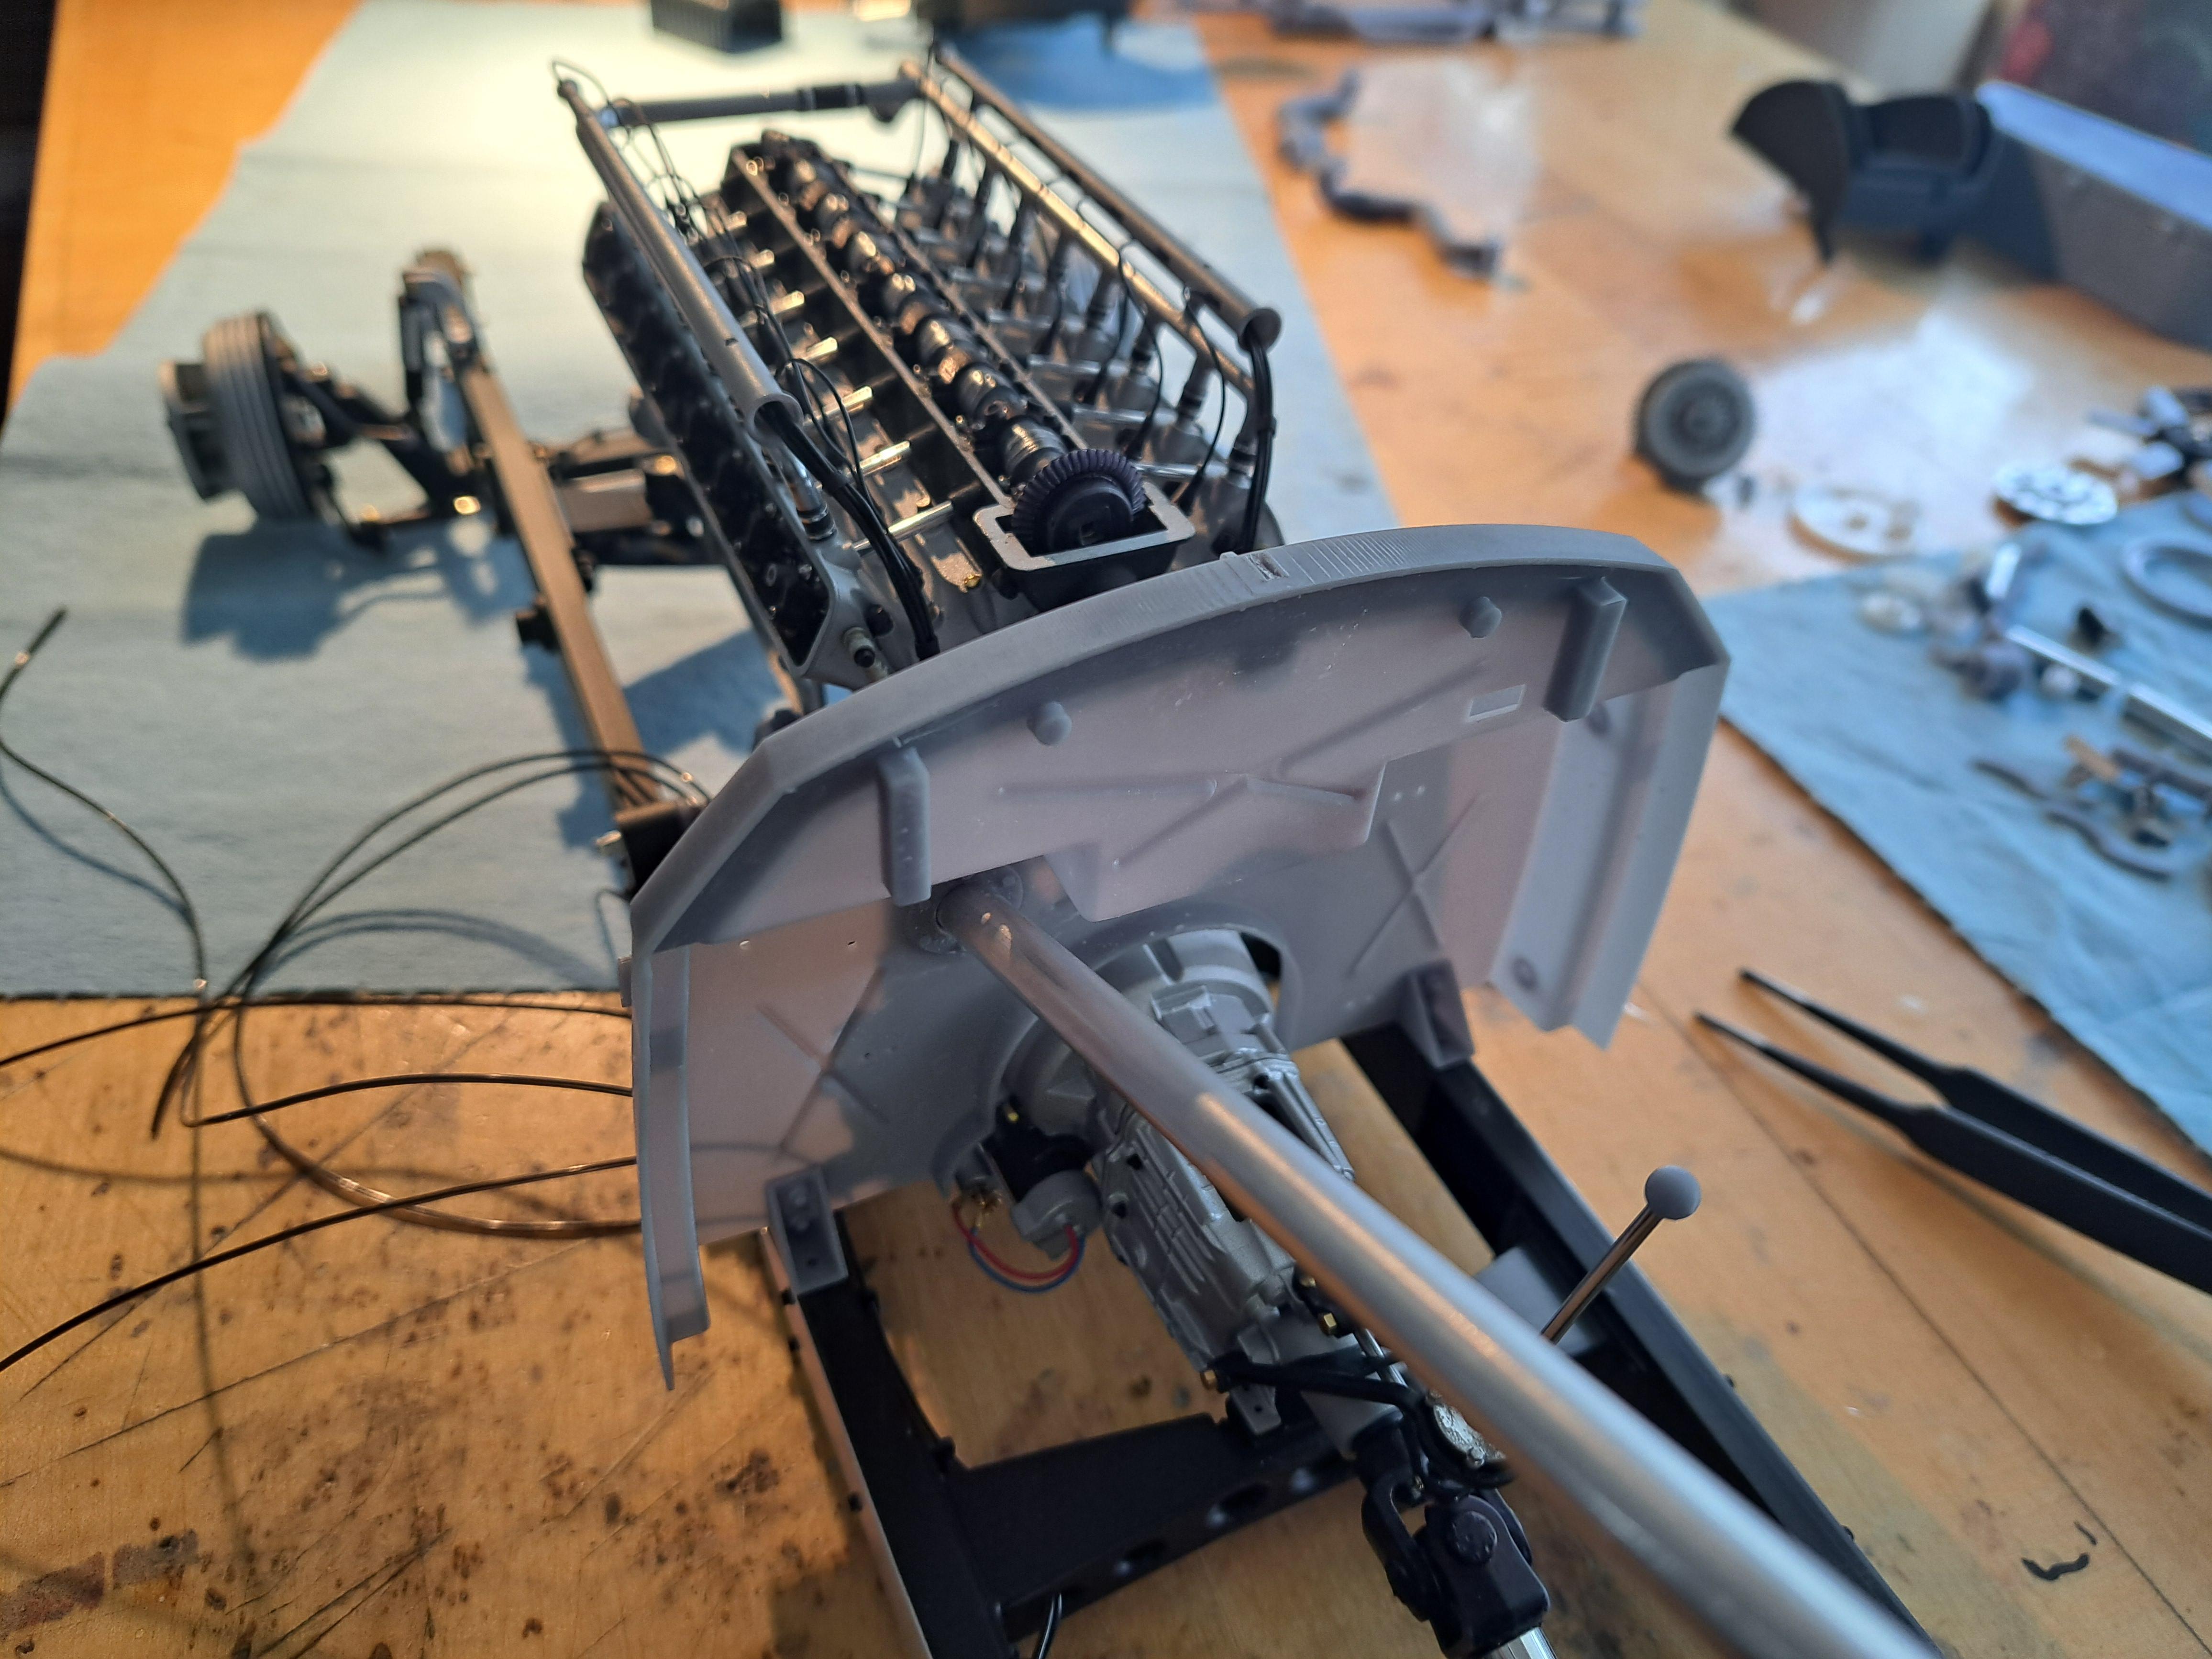
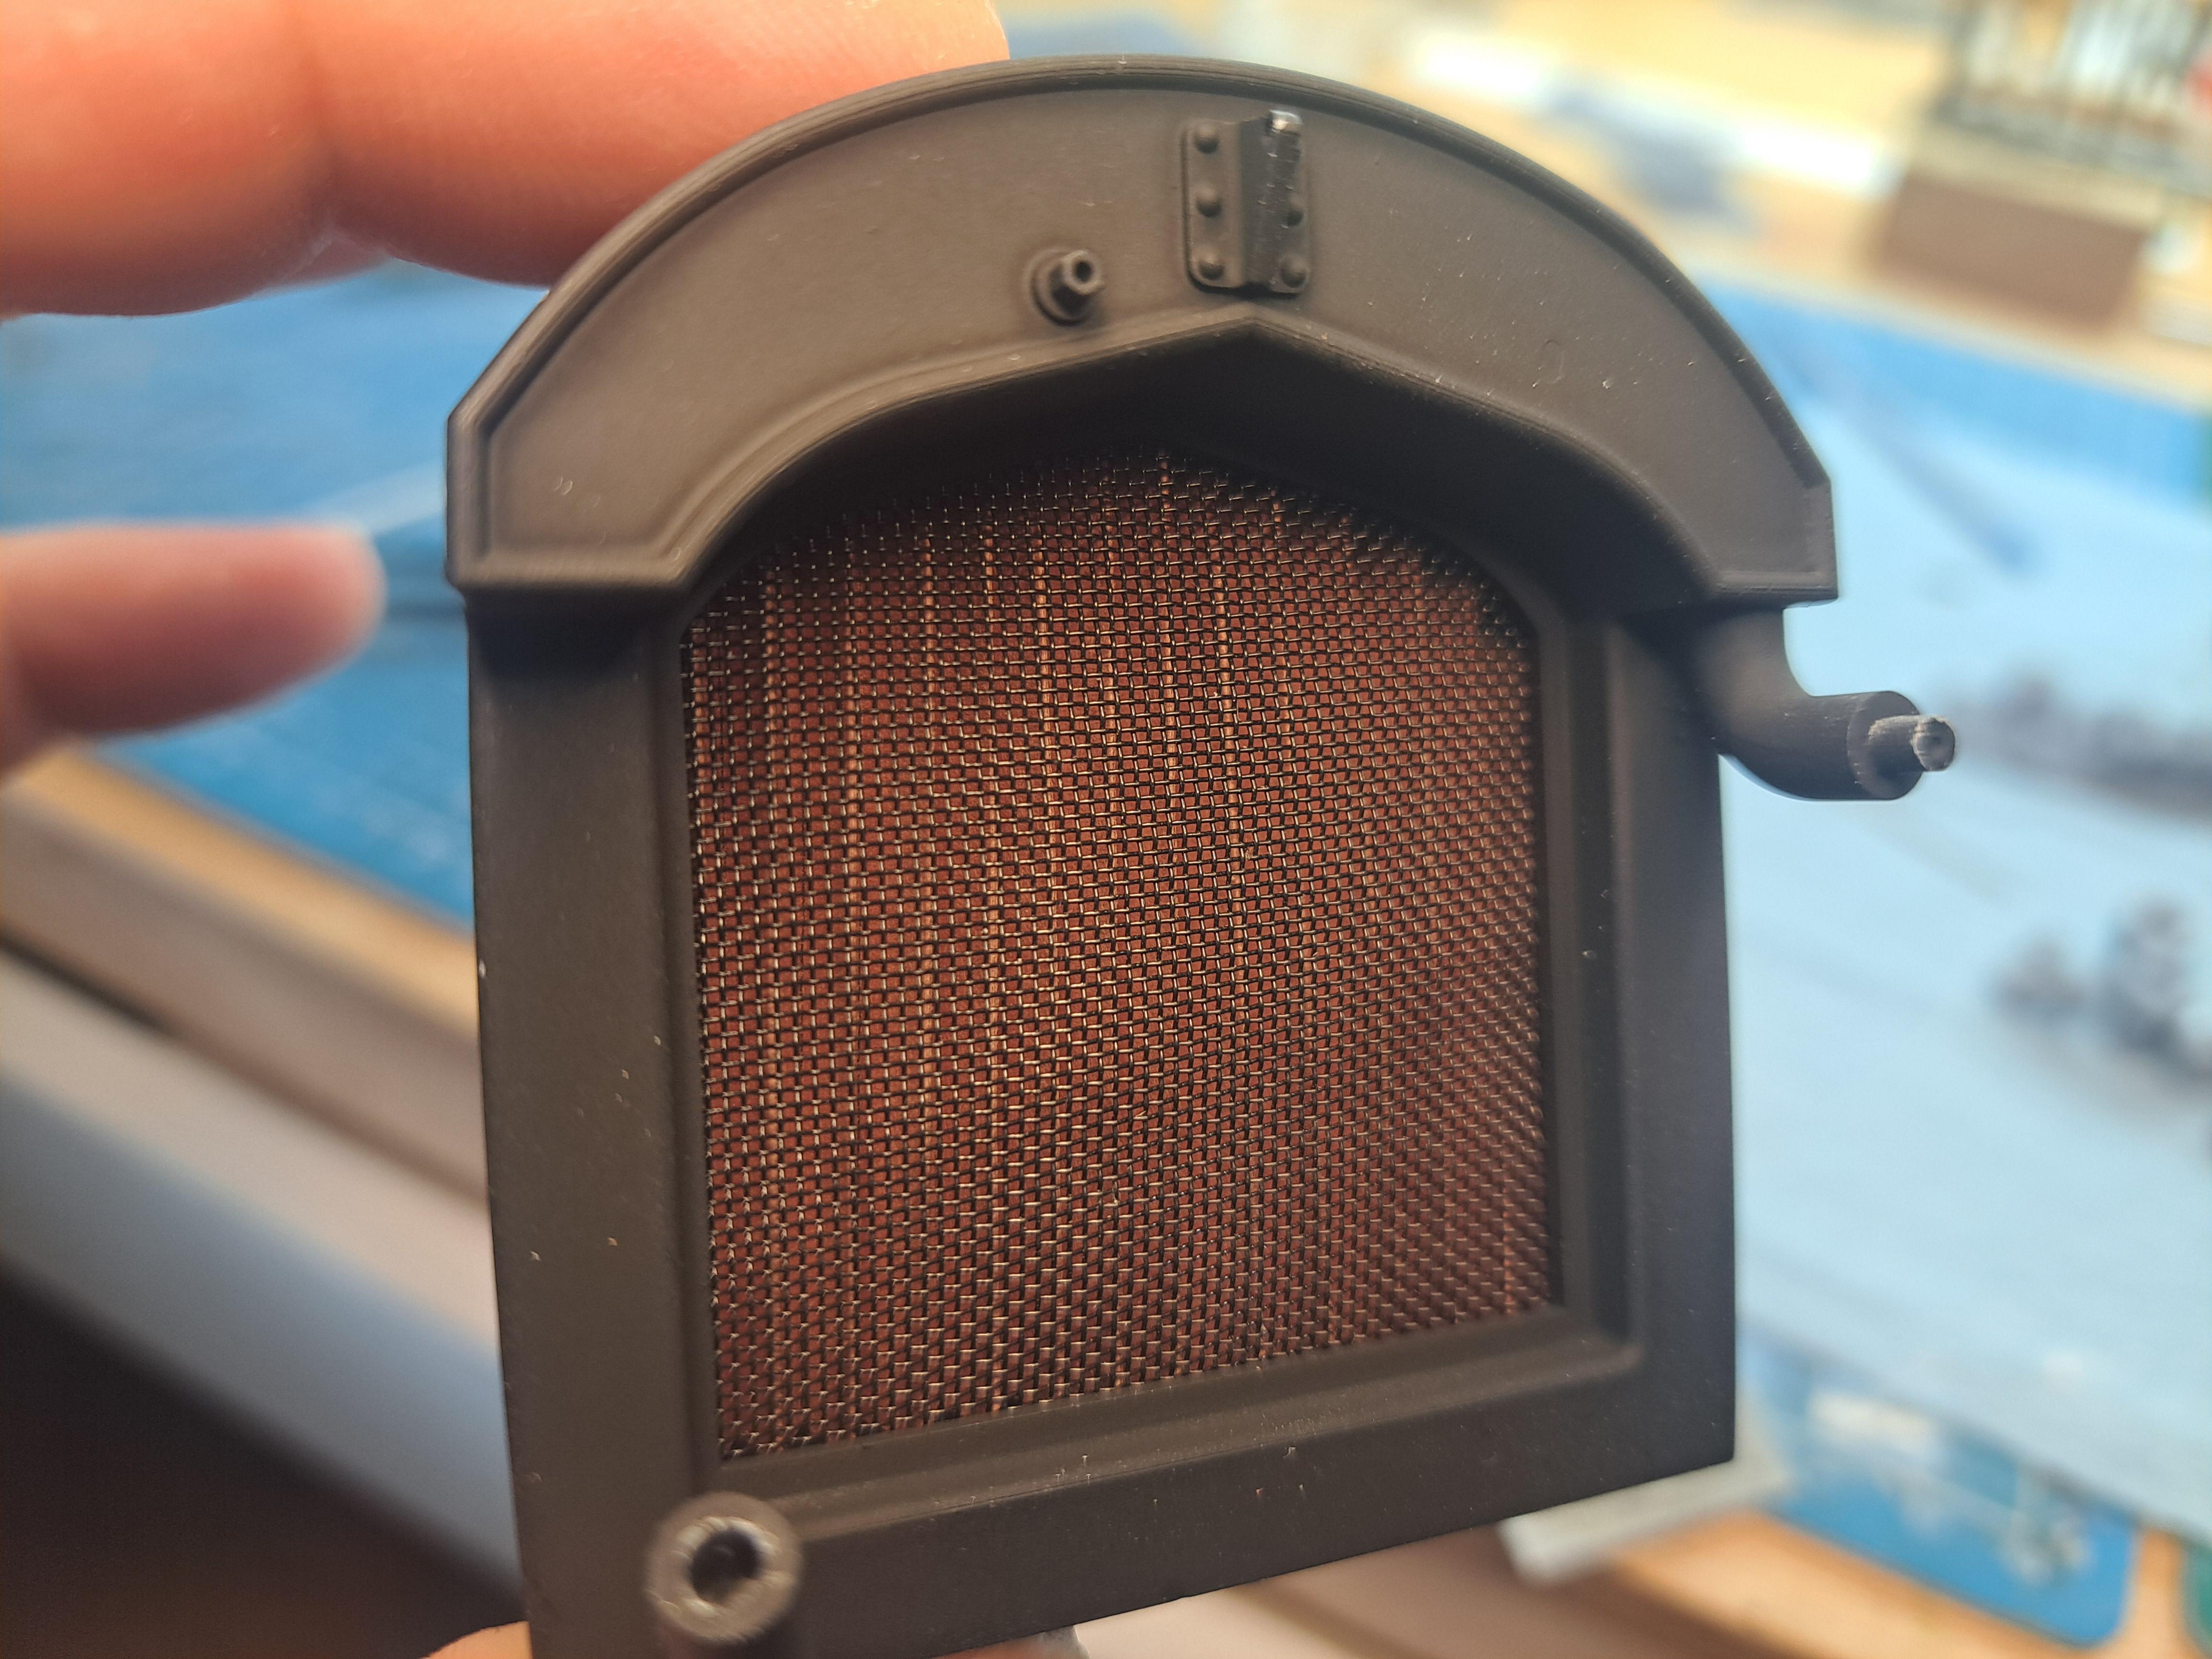
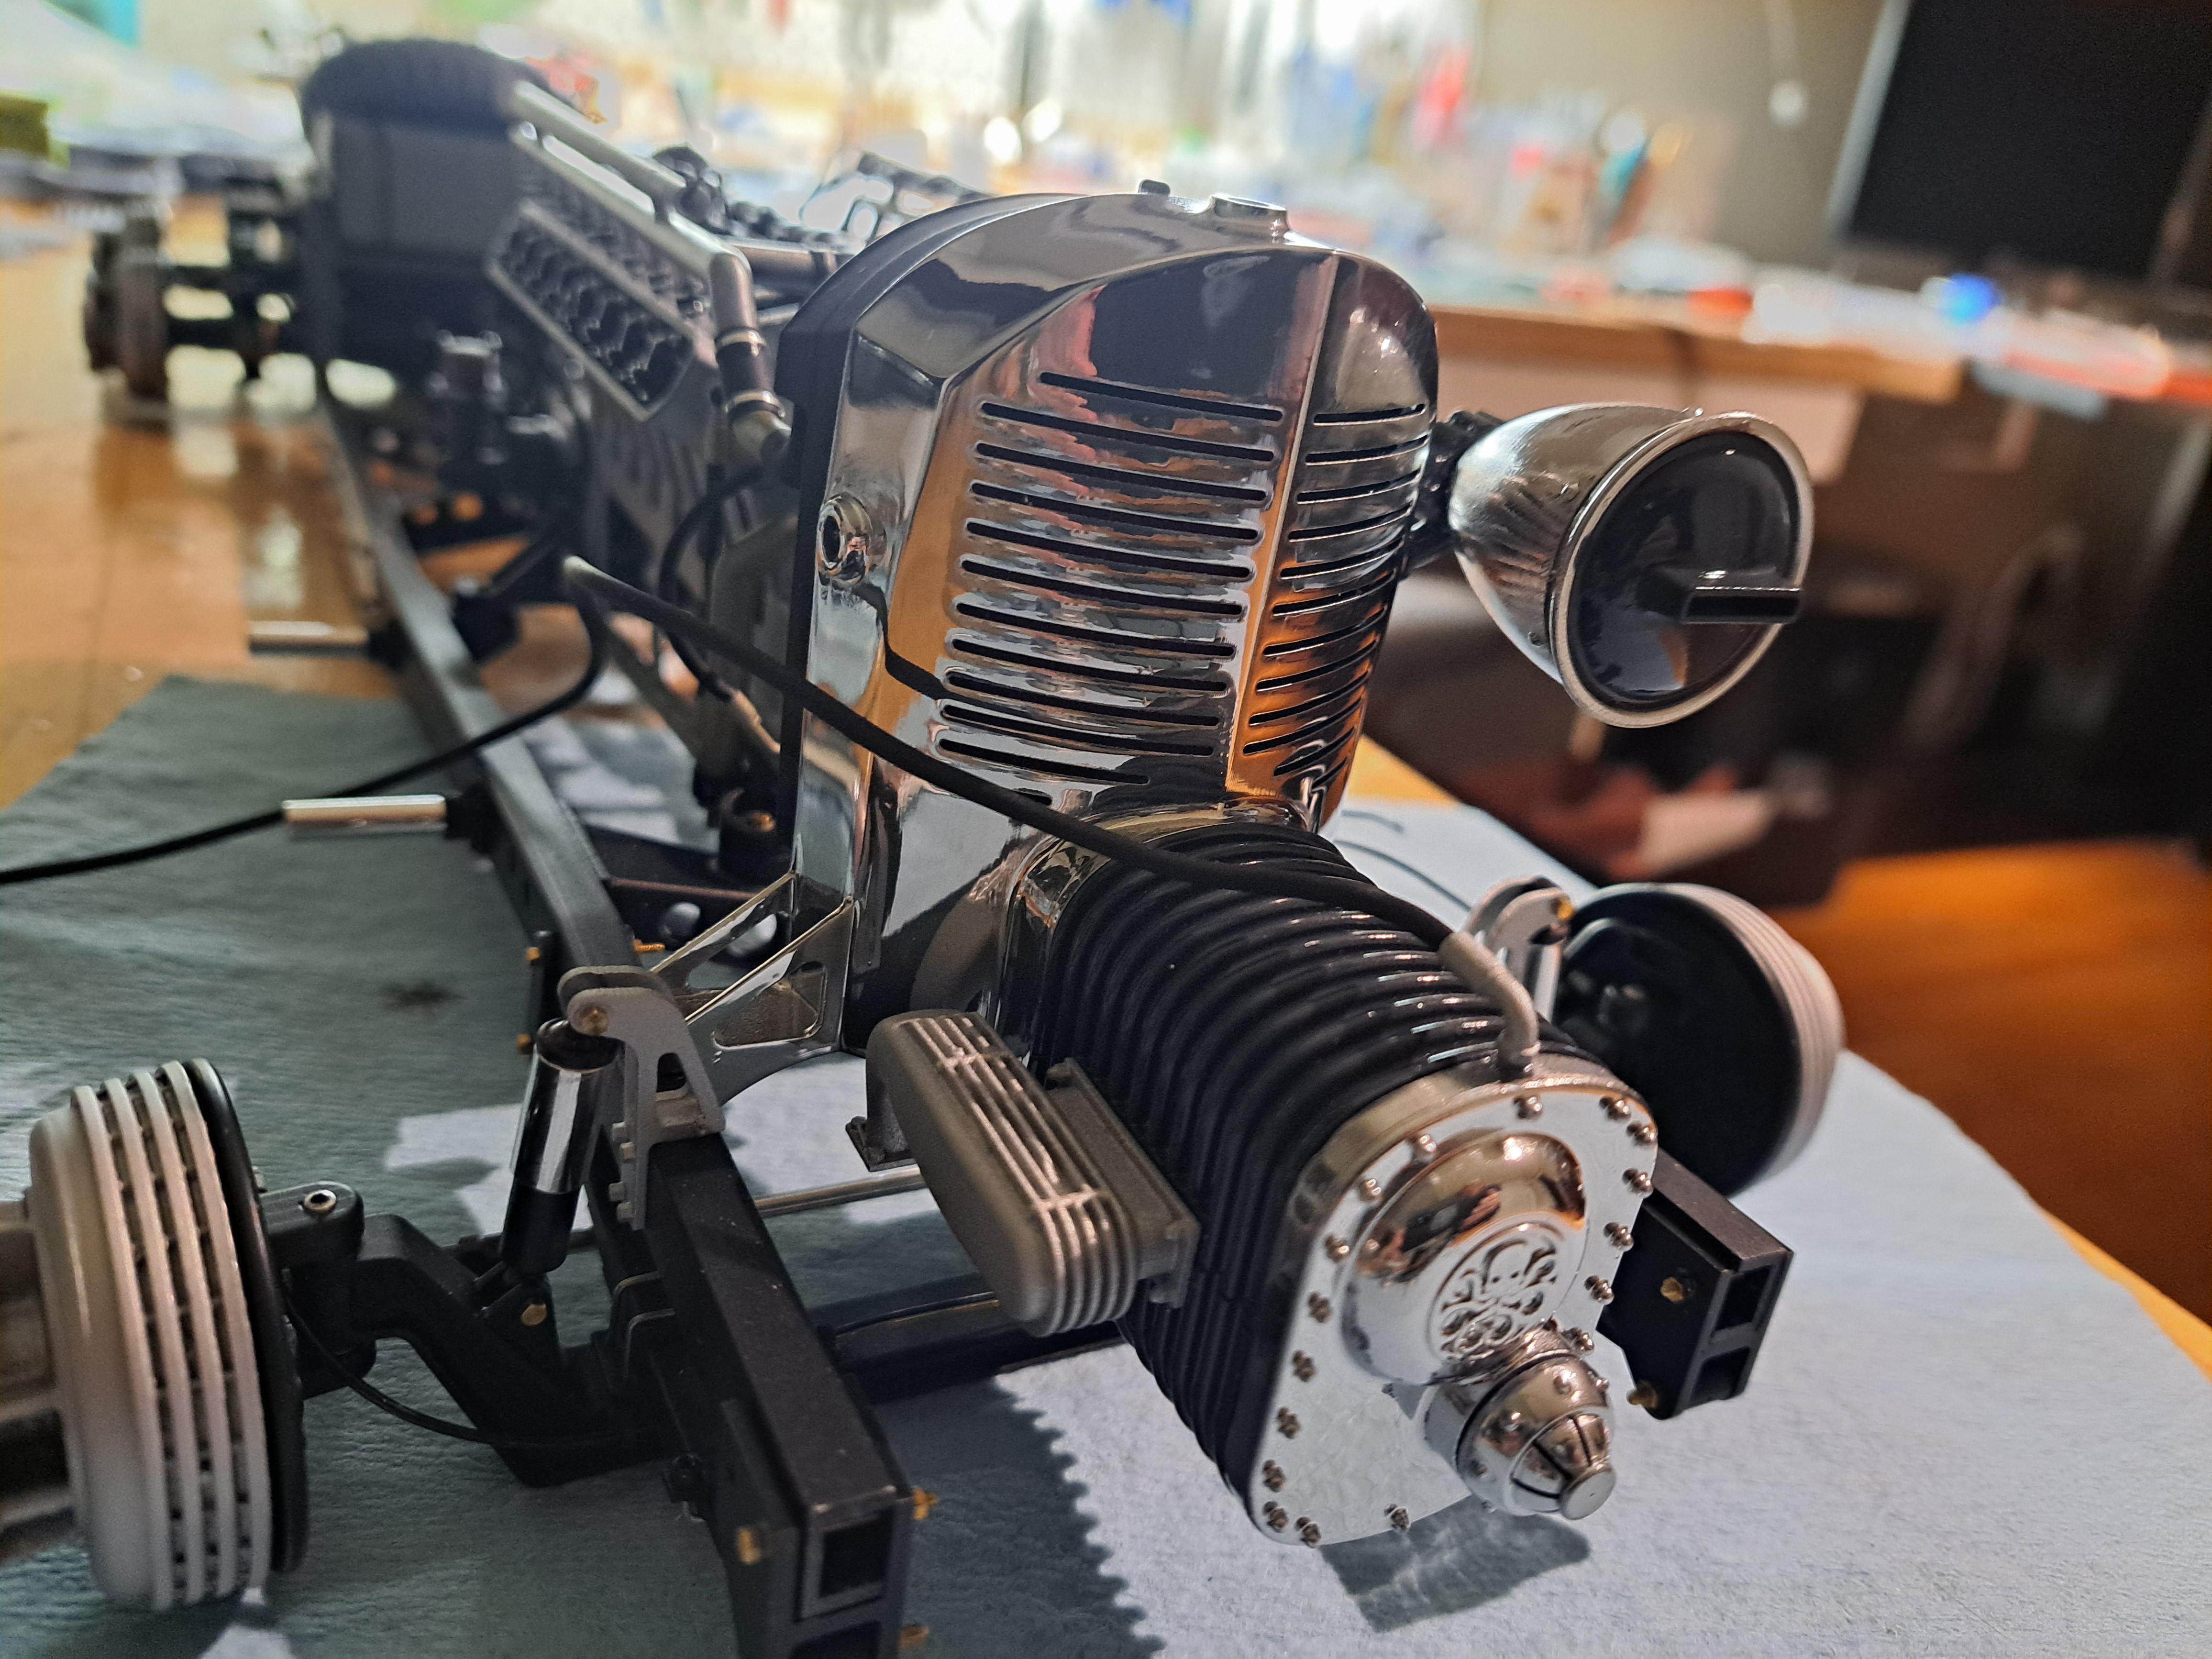
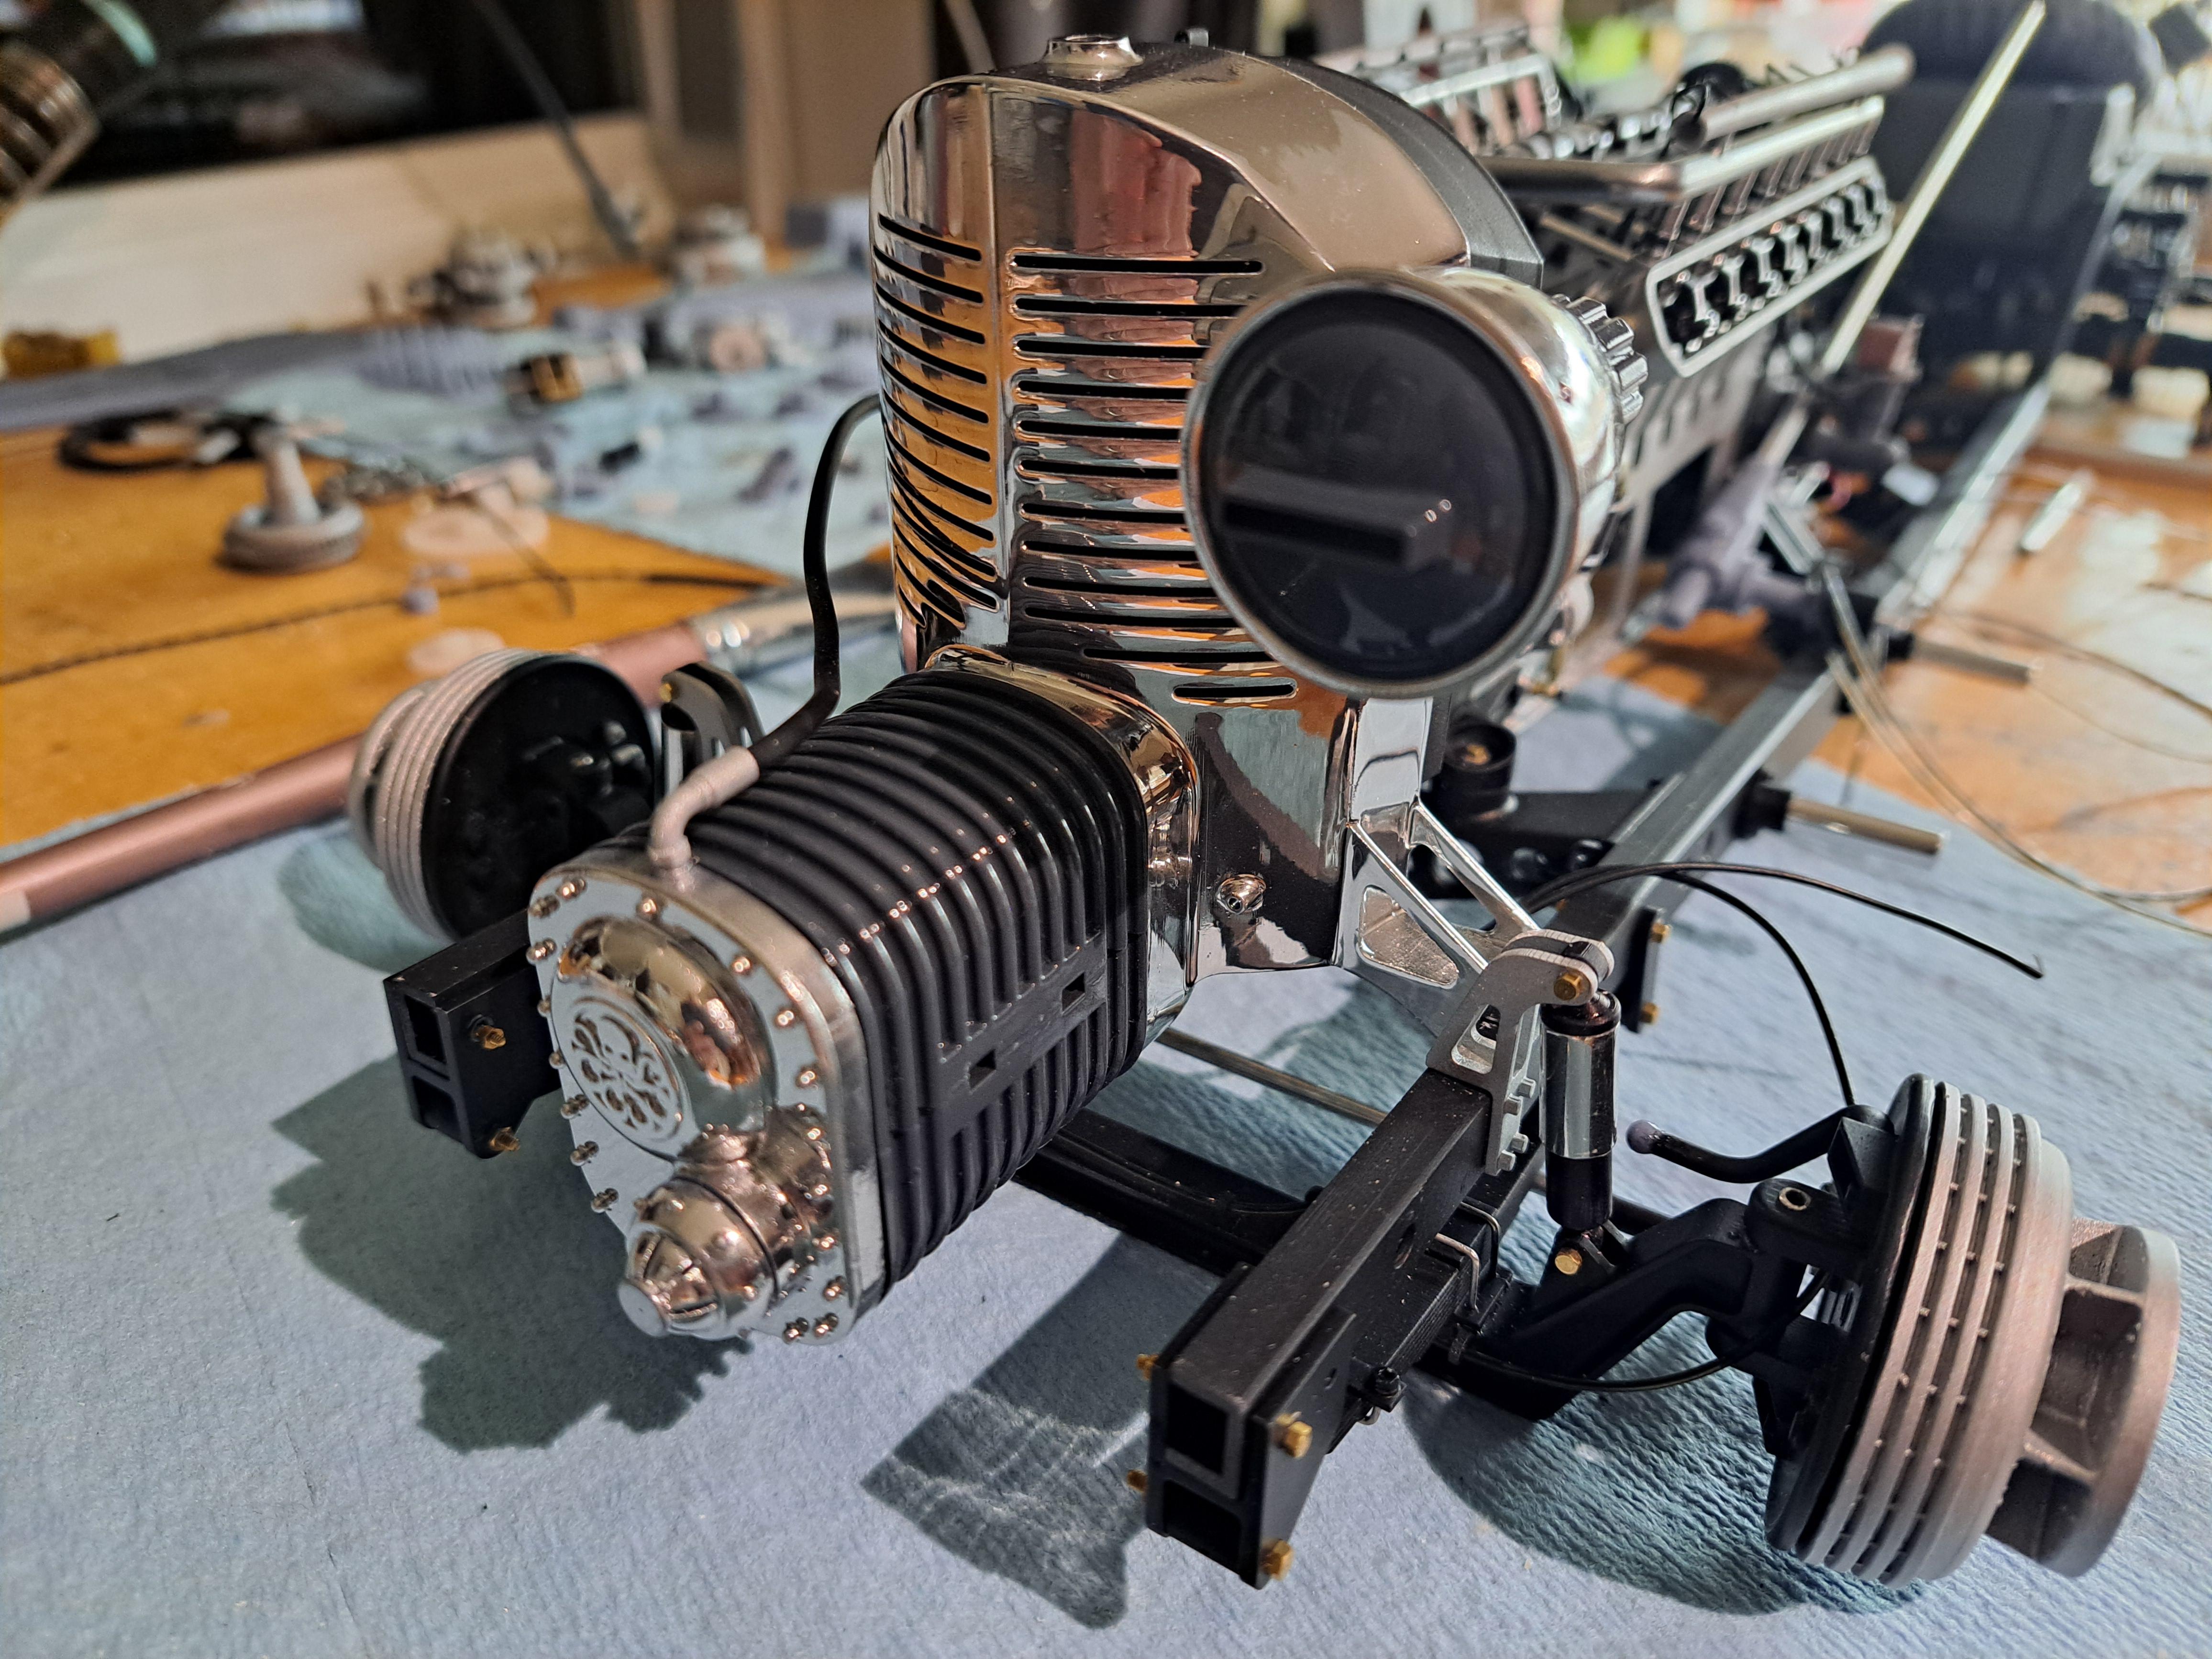
I printed all the parts for the firewall assembly and they are ready for paint. I test fitted the firewall on the frame and it fit perfectly. I test printed the steering wheel, first print not perfect but the second should be good. I completed the radiator core with a fine wiremesh and pleated core. I threaded the gearmotor leads thru a rubber hose to hide them and started to install the head lights. Unfortunately, I scratched one of the head light bucket so I had to rechrome it. I'll have to wait a couple of weeks before installing it.

Firewall parts ready for paint

20250326_211955.jpg.11932289b924d850b9686d1c6d9e6580.jpg


Test fitting of firewall

20250326_095619.jpg.3dfa75914164e051134d19ae6e88689e.jpg


20250326_095626.jpg.95c227bfa06e7fe8699dbeaae4d01e8c.jpg


Steering wheel test print

20250326_212132.jpg.ebbb47d668448b410526d8a5dbbbb523.jpg


Completed radiator core

20250326_144622.jpg.543c7e0802edd28b7906706248aebf6f.jpg


Threading gearmotor leads

20250326_114316.jpg.a7a9eec3192ef5763cfb107a2242efb3.jpg


20250326_121653.jpg.5b24d162ab7a2cf856f46a3a1ee13ffe.jpg


First of 4 head lights installed

20250326_211907.jpg.a2e692ea71c1d965a1f220436eb0c76a.jpg


20250326_211855.jpg.4980a3c18963e7fee9850731784ab689.jpg
 
I love your work Francois! I would really like to CAD my own model and print it in the future. Currently I am working 50 hrs a week and my hobby time is limited to evenings only, which usually leads to sleep deprivation! ROTF
And I have too many kits still waiting to be built to embark on a project like that. But that’s my goal once I retire. You are fortunate to have the time, equipment and skill set to pull this off. I hope to be there one day! ;)
 
Back
Top