
Thanks Dean, I did the 50 hrs a week thing and thank god that's over... oh wait, I'm still doing 50 hrs a weeks but now it's on my models!! Much less stressfull.
Last edited:

 |
The beloved Ships in Scale Magazine is back and charting a new course for 2026! Discover new skills, new techniques, and new inspirations in every issue. NOTE THAT OUR NEXT ISSUE WILL BE MARCH/APRIL 2026 |
|
 |
As a way to introduce our brass coins to the community, we will raffle off a free coin during the month of August. Follow link ABOVE for instructions for entering. |
|
Thanks Dean, I did the 50 hrs a week thing and thank god that's over... oh wait, I'm still doing 50 hrs a weeks but now it's on my models!! Much less stressfull.
 Enjoy!


")


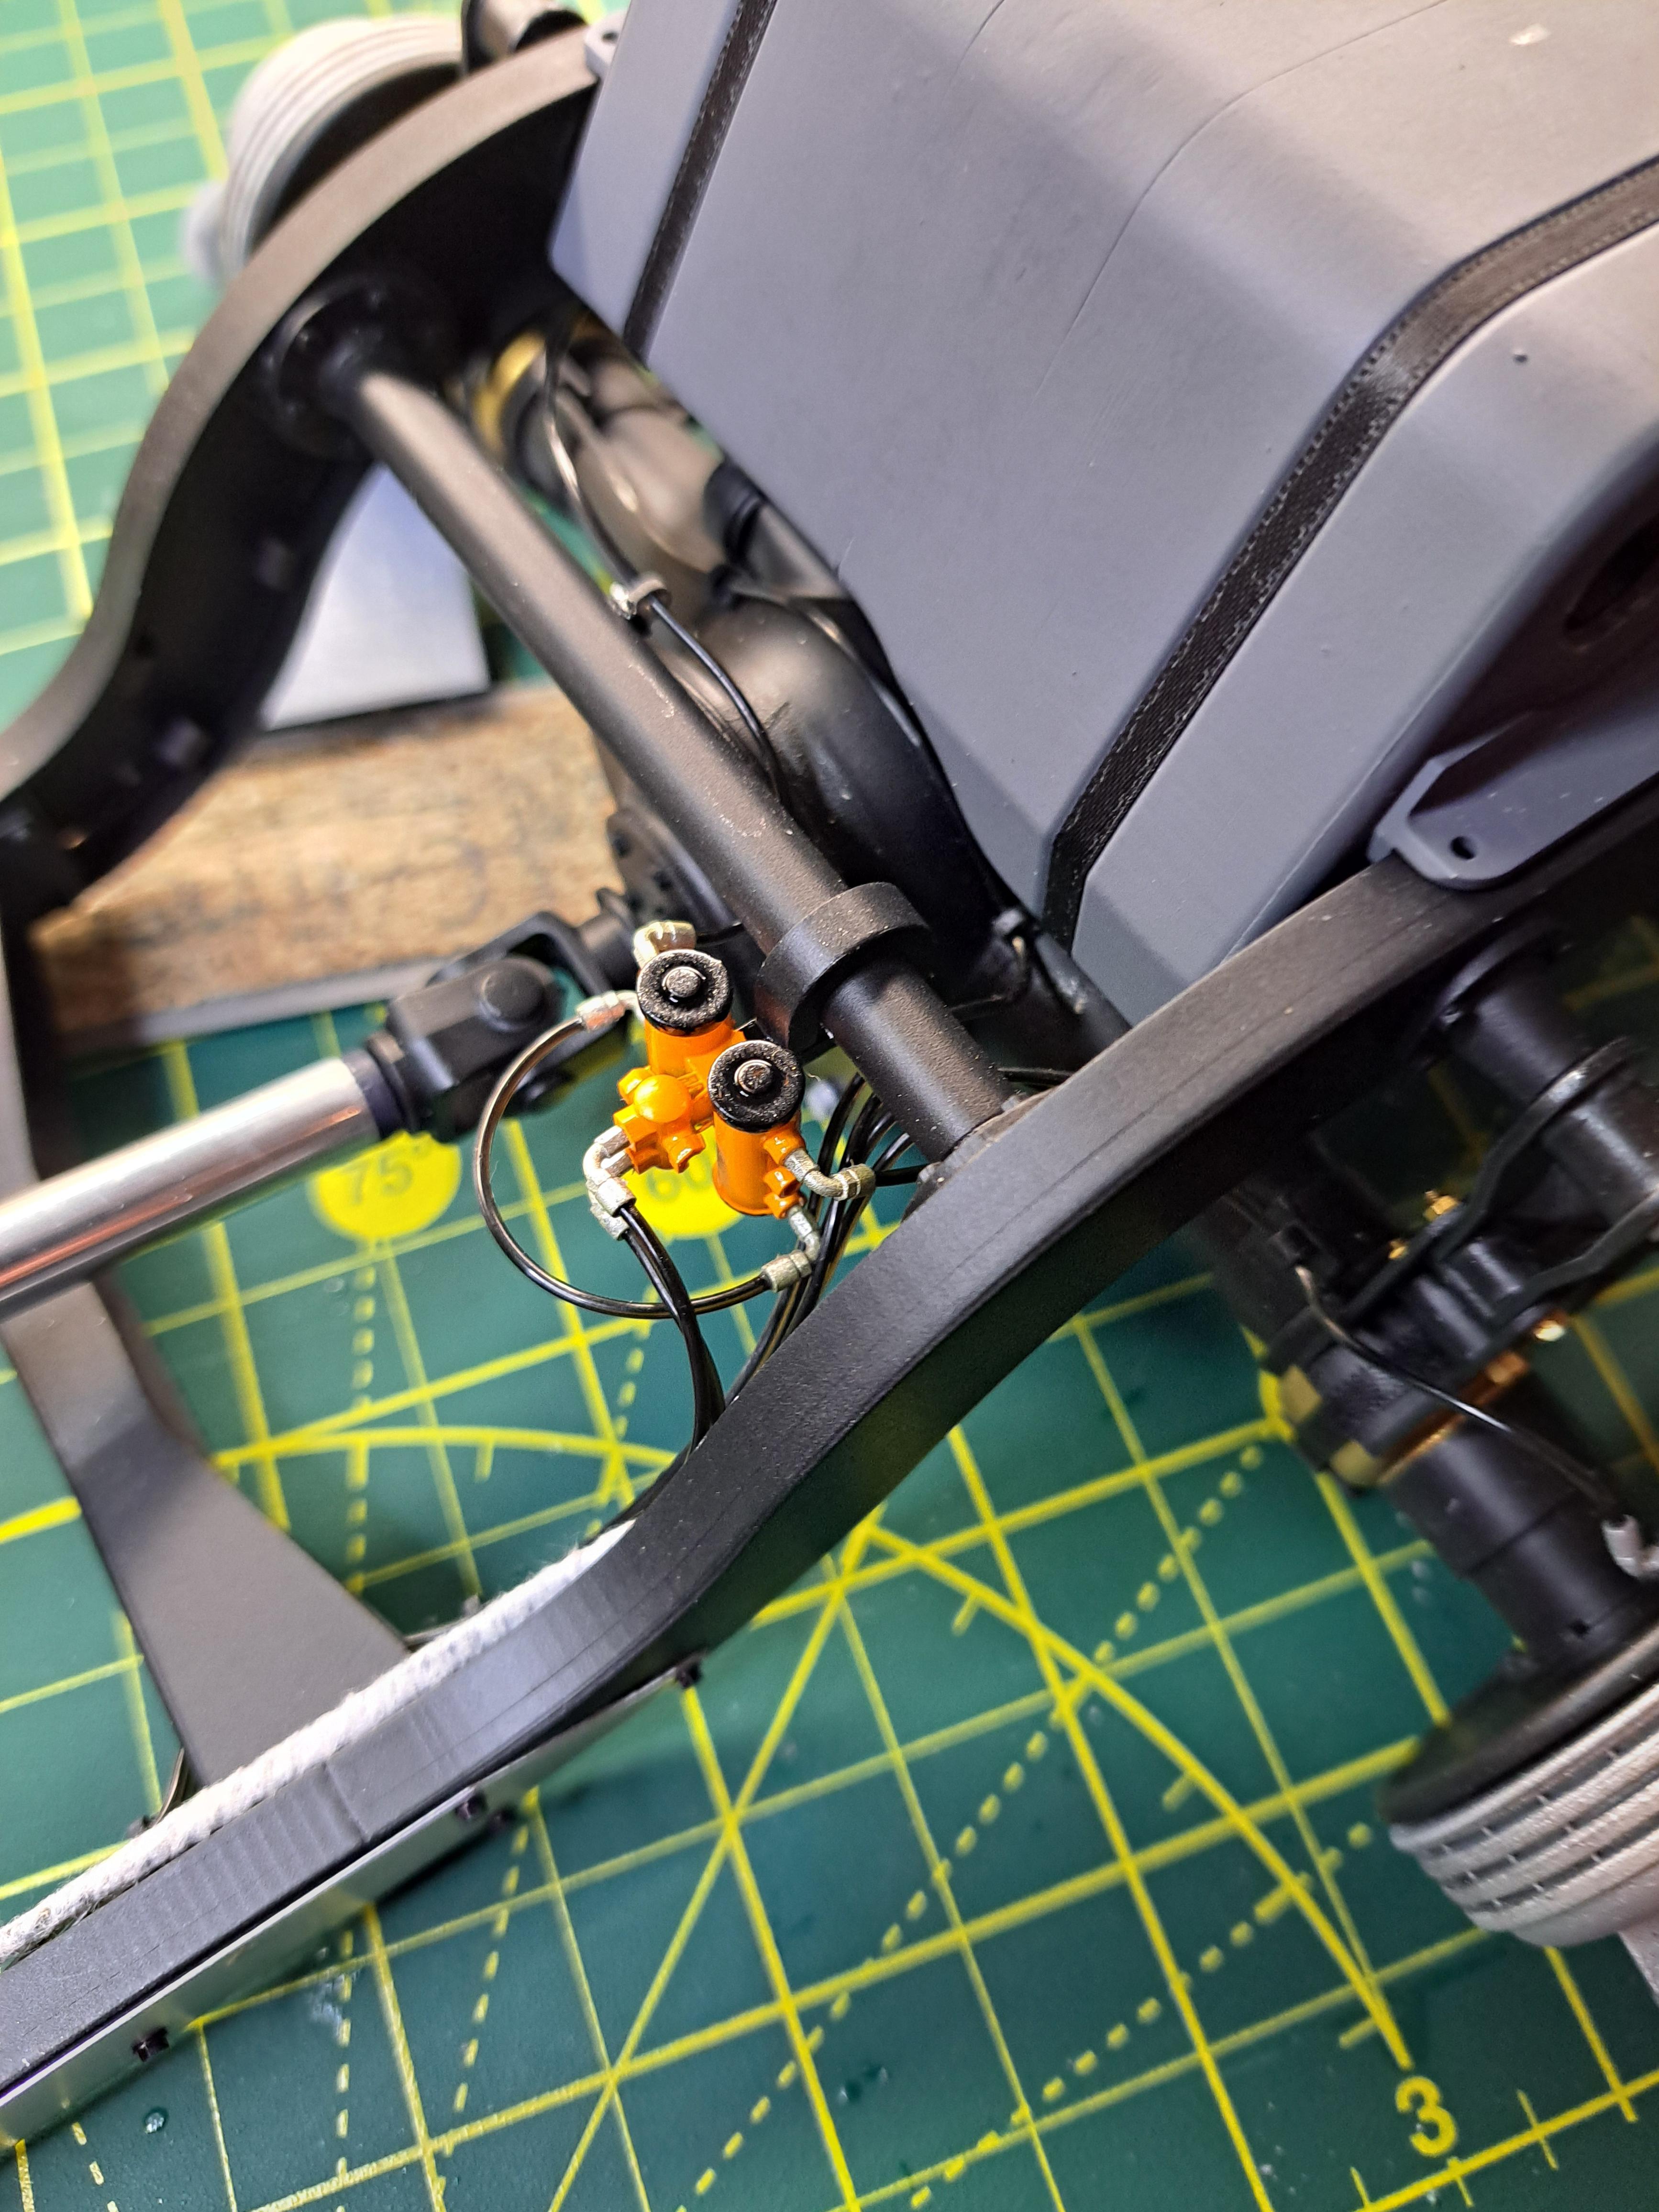


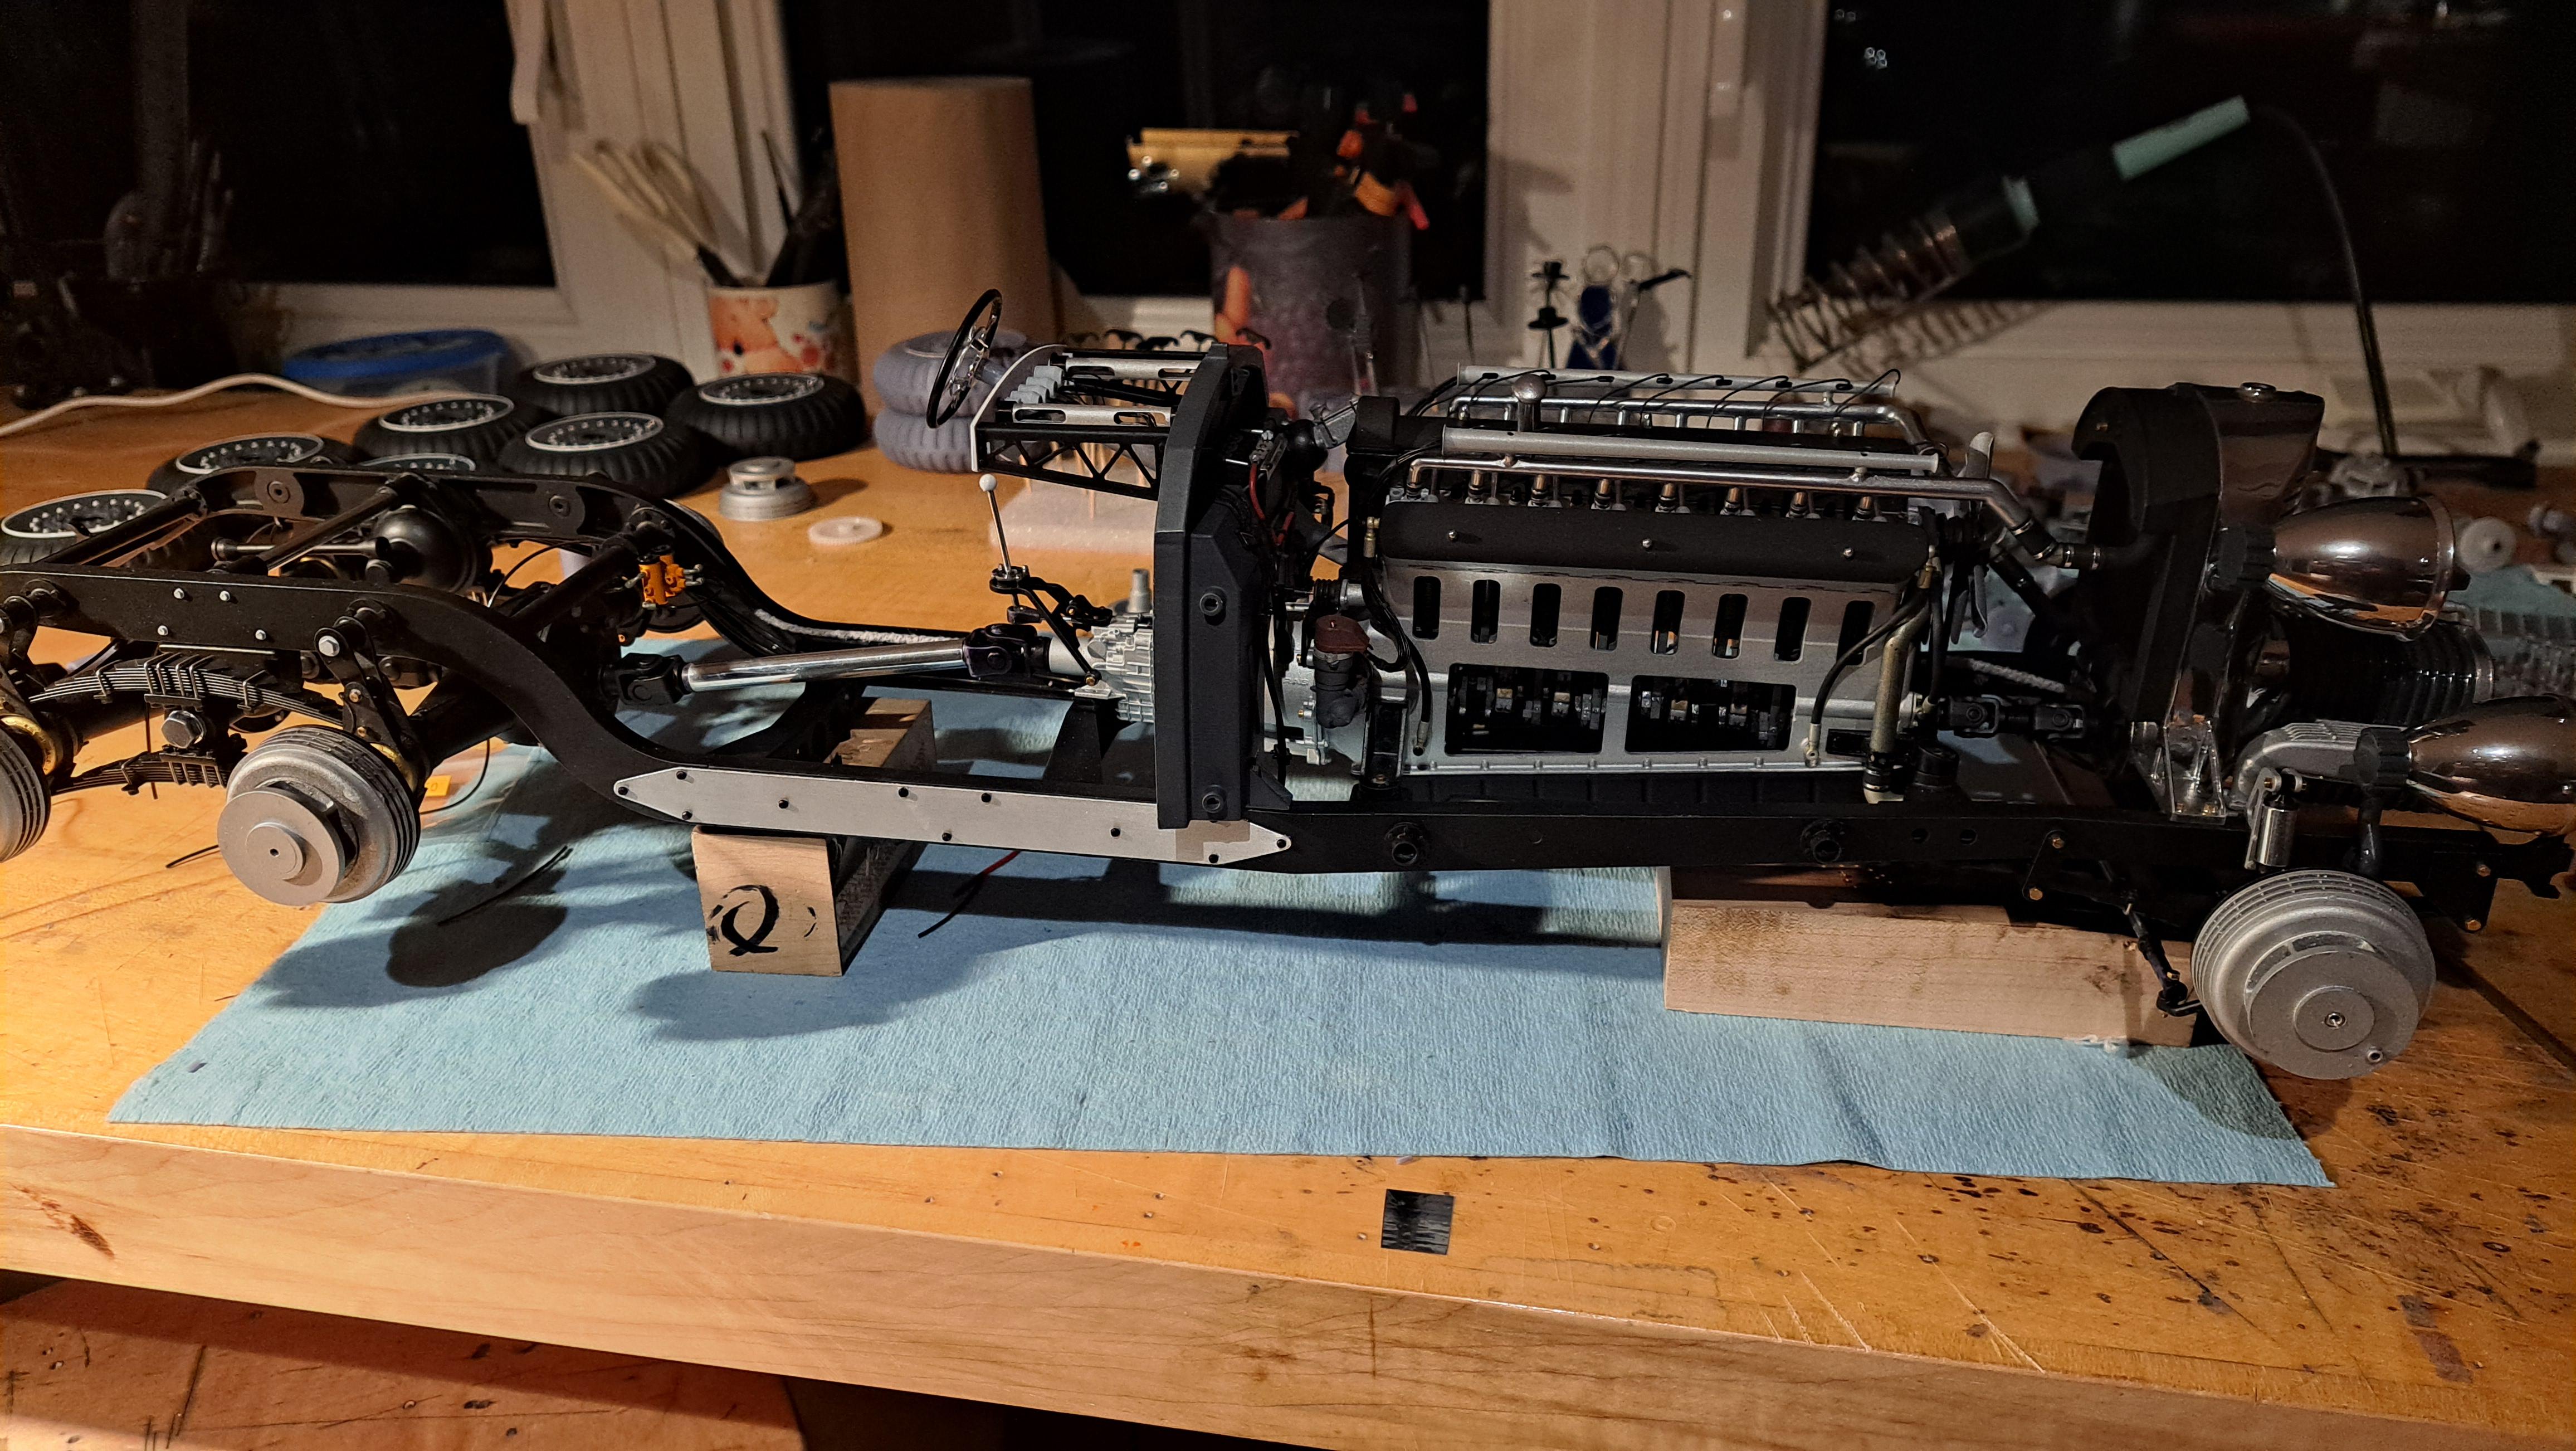
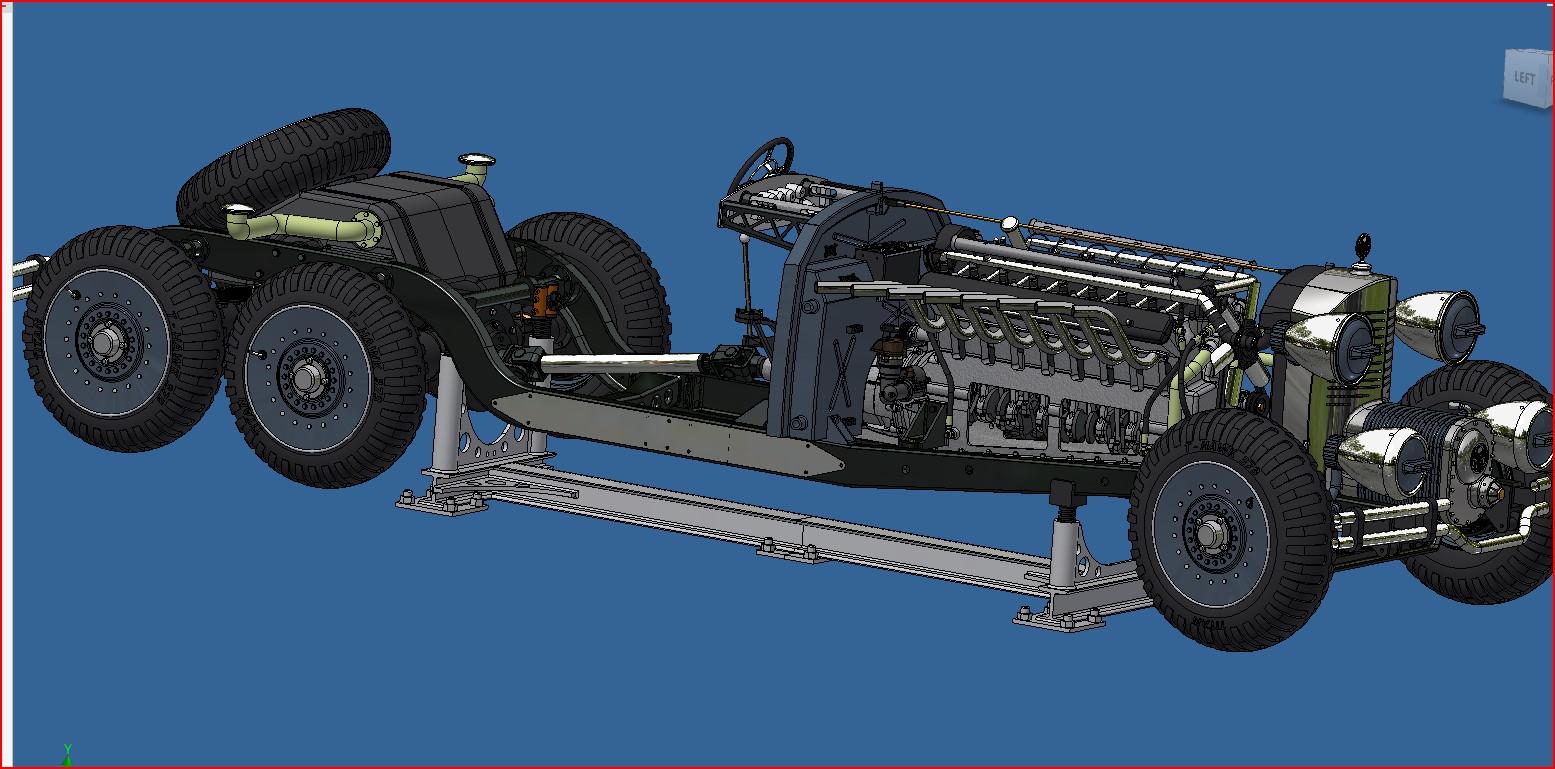


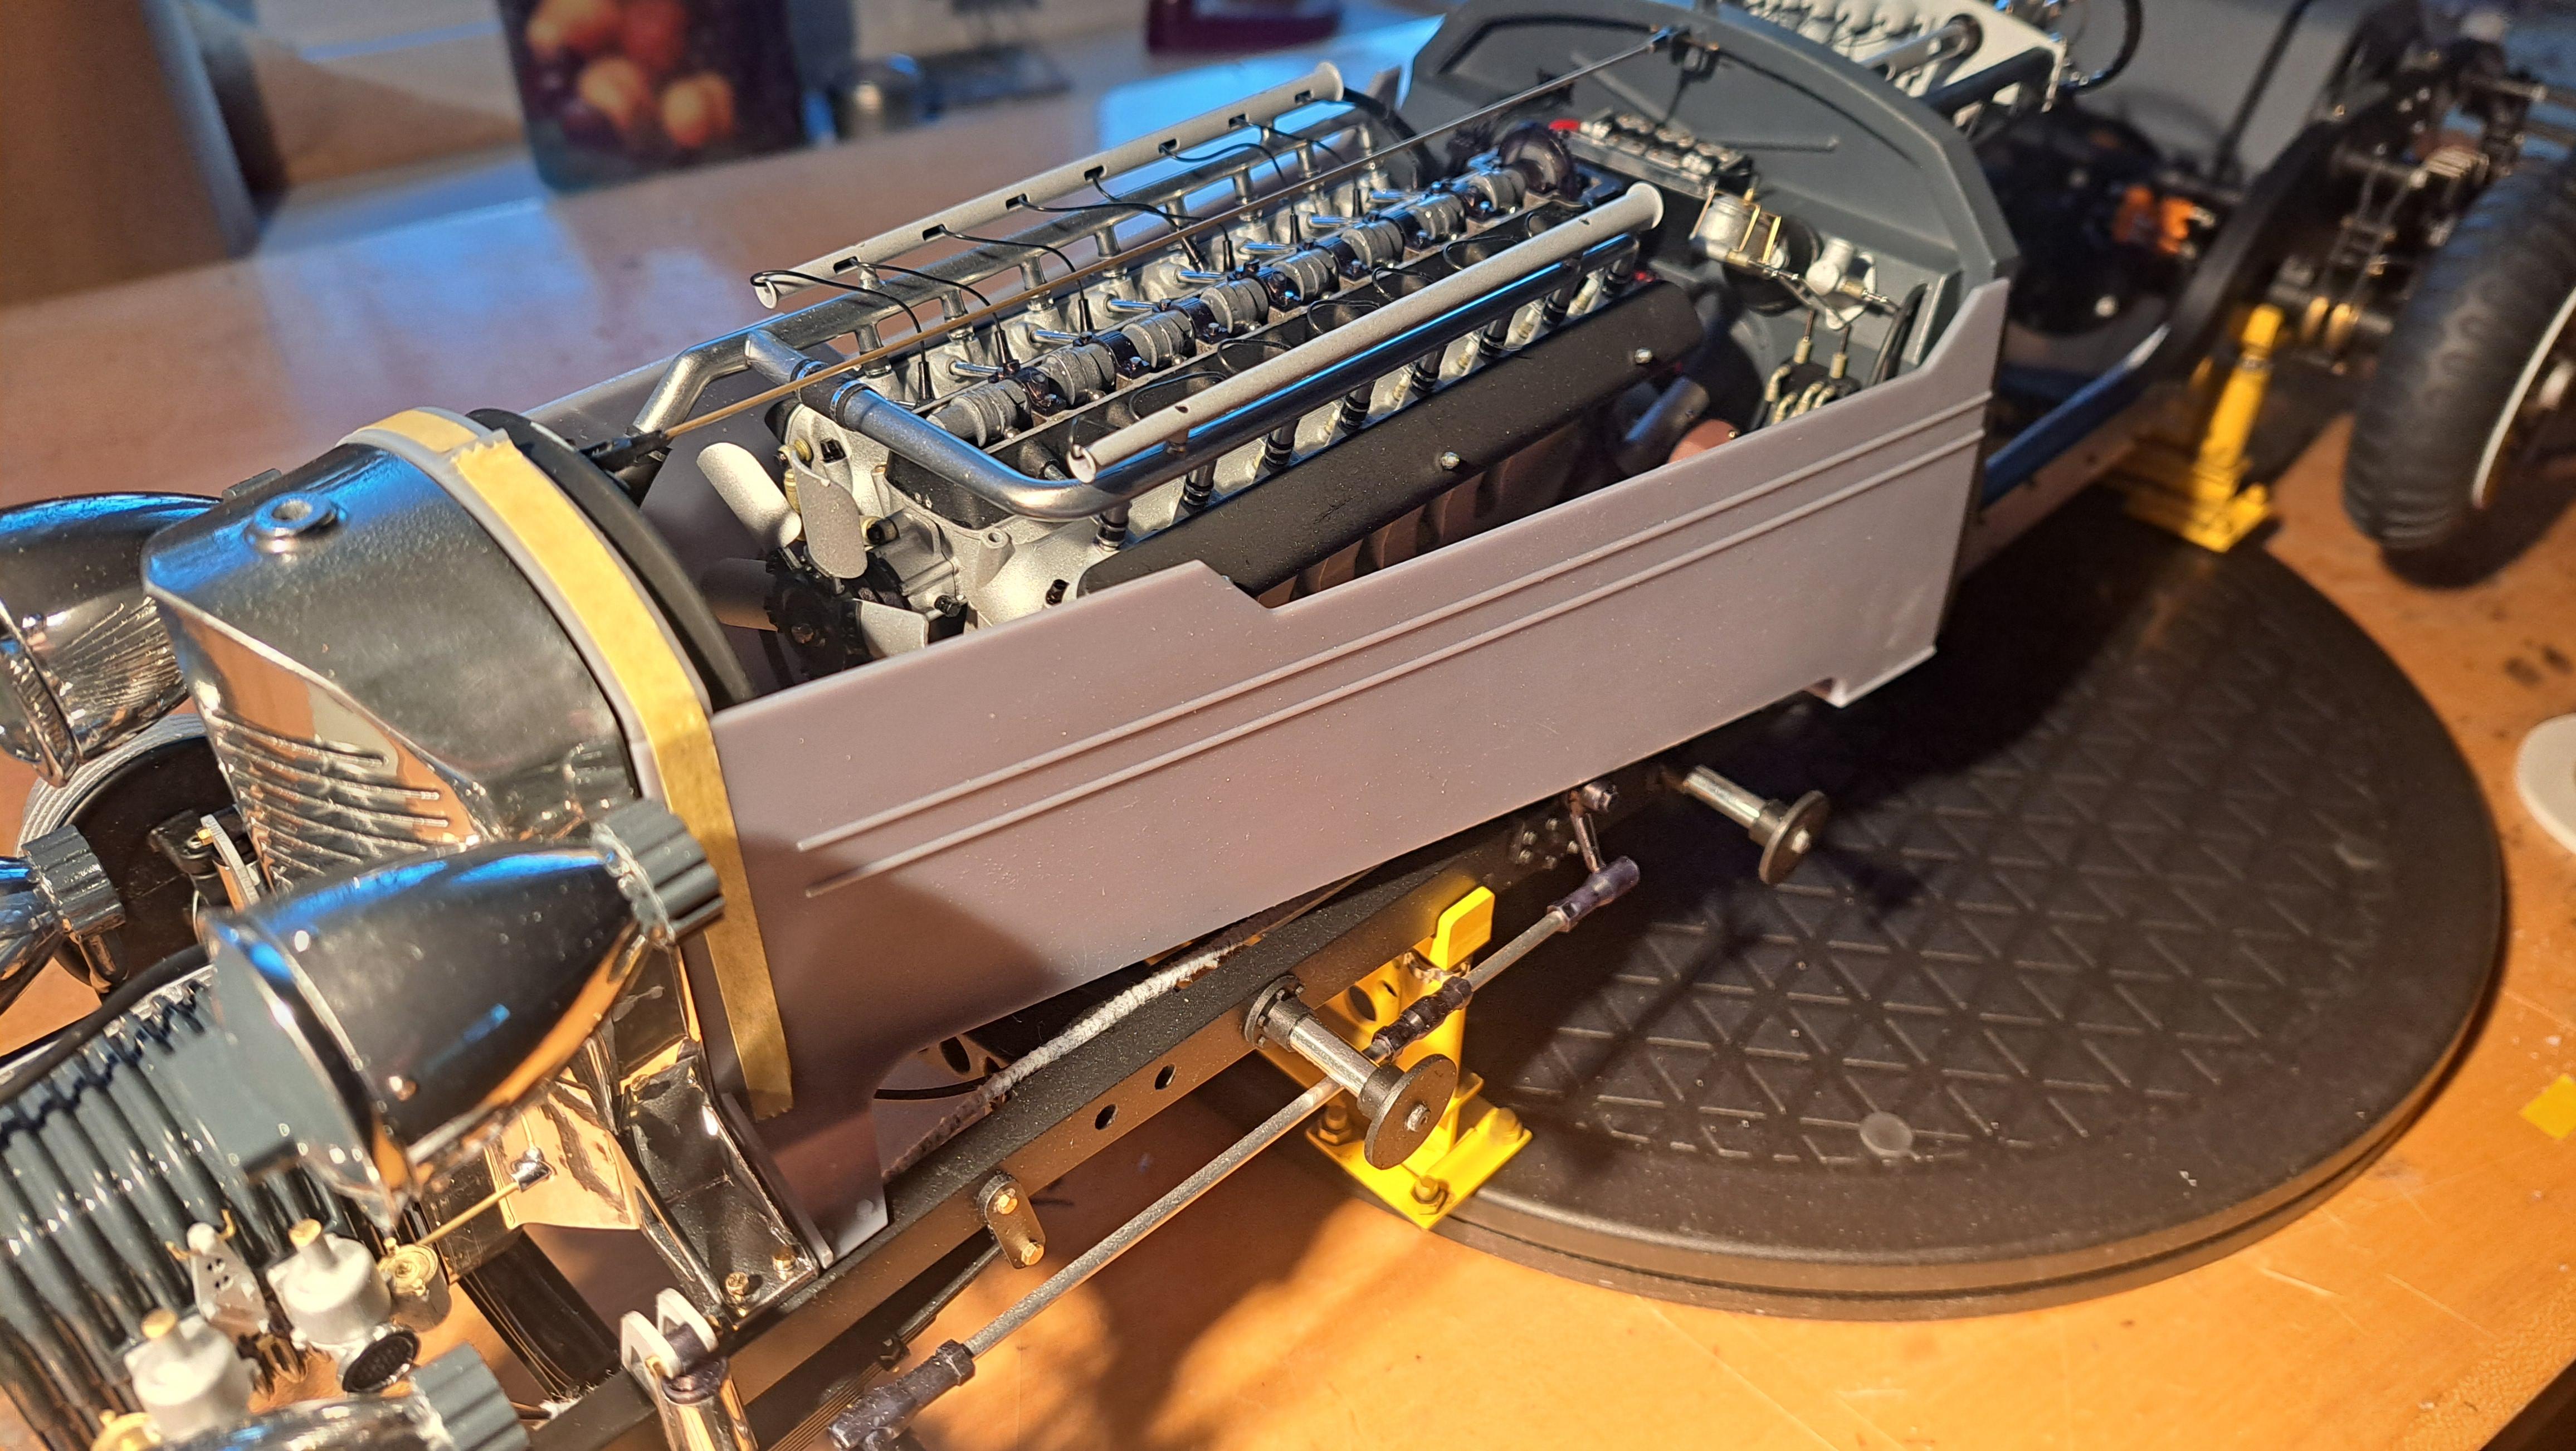
Maybe a half body fully installed with the other half exploded outward and mounted on thin pins.First body panel test. I have a bit of a conundrum. Do l make the complete body and install it on the frame and hide everything ? Do I make a second frame (without any mecanical components on it) to hold the body? Do I make a half body mounted on the completed frame? I'm really not sure where to go with this.


