Marvel's Hydra Coupe 1/12 scale full scratch build

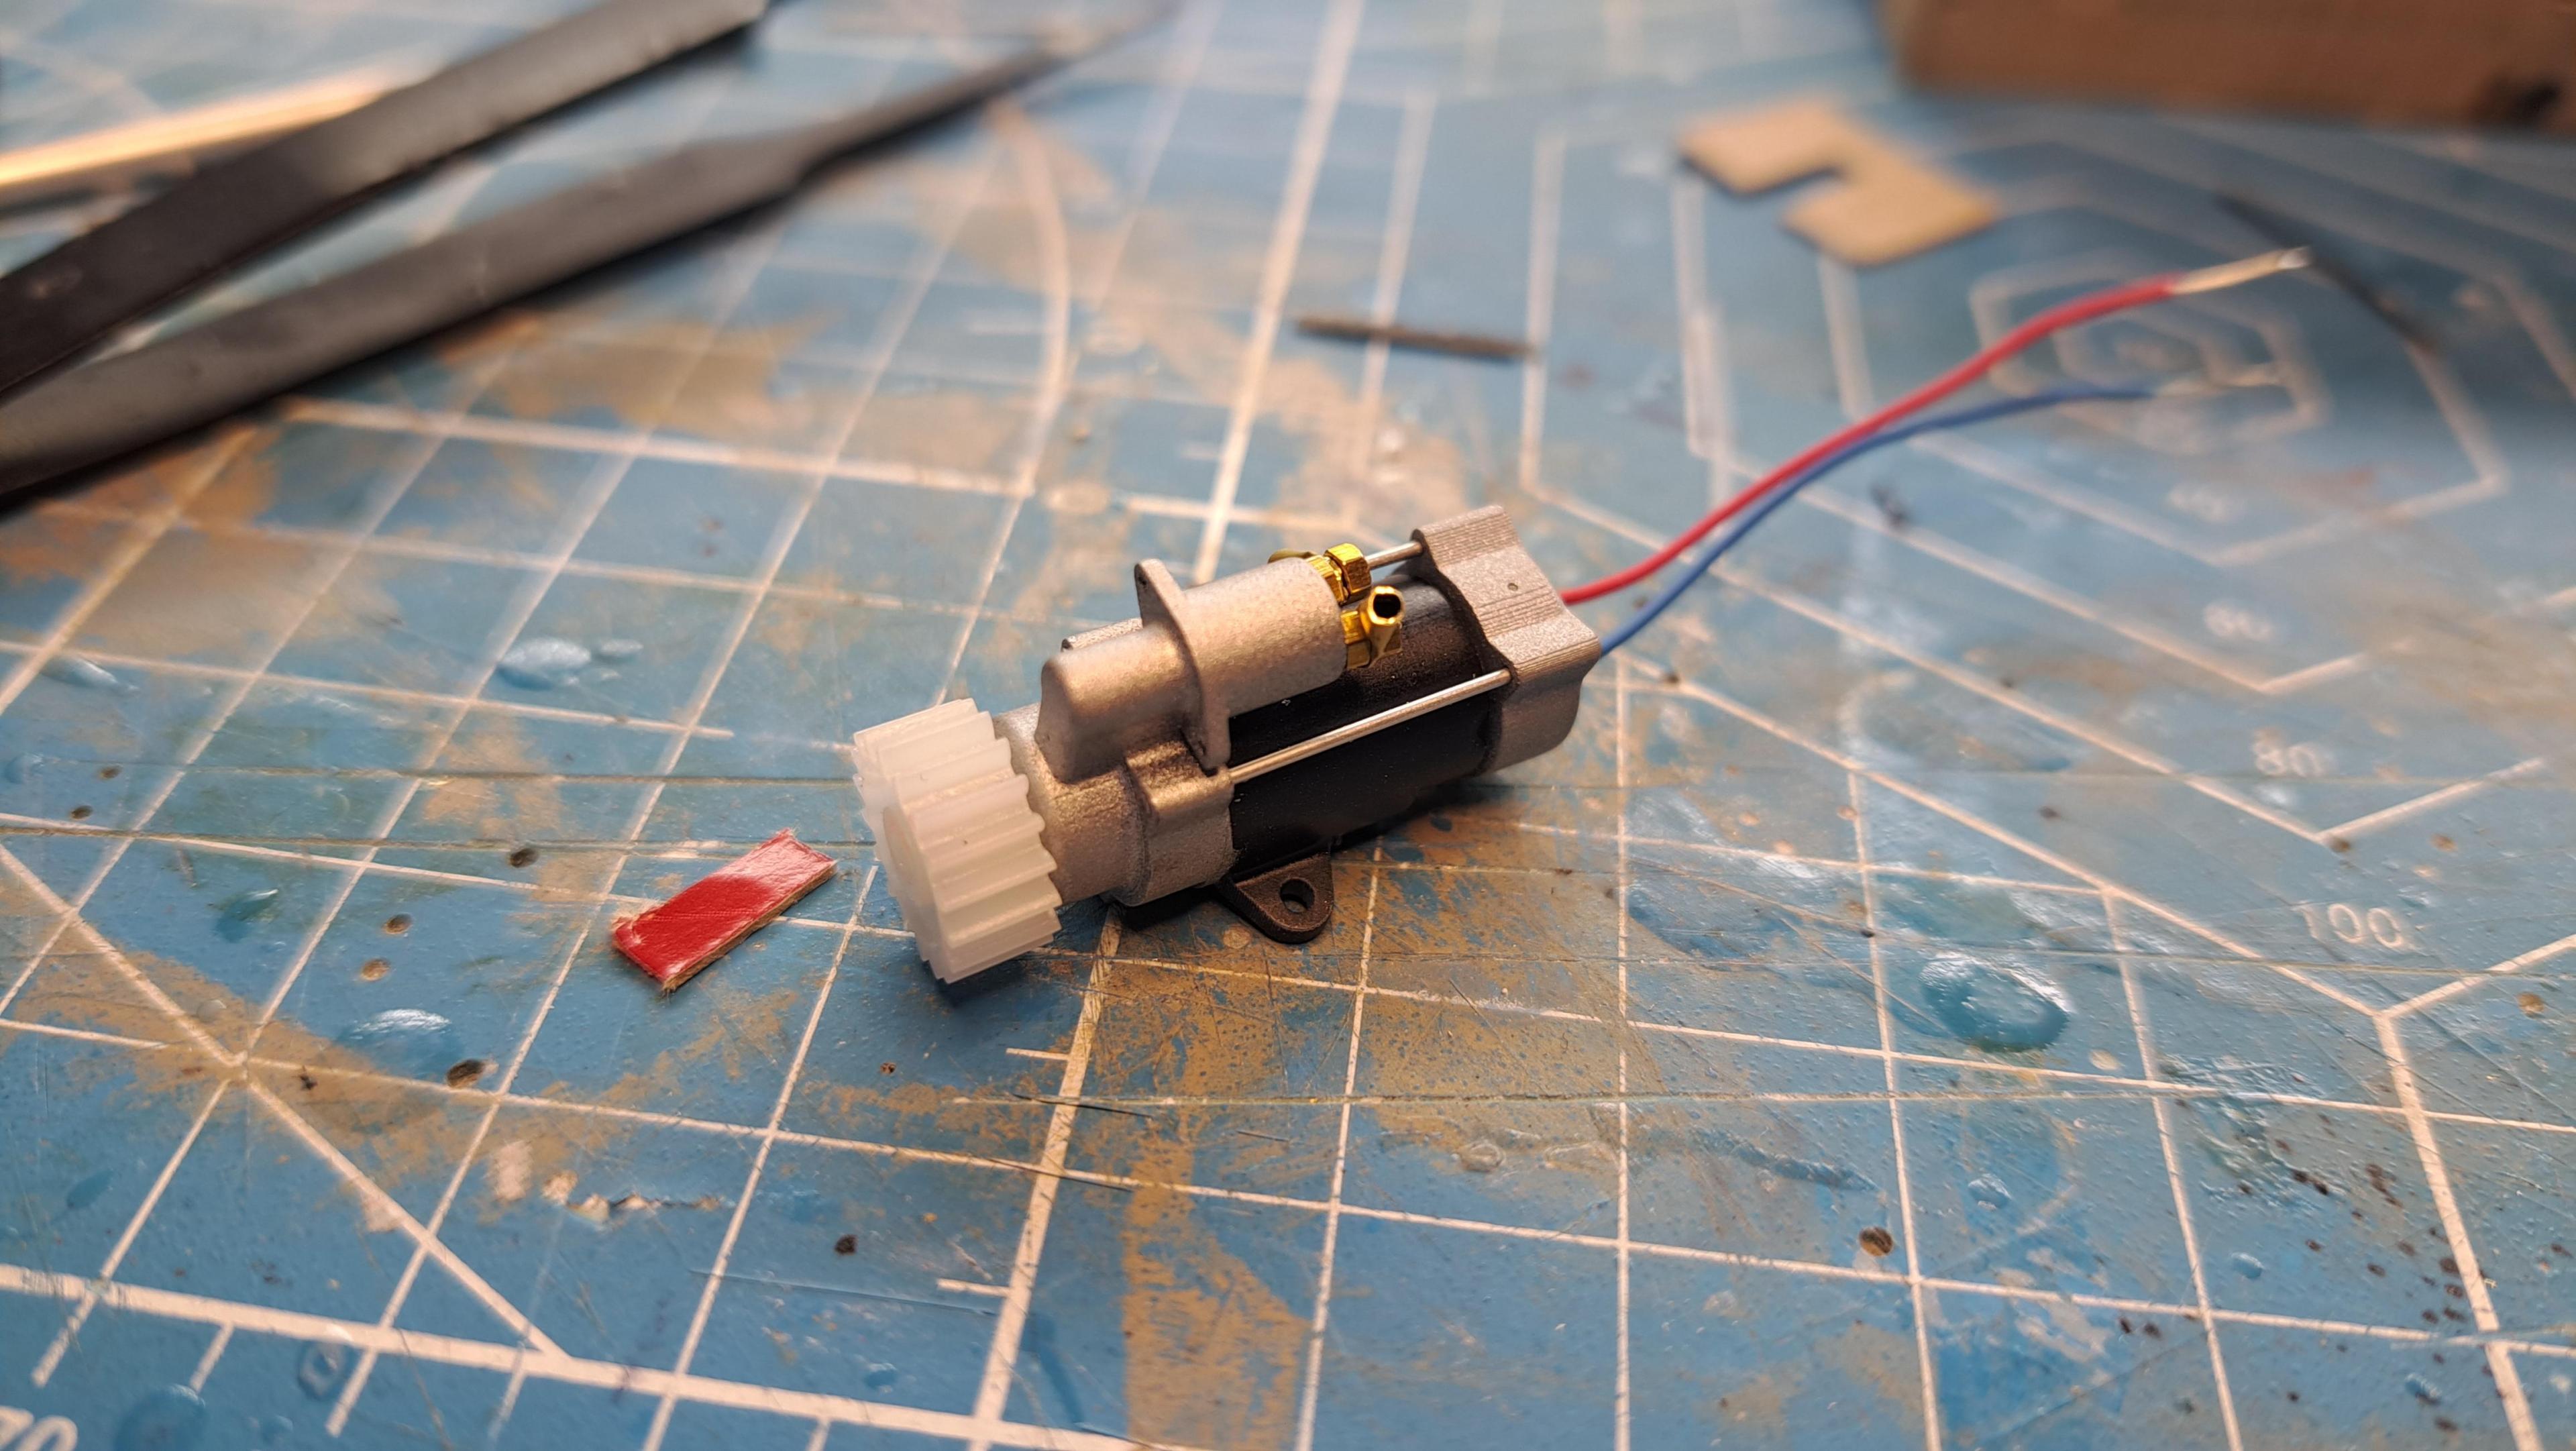
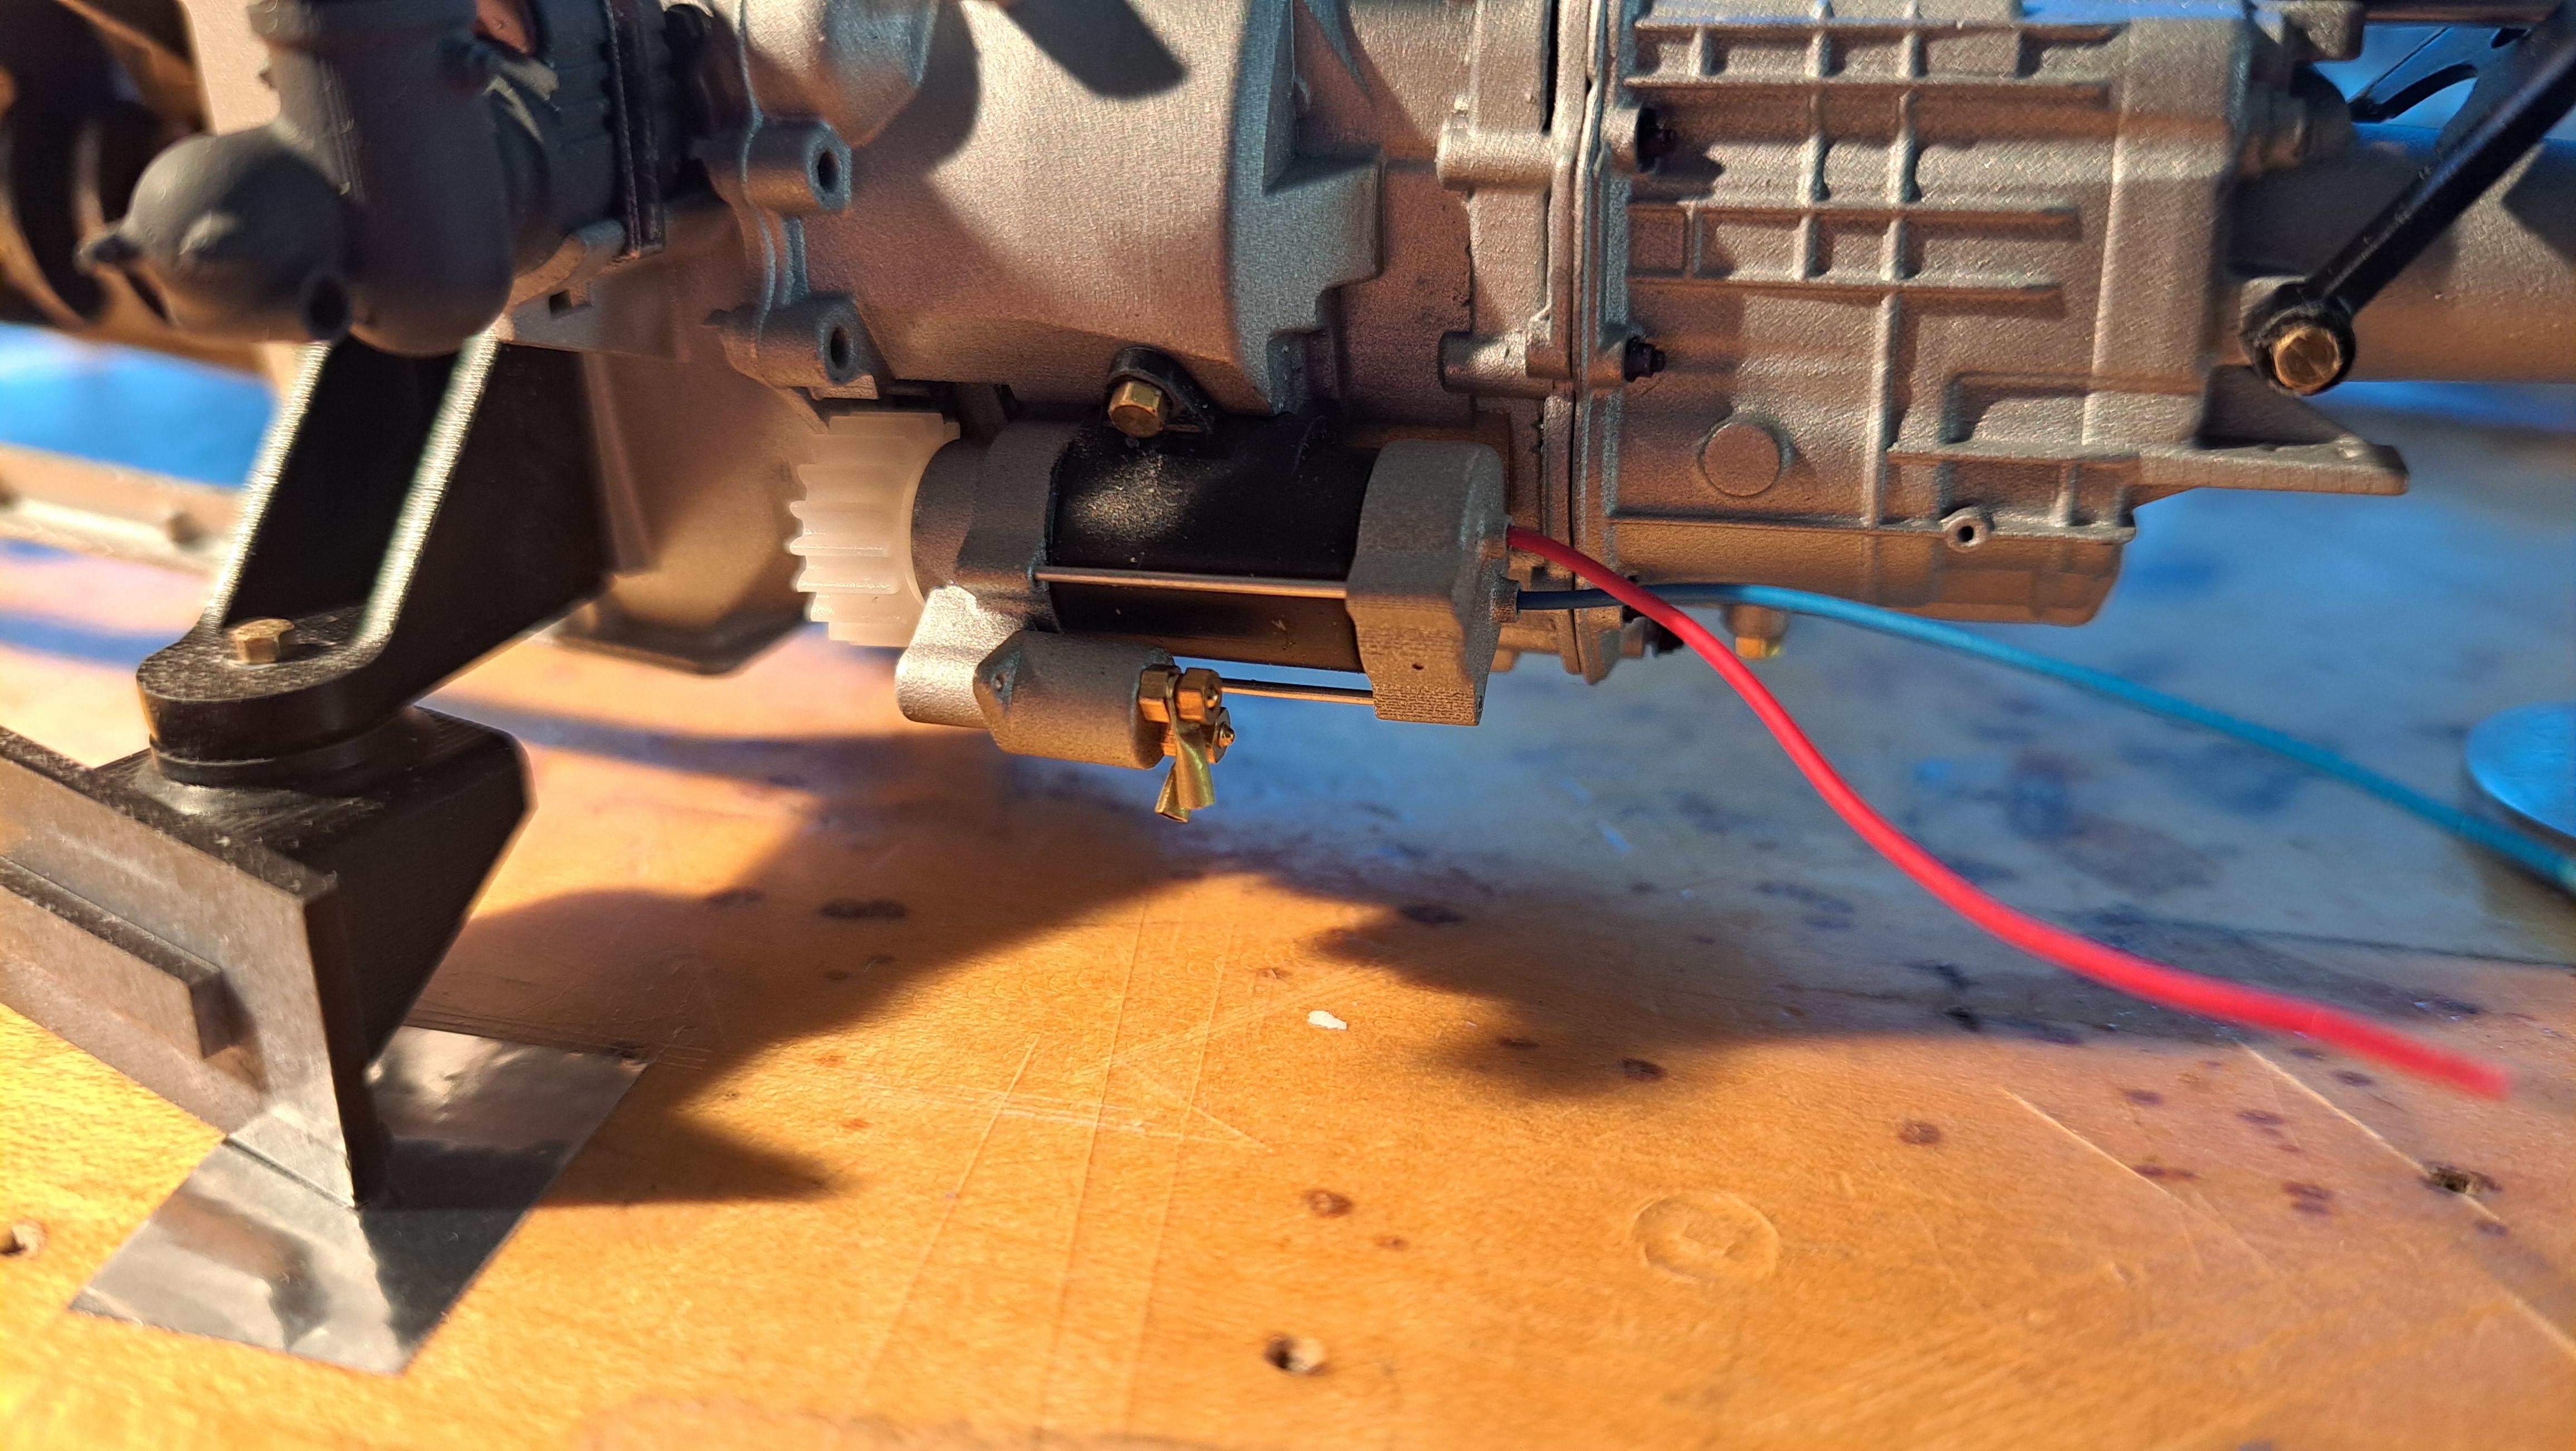
I received the 6mm dia gearmotors in 2 different ratios but unfortunately, they won't do. One simply doesn't have enough torq. As for the other, it could do but it's border line on torq and I find the rpm to slow. It's to bad because the assembly was quite nice with the gearmotor hidden inside the starter housing. I'll install the starter but it will only be for show.

Here's the too small gearmotor/starter setup


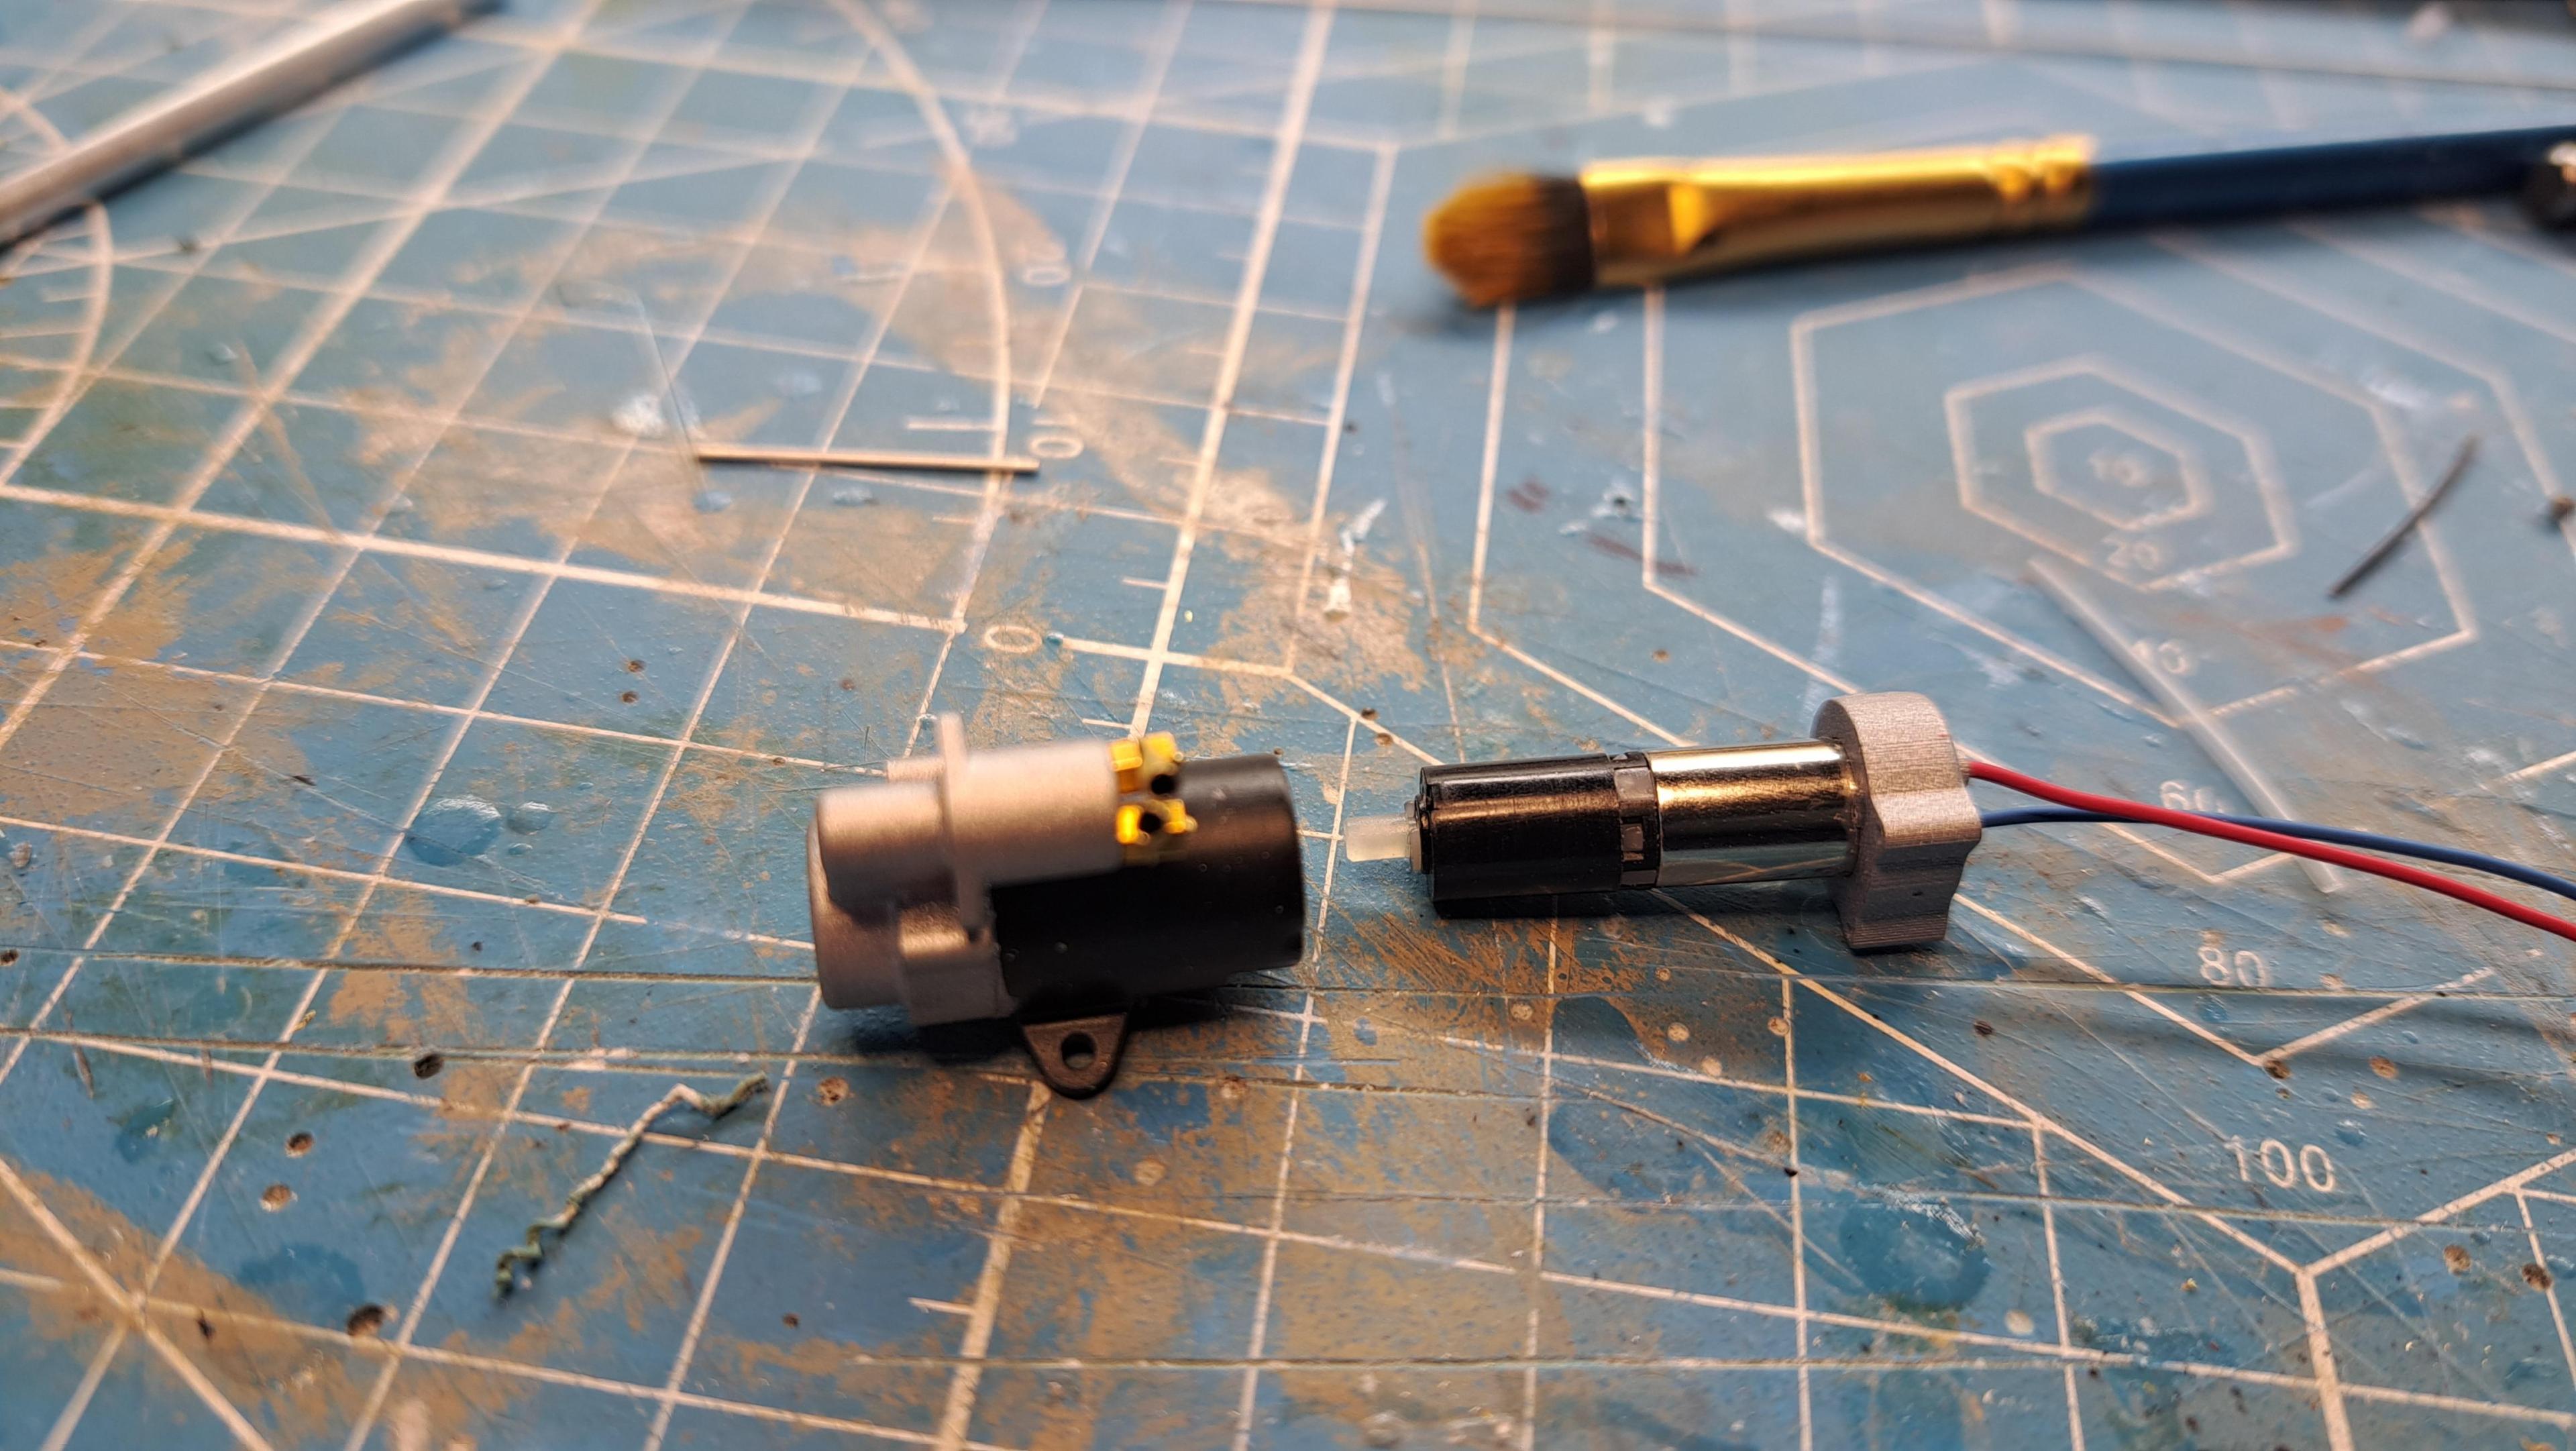
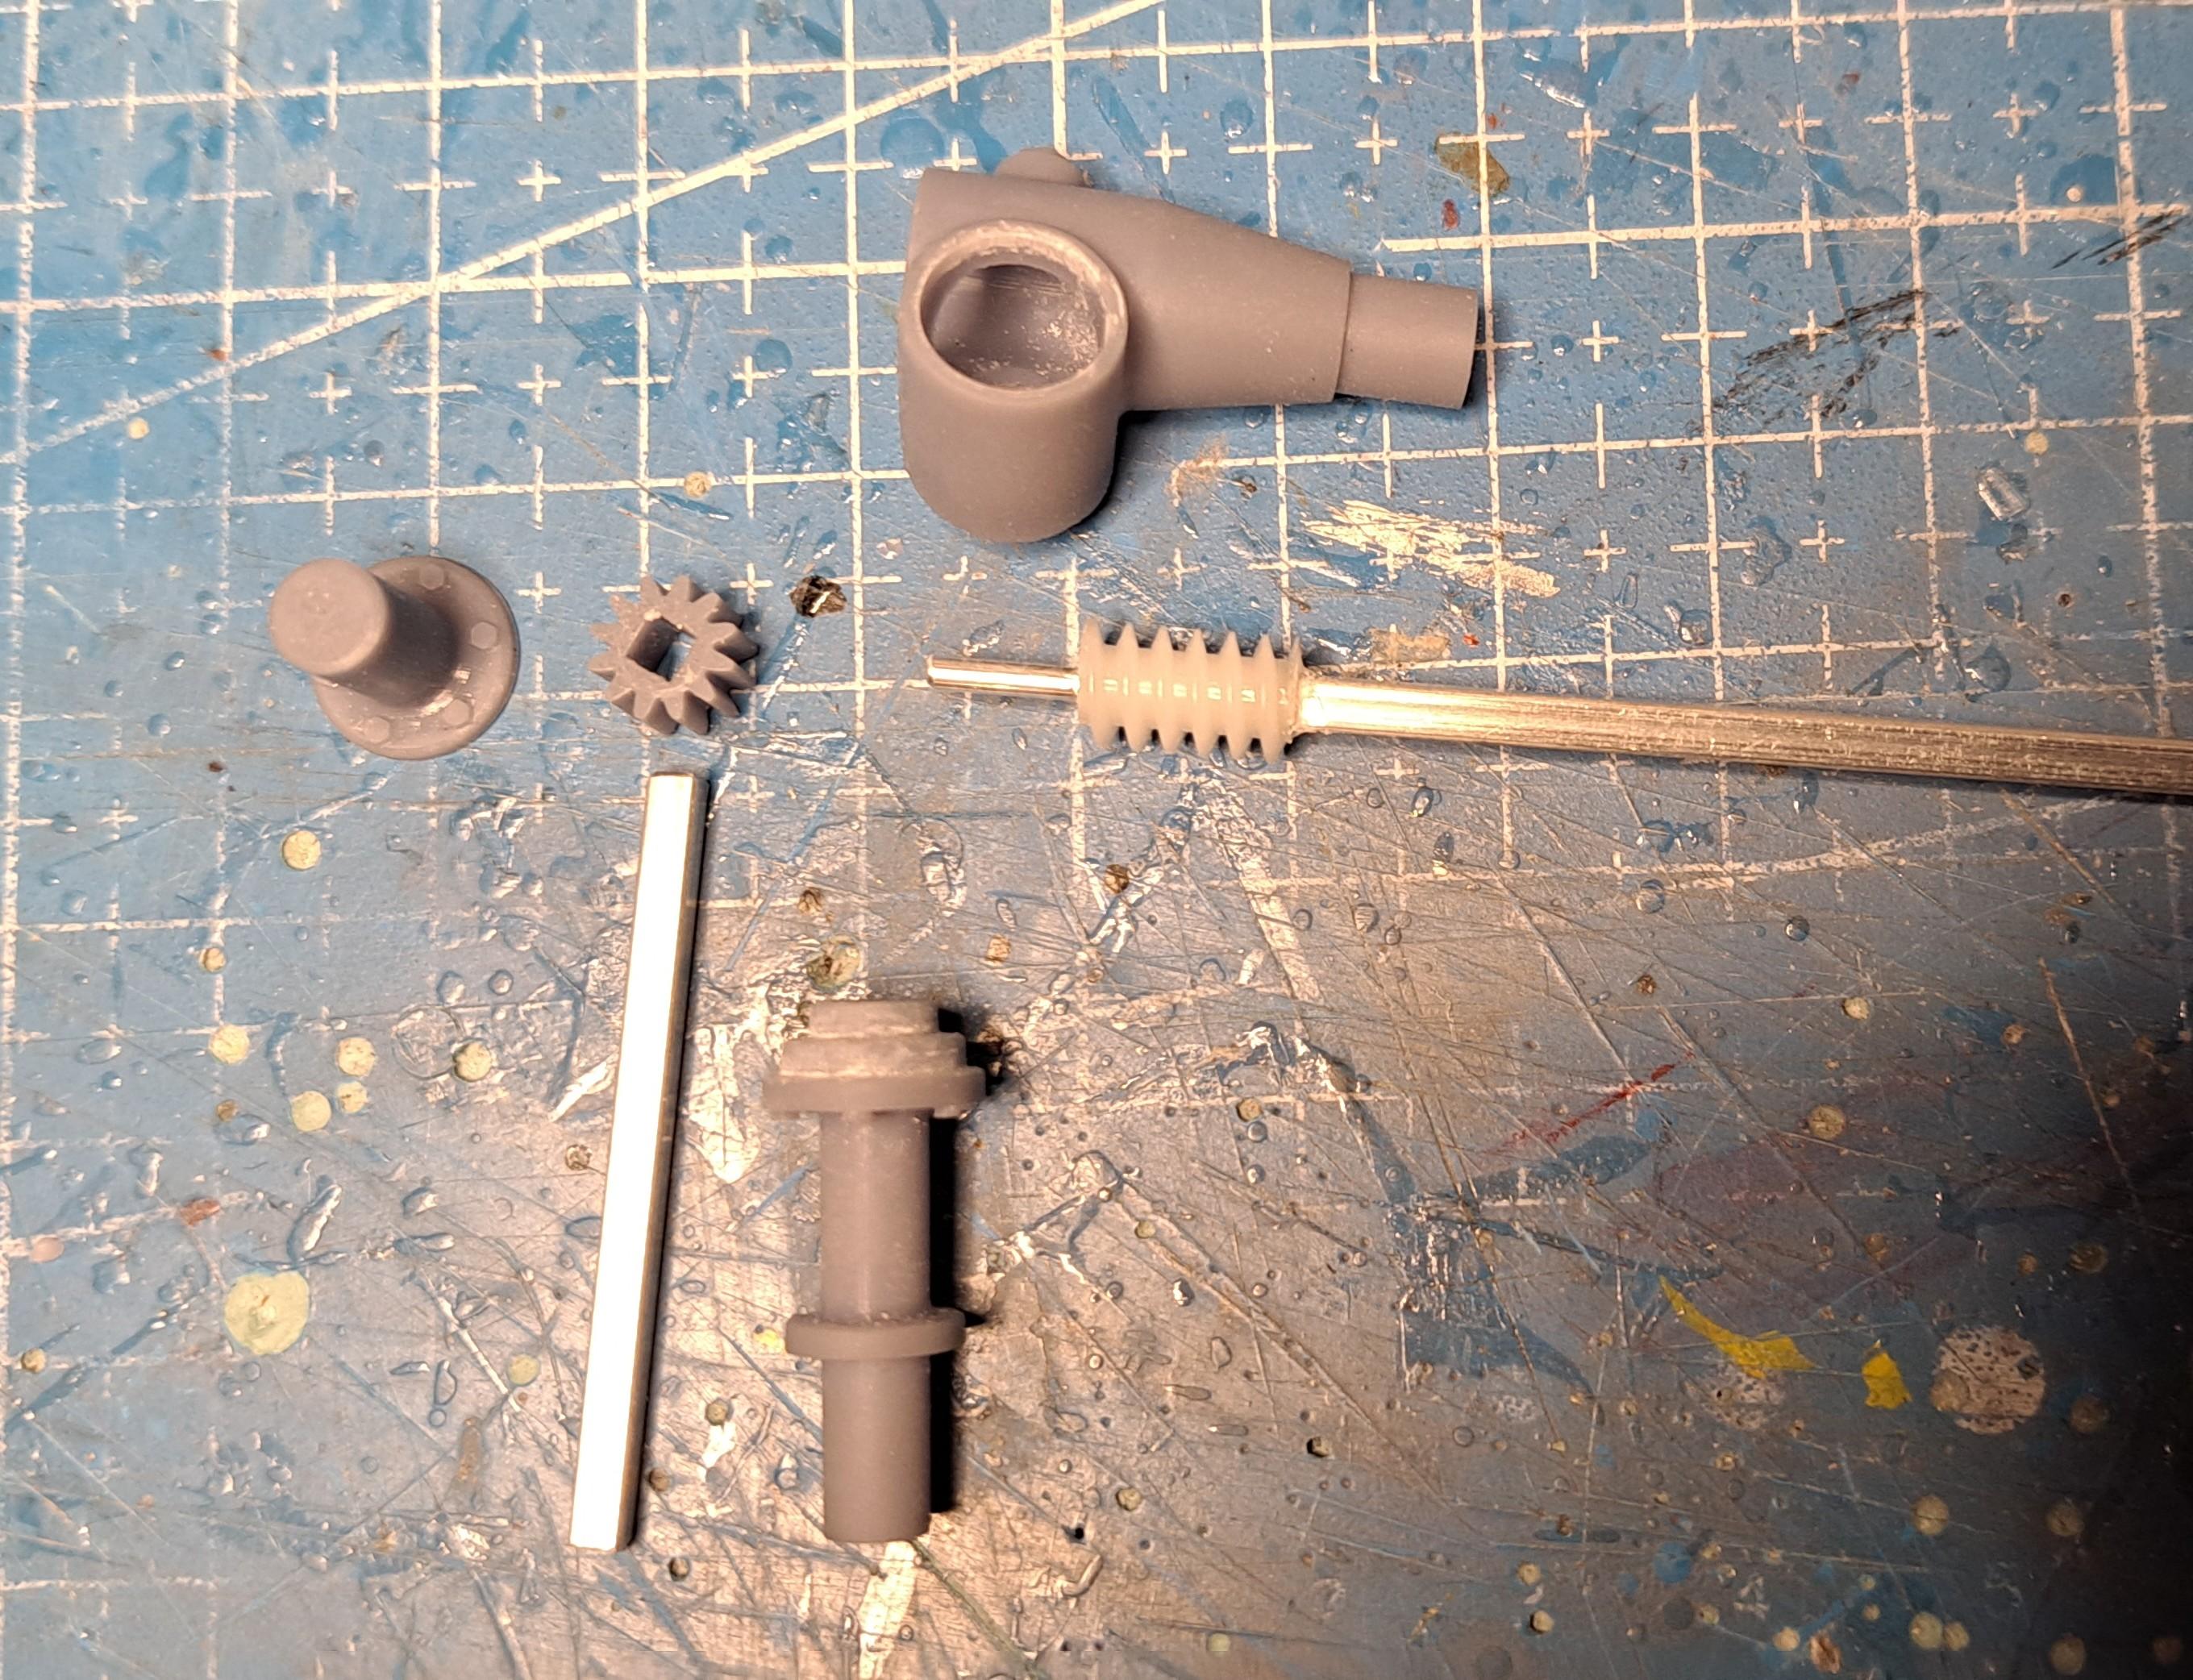
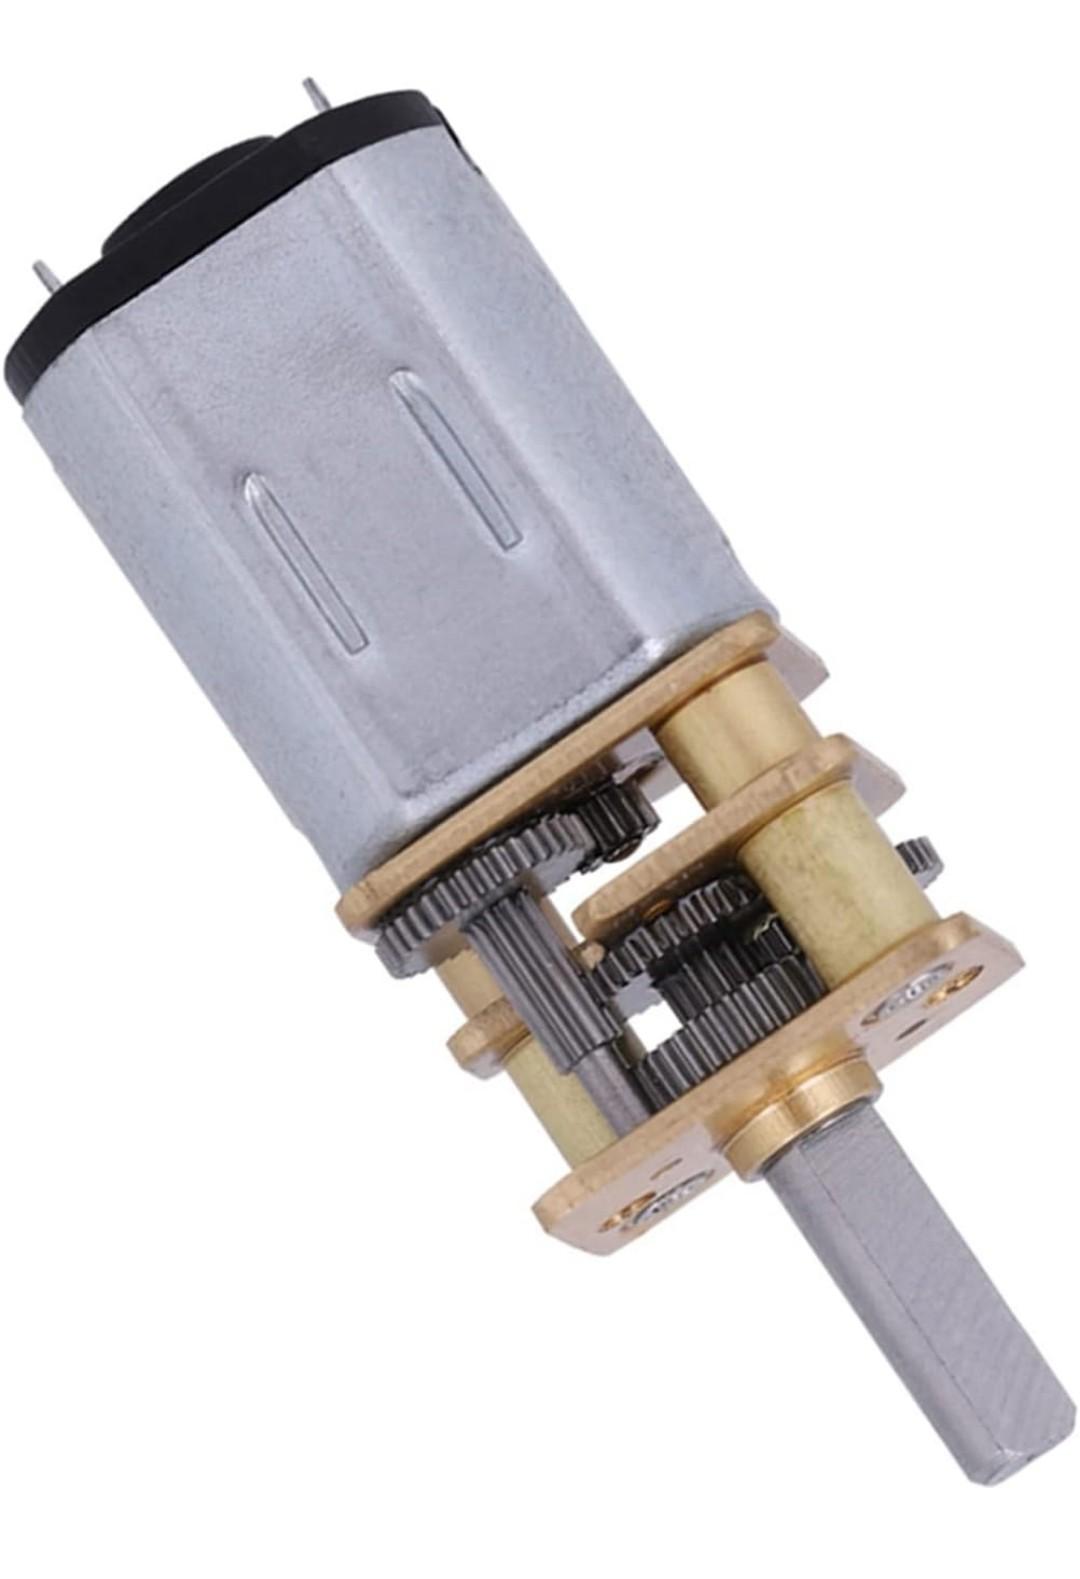
So I had to rethink how to drive the engine. I found another type of mini gearmotor, it has alot more torq but it's much bigger, too big to pass as a starter. Instead, the new motor will be hidden inside the blower and it will be inline with the crankshaft. I even figured out a way to drive the rotating thingy in the front of the blower using the same gears I had planned to use to drive it in the first place. I ordered 2 different torqs, hopefully one will do the job.

Here's what the new design looks like

v16-21.jpg.40398bbb0a7d9125fb263fa71047867e.jpg


And here's the new gearmotor type

Screenshot_20250101_225834_AmazonShopping.jpg.0060bdfb8f3ab54ca4f005f73d8e8bb1.jpg


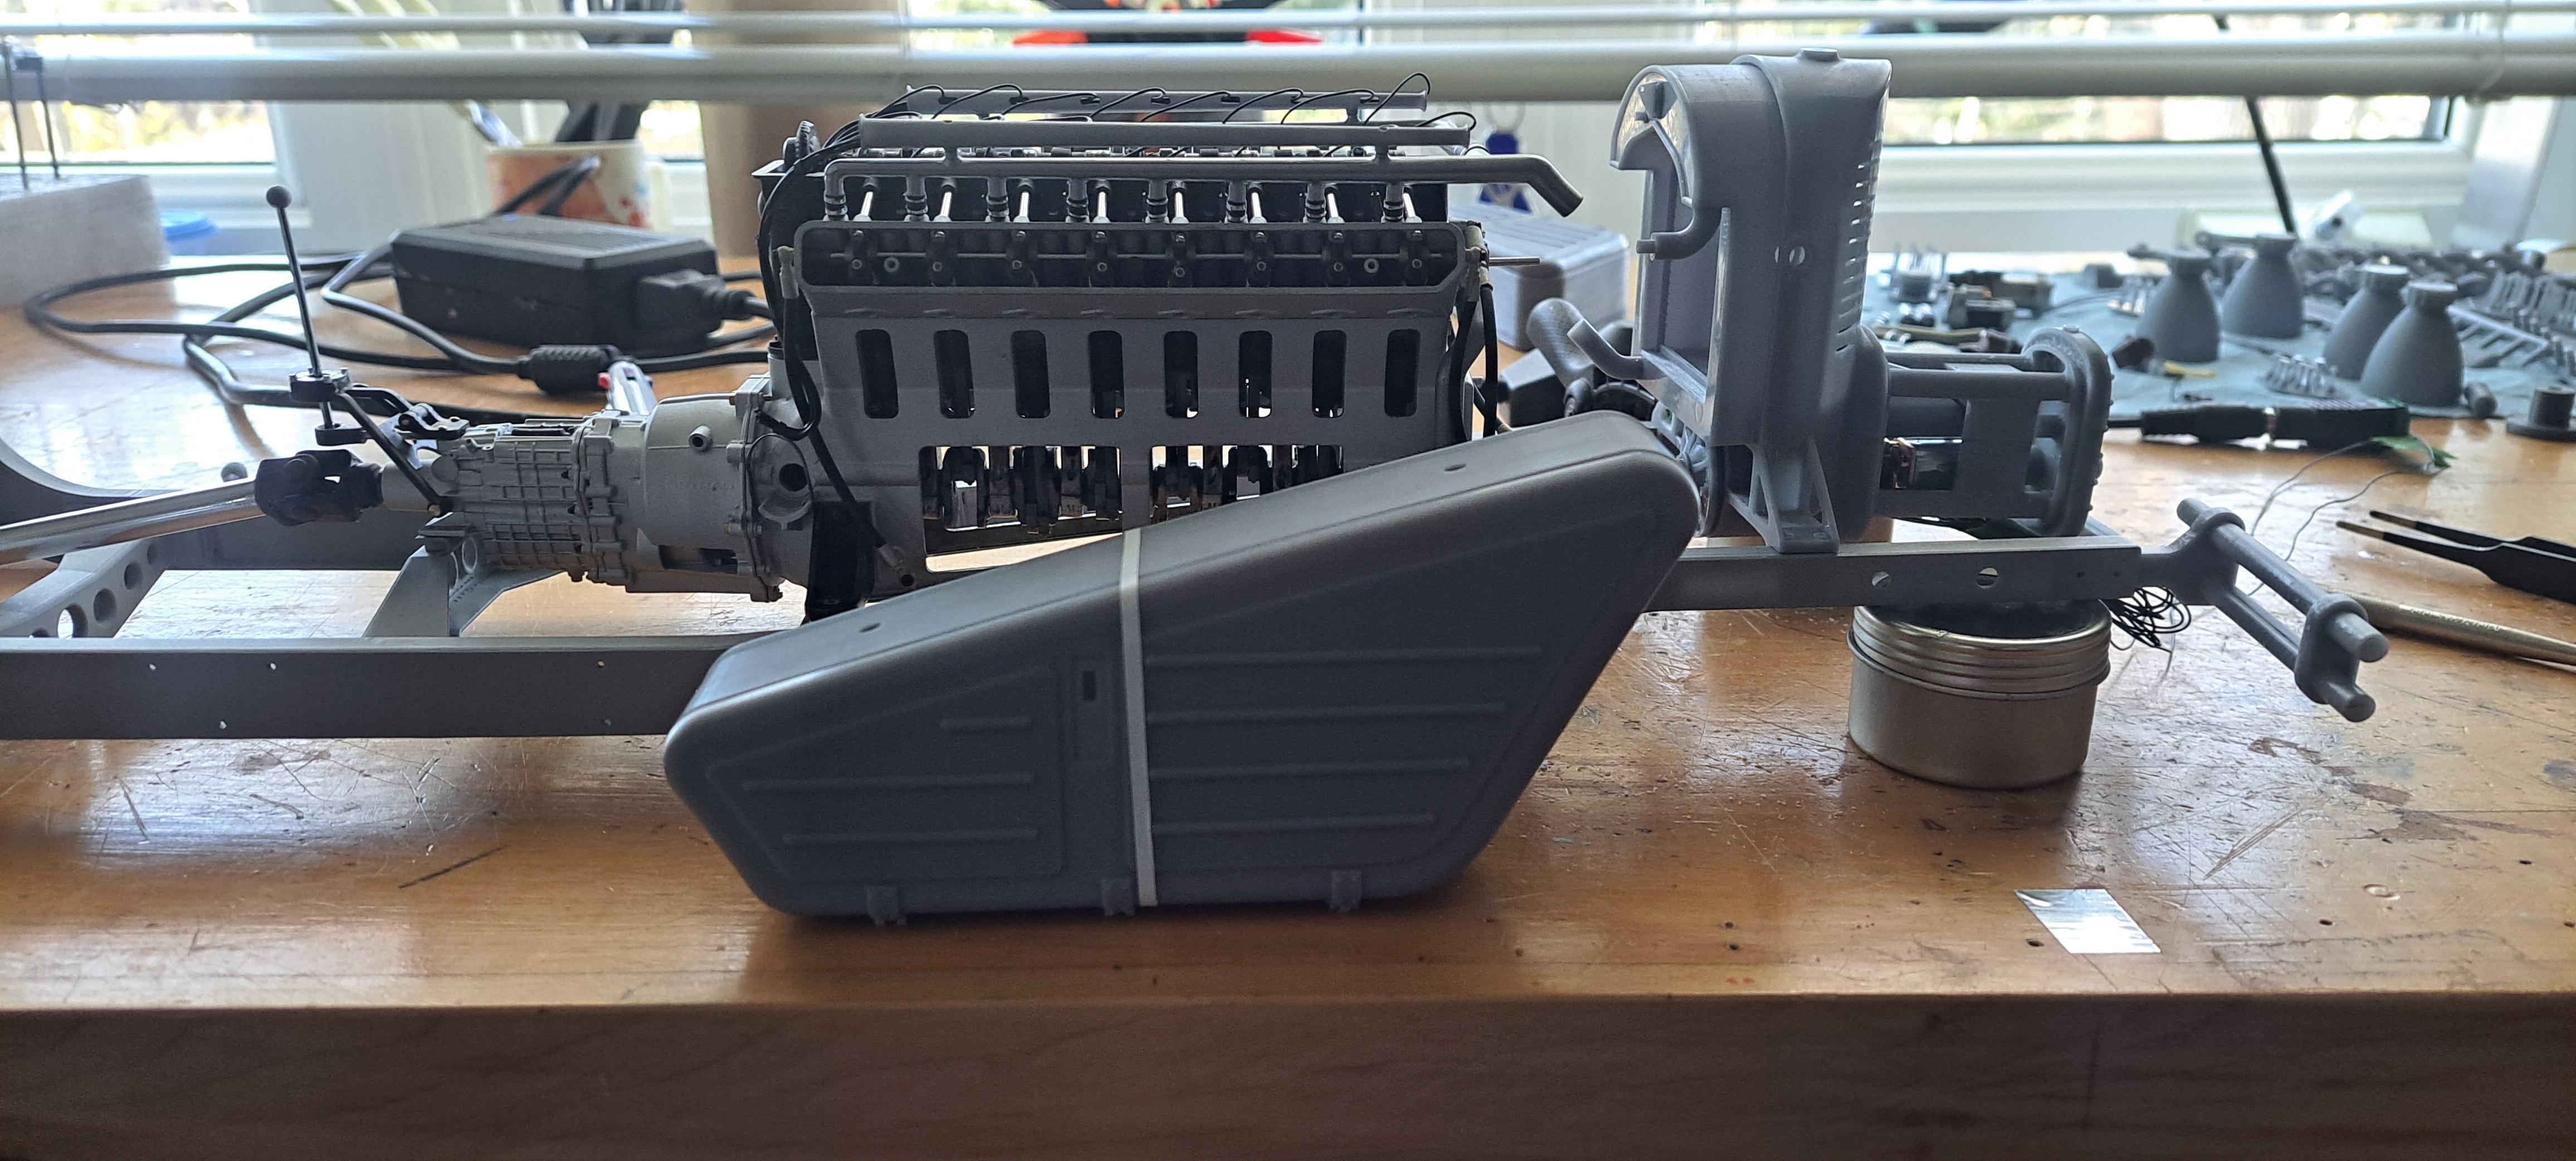
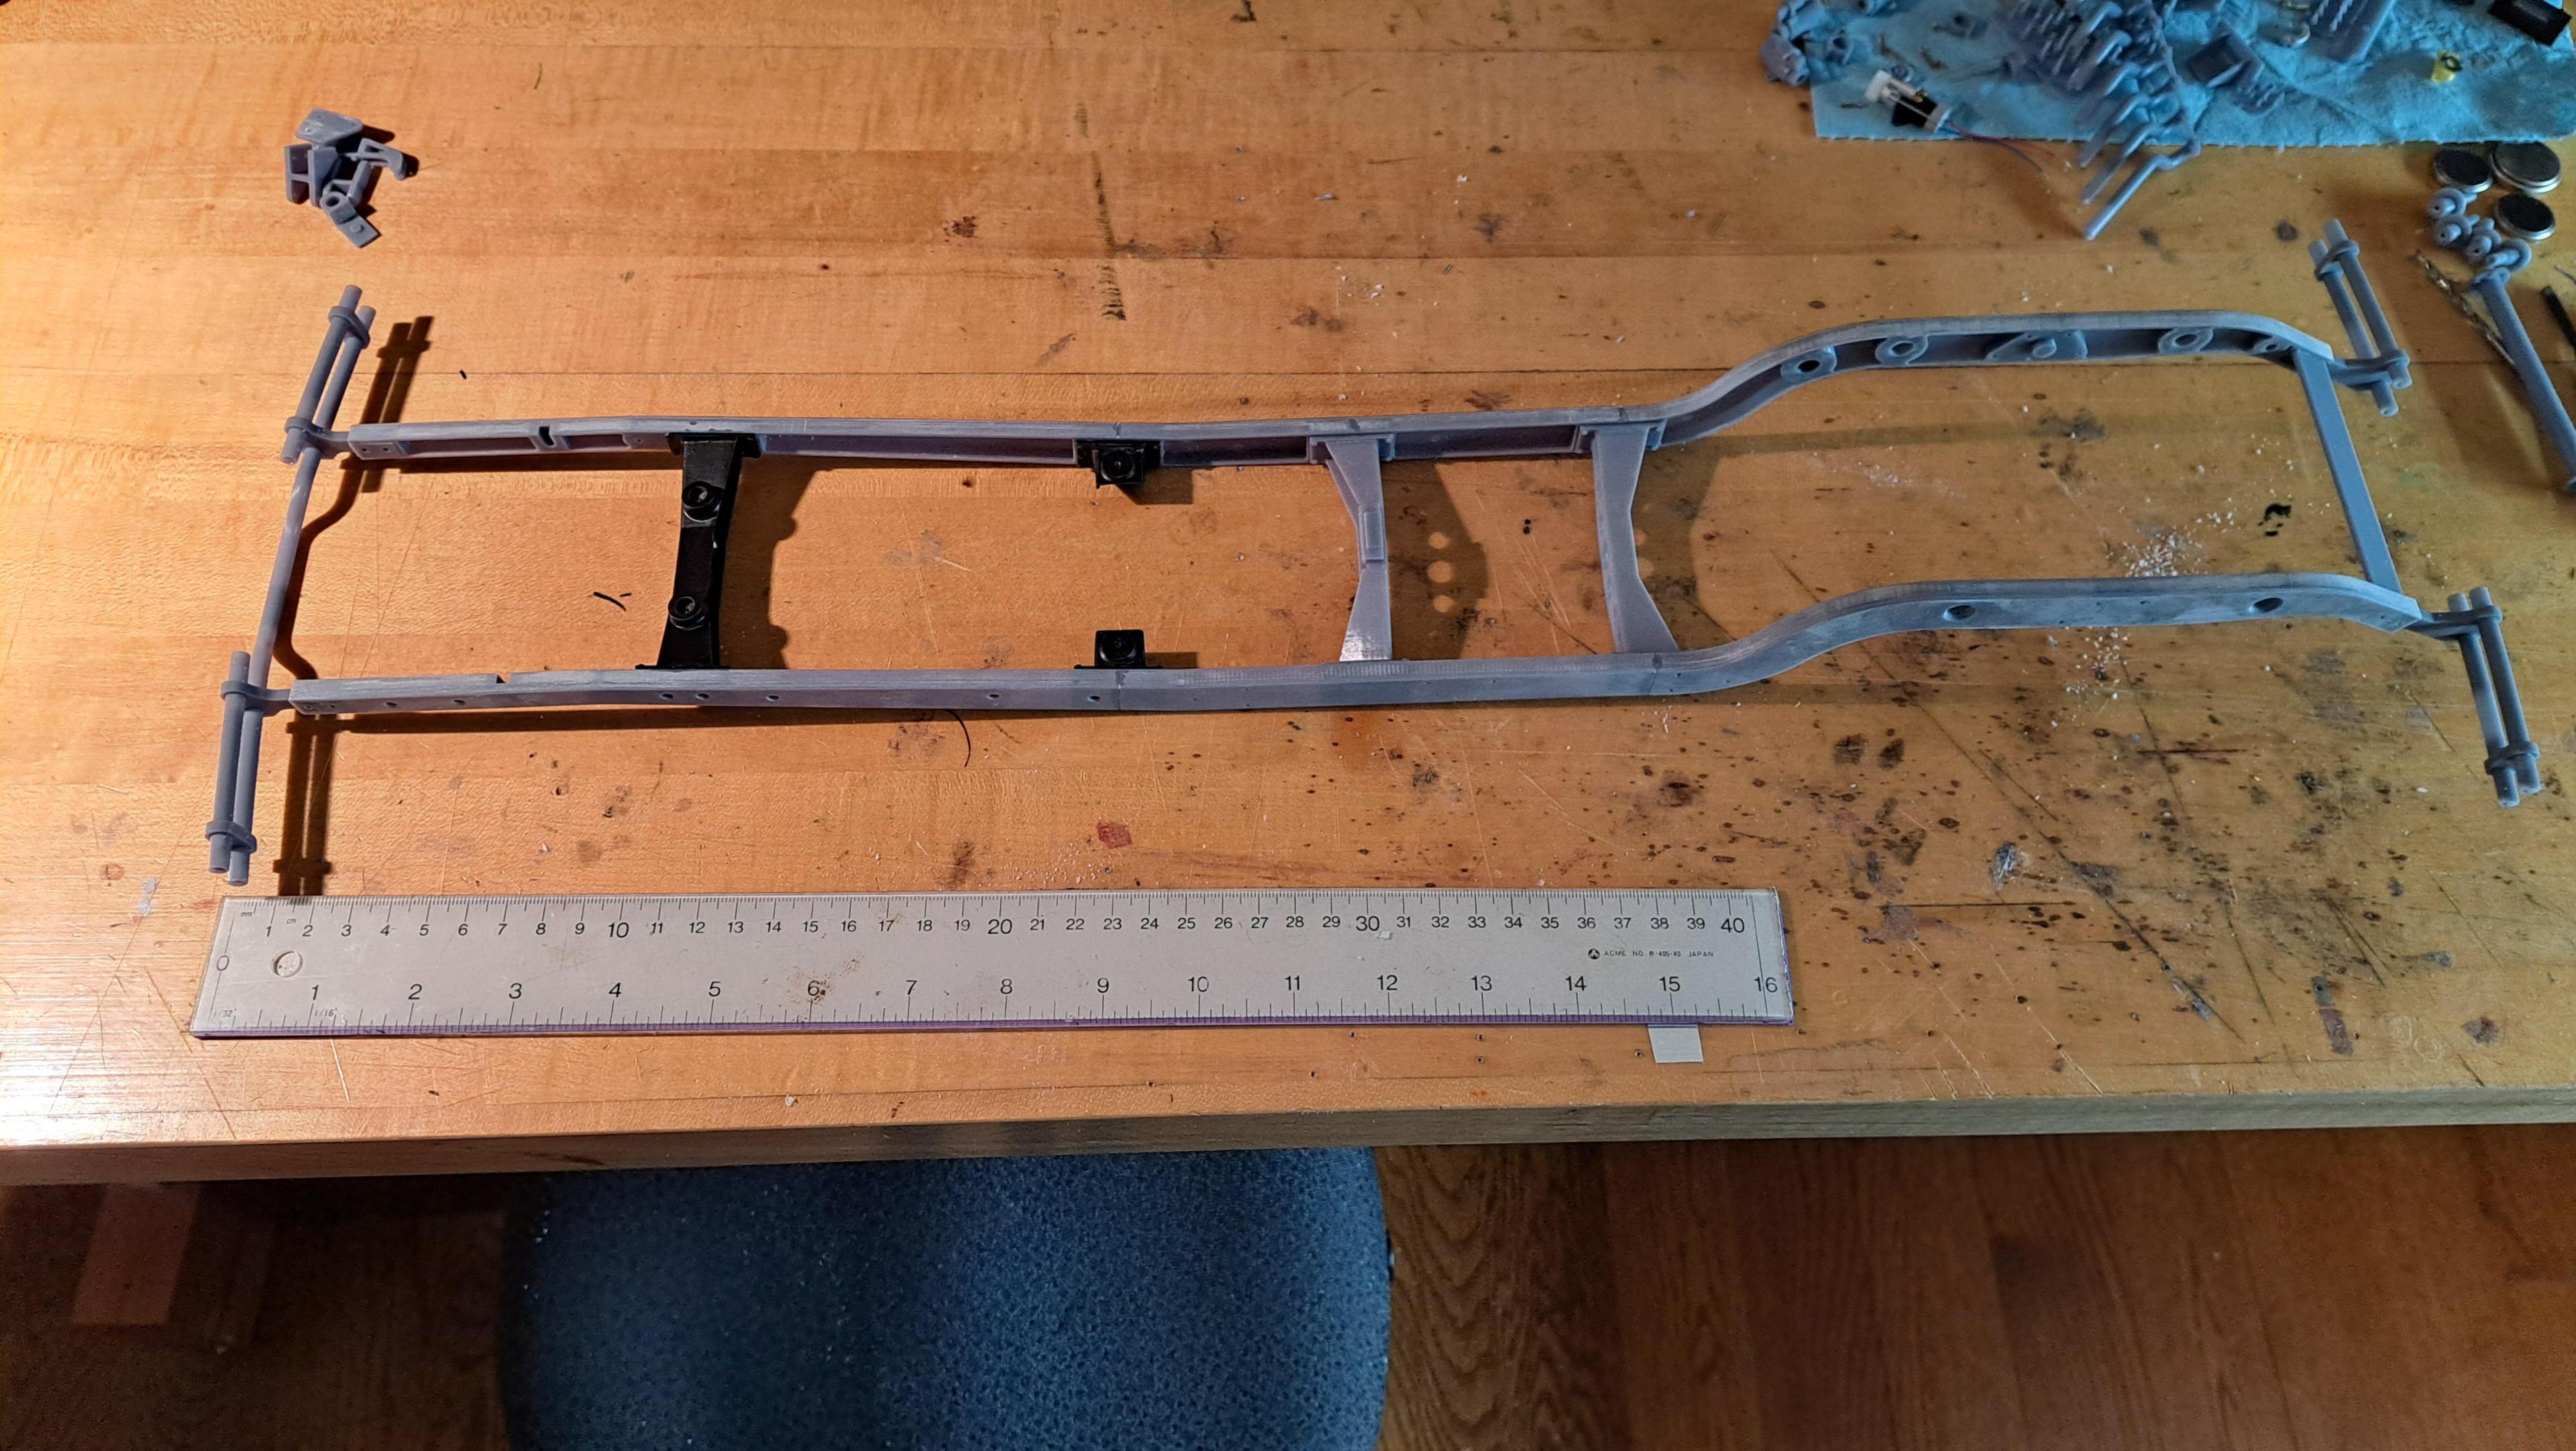
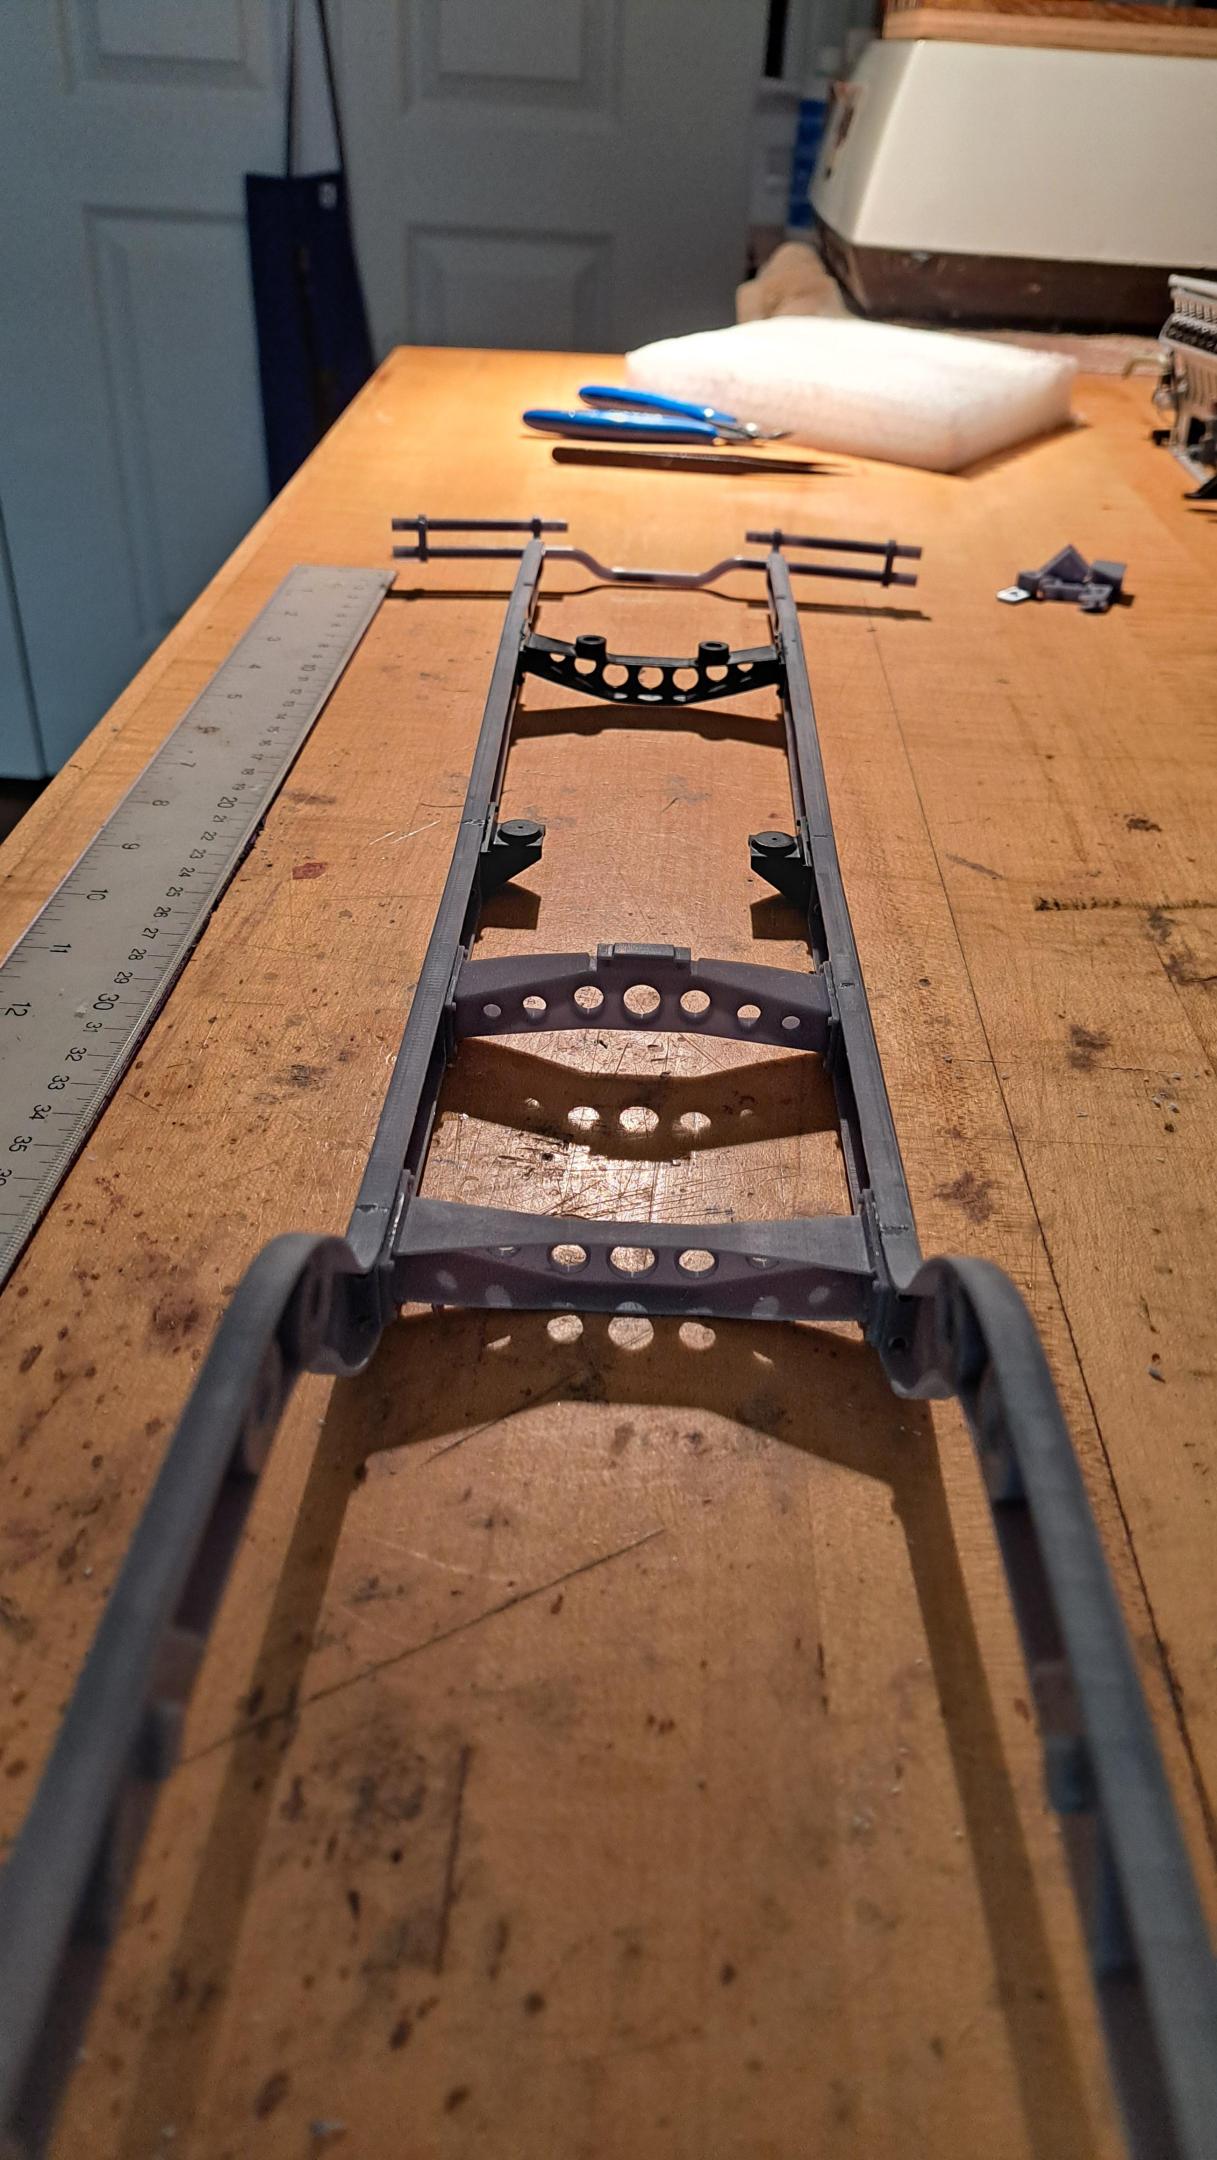
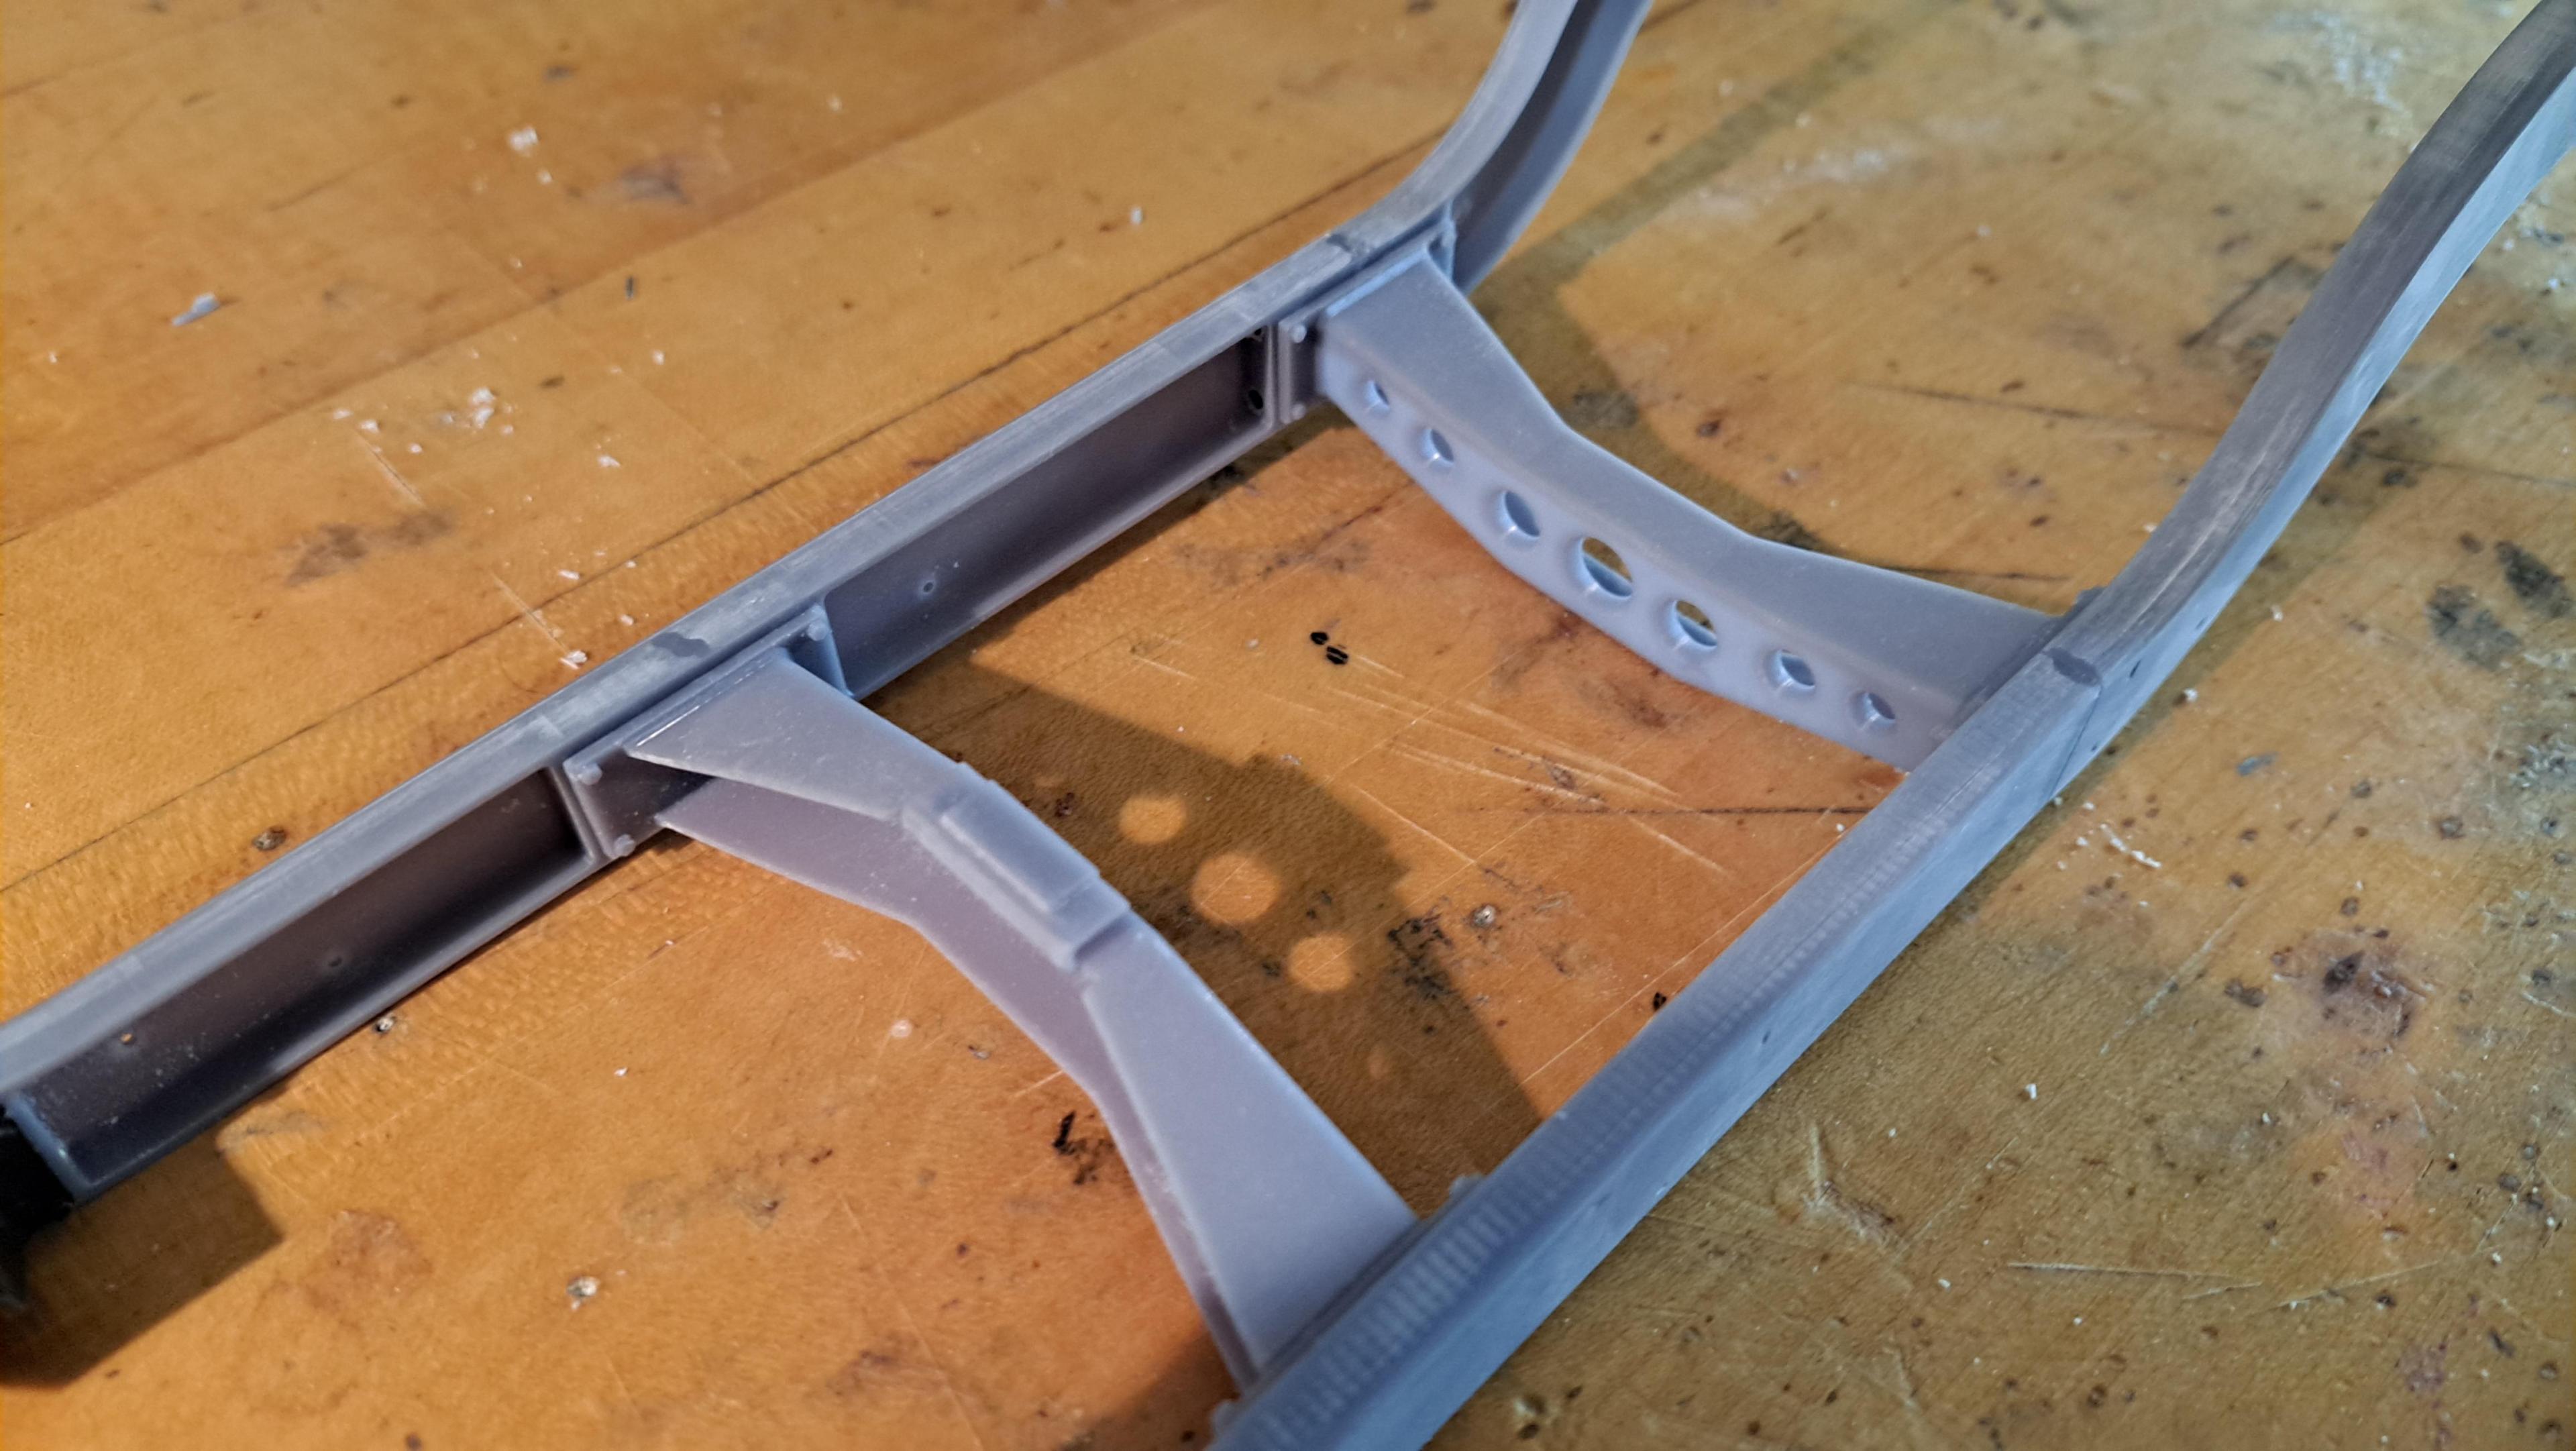
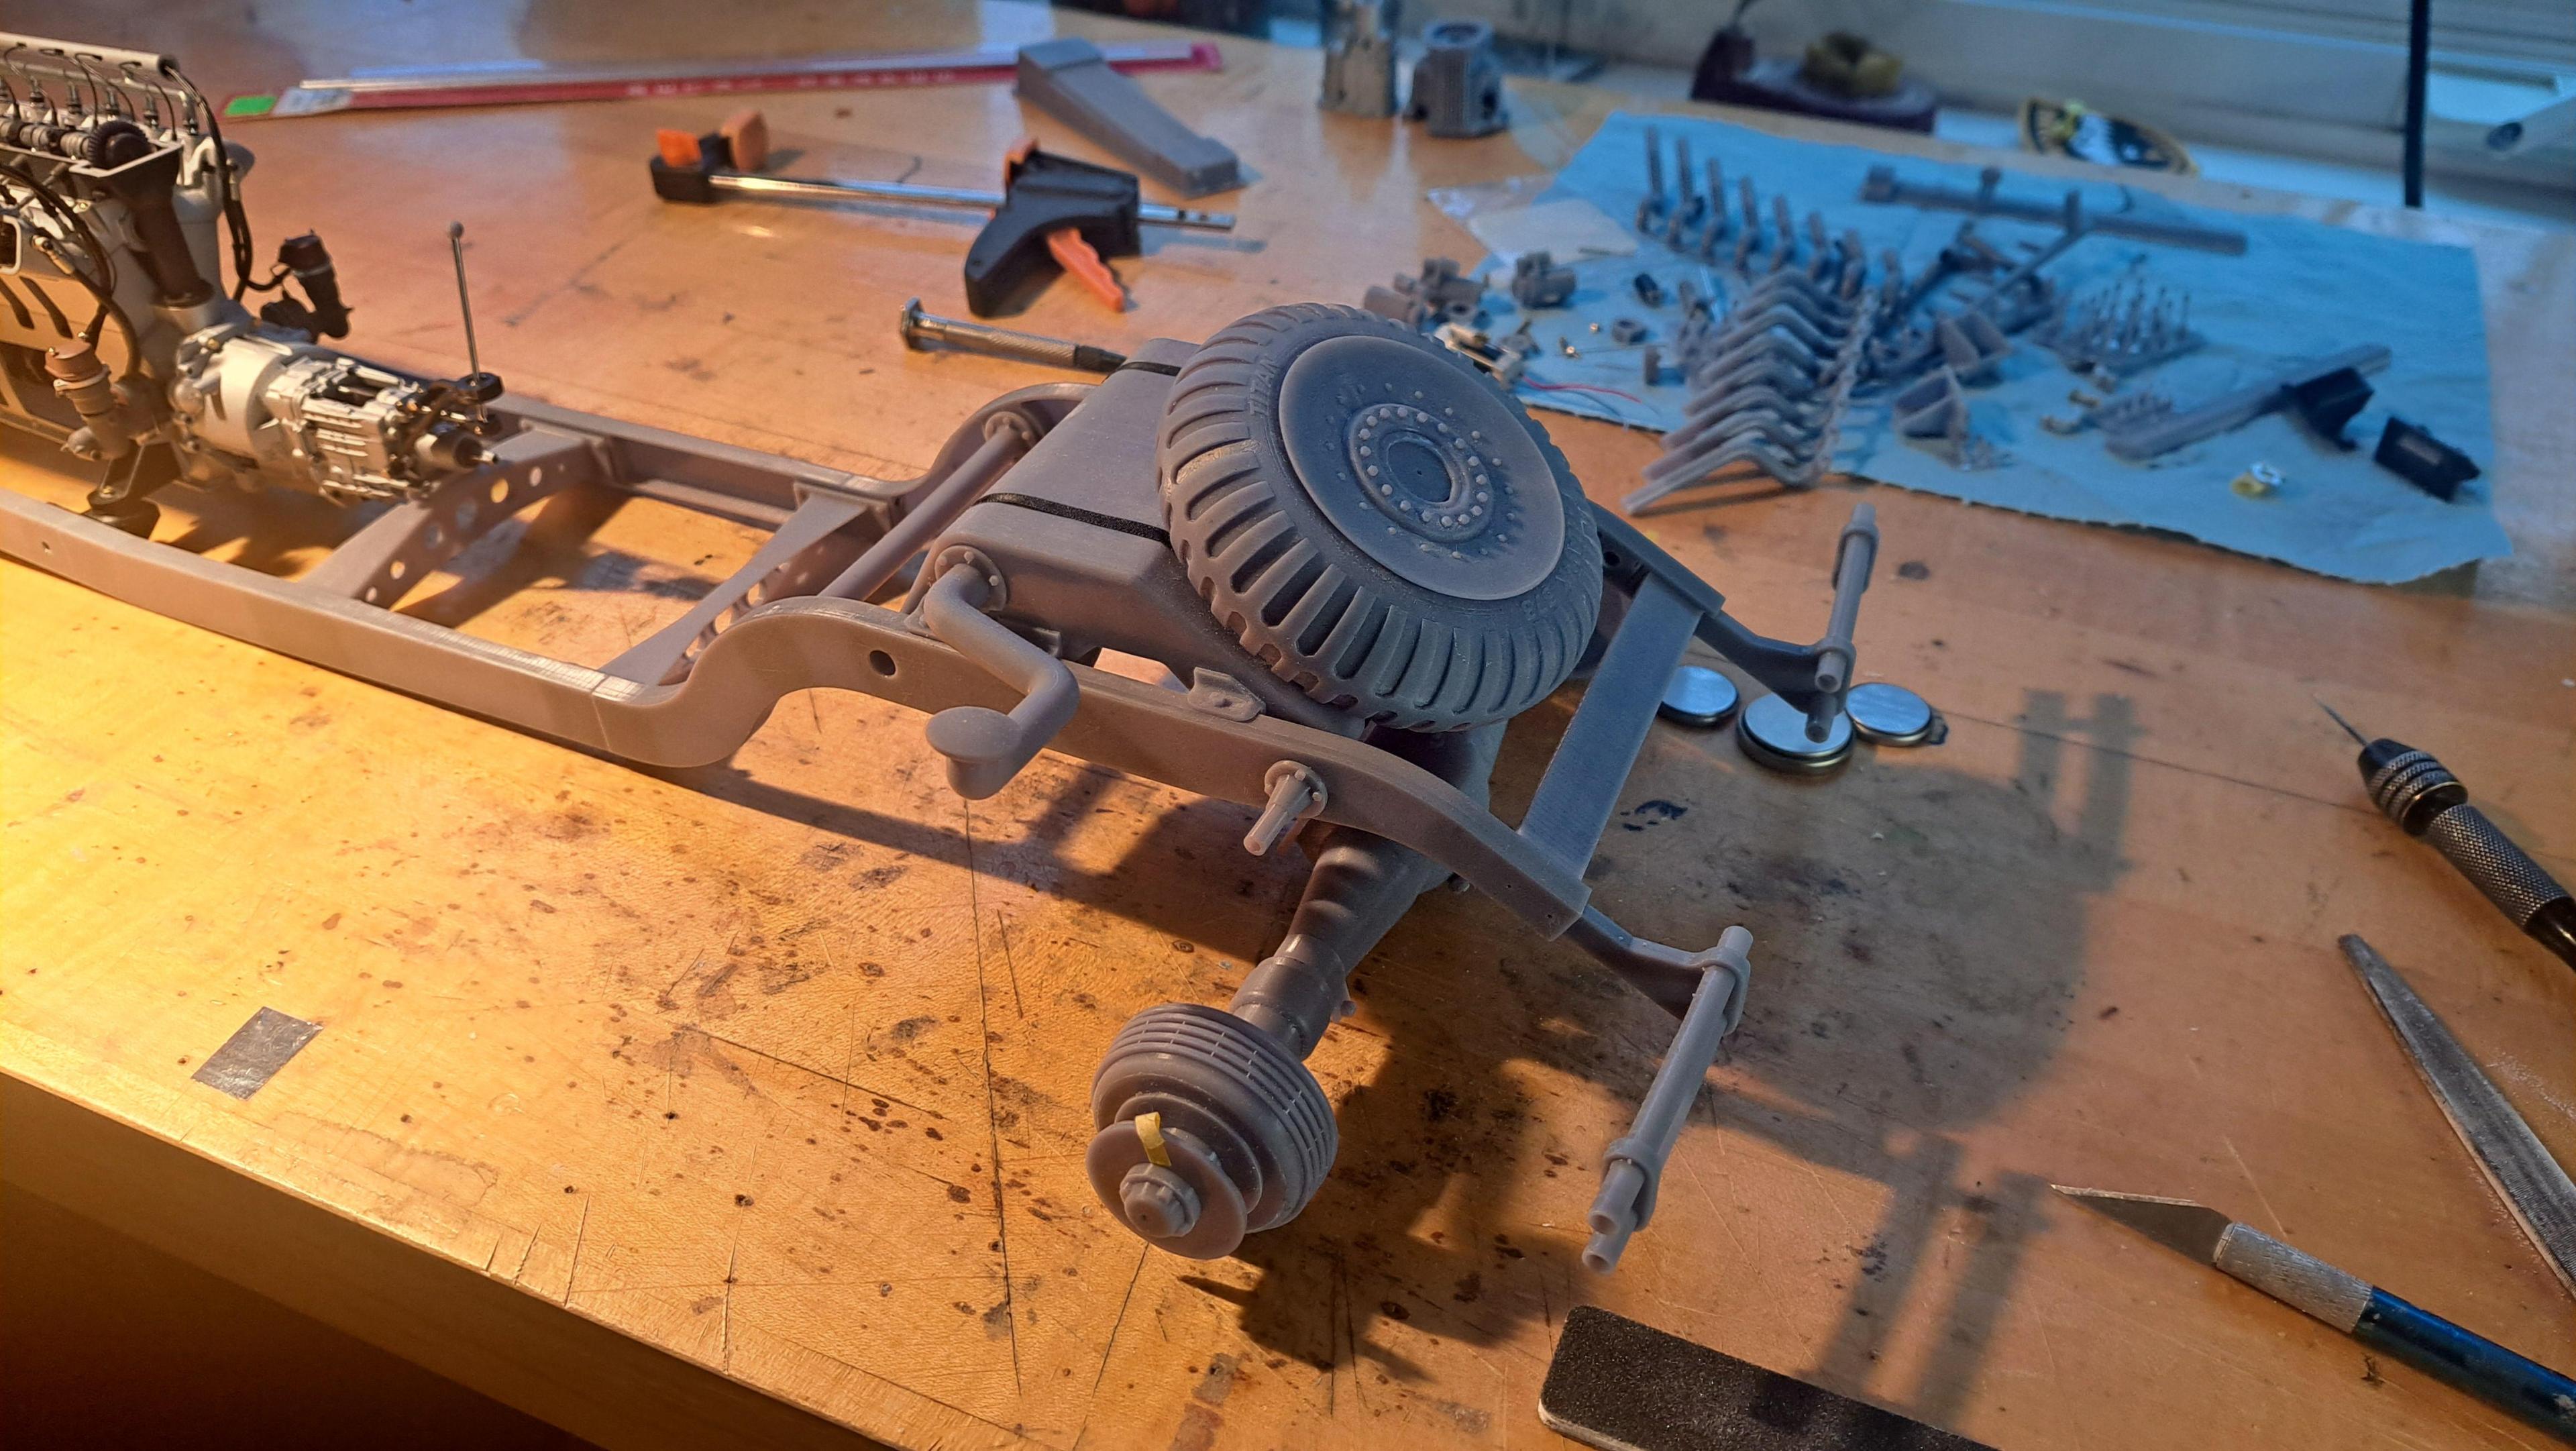
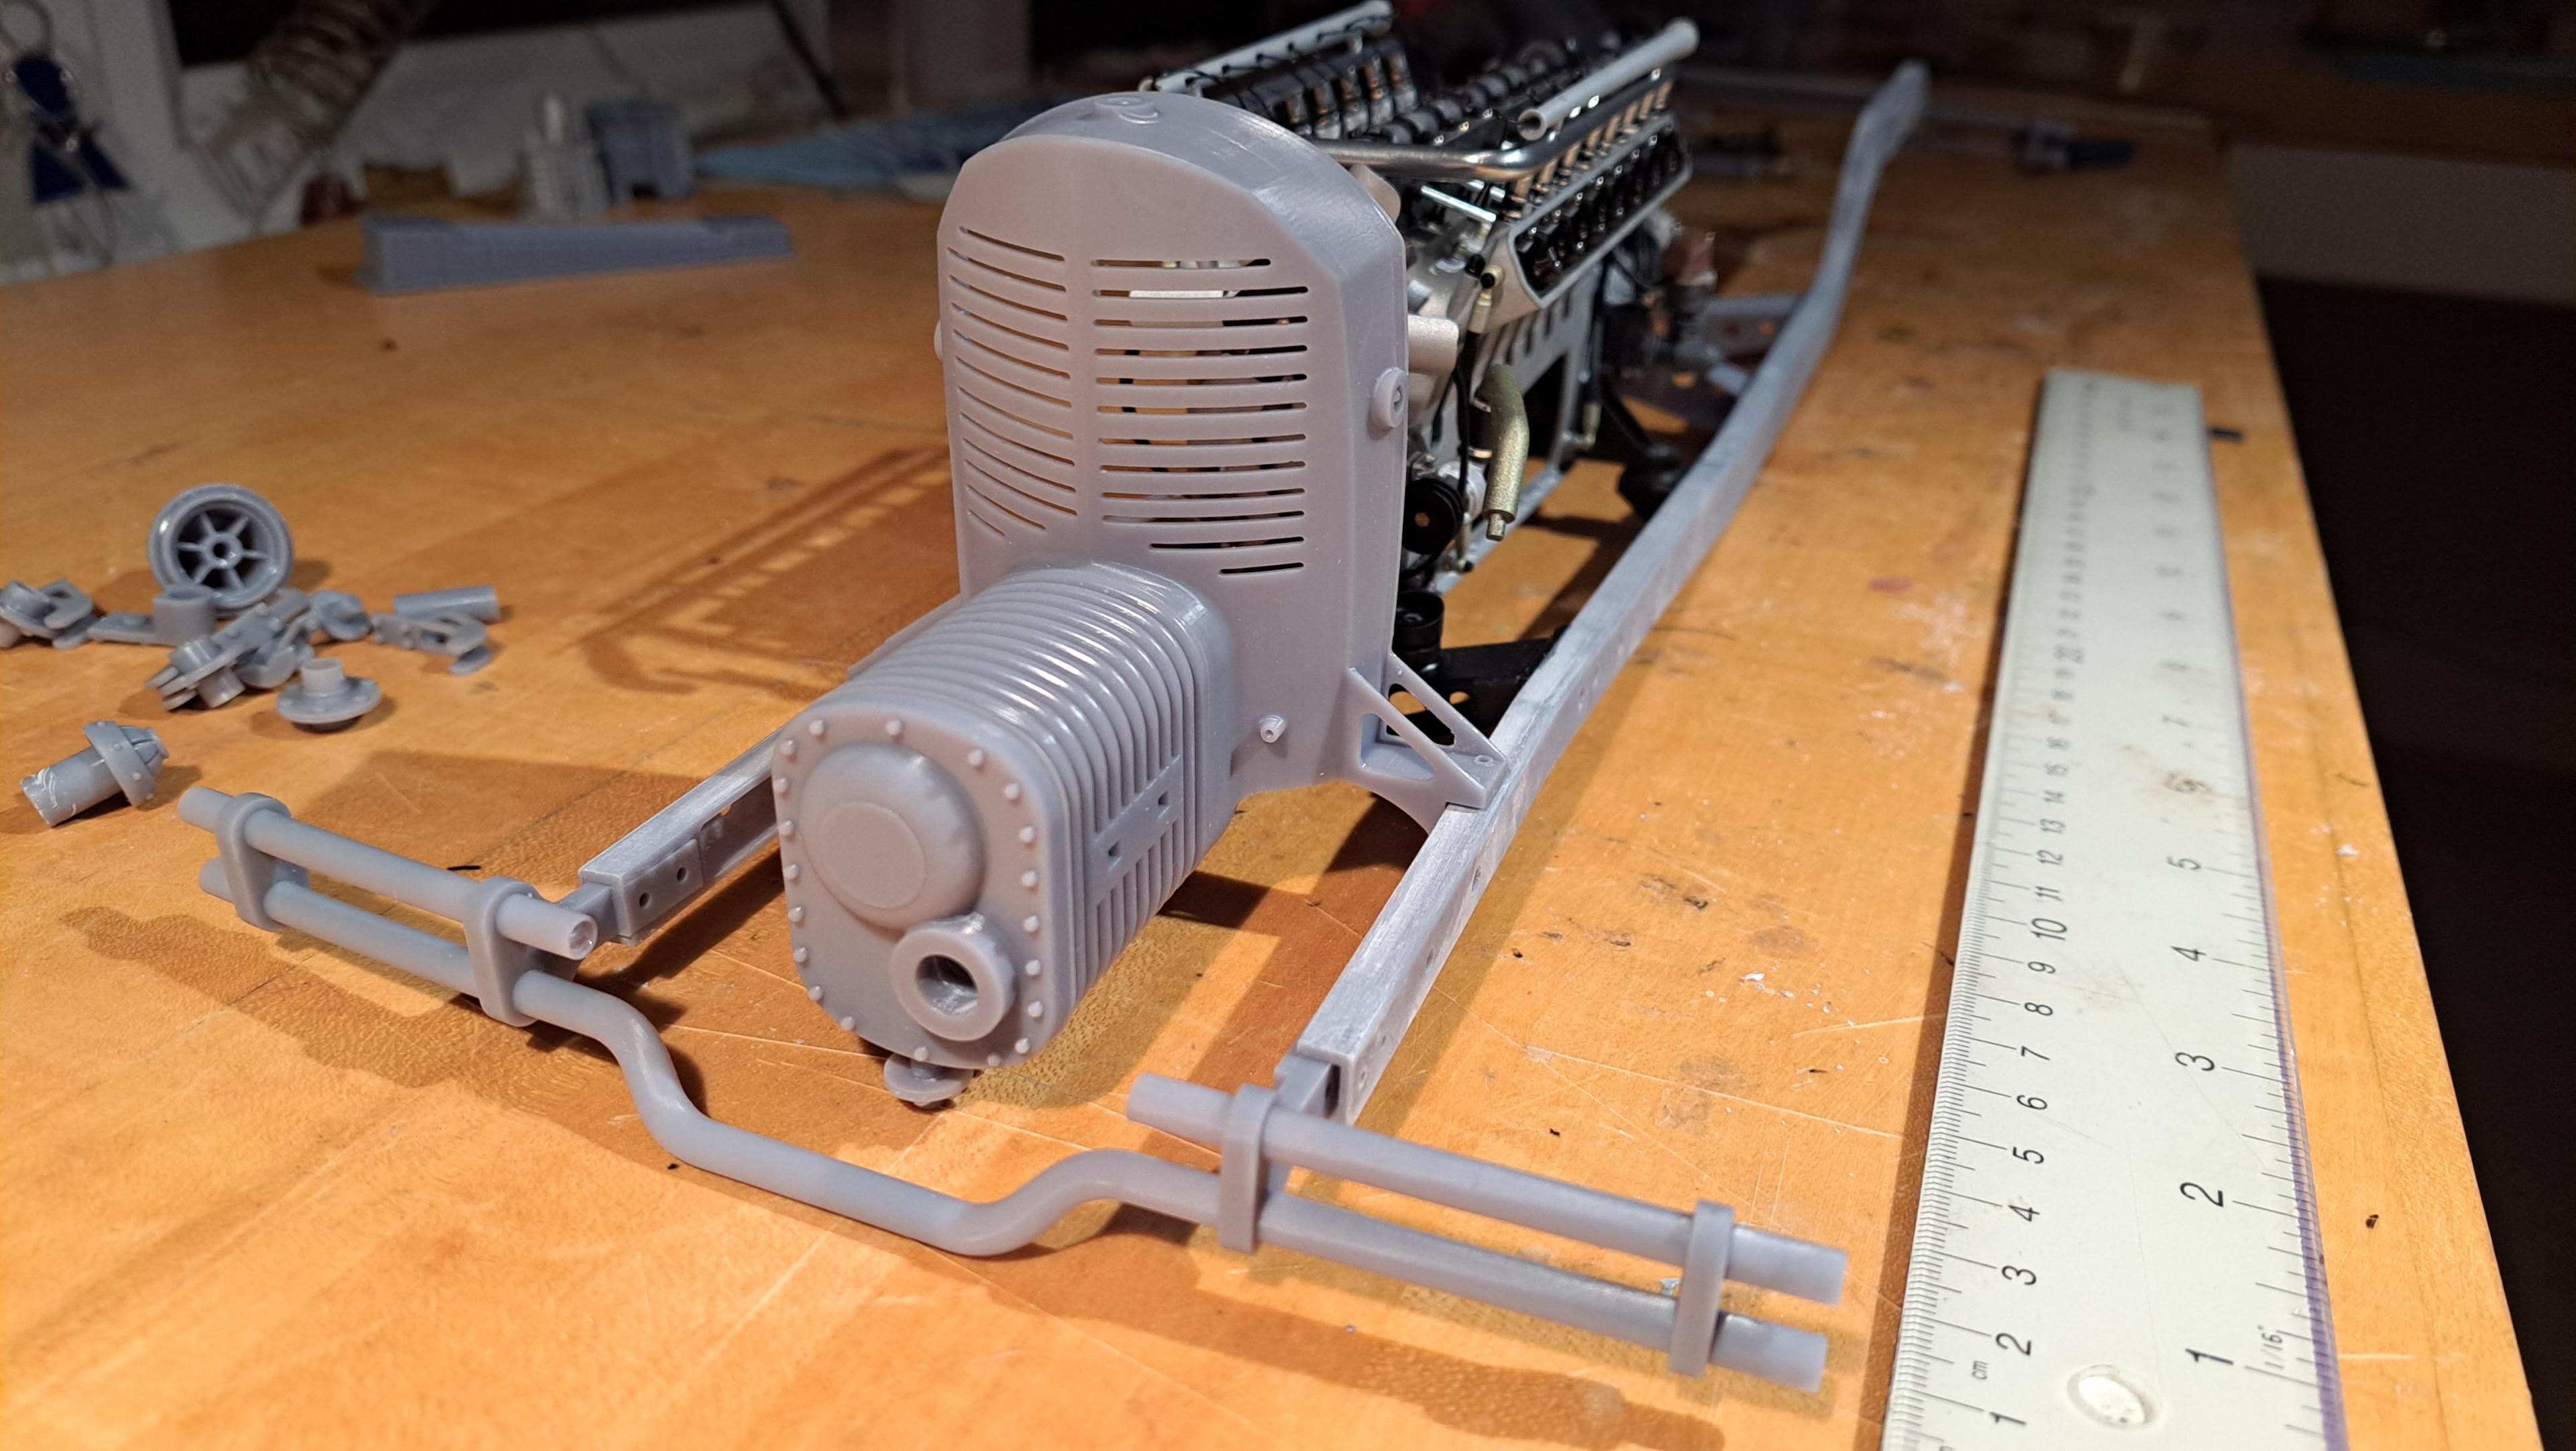
While waiting for the new motors to arrive, I started the frame. It's all printed and assembled, a lot easier and faster to print and assemble than the engine. I also test printed the radiator since the new gearmotor will be mounted in it. For a test print, it came out pretty good. At the risk of repeating myself, this model will be huge !

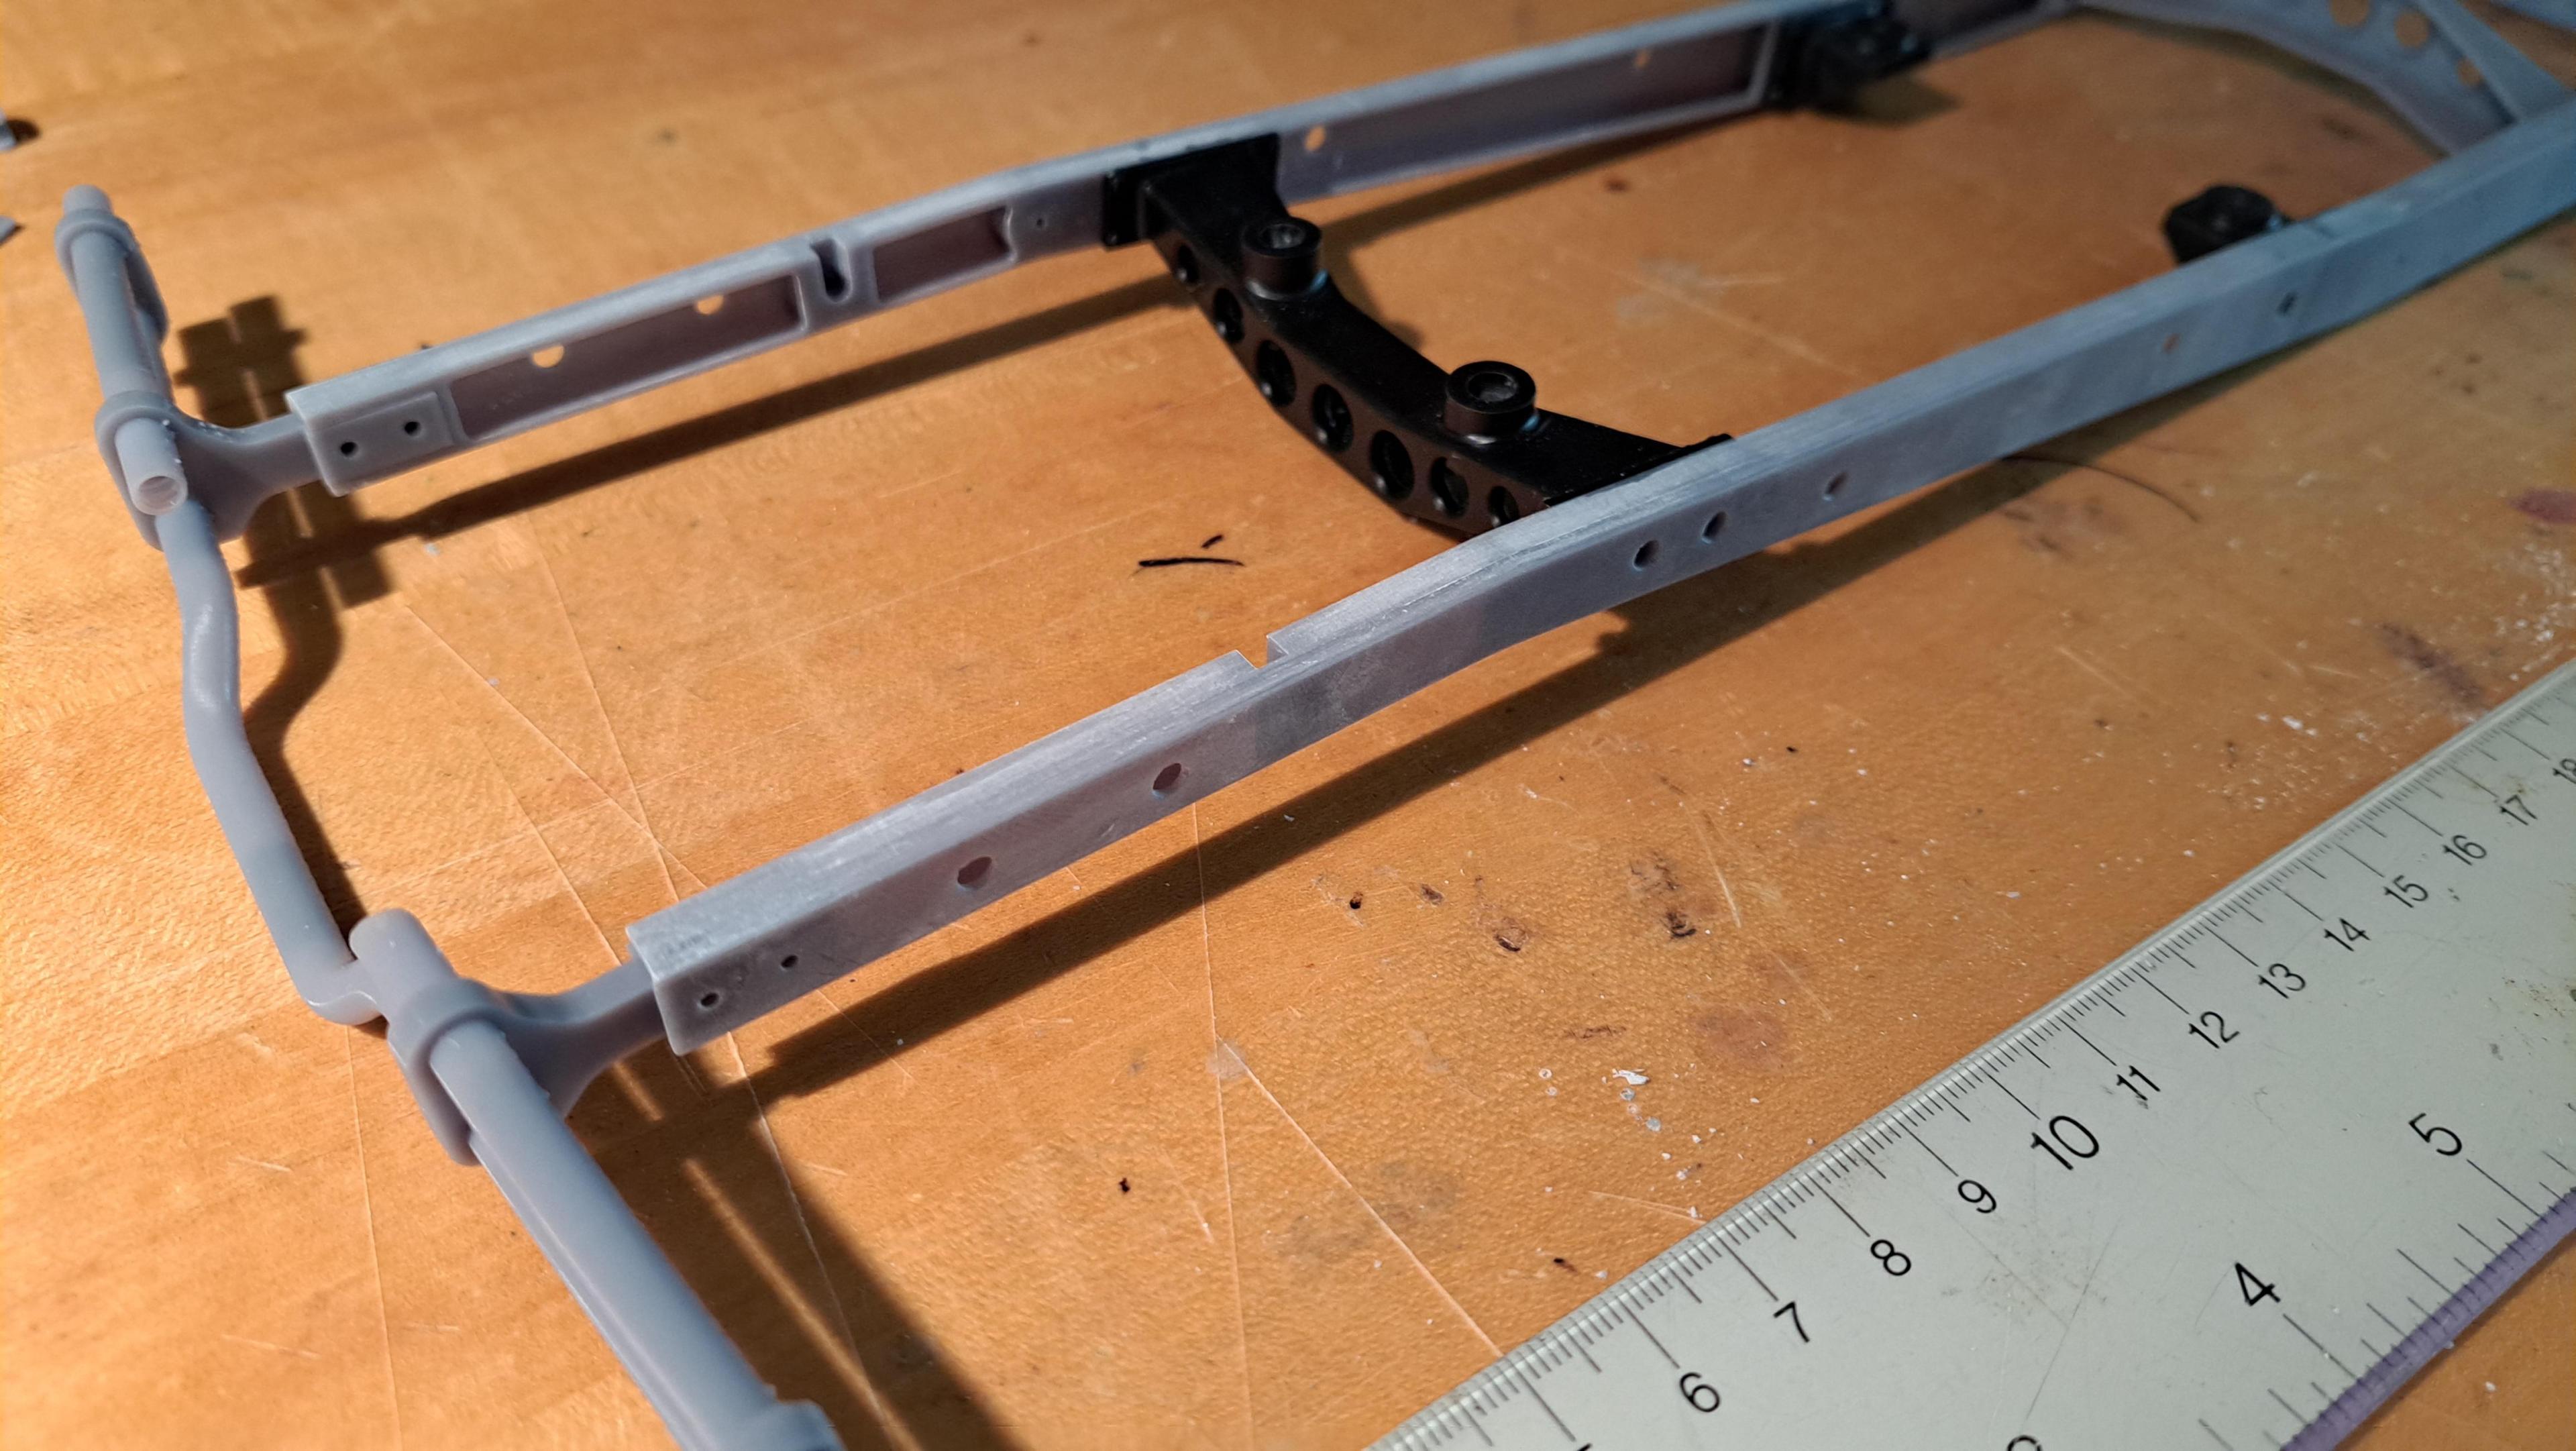
The assembled frame (that's an 18 in ruler next to it)
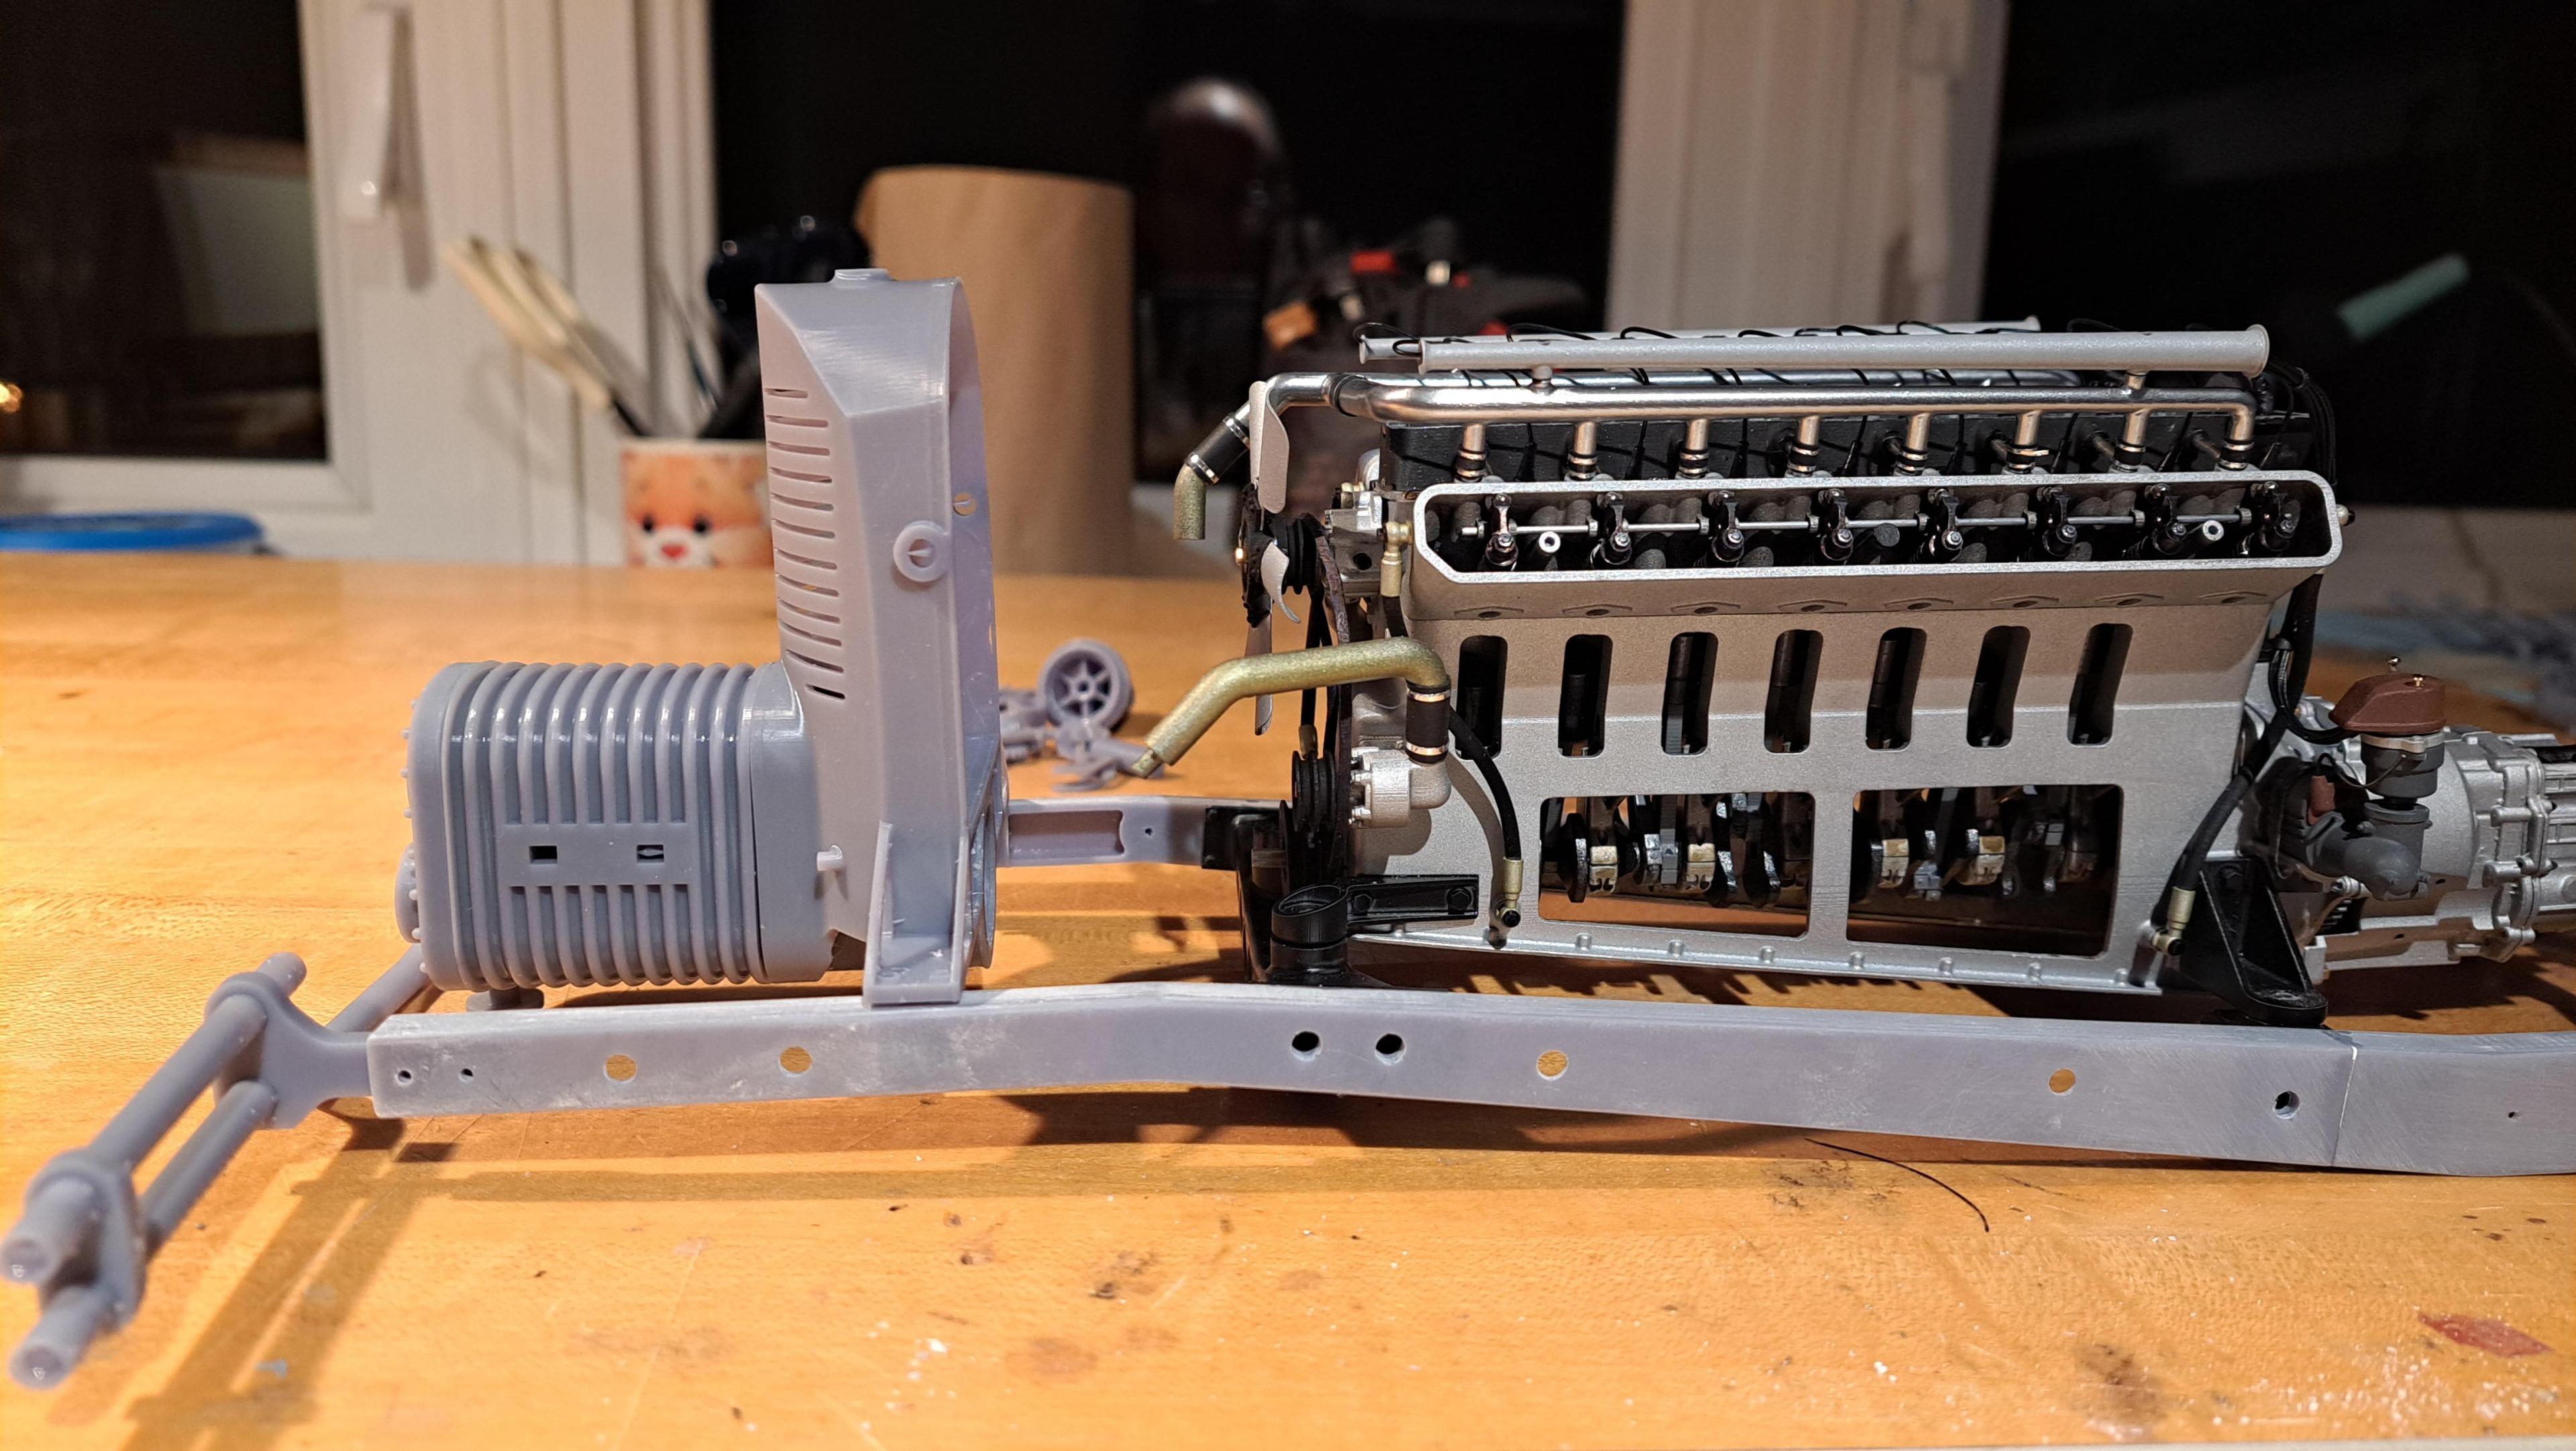


With the engine

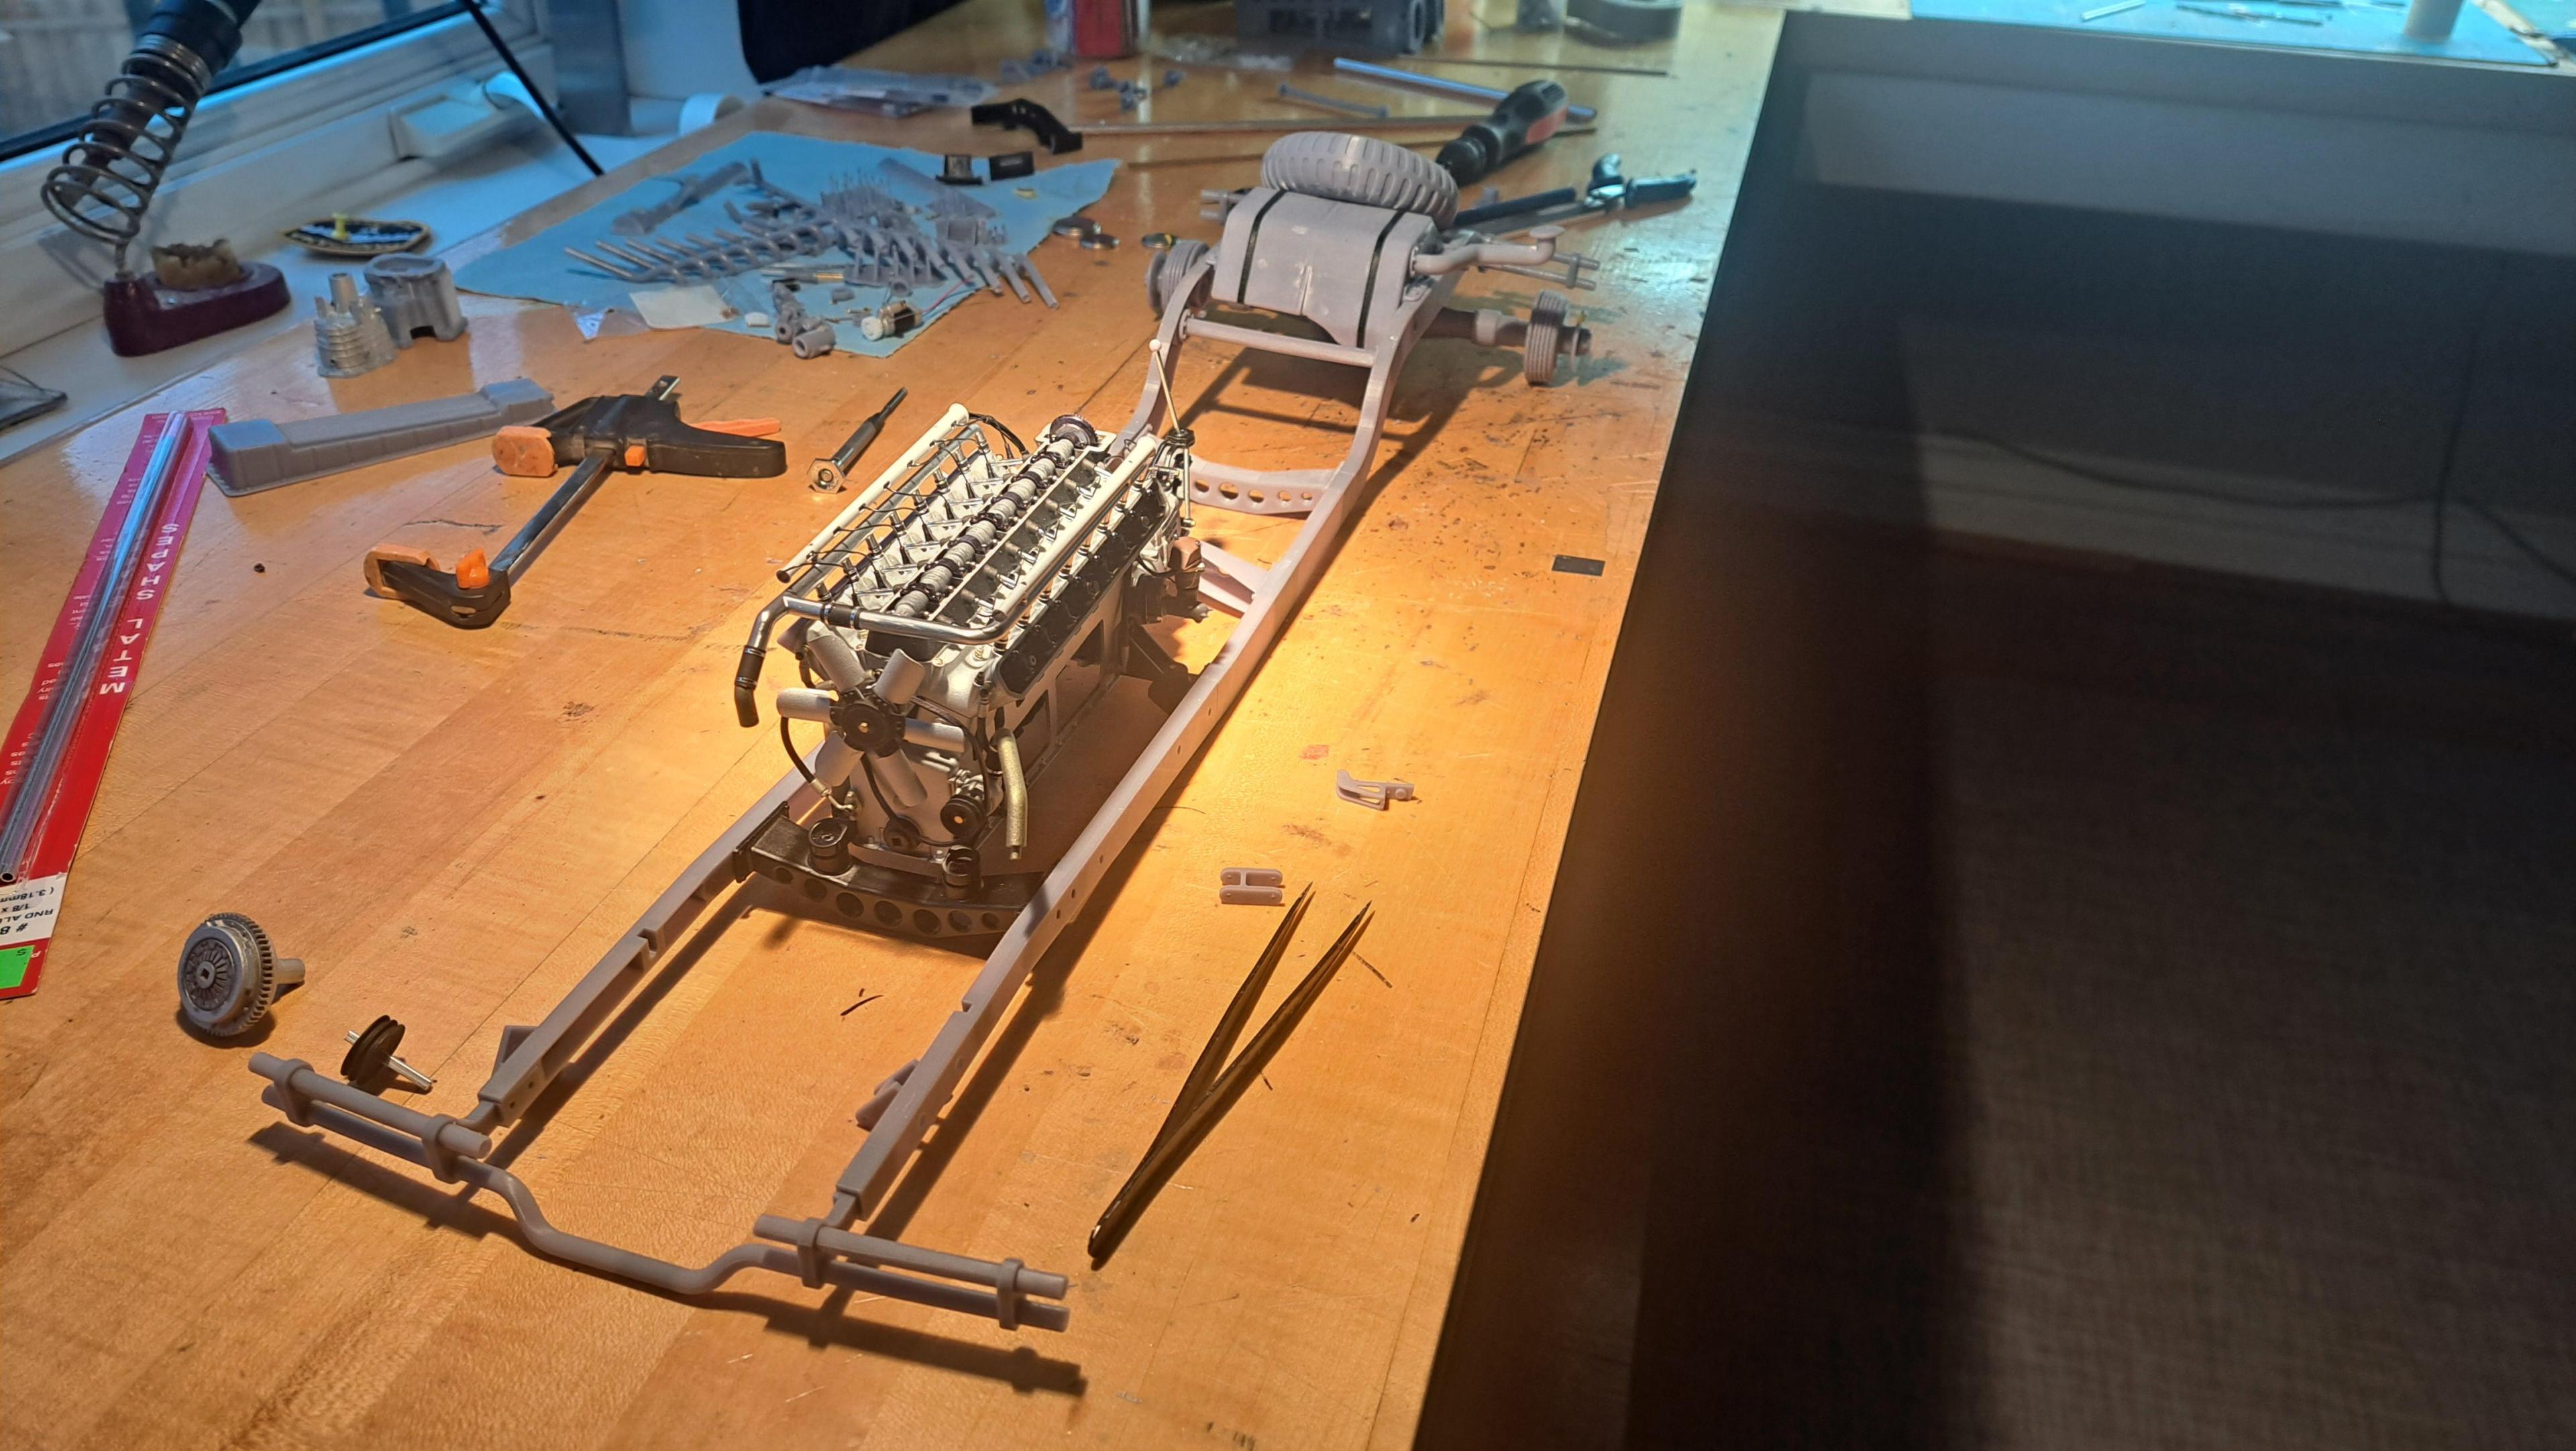
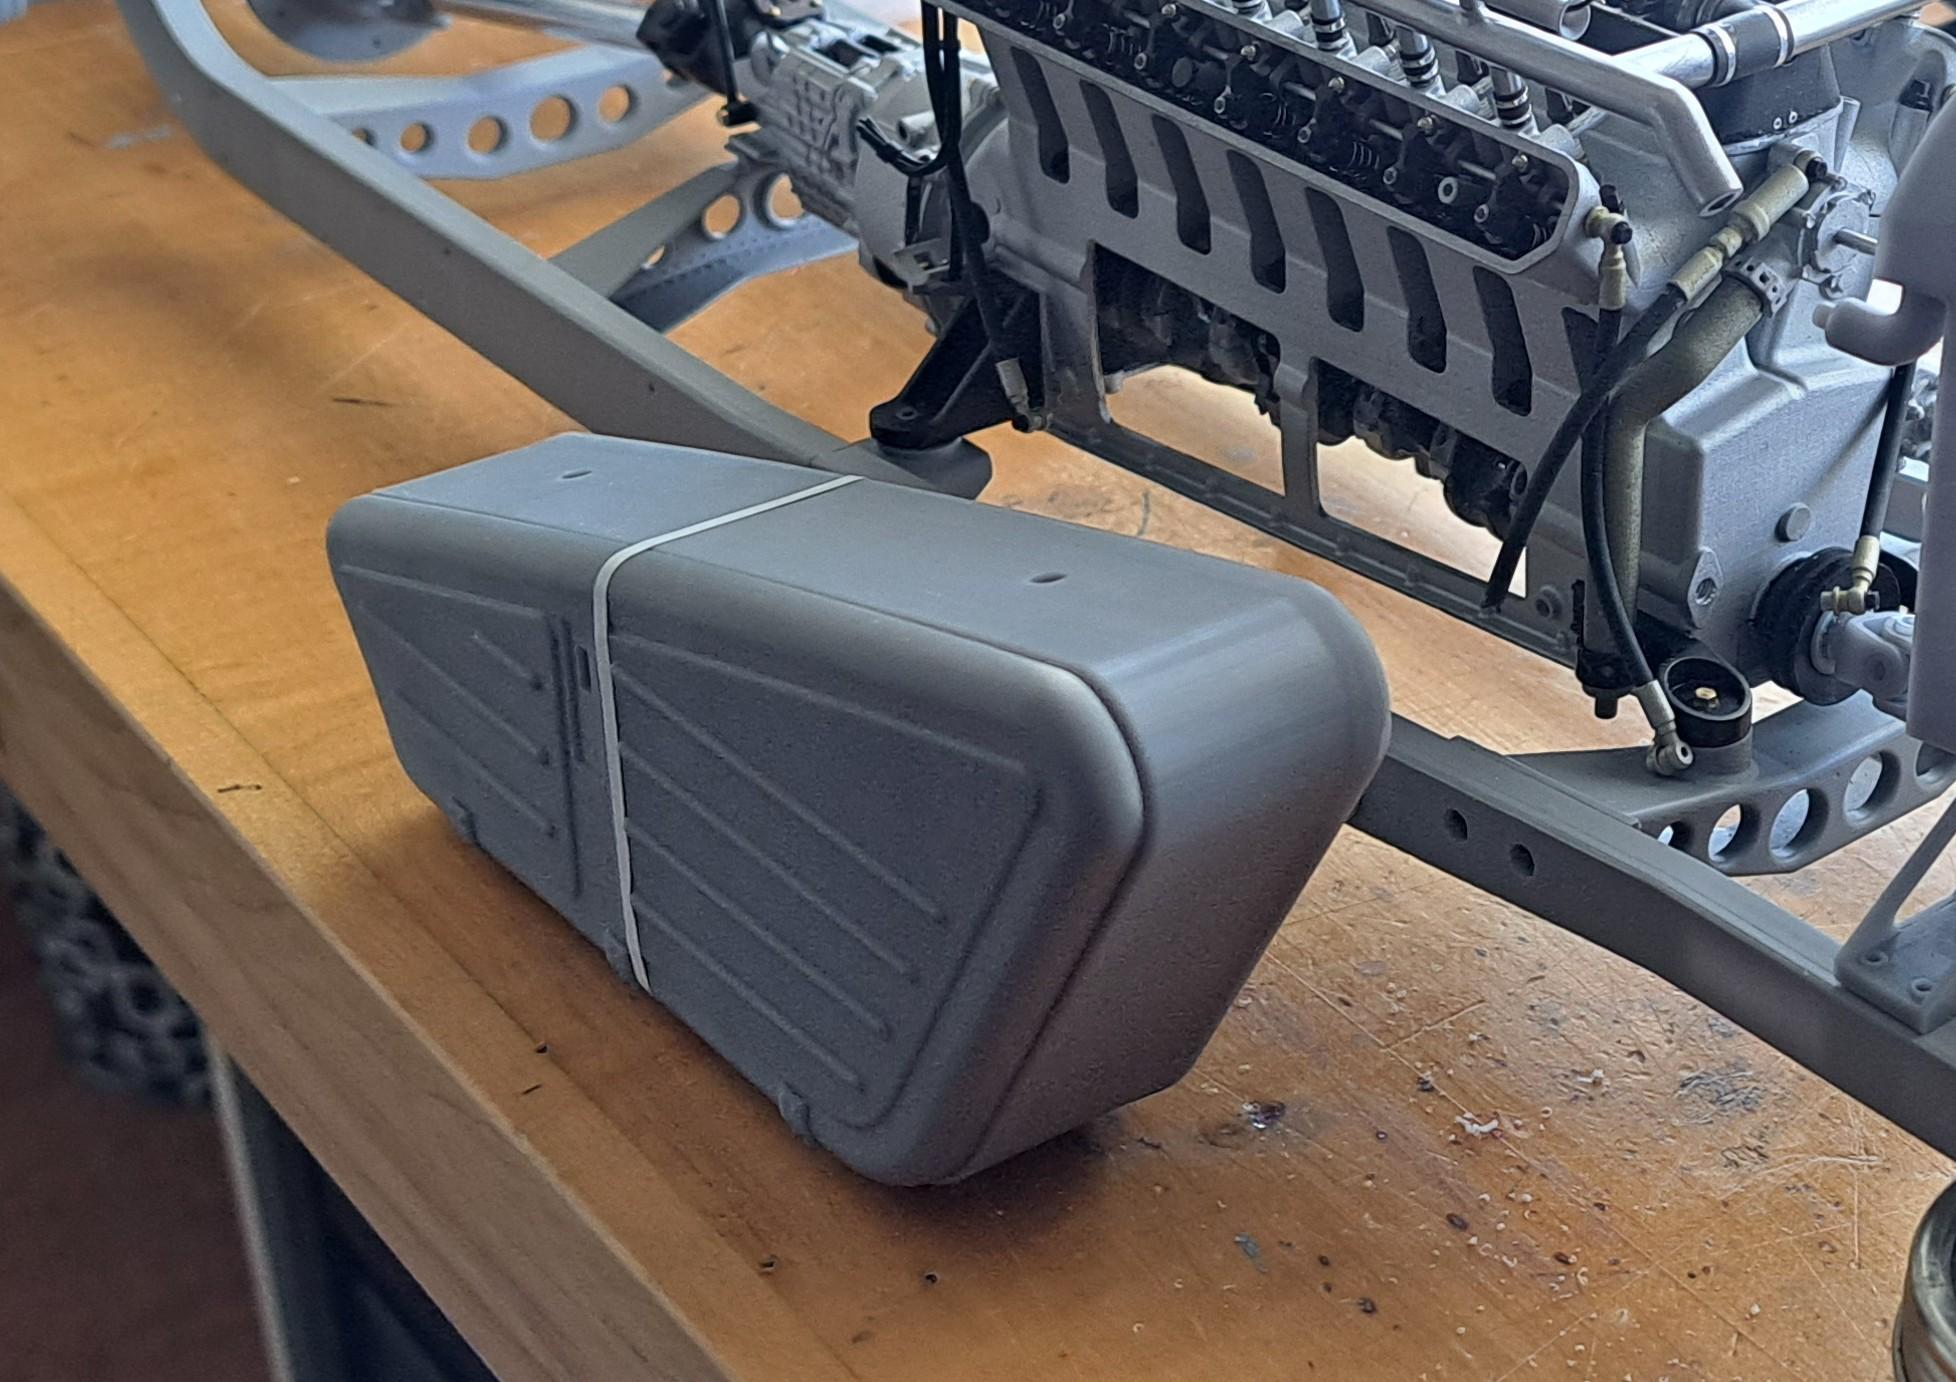
and the gas tank I printed last summer


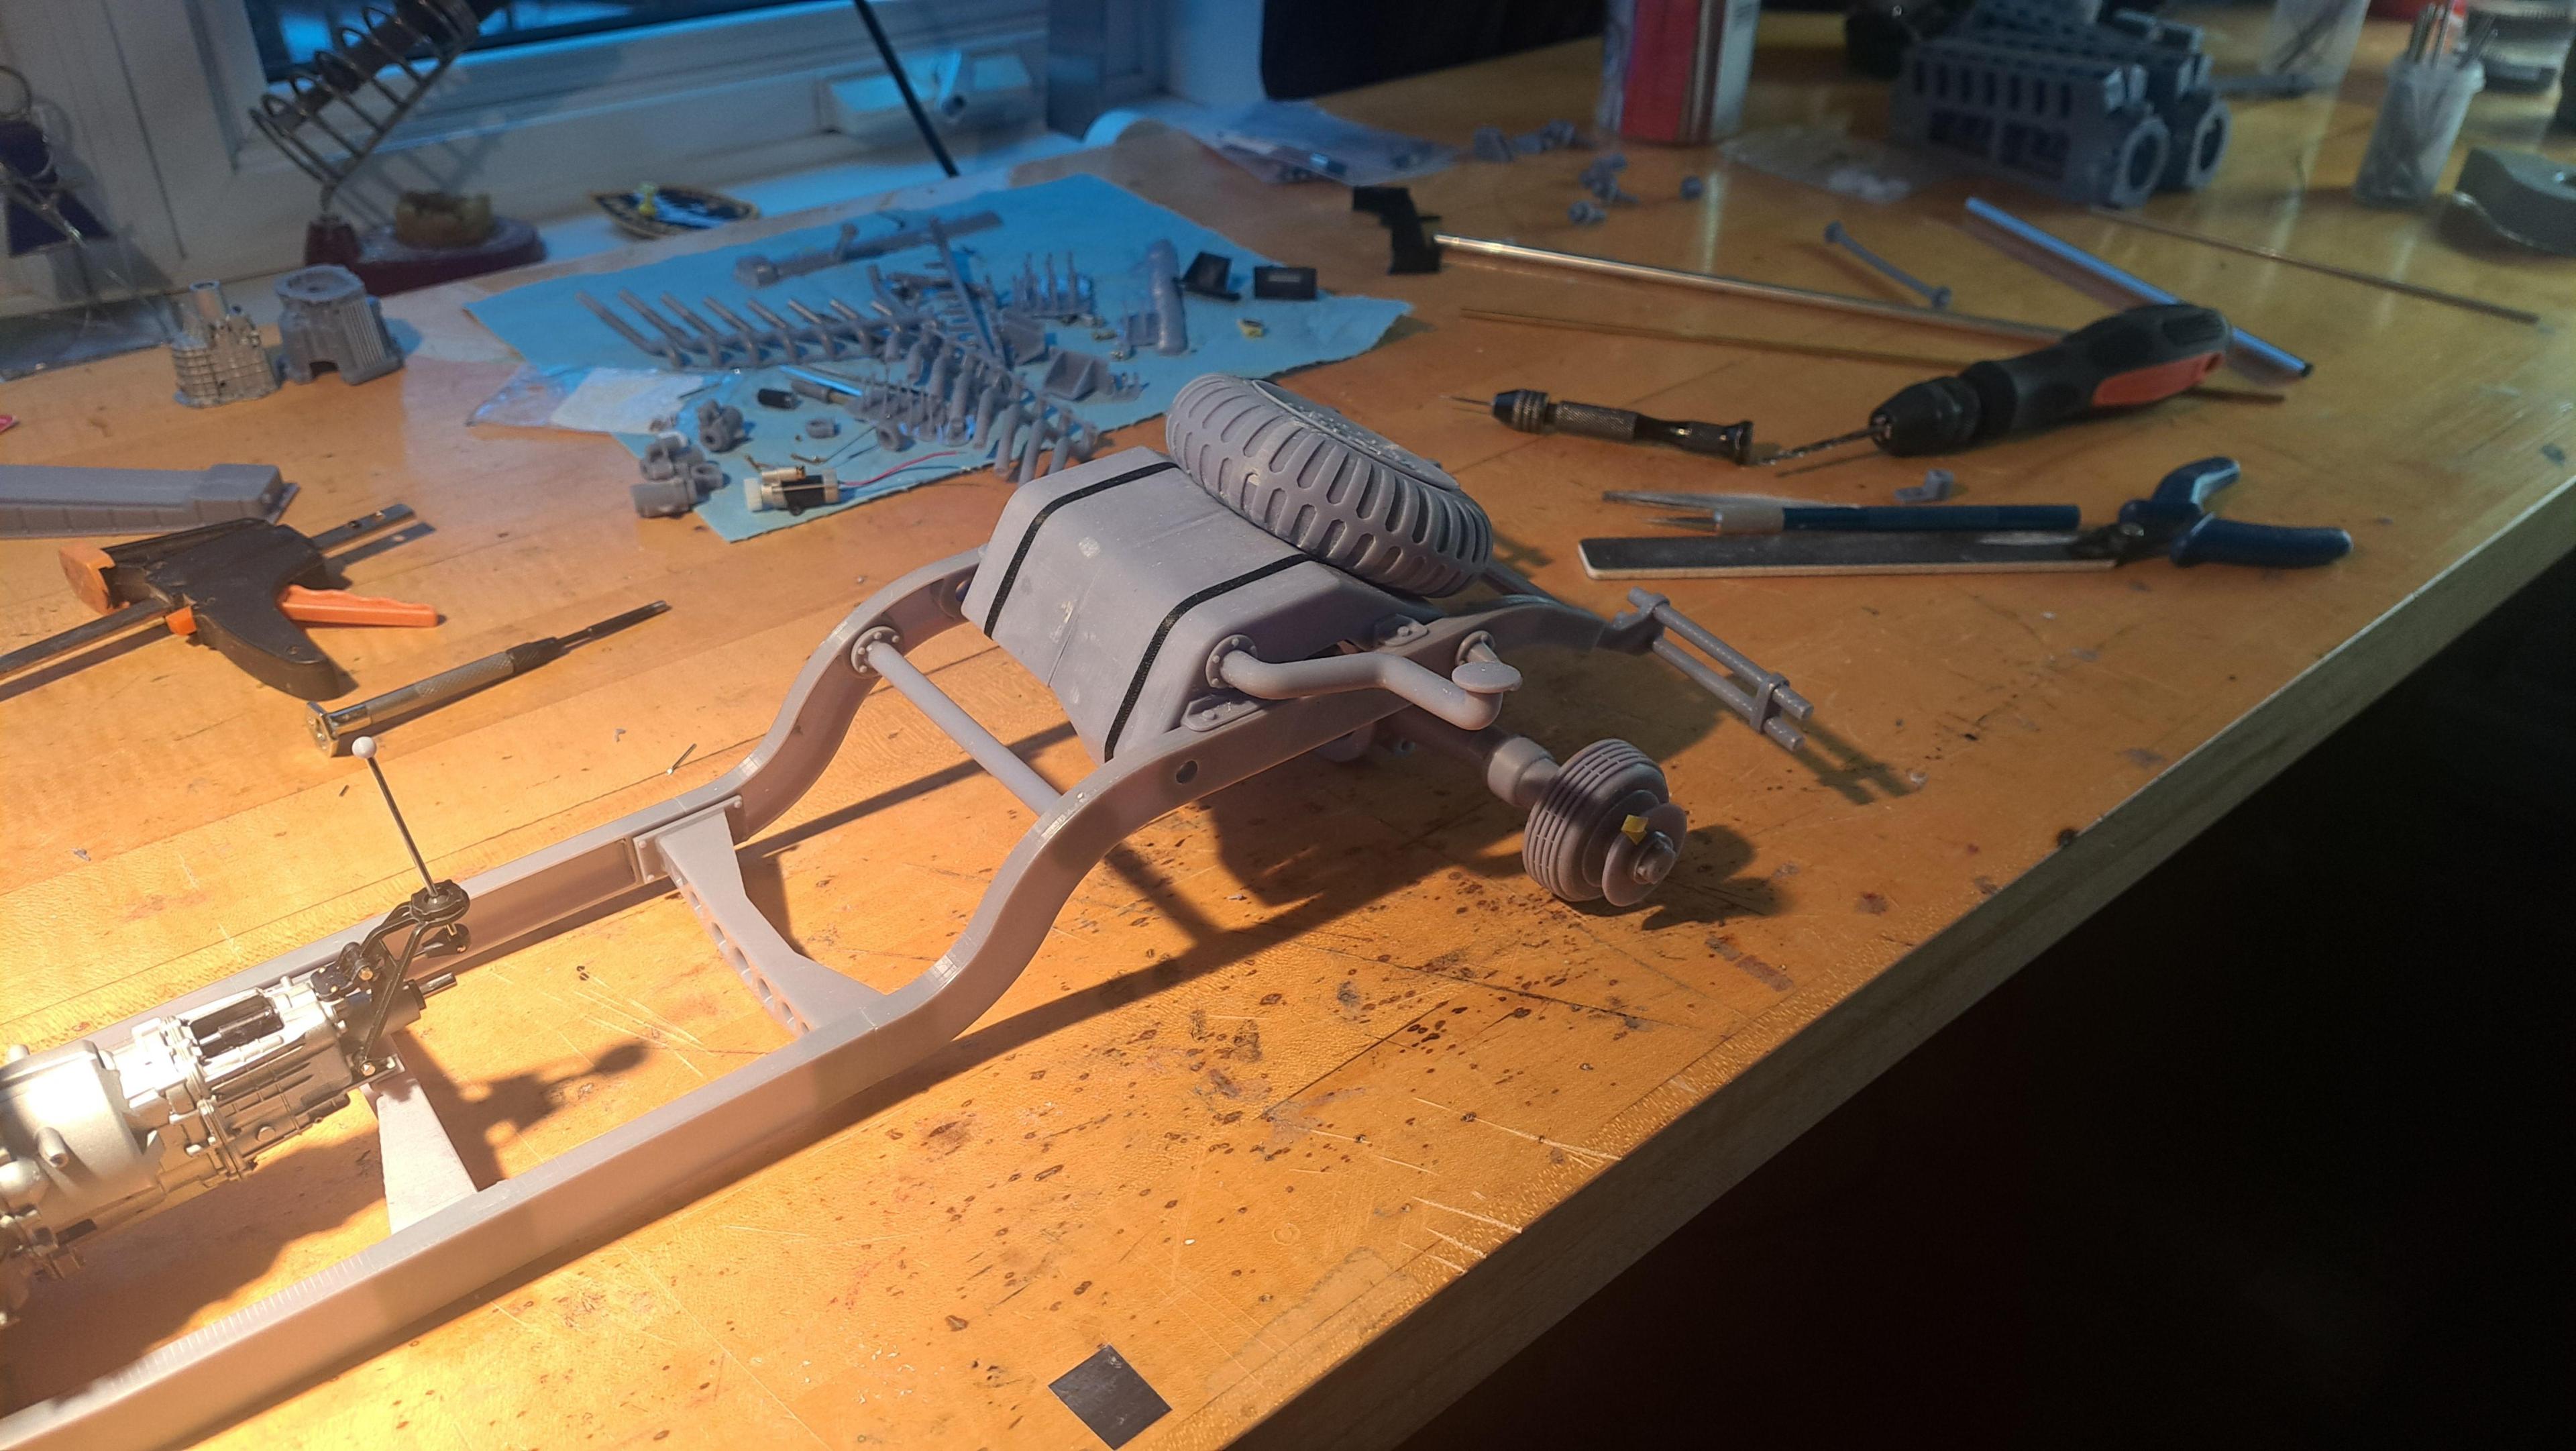
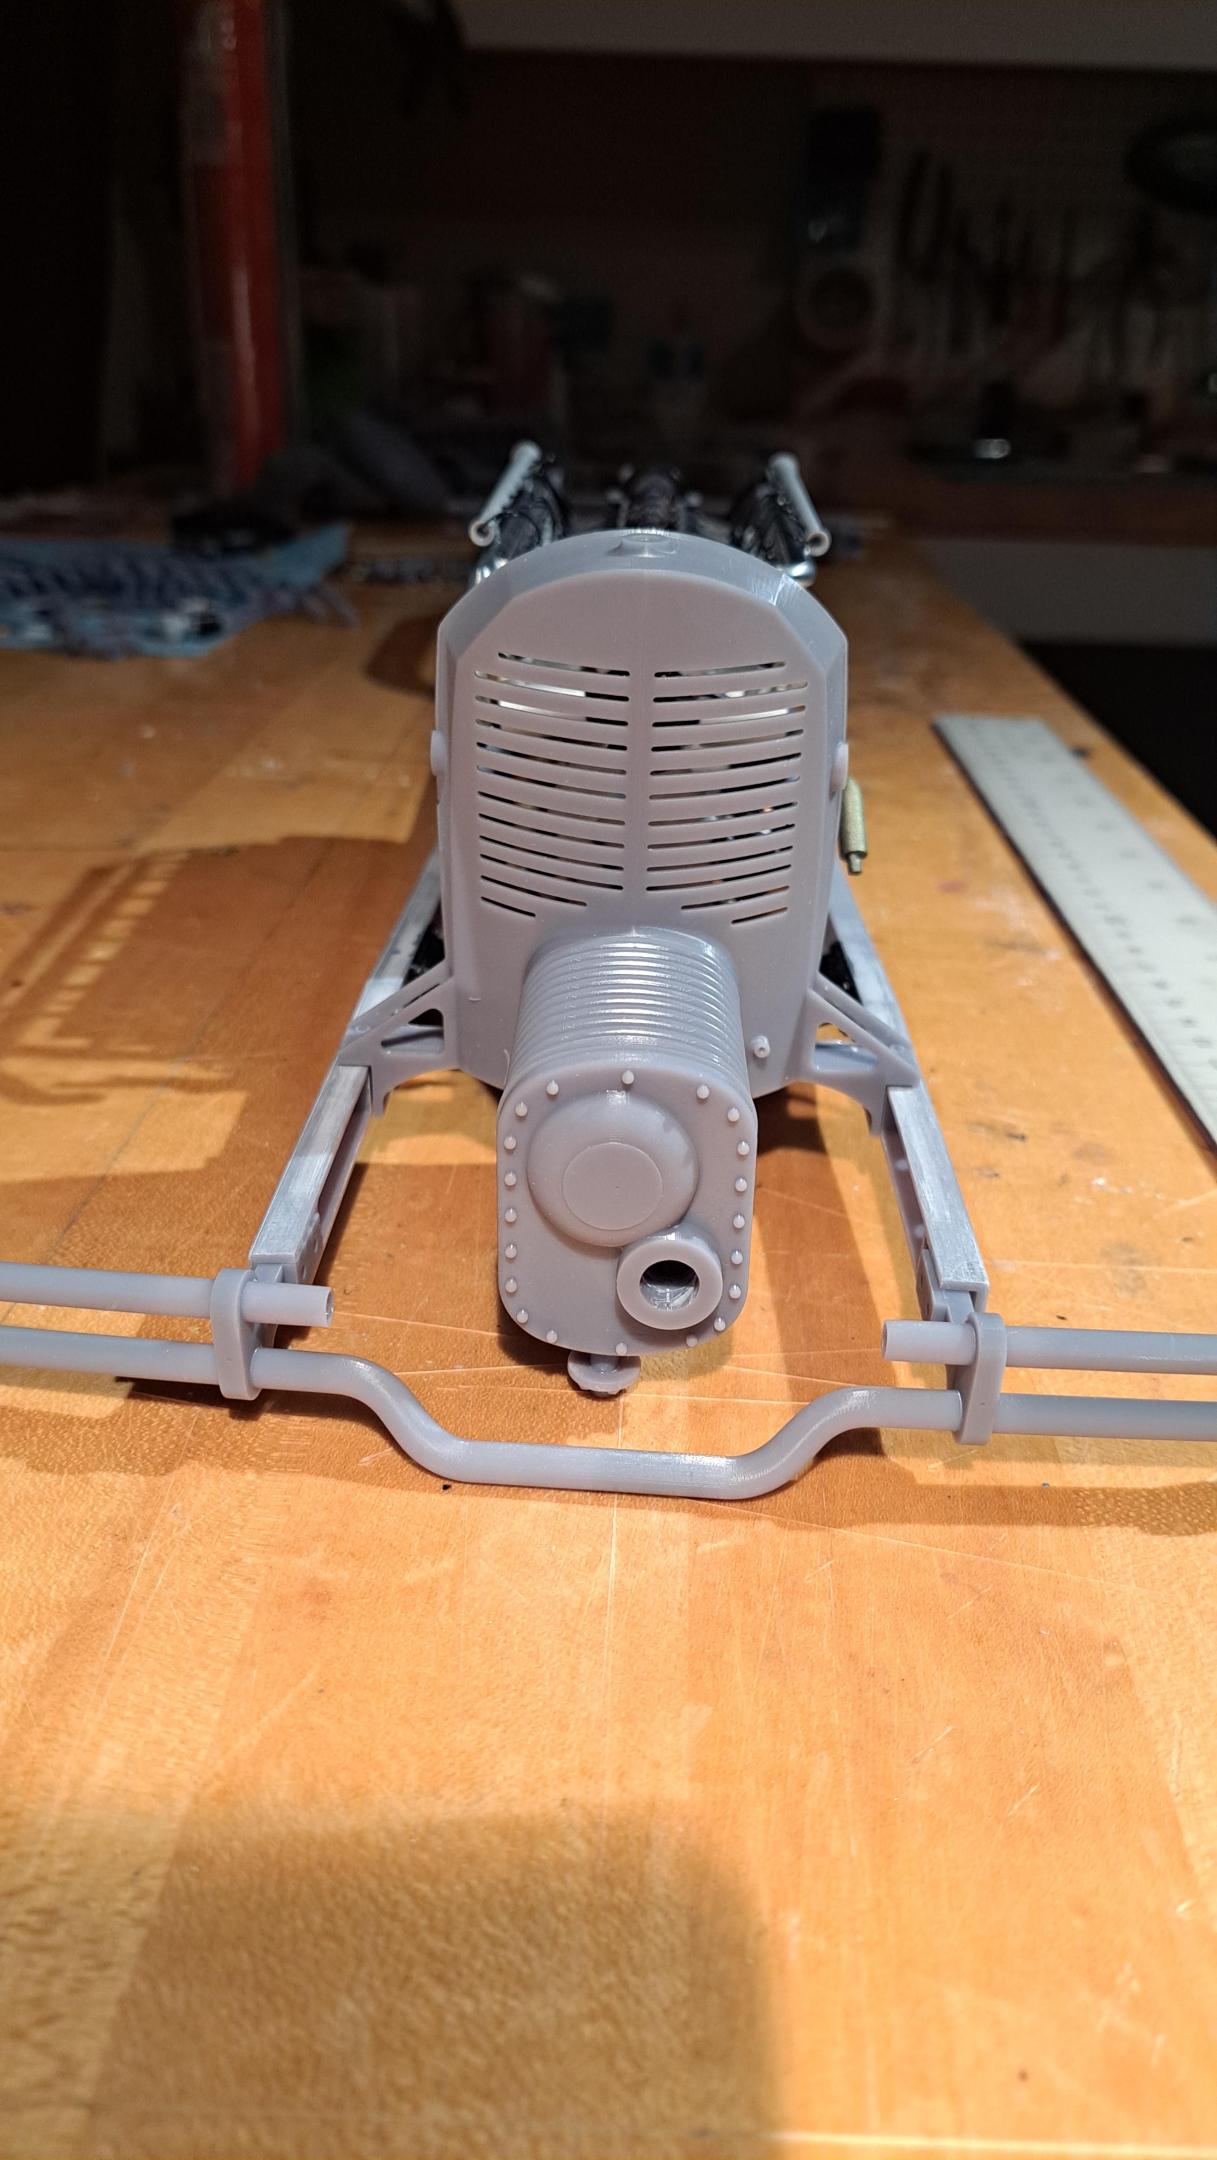
And with the radiator cowling and blower


I'm always impressed with what the printer puts out but like I said before, garbage in, garbage out. I guess I'm not giving it too much garbage !!
 
I continue to "marvel" at what you are building and the skill sets you are employing. Although I may not chime in or give a thumb's up on every one of your posts, but rest assured I am following your progress with great anticipation of seeing the finished result.
Bonne Annee, Francois.
...henry
 
Thank you Henry
Don't worry, I don't post to get thumbs up. I know I have certain skills that others don't. I hope that my posts can help demistify this rather new way of modeling.
 
Francois,

Amazing as expected, yadda, yadda, yadda.

Seriously, what thickness (or thinness?) have you achieved with body panels so far? I should have asked that on your Bently build but I was waay late to that thread.

Happy New Year btw!

Cheers,

M.
 
Mondrasek, I did many tries on the hood panels for the Bentley and they ended at around .030in. For this model, being a lot bigger, the thickness will be closer to .05in but I haven't printed any body parts yet so all bets are still opened.
 
Francois, this is off topic but why are you giving measurements in "thou" (of an Inch)? I was just wondering if you are translating for us assuming we use Imperial units or if maybe Canada also used those units due to the majority of Machine Tools coming from the US at one time?

FYI I trained as a Mechanical Designer in Japan and have worked for Japanese companies ever since (just by chance). I cannot relate to "inches" at all! I have to convert to International Units to understand.

M.
 
Sorry about that, I was a machine designer for 30 plus years and have mostly worked in imperial althought I also use metric sometimes. I guess it's a bit like your native language, you tend to go back to your roots... even if metric is the logical choice!
 
I totally get that. I personally still have no idea how to gauge pressure except in PSI. Oh, and temps... I am C ignorant, except that I think something about 30C is too warm?

Was your machine design work also in QC? Was that in Imperial units?

OH, your slicer program... It is metric, right?
 
This is an amazing model. I get the opportunity to visit with Francois from time to time and, as comparison, I am building a 1:8 scale Pocher Bugatti now and the Pocher sure looks primitive compared to this work. Francois' 3D-printed engine turns and purrs, while the injection-molded Pocher engine clunks along like an old Ford (no offense to those old Ford drivers, but it shouldn't compare to a Bugatti, anyway).

And the V-16, in 1:12 scale, is a bit bigger than the inline-8, in 1:8 scale, so we can imagine how big this "real" engine would be!

Keep it up, Francois! This is really fun to watch.

Regards,

Rick
 
I received the new gearmotor and after some tweaking and alignment issues, I got it mounted in front of the radiator, directly in line with the crankshaft. It will eventualy be hidden by the blower housing.

Here's a little video showing the new gearmotor in it's new location at work rotating the car's engine and transmission. You will notice the transmission's output rotation being controlled by the shifter.
View attachment 20250108_085356~2.mp4


But then, all hell broke loose and the crankshaft snapped! So after a complete dismantle of the lower engine (it's a vefy good thing the head assembly in bolted so it can be easily removed), I was able to replace the broken portion of the crank along with 2 connecting rods and caps.

Broken crankshaft after repair being reinserted in the bloc

20250109_1644552.thumb.jpg.9590fc3f61b9bb950807e6174d494c48.jpg

I printed and assembled the 2 differentiels and temporarily connected them to the transmission output and was then able to drive everything from the gearmotor
View attachment 20250109_175732.mp4
 
This is a crazy amazing build!

Are you concerned about the crankshaft going out again? I wouldn't think that resin (plastic?) would be able to handle much use.

Also, it's probably an illusion created by the shape of the tape, but in the second video it looks like the rear axle is turning at a very slightly faster speed than the front axle.
 
Thanks namabiiru, yes I'm very cencerned for the crank but at least I've got it on tape! For the axels, both gearing are identical. Althought I'll have to check that the universal joints are properly phases, if they are not, it causes an oscillation of the rear diff that can seem like they would not be turning at the same rpm.
 
This has to be some of the most advanced modeling I've ever seen François! Could some of the fracture critical parts such as the crankshaft be made from metal?
 
Oh wow, I somehow missed this one. But I am on board as of now. Impressive workmanship!
 
Thank you all. Daniel, I guess I could make it out of metal some how but it would be quite complicated since it's made of several segments. What I should have done was to print it with a different, stronger resin. If ever I market the kit, that's what I could do.
 
I've been more busy skiing than modeling this past week but I still managed to finalize the blower drive. I decided to add a subframe between the radiator and blower front face to facilitate the assembly and paint. This way, I can chrome both the radiator and blower front face at the same time without having the blower housing in the way. Since the blower housing will be painted the same color as the bodywork (color to be determined), I made it in two halves that can easily be assembled later. I also made a small drive shaft between the crankshaft and the blower. If this was a real car, this shaft would drive the blower from the engine but on the model, since the gearmotor is hidden in the blower it's the other way around.

Blower drive
20250118_000705.jpg
With half of the blower housing in place
20250118_000717.jpg
Small drive shaft
20250118_001147.jpg
Gearmotor spur gear (bottom) driving blower spur gear (top)
20250118_000647.jpg

Overall view of model so far
20250118_001217.jpg
20250118_000919.jpg
 
Thank you everyone.

I was finally able to drive everything from the gearmotor hidden in the blower. From the blower spinning dome to the 4 rear wheels. I small victory for me!
View attachment 20250121_164637~3.mp4

I'm printing parts while waiting for a revell paint order I did for the frame, suspension and drive components (silk black).

20250121_170730.thumb.jpg.5e61bd71329771063e3b9c38ea5ec42e.jpg

20250121_164844.thumb.jpg.cac6d96dddde3c49bec4c1a7ae319ed4.jpg

20250121_165631.thumb.jpg.8376efeee0dc702edddfee0fe3a1bb8e.jpgI decided on the body color, it will be Tamiya's gunship gray which is a blueish gray. It should look a bit like the prop car made for the movie .

Screenshot_20250121_171933_Chrome.jpg.2e29fa2c255d009887ec264ac4f3539b.jpg


02gzb3oo3cs71.jpg.7b811a0cc164a3e4903ff8bb23044360.jpg
 
Back
Top