
Clapton ran off with George Harrisons wife!.

-

SUBSCRIBE TO SHIPS IN SCALE TODAY!
The beloved Ships in Scale Magazine is back and charting a new course for 2026!
Discover new skills, new techniques, and new inspirations in every issue.
NOTE THAT OUR NEXT ISSUE WILL BE MARCH/APRIL 2026 -

Win a Free Custom Engraved Brass Coin!!!
As a way to introduce our brass coins to the community, we will raffle off a free coin during the month of August. Follow link ABOVE for instructions for entering.
- Home
- Forums
- Ships of Scale Build Logs
- Super Detailing Static Models / Other Genres
- Super Detailing Static Models
You are using an out of date browser. It may not display this or other websites correctly.
You should upgrade or use an alternative browser.
You should upgrade or use an alternative browser.

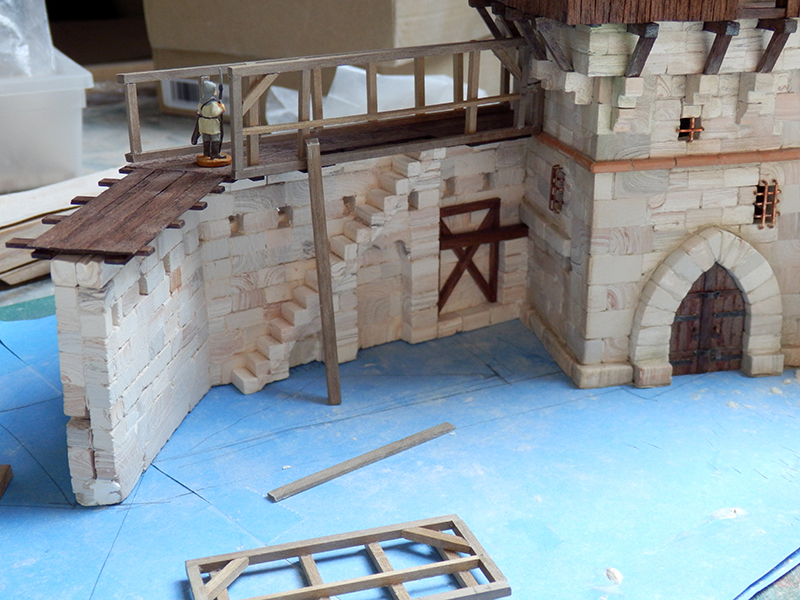
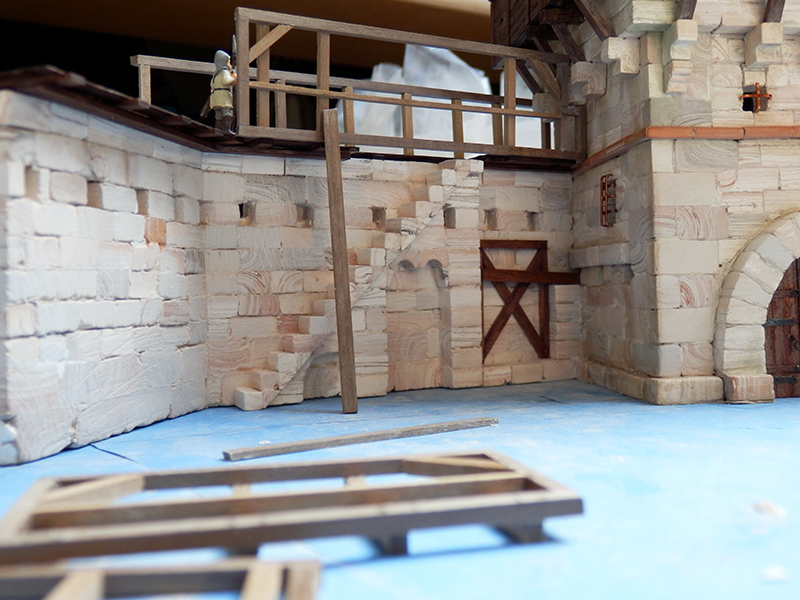
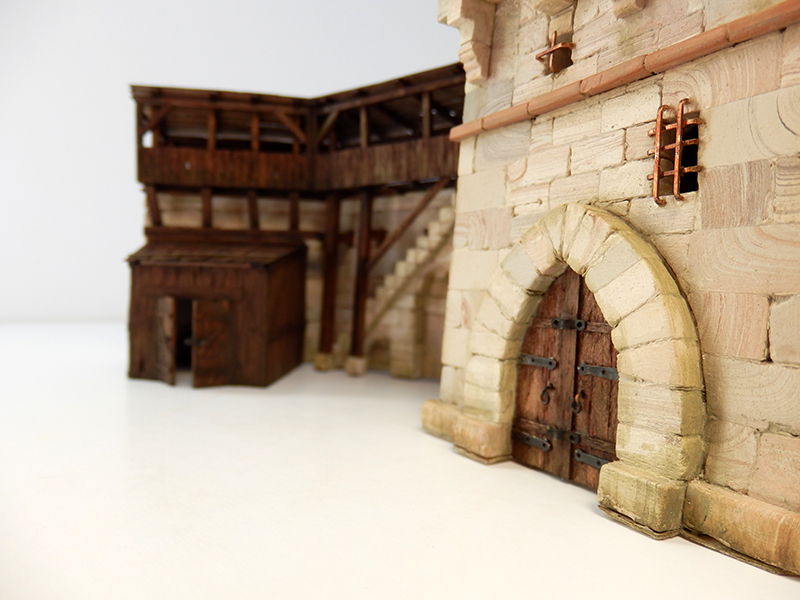
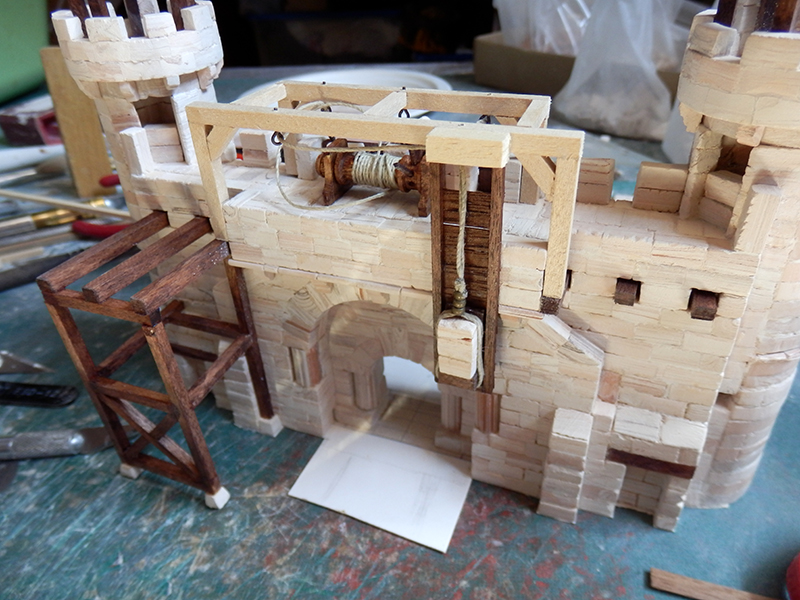
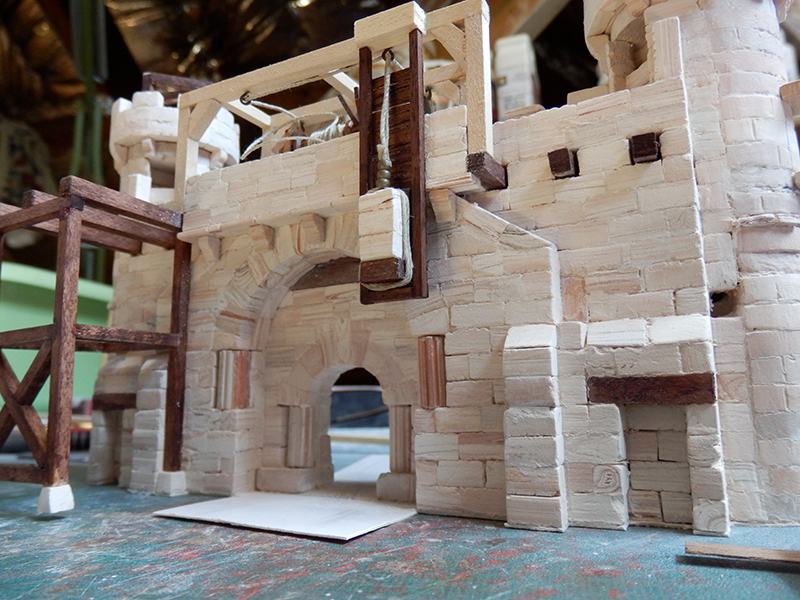
The construction continues with work on the wall between the left of the watchtower and the future village gate. To fill this space, it was necessary to build the wall itself, stick it solidly to the tower, and provide for the defence facilities...
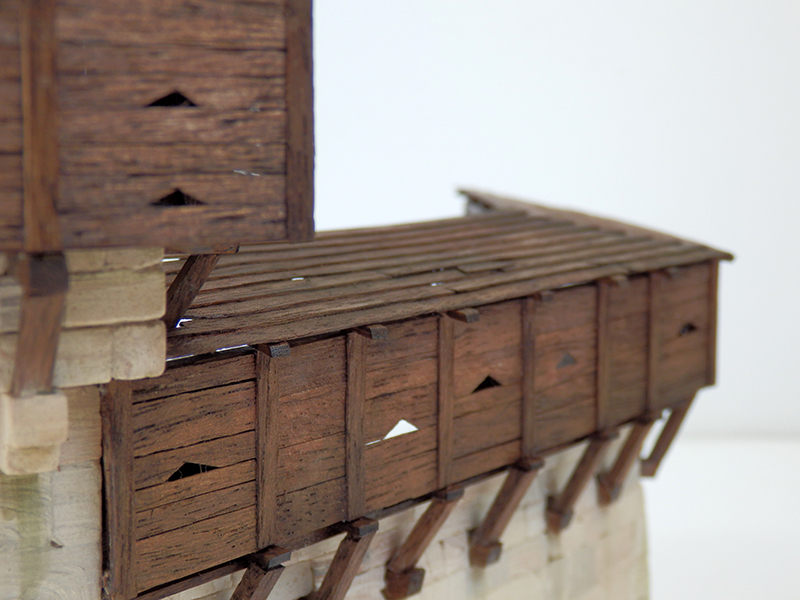
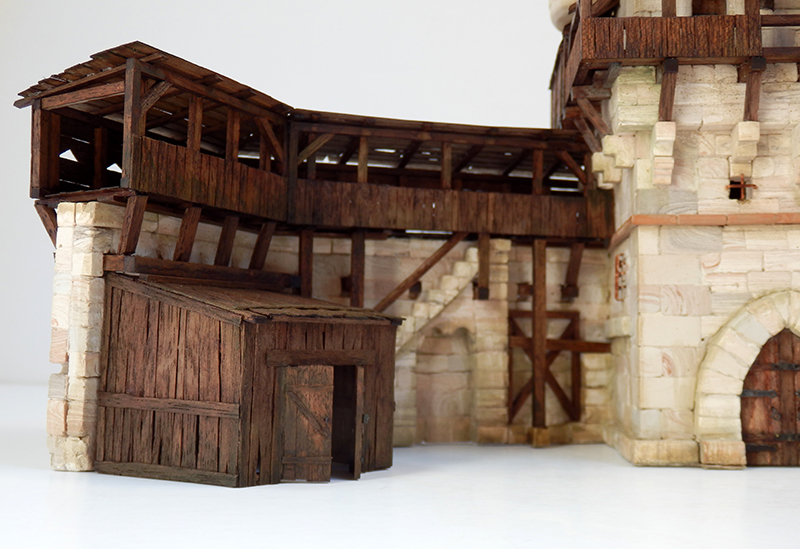
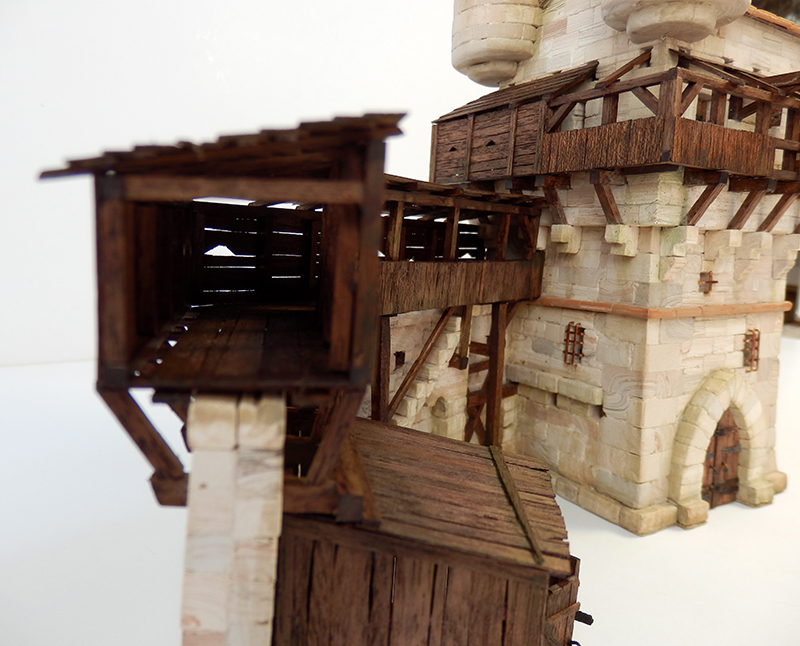
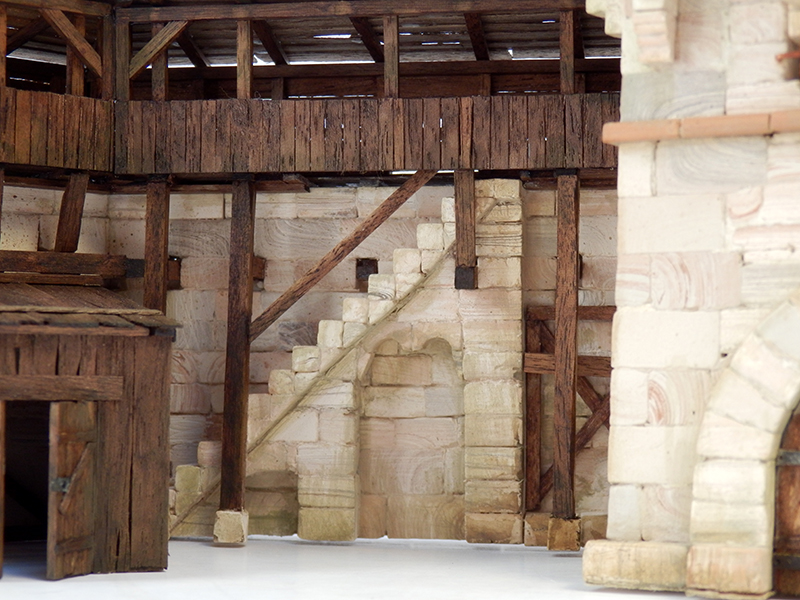
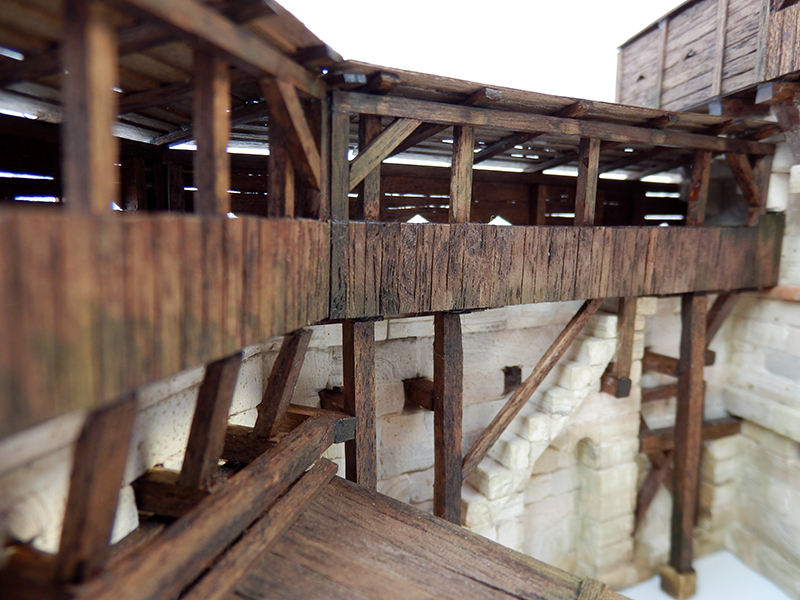
The hoardings are in progress all along, with a part closed on the outside and open gallery on the inside. The micro carpentry requires time and precision... Knowing that I am in complete creation, therefore without a plan !
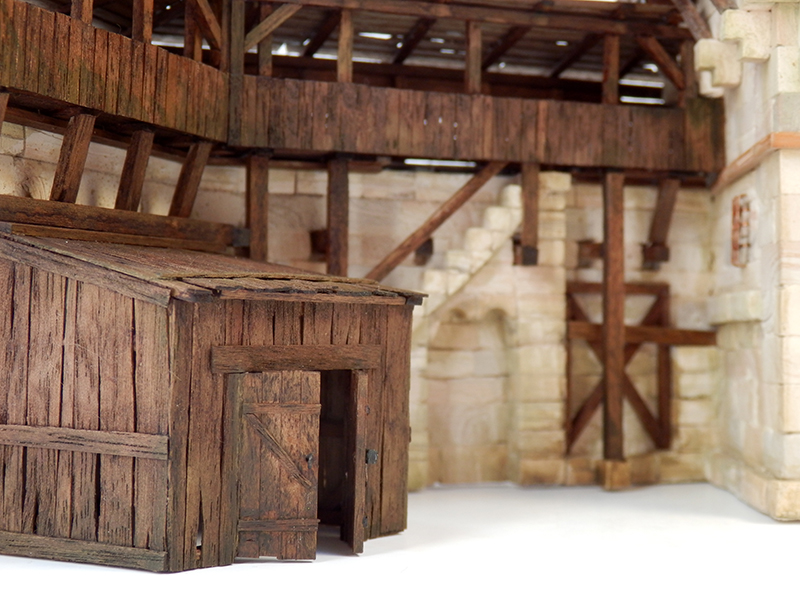
I needed an access staircase (not easy to do !) to the ramparts : I chose to do it in stones against the wall. it is also planned buildings under this gallery (barn and/or stable, shelter or workshop...).
Then, I will attack the wall to the right of the tower with a house next to it.


The hoardings are in progress all along, with a part closed on the outside and open gallery on the inside. The micro carpentry requires time and precision... Knowing that I am in complete creation, therefore without a plan !
I needed an access staircase (not easy to do !) to the ramparts : I chose to do it in stones against the wall. it is also planned buildings under this gallery (barn and/or stable, shelter or workshop...).
Then, I will attack the wall to the right of the tower with a house next to it.
- Joined
- Nov 29, 2019
- Messages
- 74
- Points
- 103

This build just keeps getting better!!!
Thanx Pat ")
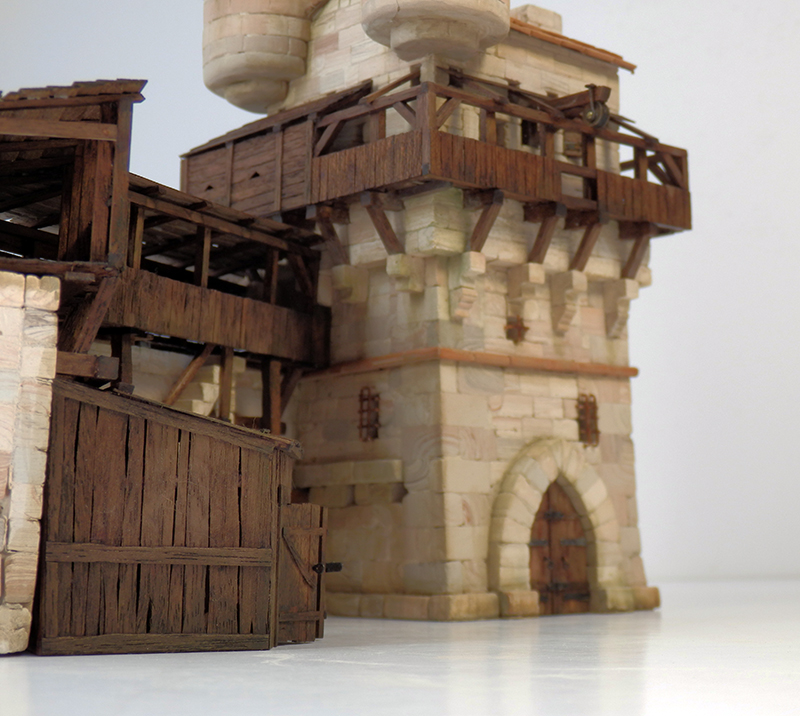
Just a precision on what I am trying to show with this village: the constructions of the Middle Ages were not made only of stones, such as we see them today because it is all that is left...
Put down by religious buildings, seigniorial lodgings and heavy fortifications, all the rest was made of wooden and/or mud bricks, bricks according to the region. Eventually, low stone foundations were kept, and the rest was built with lighter and cheaper materials.
Stone cutting was long and expensive, and required nearby quarries. Wood in theory was much more accessible, and above all worked by many more people who used it every day.
This is the reproach that can be made of Aedes Ars and its kits of monuments or houses: all in stone and not respecting the reality of the constructions as they existed at the time of their conception .
So I'm restoring the balance of materials!


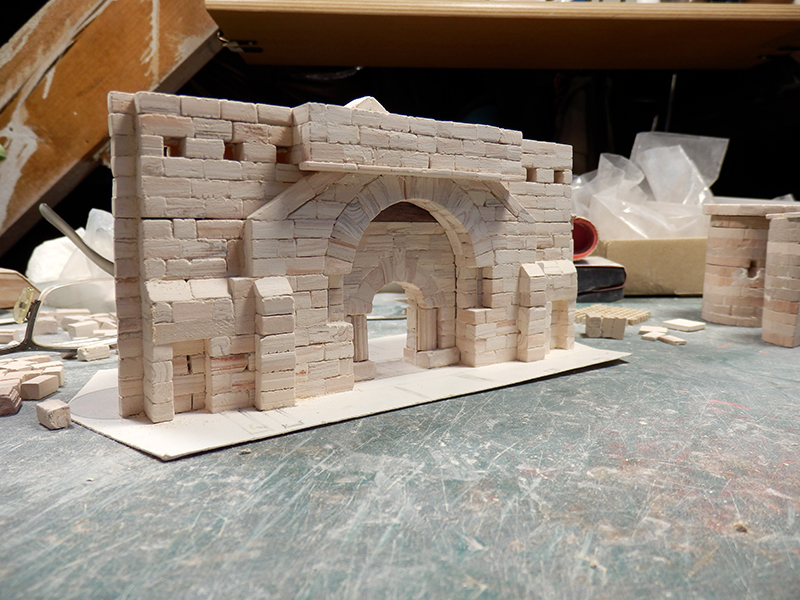
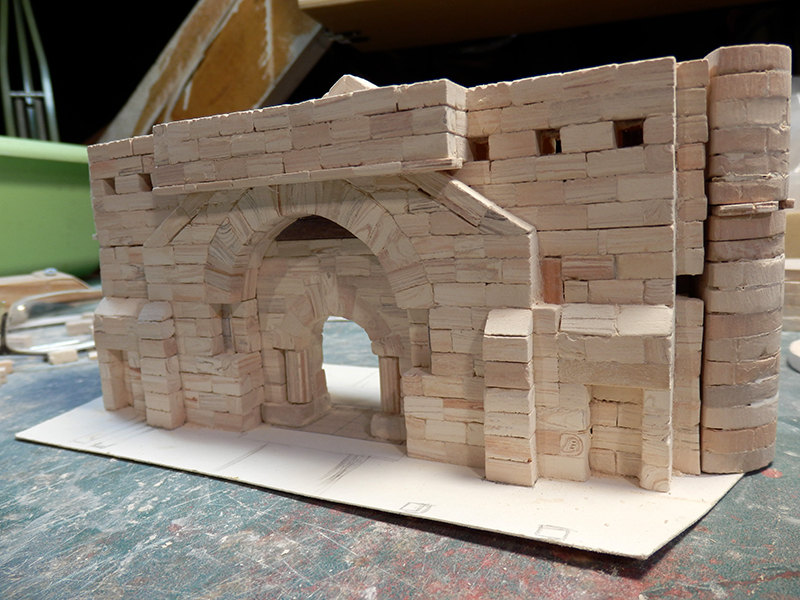
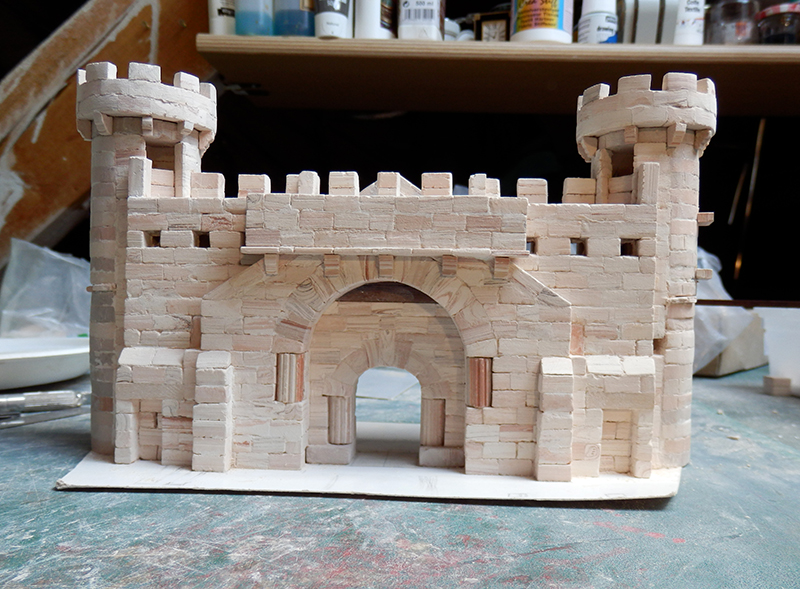
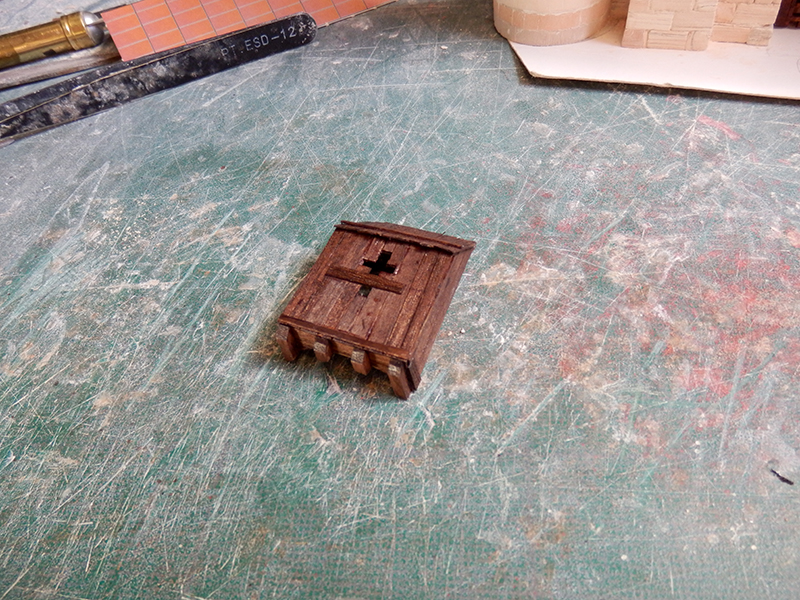
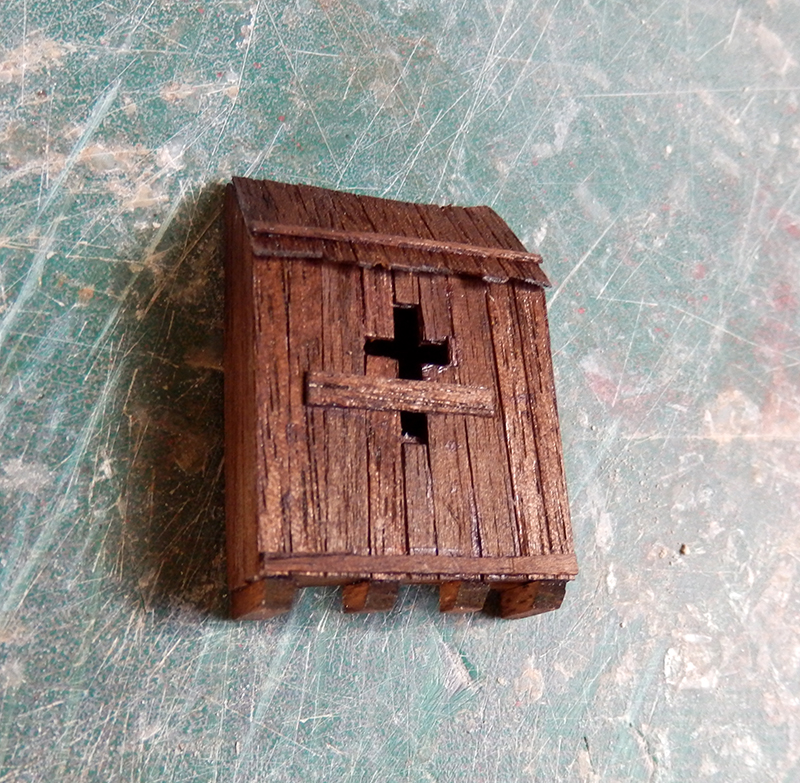
I went for the front door. The first elements are being put in place, the whole is a personal assembly, nothing more like what the kit had planned.
And to remain consistent with this fortified bastide (and not a castle!), doors will close the enclosure instead of a drawbridge.")


And to remain consistent with this fortified bastide (and not a castle!), doors will close the enclosure instead of a drawbridge.


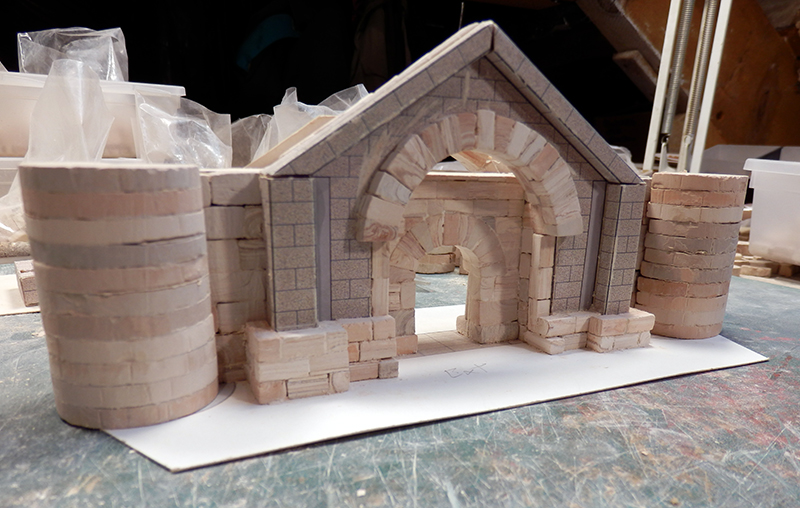
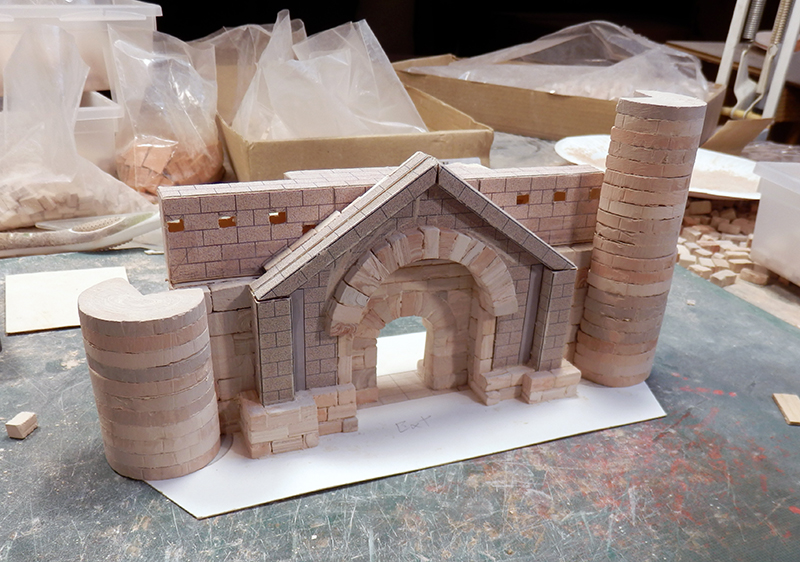
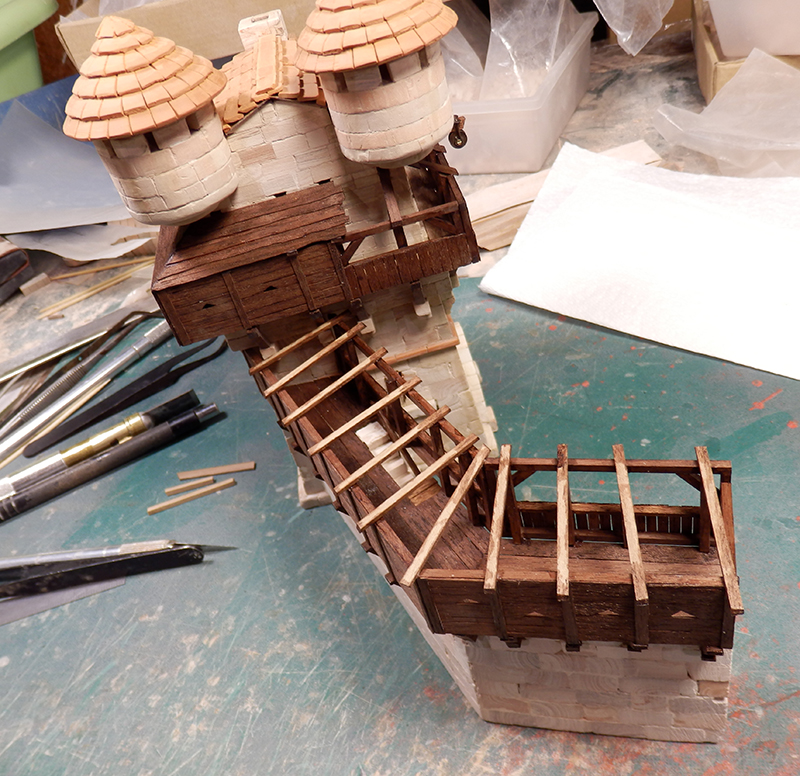
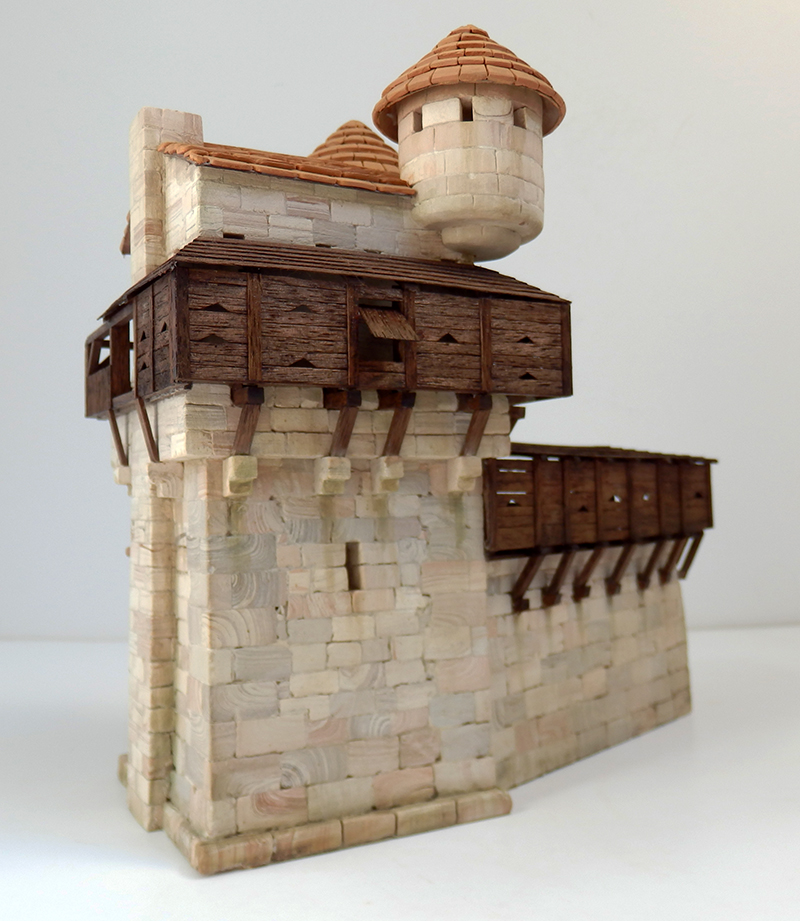
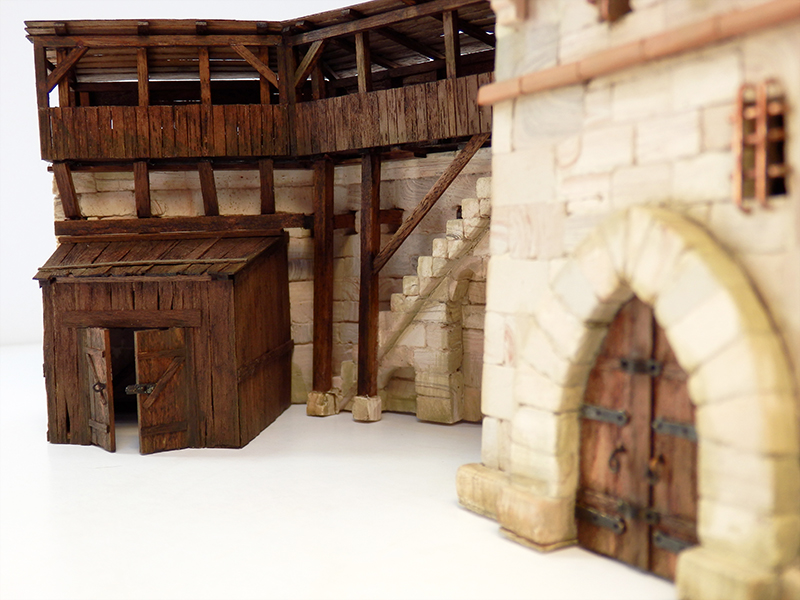
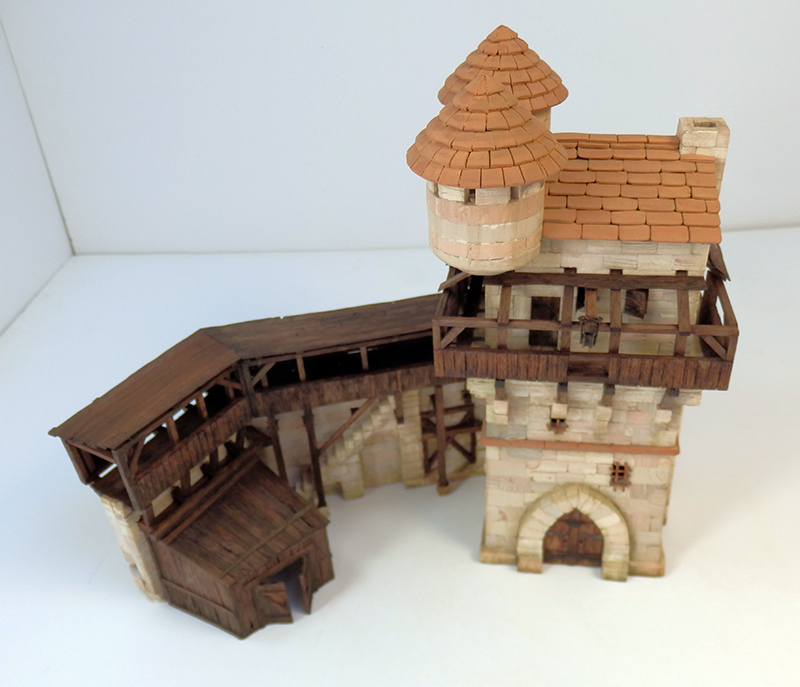
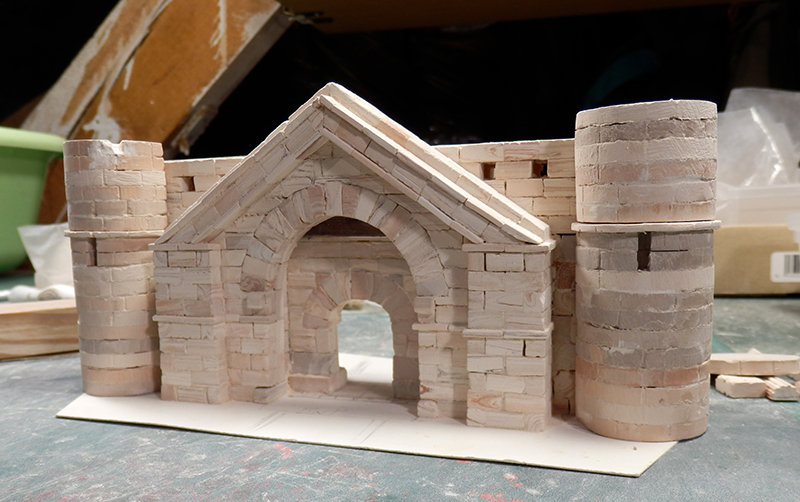
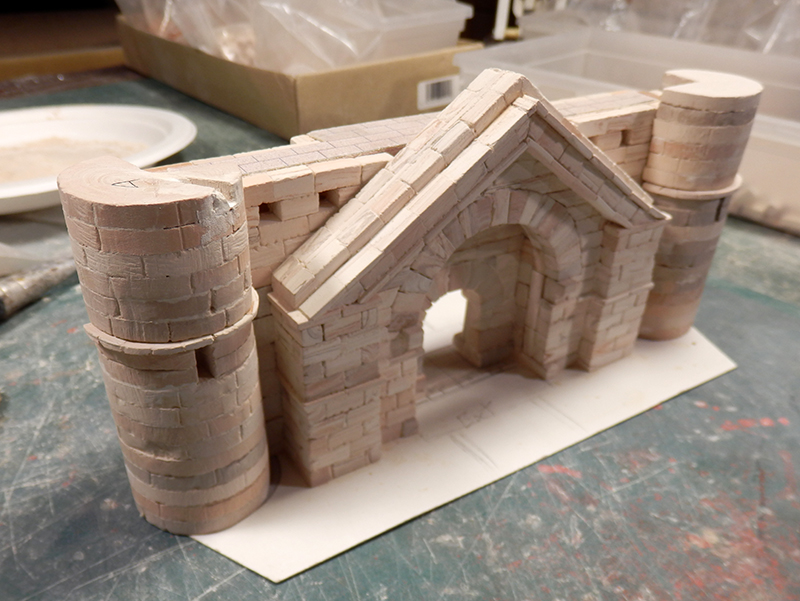
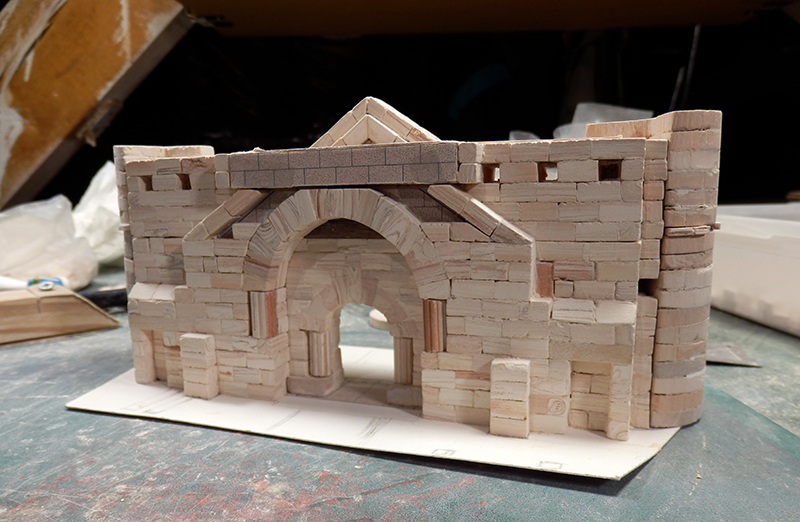
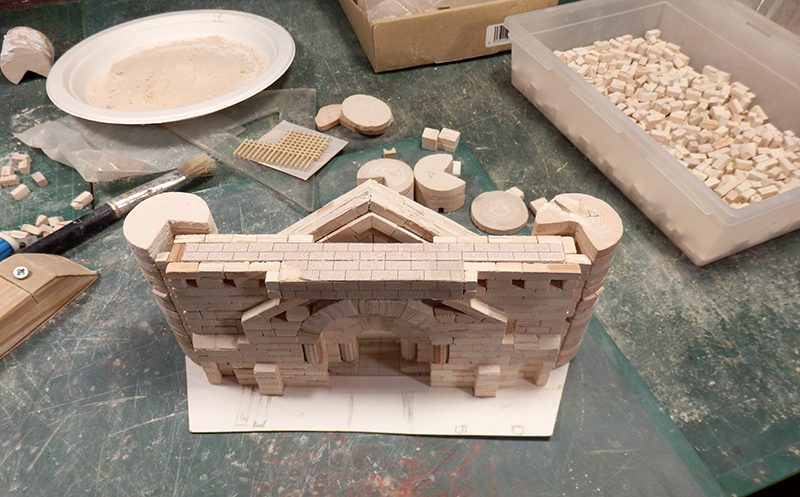
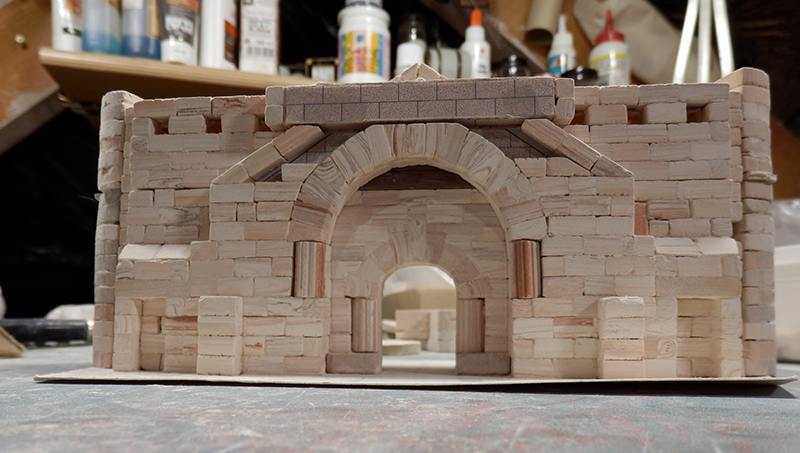
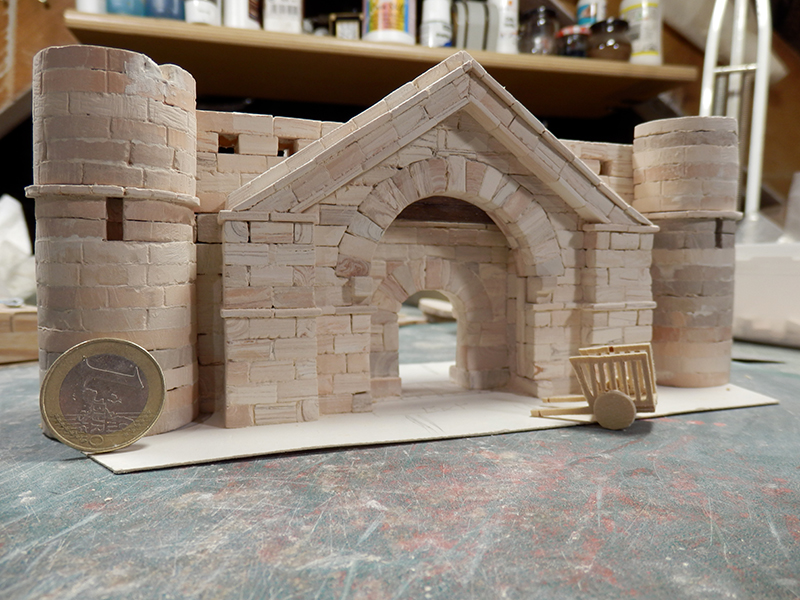
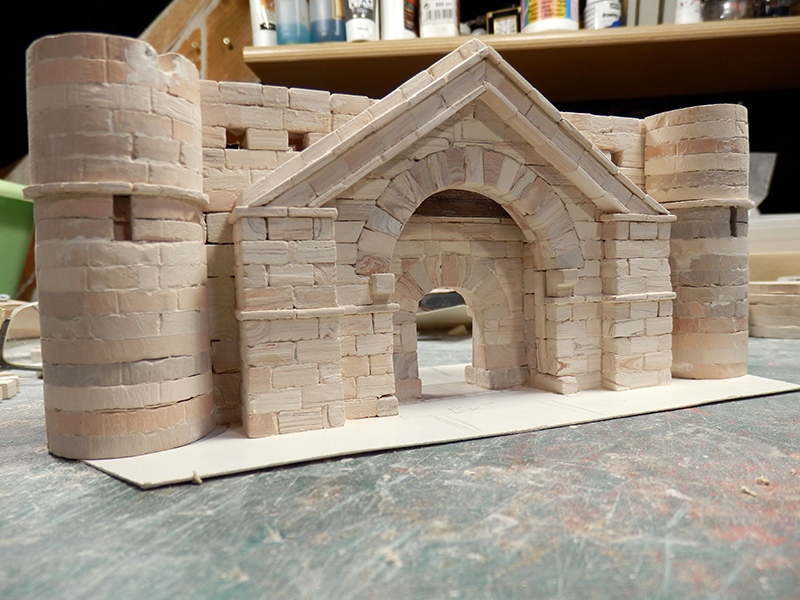
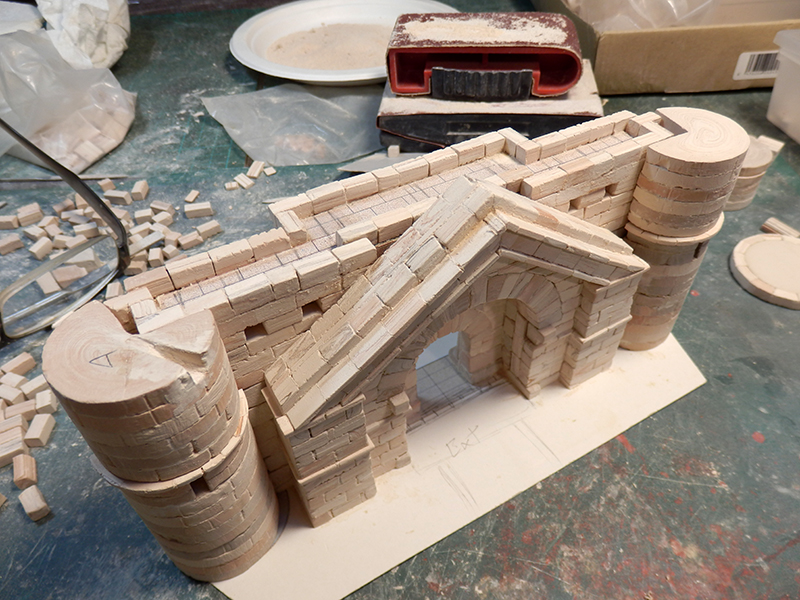
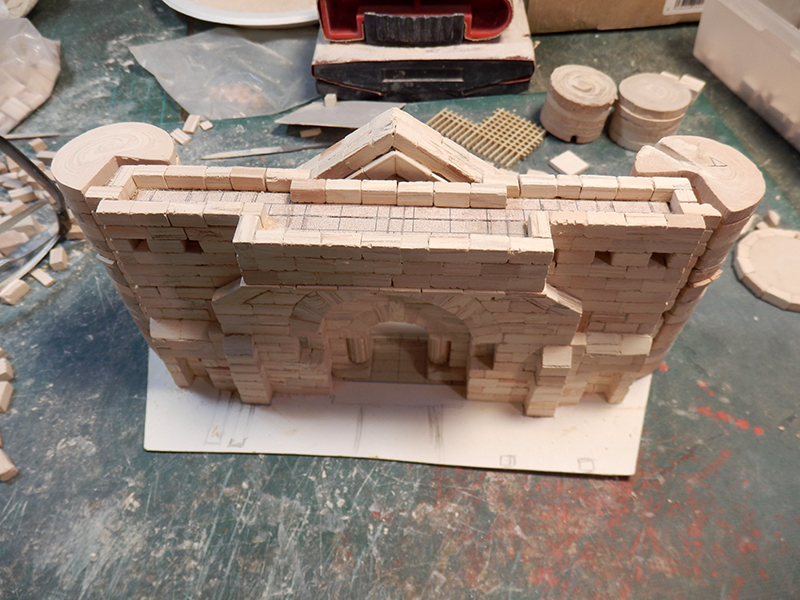
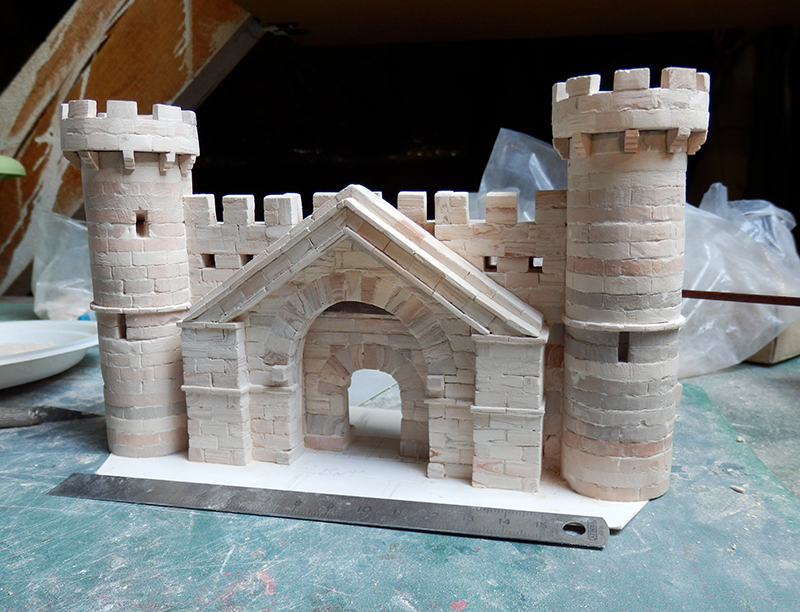
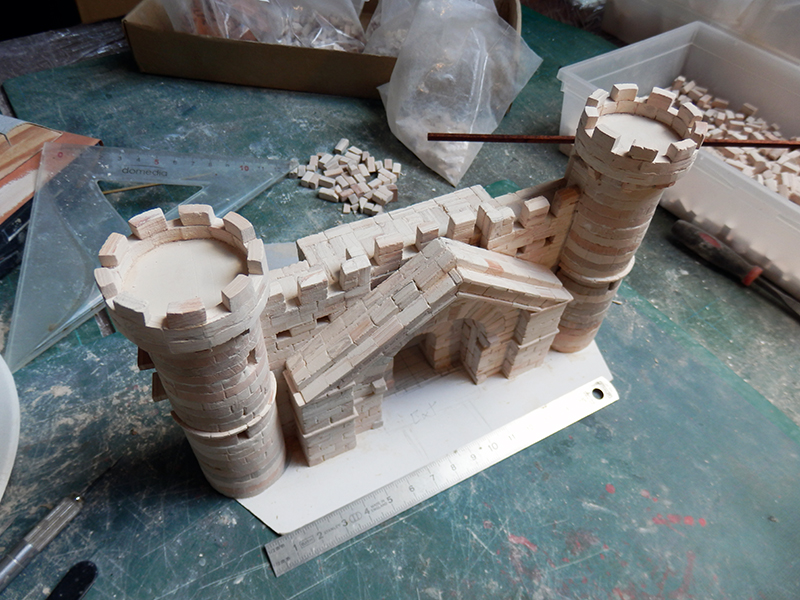
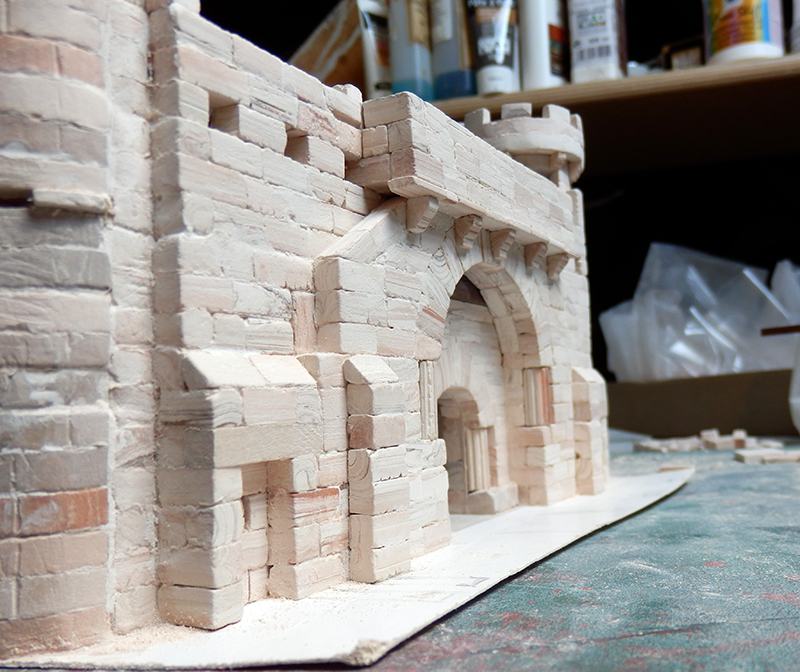
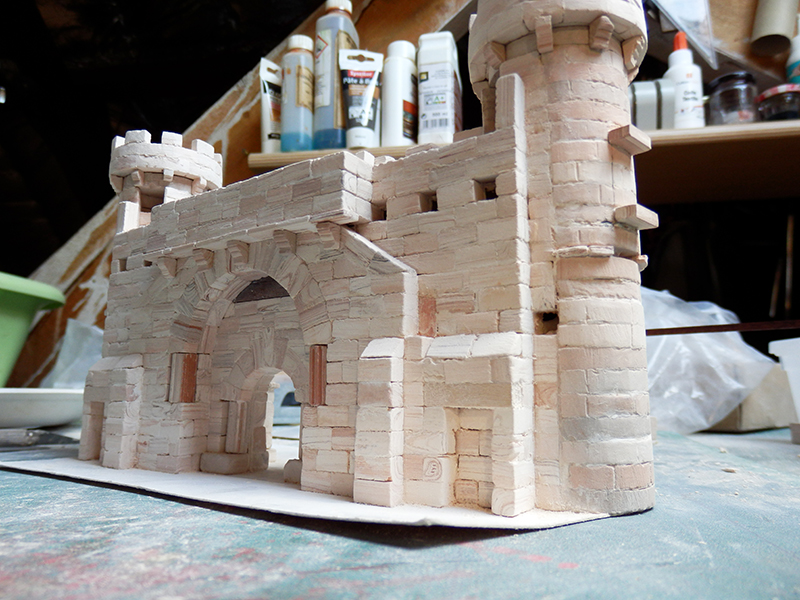
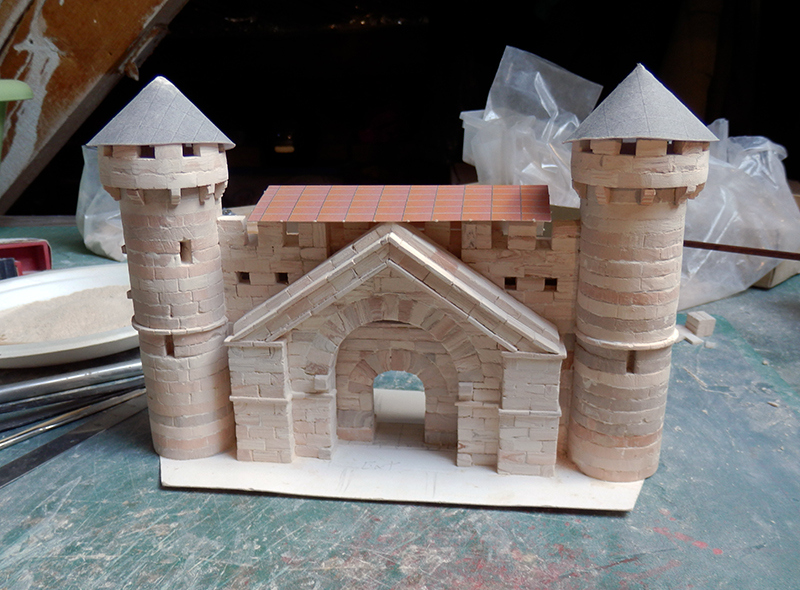
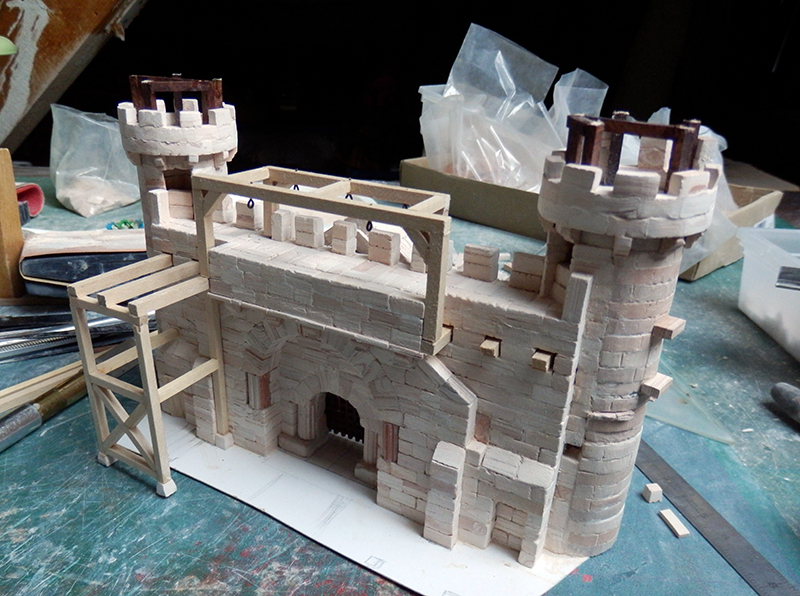
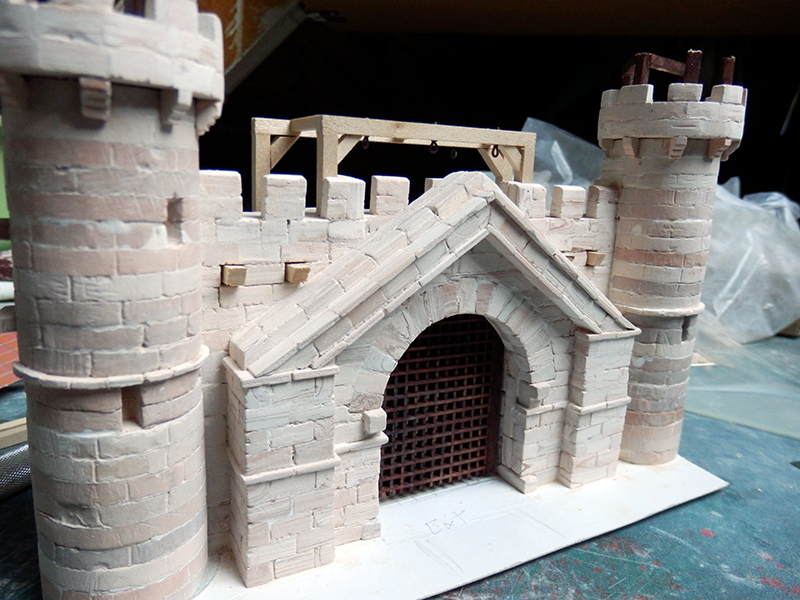
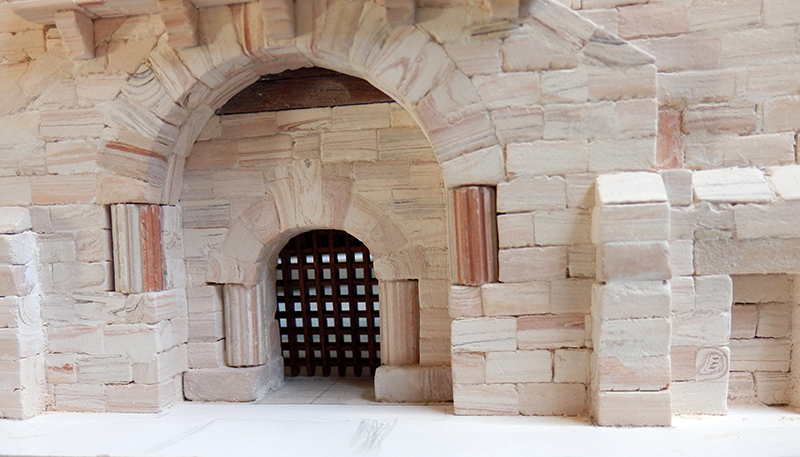
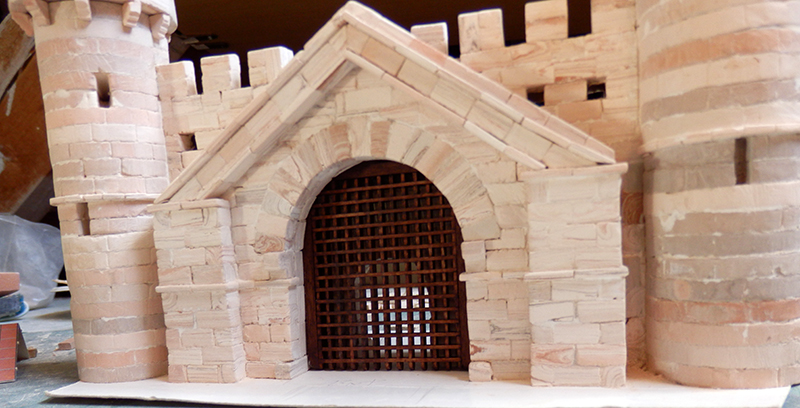
The gate of the village has advanced quite a bit: the central stone part is almost done.
The outside with the pointed arch. The interior with the half columns on each upright of the double arch.
There is still a sanding, joints to be made, the top to be filled in.
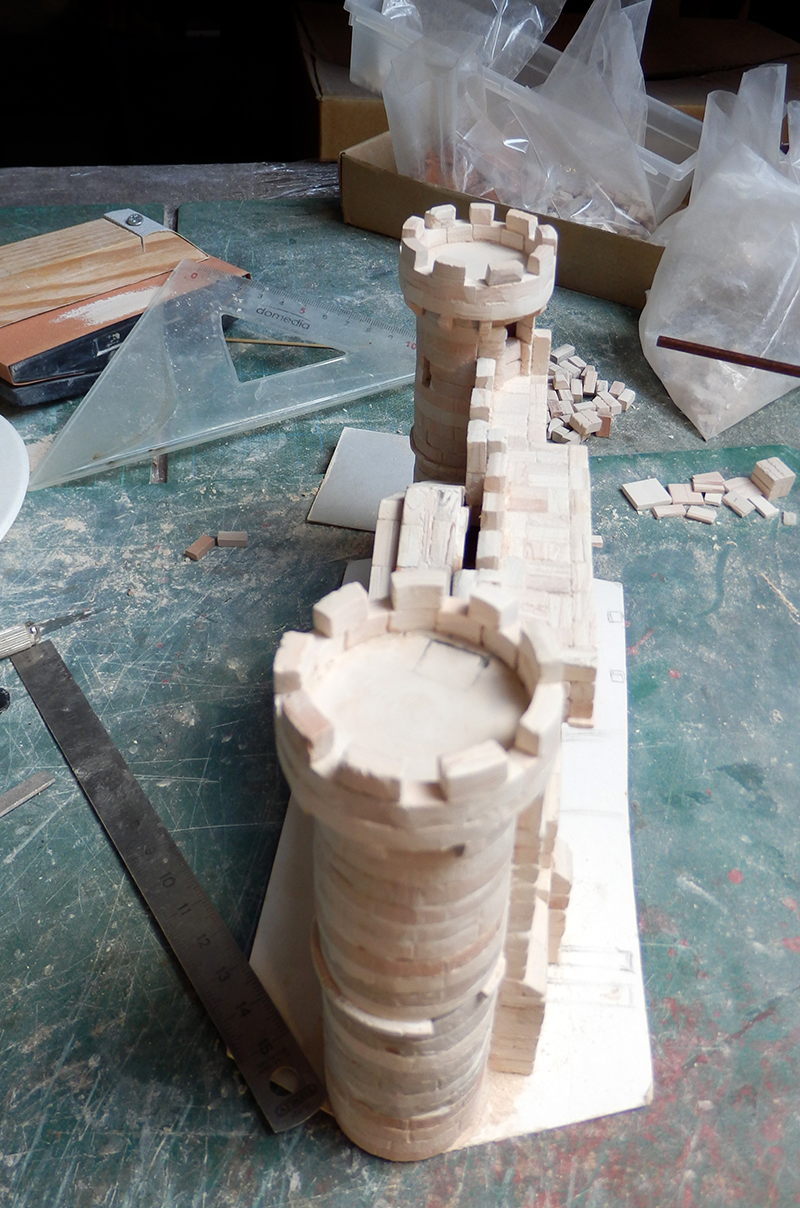
The towers are still being worked on, but will be glued on each side.
Then will come the wood work, with the doors, the hoardings, etc... And finally the roofs.
2 series of photos of the building site, a few days apart.


The outside with the pointed arch. The interior with the half columns on each upright of the double arch.
There is still a sanding, joints to be made, the top to be filled in.
The towers are still being worked on, but will be glued on each side.
Then will come the wood work, with the doors, the hoardings, etc... And finally the roofs.
2 series of photos of the building site, a few days apart.

Hello Ekis,
It would seem that I should already get used to the quality of your work, however, everytime I see a new batch of photos, I can't hold back my delight.
Are the wooden parts also part of the kit\s or it is your own improvement\addition?
It would seem that I should already get used to the quality of your work, however, everytime I see a new batch of photos, I can't hold back my delight.
Are the wooden parts also part of the kit\s or it is your own improvement\addition?


- Joined
- Nov 29, 2019
- Messages
- 74
- Points
- 103
I'm just sitting here shaking my head in bewilderment - Ekis, you make this look so easy but I know from experience it is not. I am working on a much simpler building and it looks like I've laid the blocks with a catapult compared to yours. I'm not giving up but I am sure giving up trying to be as good as you.


Pat, what I see on your site is already much better than many things I've seen on other forums and built by experienced people!
It's obvious that you pay attention to the alignments, that you sand the parts that need to be sanded, that you glue by choosing each stone...
Honestly, I think it's great at this stage !
To fill the cracks and gaps between certain stones, you can use a fine filler in a DIY store. Spread it with X-Acto, and within 5 minutes, you can scrape off the excess slowly!
You should create a subject to show all this in detail as you wish. I'll be your first reader !
It would be really nice if you would start your one build log, Pat!!! What do you think?I am working on a much simpler building and it looks like I've laid the blocks with a catapult compared to yours. I'm not giving up but I am sure giving up trying to be as good as you.
- Joined
- Nov 29, 2019
- Messages
- 74
- Points
- 103
You are way too kind my freind - but I'll take all the compliments I can get. I like the idea of the fine filler. For now I have been saving all (or most) of the dust generated from sanding on my home made disc sander (see pics) - it has a 2" (5cm) disc which is perfect for such small work - I have also added a speed controller for fine/course work. I save the dust in a pot and have experimented by mixing it with some PVA glue but found it was difficult to sand as the glue made it kinda rubbery. I think I will go with your suggestion and use fine filler.
On the subject of dust - I know you warned me it can get messy, but man - that stuff gets everywhere!! I prolly spend more time cleaning than building ha ha!
On the subject of dust - I know you warned me it can get messy, but man - that stuff gets everywhere!! I prolly spend more time cleaning than building ha ha!
Last edited:
- Joined
- Nov 29, 2019
- Messages
- 74
- Points
- 103
Hi Jimsky - To be honest - this build is a bit of an experiment for me - I have been "chatting" with EKIS privately for a bit and thought I would give it a go but am struggling a bit -for now I am happy to follow the master and hopefully just pick up some tips - but who knows? Maybe soon....It would be really nice if you would start your one build log, Pat!!! What do you think?
No worries at all, we will not force anyone to open a log. However, as you mention, this is your Master's build log... If you need our help to move all your photos to your own log, we will gladly help. How about this: Aedes Ars, Crupet Castle, Belgium by Pat!!!Hi Jimsky - To be honest - this build is a bit of an experiment for me - I have been "chatting" with EKIS privately for a bit and thought I would give it a go but am struggling a bit -for now I am happy to follow the master and hopefully just pick up some tips - but who knows? Maybe soon....
Kurt Konrath
Kurt Konrath
Well the village is coming along fine it looks like, by the time the sailors get back into home port they will have a place to come and sell all the wares that they brought back on the ship.