-

Win a Free Custom Engraved Brass Coin!!!
As a way to introduce our brass coins to the community, we will raffle off a free coin during the month of August. Follow link ABOVE for instructions for entering.
-

PRE-ORDER SHIPS IN SCALE TODAY!
The beloved Ships in Scale Magazine is back and charting a new course for 2026!
Discover new skills, new techniques, and new inspirations in every issue.
NOTE THAT OUR FIRST ISSUE WILL BE JAN/FEB 2026
- Home
- Forums
- Ships of Scale Build Logs
- Super Detailing Static Models / Other Genres
- Super Detailing Static Models
You are using an out of date browser. It may not display this or other websites correctly.
You should upgrade or use an alternative browser.
You should upgrade or use an alternative browser.
What's next!
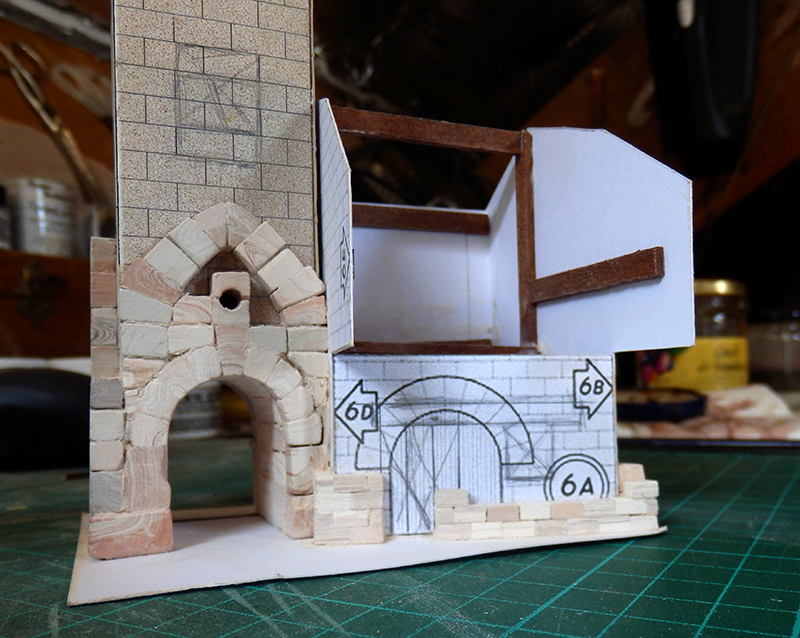
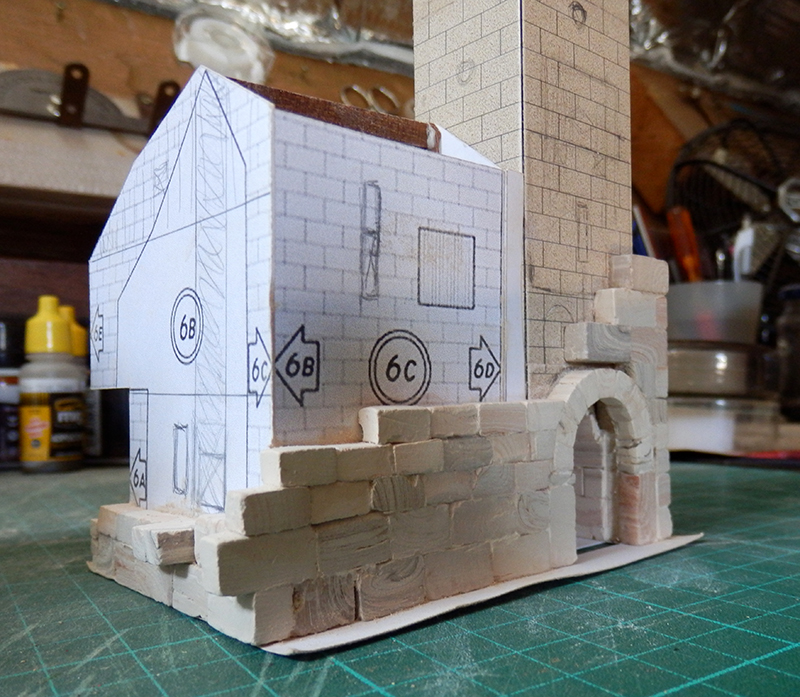
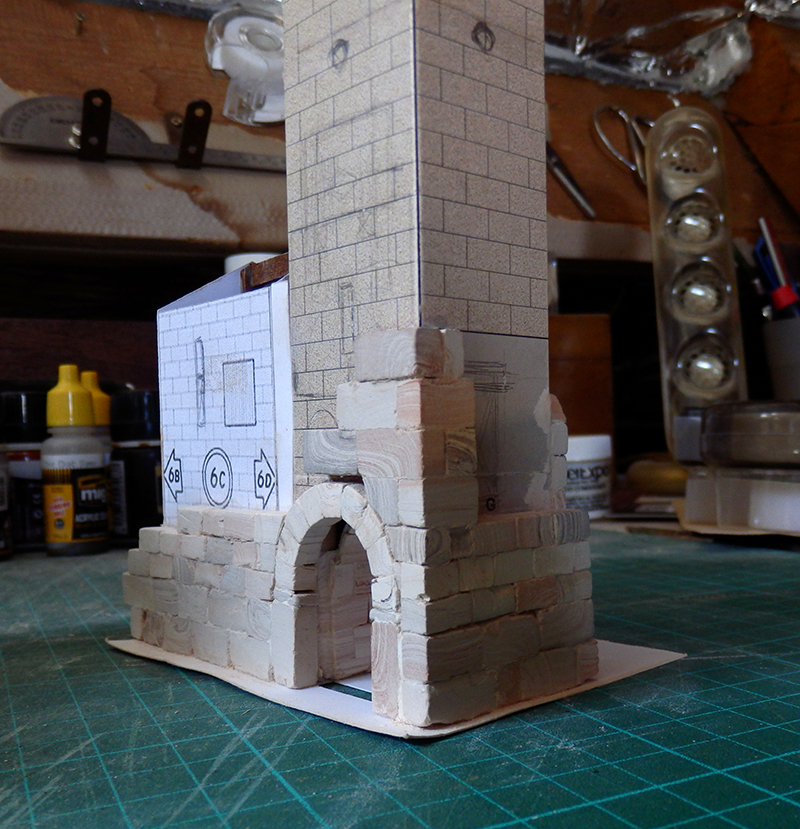
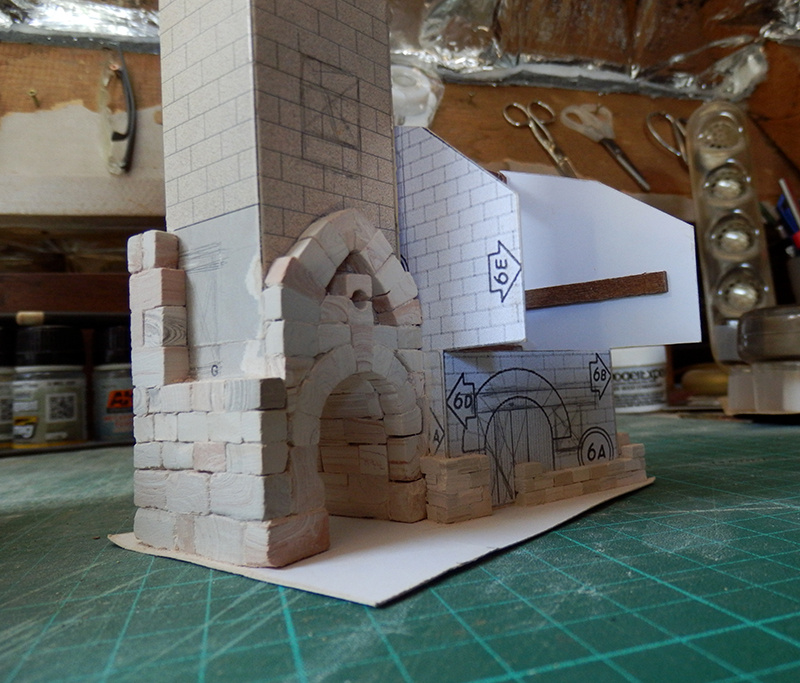
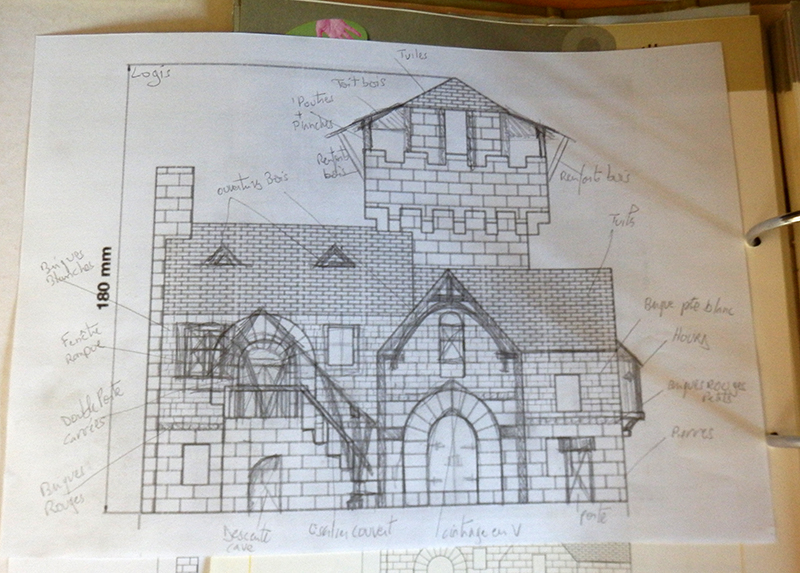
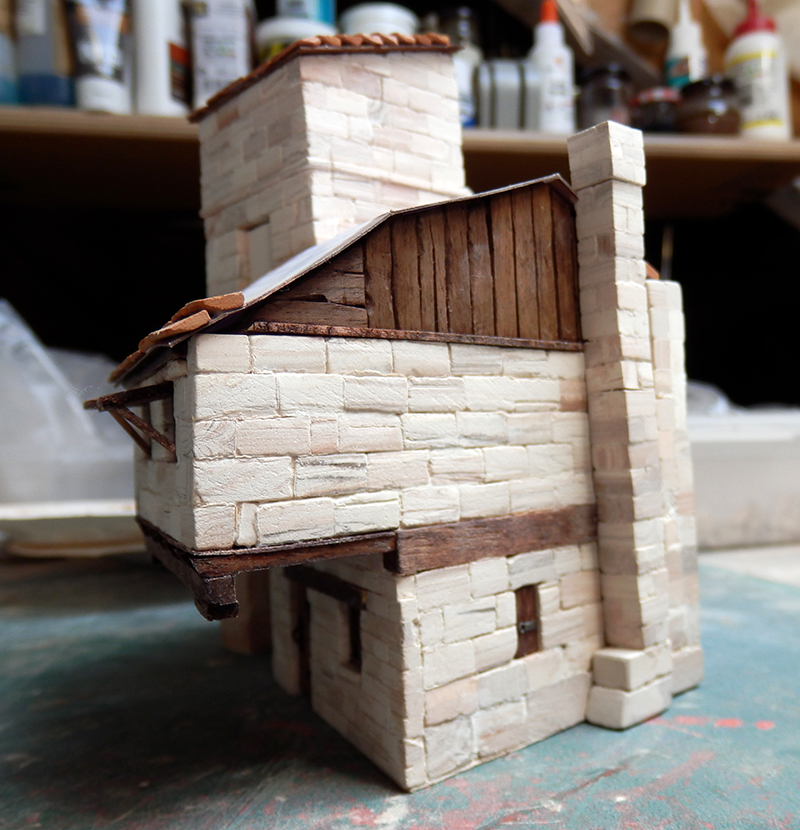
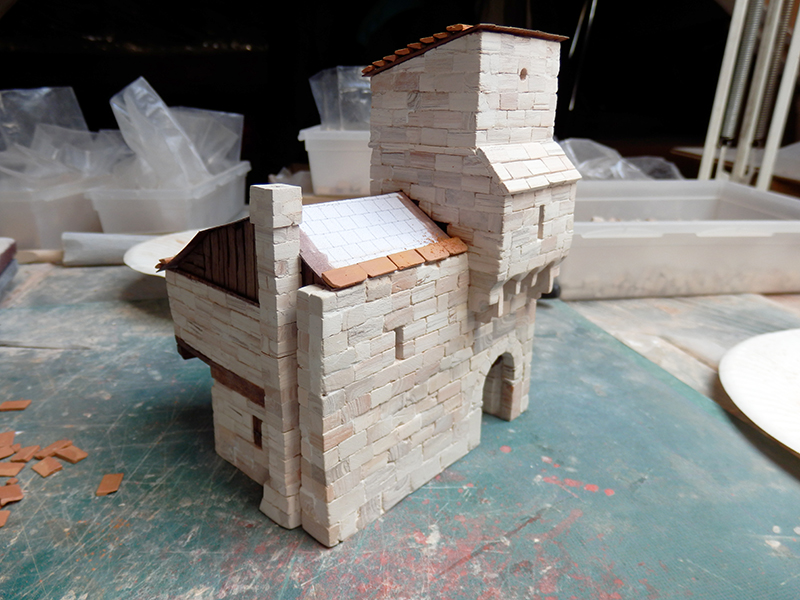
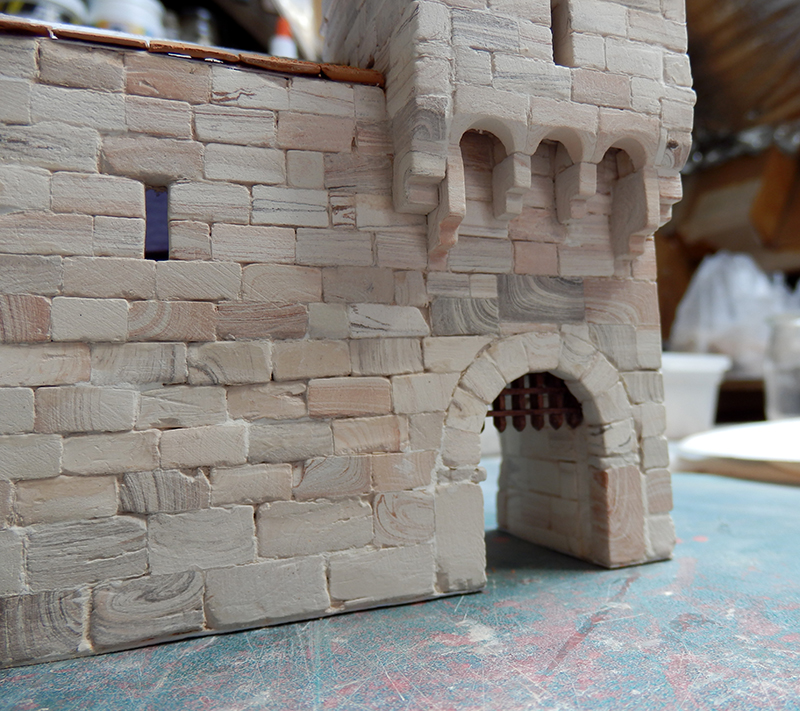
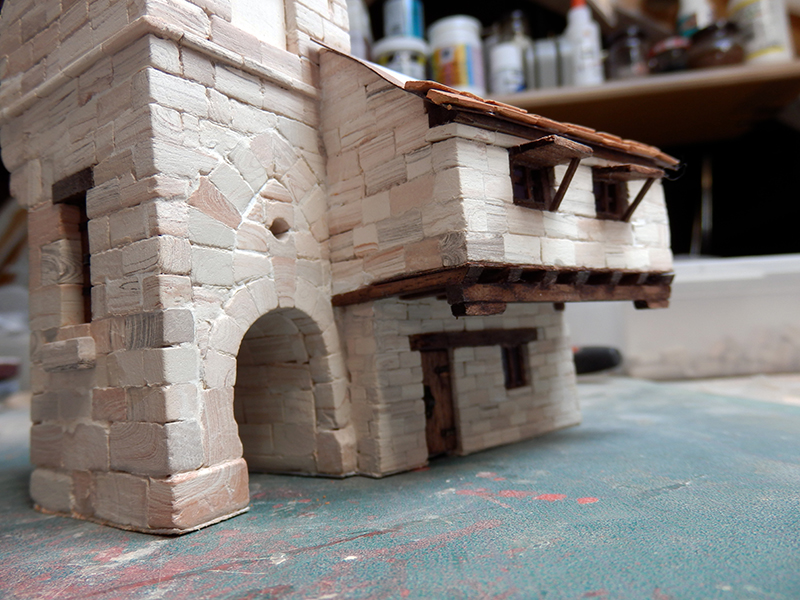
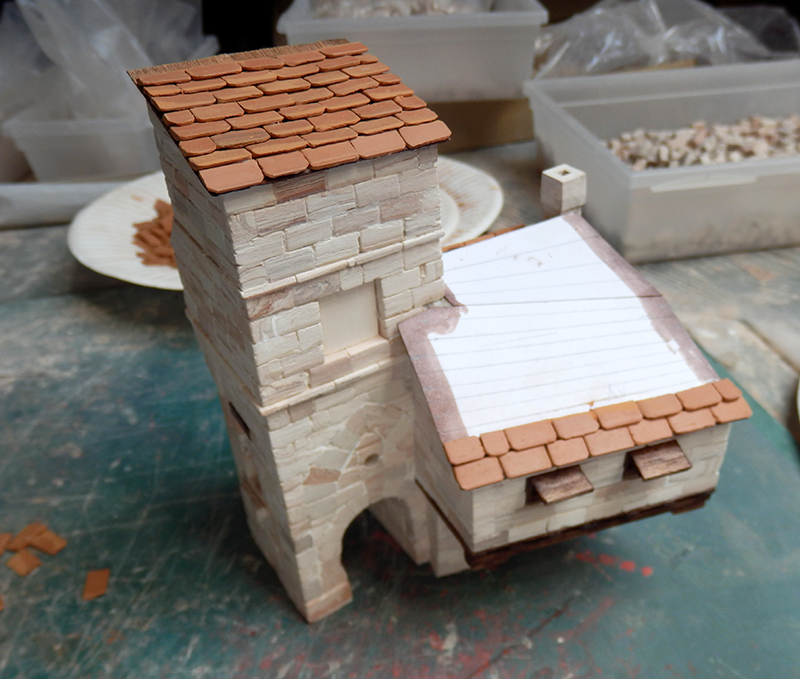
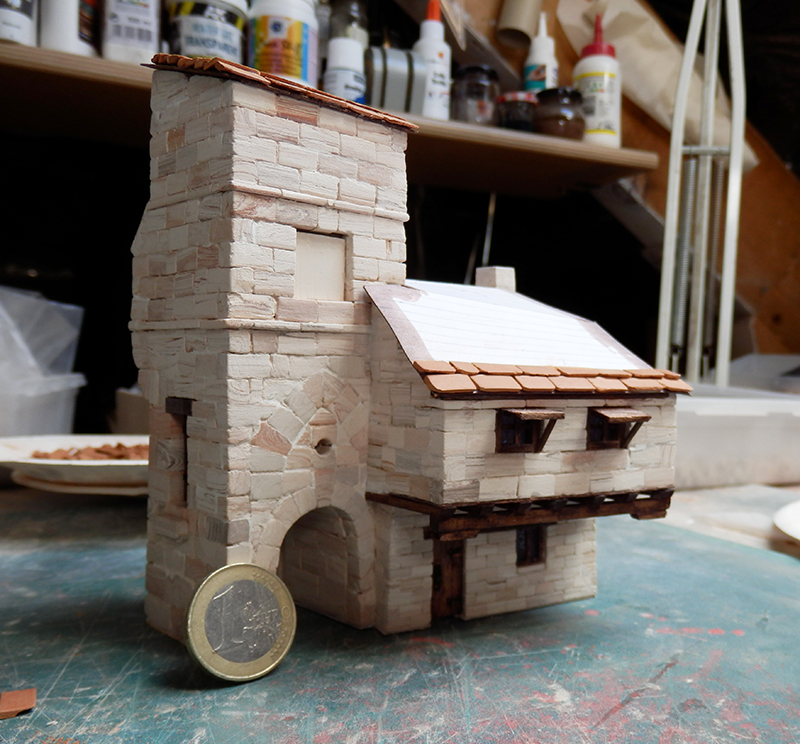
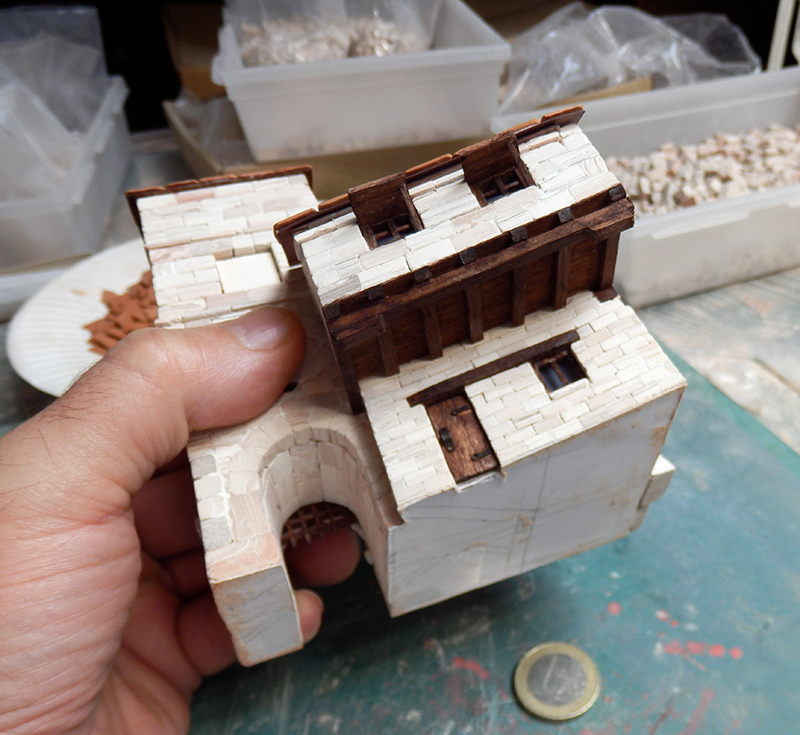
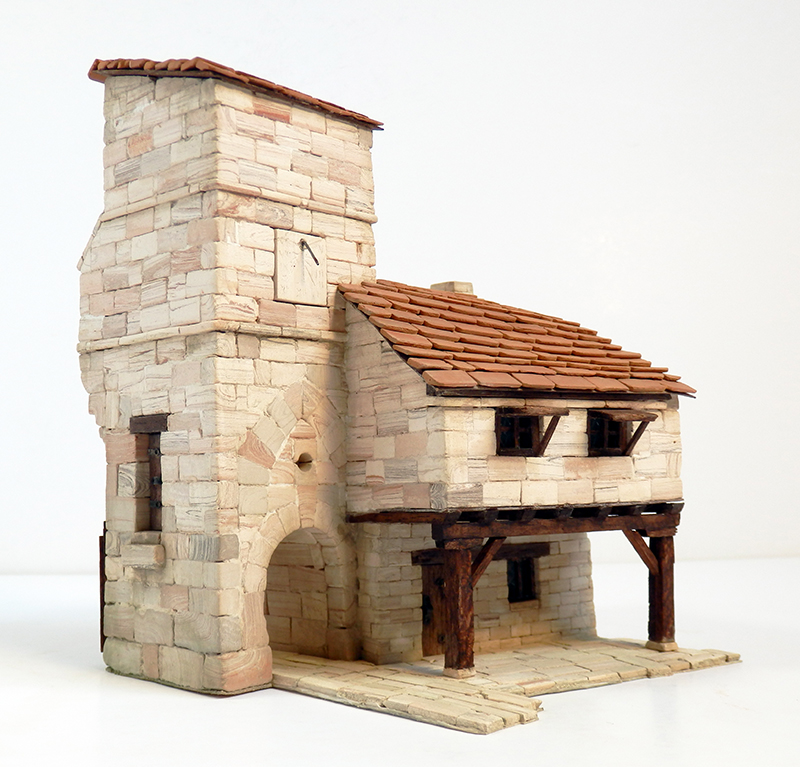
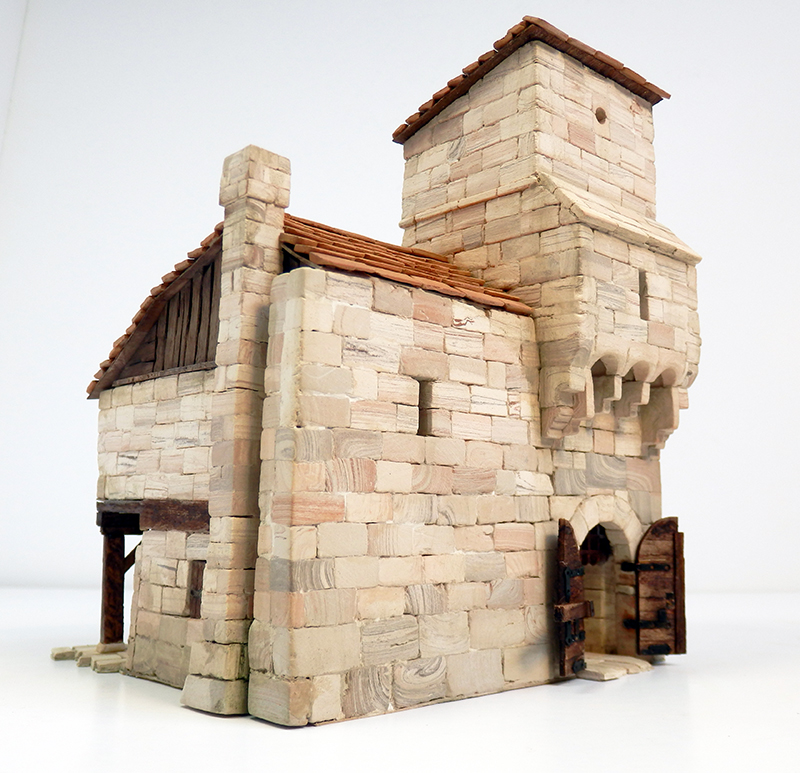
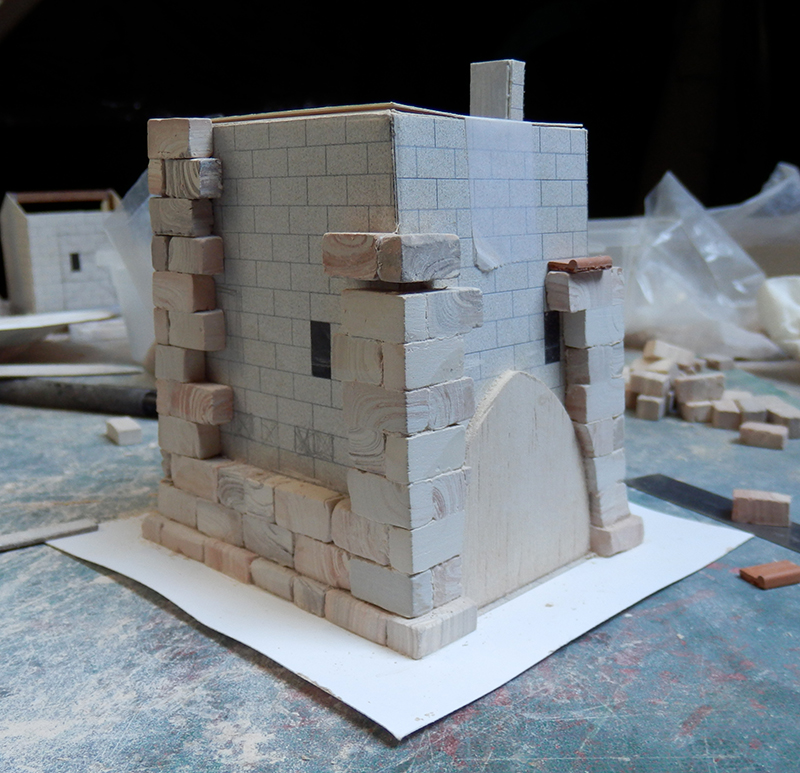
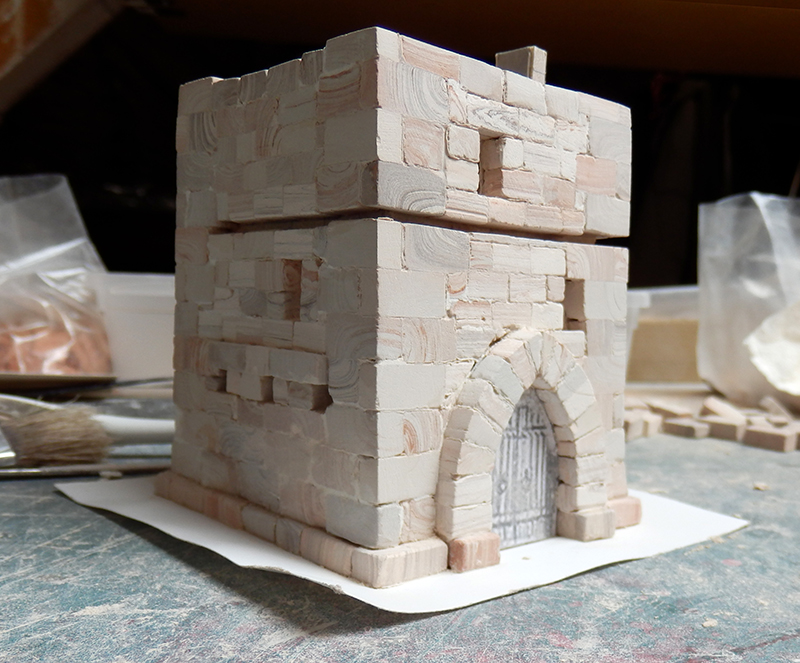
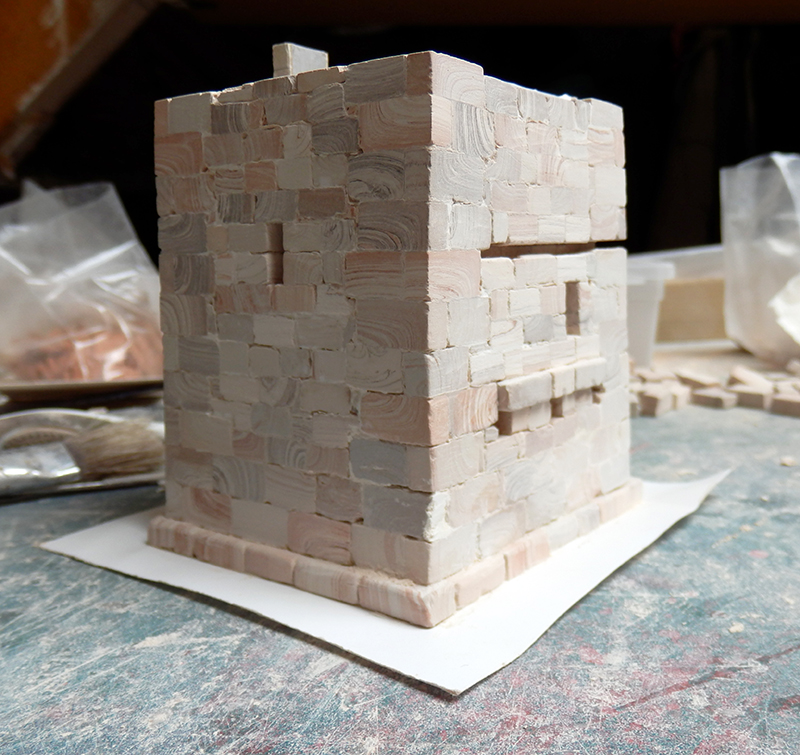
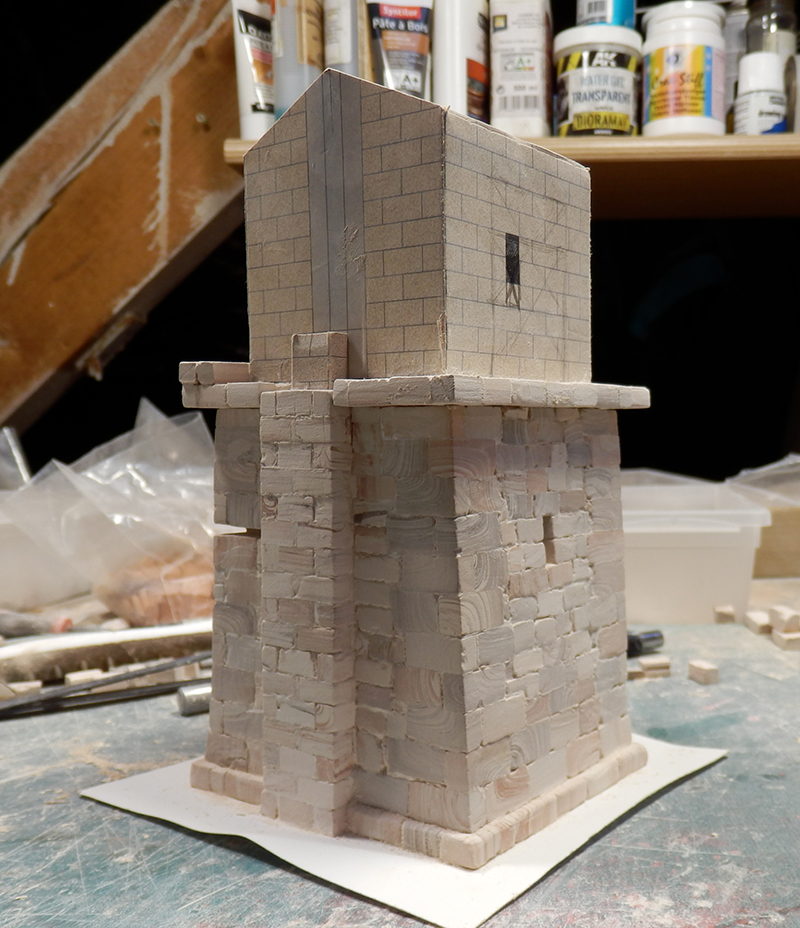
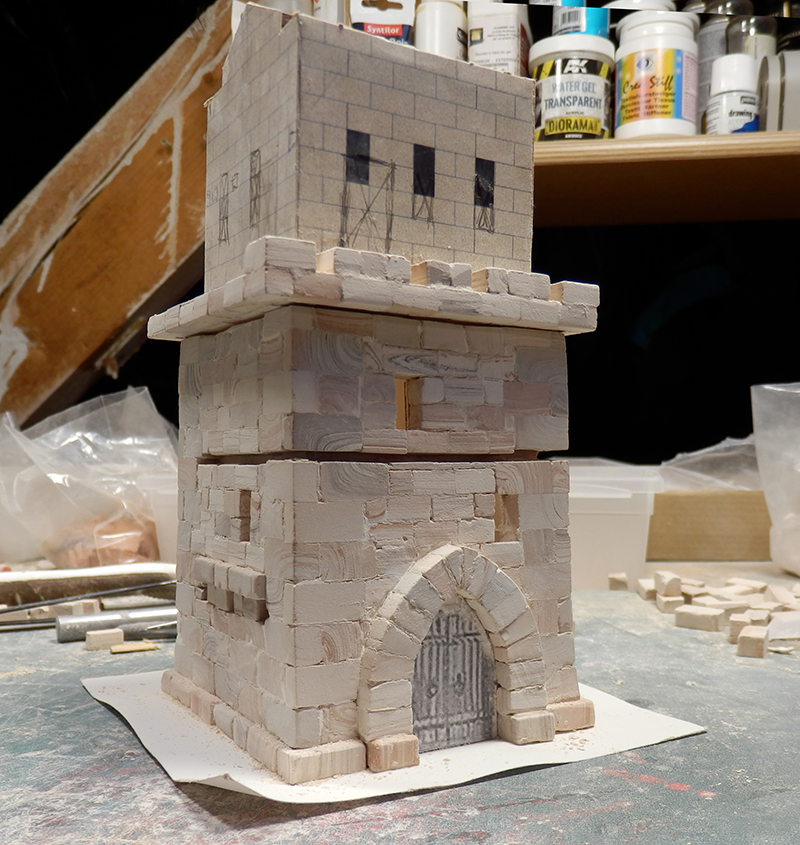
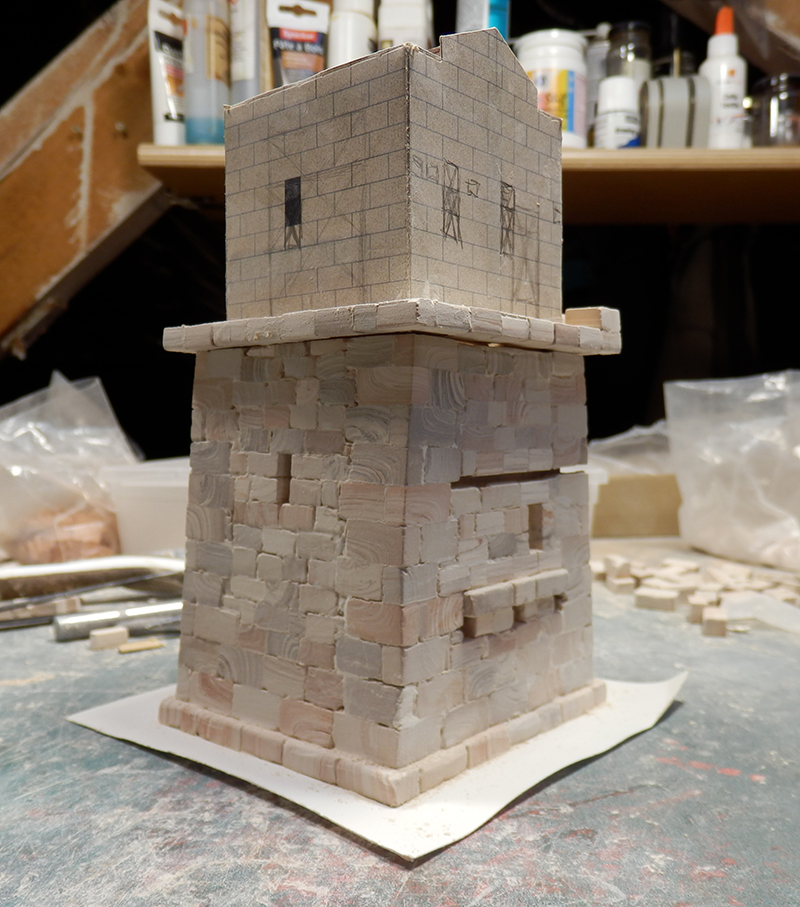
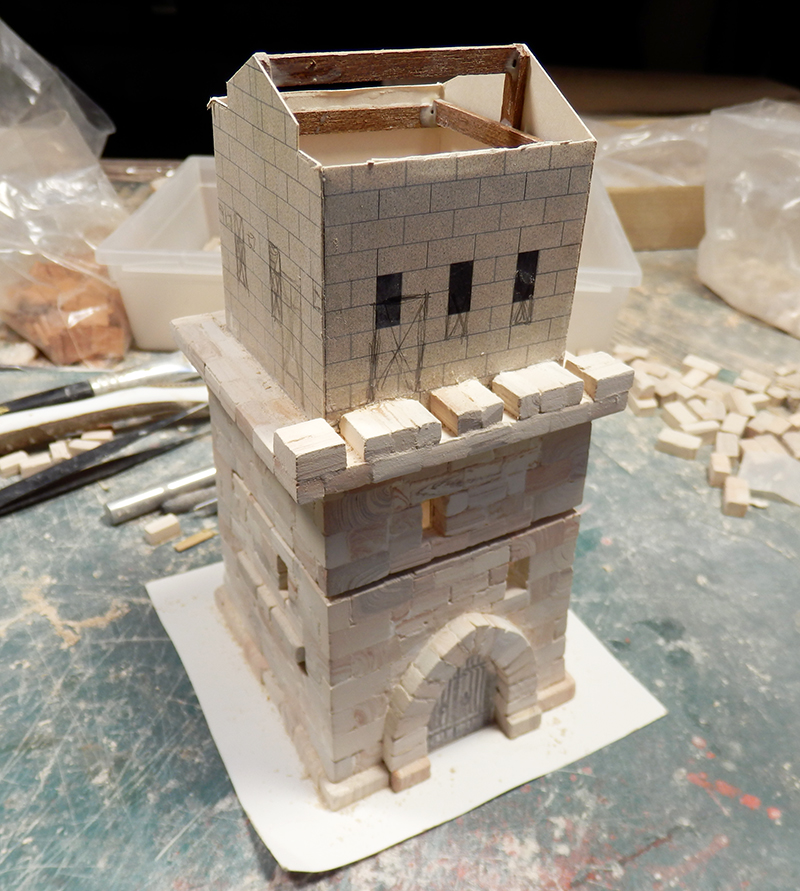
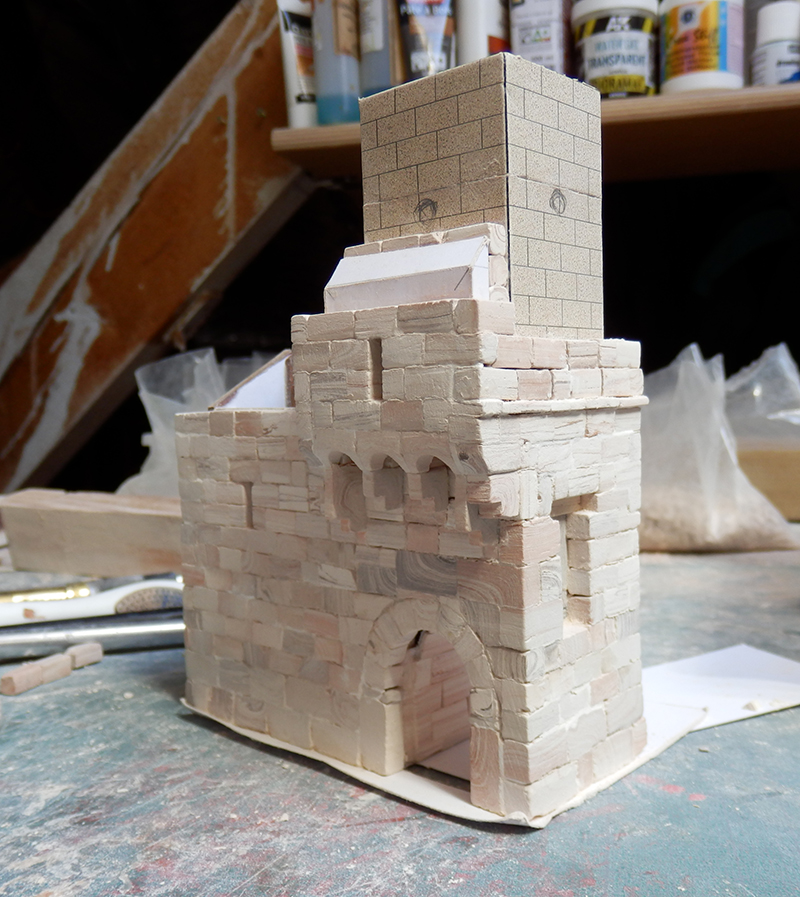
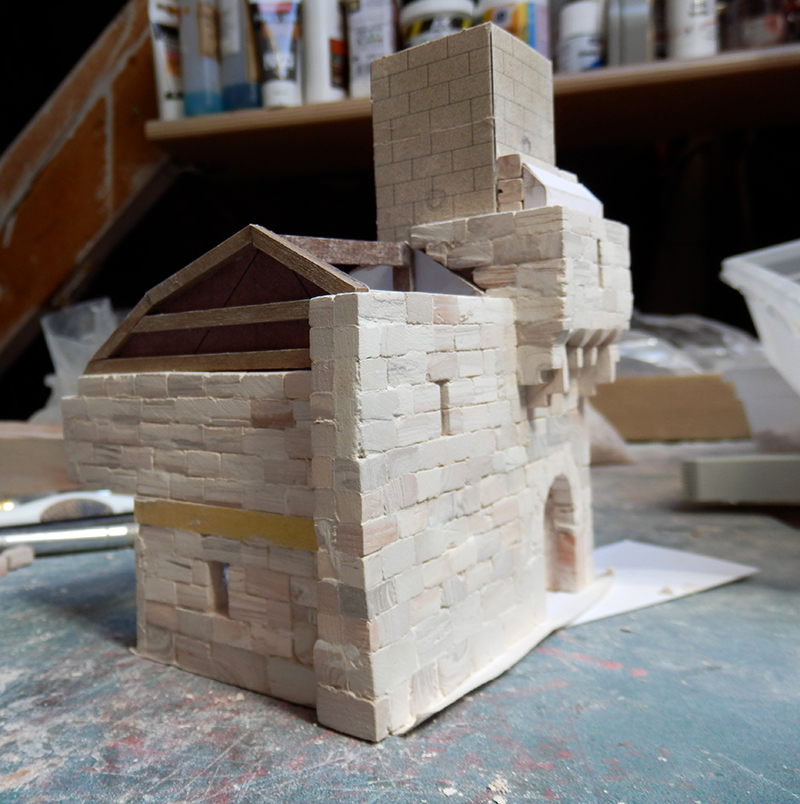
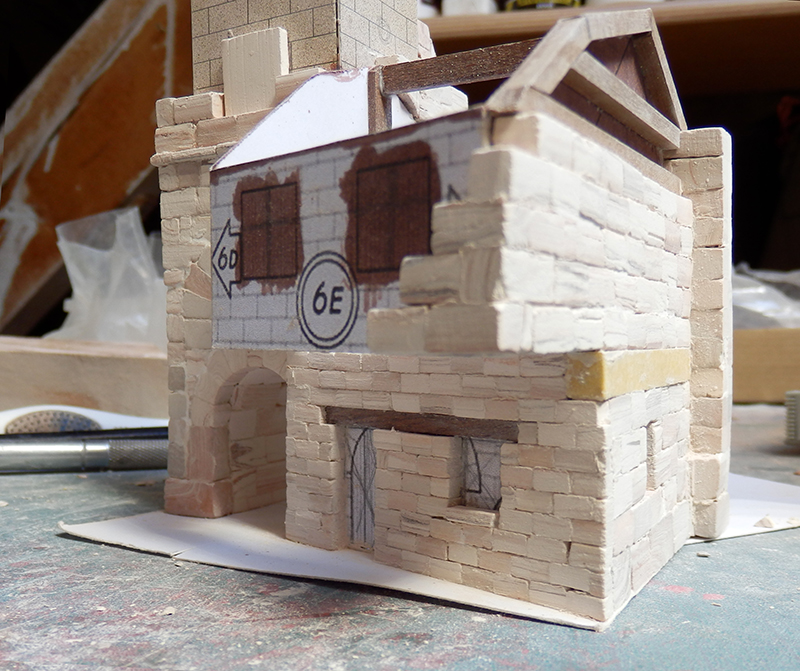
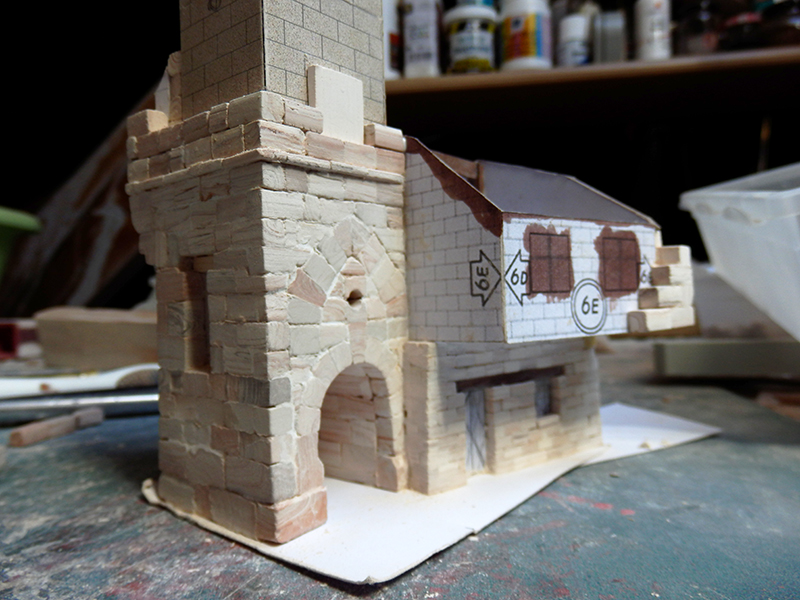
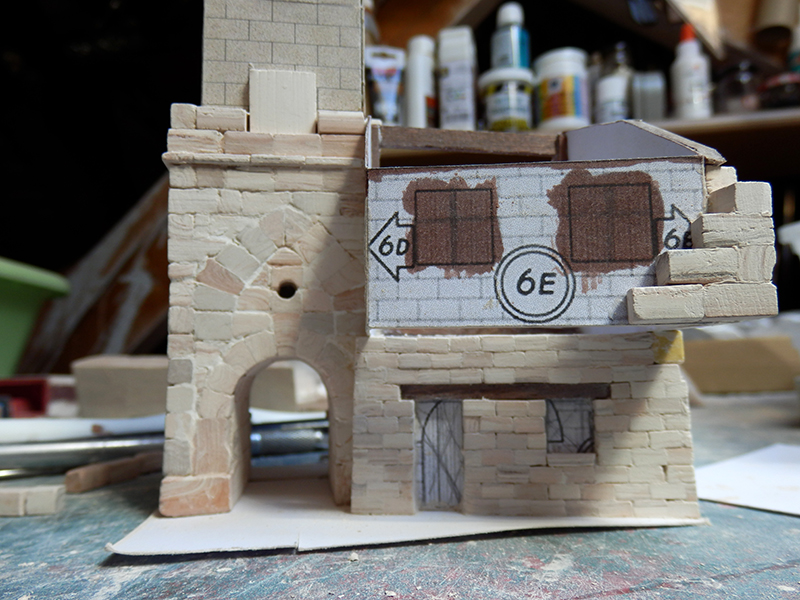
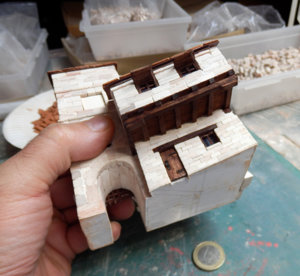
This double building is not very important by its surface, however it gives me a lot of work!
I have to say that I have a bit more difficulties on this one.
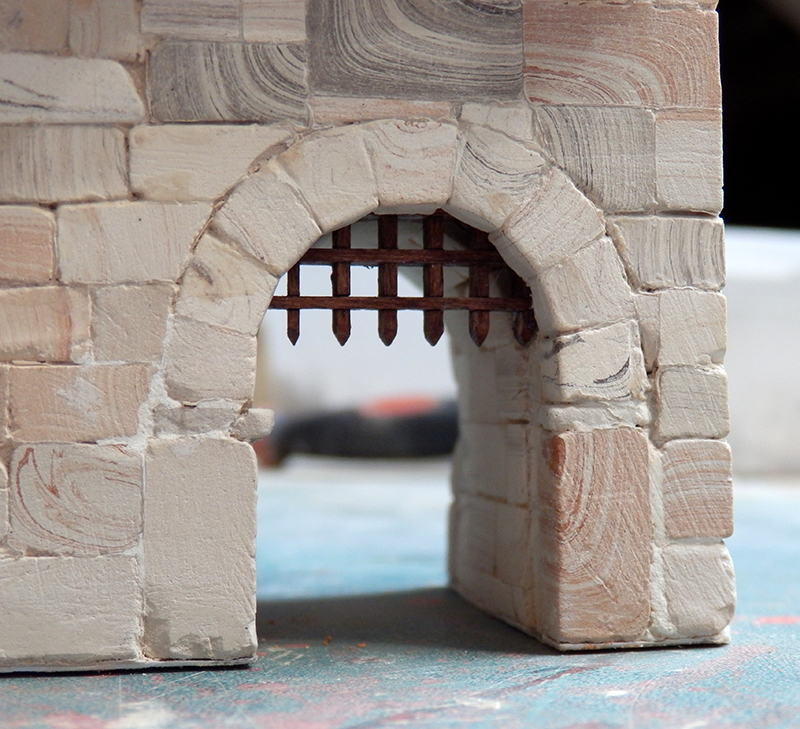
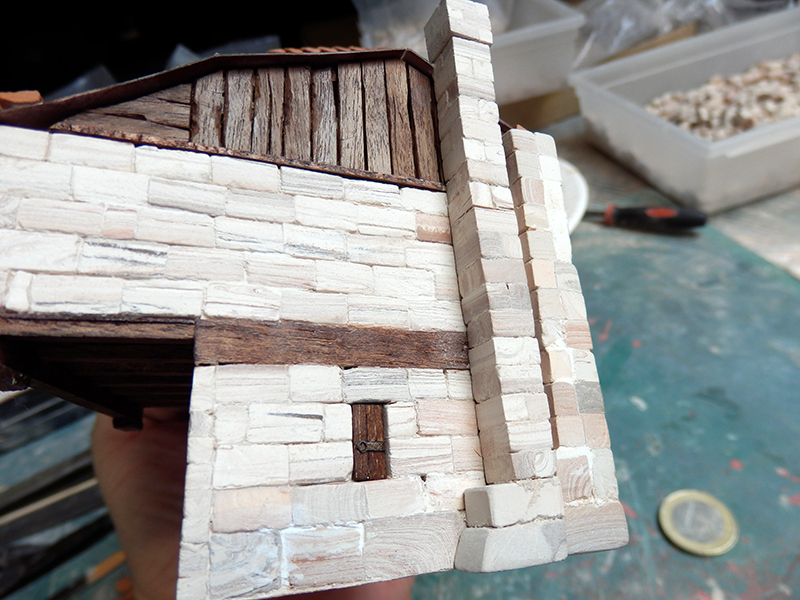
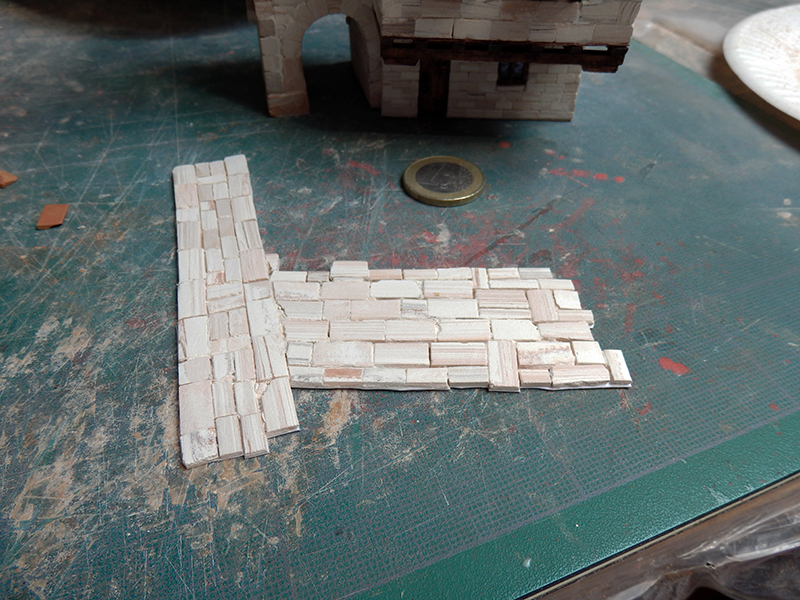
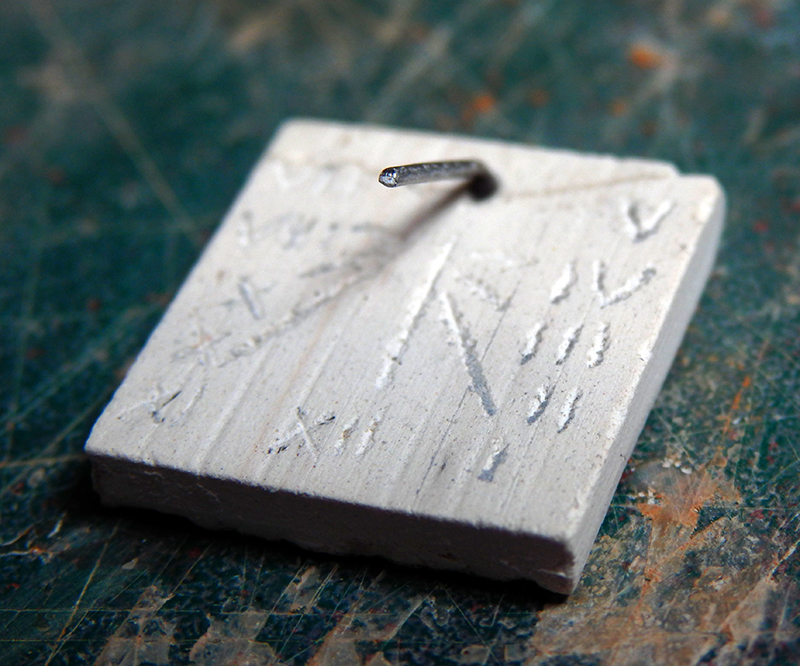
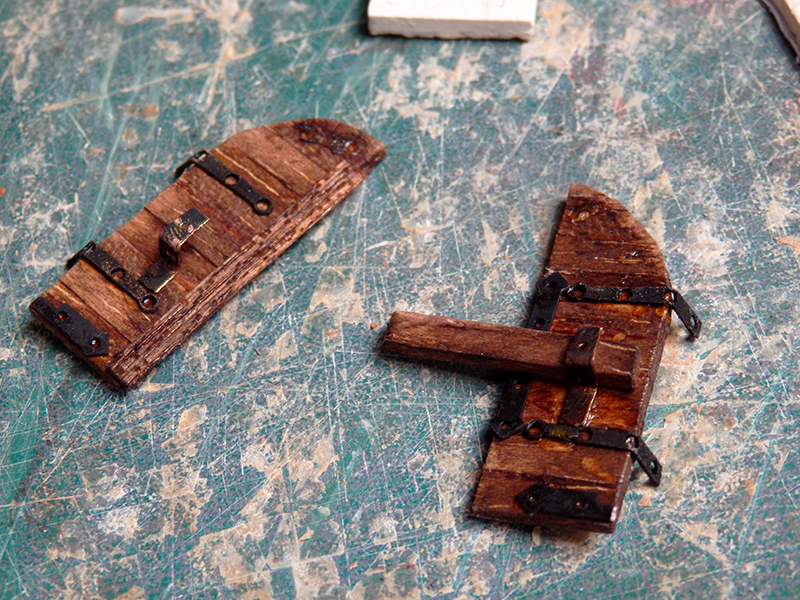
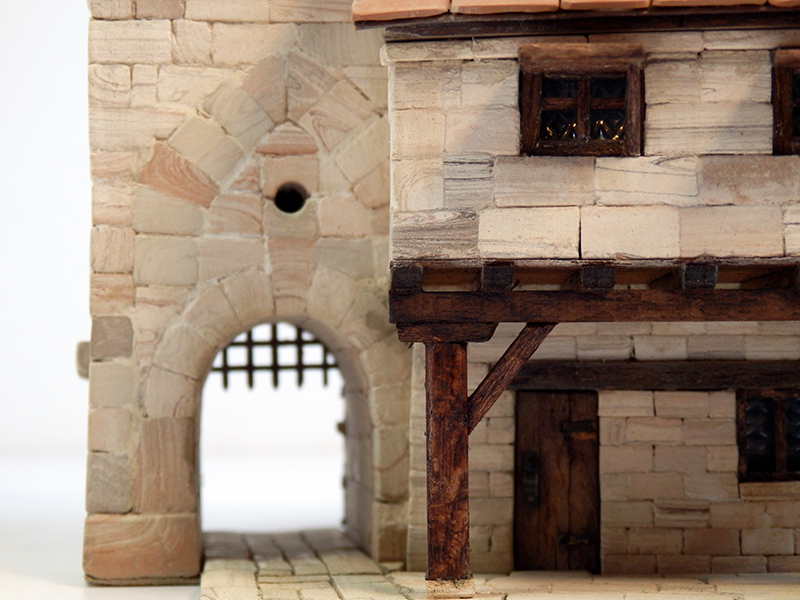
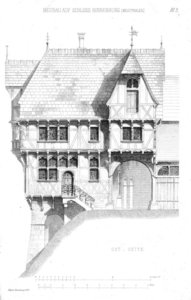
The open door through the tower, addition of a stone hoarding with machicolation, house attached at an angle with corbelling, 2 kinds of stone cutting, a wooden wall covering for the last level, extension of the wall at the back of the building ...
In short, there is still work to be done!


- Joined
- Nov 29, 2019
- Messages
- 74
- Points
- 103

Fantastic work as always. And some great photos - the stained timber really finishes the buildings off well - looks really good. Cant wait to see the next bit!
- Joined
- Nov 29, 2019
- Messages
- 74
- Points
- 103

I dunno how you do it mate - this is just getting better & better! Amazing work!
- Joined
- Apr 10, 2020
- Messages
- 654
- Points
- 353

Hello ,
You need some wooden posts, the overhang is too big without them.
Just an architect opinion
You need some wooden posts, the overhang is too big without them.
Just an architect opinion
Hello and thank you very much Pat and badras-khan for following this thread and commenting on it.
Badras-khan, of course, this little house is going to have wooden columns under the first floor, just like the previous.
But I can't put them in place until the floor is glued down.
Badras-khan, of course, this little house is going to have wooden columns under the first floor, just like the previous.
But I can't put them in place until the floor is glued down.
- Joined
- Apr 10, 2020
- Messages
- 654
- Points
- 353

Looking good !
looking good - is the halfway to describe, looking Awesome!!! If I didn't know the scale, I would honestly think it is a real one. 

- Joined
- Apr 10, 2020
- Messages
- 654
- Points
- 353

You have to play a little of kingdom come deliverance ( great rendered medieval buildings).
The building are shaping well.
Daniel
The building are shaping well.
Daniel
- Joined
- Nov 29, 2019
- Messages
- 74
- Points
- 103

As always, some fantastic work - I have been so captivated watching this build log I have decided to try one of these kits myself - nothing as complex as a complete village, just a small castle to start with. It arrived yesterday and I am very impressed with whats in the box. Looking at the size of the bricks i am even more impressed by what you are doing Ekis.
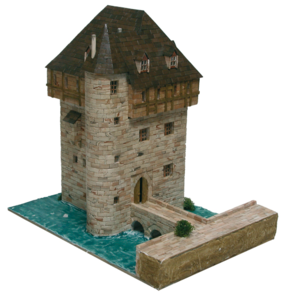
This looks like it may be a bit of fun and I cant wait to get started

This looks like it may be a bit of fun and I cant wait to get started
- Joined
- Apr 10, 2020
- Messages
- 654
- Points
- 353

Thank you!Looking at the size of the bricks i am even more impressed by what you are doing Ekis.
It's great that you can start this kit! I think you're going to love it.
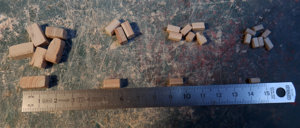
The stones you use are 5x5x10mm in size (the second ones on the picture).
But there are other sizes:
- the first ones to make walls, wall corners or wall soles. 7x6x15mm
- the 3rd to make thinner walls. 4x4x8mm
- the 4th size, the smallest, to make like white bricks. These are the ones I used to make the facade of the ground floor of the last finished building. 3x3x6mm
- Joined
- Apr 10, 2020
- Messages
- 654
- Points
- 353

Magnifique travail, bravo. Les portes et fenêtres font elles partie du kit d origine? Je fais en ce moment un kit de chez aèdes ars mais les portes et volets sont très rudimentaires; c est dommage cela gâche un peu.Comment fais ru pour vieillir la pierre?
Magnifique travail, bravo. Les portes et fenêtres font elles partie du kit d origine? Je fais en ce moment un kit de chez Aedes Ars mais les portes et volets sont très rudimentaires; c est dommage cela gâche un peu. Comment fais tu pour vieillir la pierre?
Beautiful work, well done. Are the doors and windows part of the original kit? I'm currently making a kit from Aedes Ars but the doors and shutters are very rudimentary; it's a shame that it spoils a bit. How do you age the stone?
Merci !
Je suis déjà très loin du kit d'il y a 20 ans...
Chaque construction a été faite en grande partie en scratch personnel ! Je ne respecte ni les bases en carton que je modifie, ni le plan général du village de l'éditeur (trop simpliste et incohérent pour une bastide du 14è). Les matériaux sont en partie enrichis par d'autres achetés en plus (briques, colonnes, reliefs de façades, boiseries, etc...), certains bâtiments n'existent tout simplement pas dans le plan de base (le cloître complet, le colombier, la porte ouest avec ses mâchicoulis, toutes les maisons de rue).
Je crée la base carton à partir de morceaux de photos de plans de maison posté sur un forum par exemple ! Pour le colombier du cloître, un carton bristol blanc et la création complète de la structure.
Et je n'ai pas fini dans la création... Mais toujours avec le respect des constructions d'époque.
Donc, pour te répondre précisement, bien sûr, les portes et fenêtres sont toutes créées à partir de mon stock.
Les bâtiments sont vieillis à l'eau sale en premier !
J'utilise aussi avec les produits AK Interactive de weathering sur les pierres, bois, mousses, moisissures. Mais aussi des crayons aquarellables, de l'encre de Chine dilluée, etc...
Bref, ce qui m'amuse, c'est surtout de ne pas respecter un simple guide de montage, comme sur toutes mes maquettes !
Thank you!
I'm already a long way from the kit from 20 years ago...
Each construction has been made mostly in personal scratch ! I respect neither the cardboard bases that I modify, nor the general plan of the publisher's village (too simplistic and incoherent for a 14th century bastide). The materials are partly enriched by others bought in addition (bricks, columns, facade reliefs, woodwork, etc...), some buildings simply do not exist in the basic plan (the complete cloister, the dovecote, the west door with its machicolations, all the street houses).
I create the cardboard base from pieces of photos of house plans posted on a forum for example! For the dovecote of the cloister, a white bristol board and the complete creation of the structure.
And I didn't finish the creation... But always with the respect of the period constructions.
So, to answer your question accurately, of course, the doors and windows are all created from my stock.
The buildings are aged with dirty water first!
I also use AK Interactive weathering products on stone, wood, moss, mould. But also watercolor pencils, diluted India ink, etc...
In short, what amuses me is above all not to respect a simple assembly guide, as on all my models .


