
-

SUBSCRIBE TO SHIPS IN SCALE TODAY!
The beloved Ships in Scale Magazine is back and charting a new course for 2026!
Discover new skills, new techniques, and new inspirations in every issue.
NOTE THAT OUR NEXT ISSUE WILL BE MARCH/APRIL 2026 -

Win a Free Custom Engraved Brass Coin!!!
As a way to introduce our brass coins to the community, we will raffle off a free coin during the month of August. Follow link ABOVE for instructions for entering.
- Home
- Forums
- Ships of Scale Build Logs
- Super Detailing Static Models / Other Genres
- Super Detailing Static Models
You are using an out of date browser. It may not display this or other websites correctly.
You should upgrade or use an alternative browser.
You should upgrade or use an alternative browser.


OhHo - you plan an enlargement - seem, that you like itThe final plan is evolutionary, I just planned to add houses to make a small street ...
Here's a quick sketch that I use as a basis:
")
You're right: it's very long, but it's quite pleasant.
Above all, I want this village to be correct in relation to what I know and its time (the 14th century). So I try to do the right thing and add the elements so that it's not too bad and less simplistic than the basic kit .
But I promise, after that I come back to the navy: at least a knarr (Oseberg) and a traditional Norwegian boat are waiting for me!
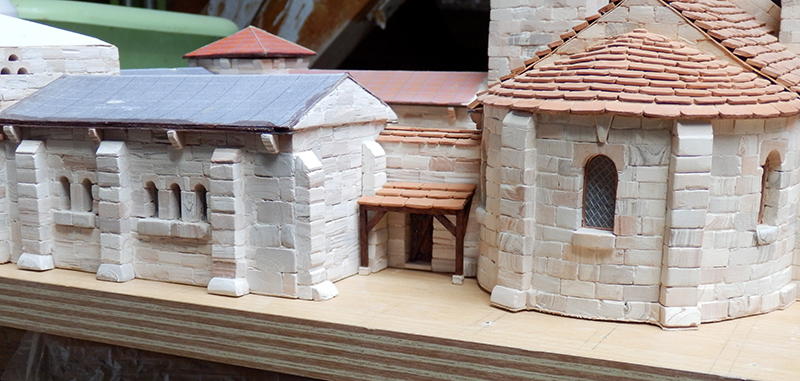
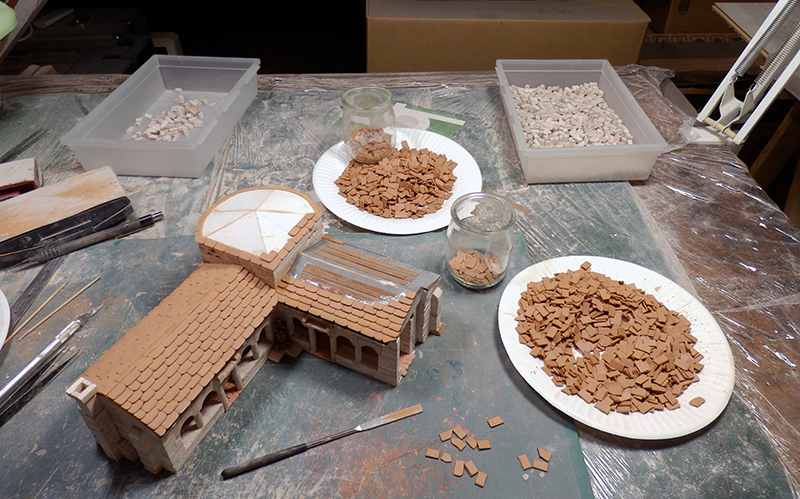
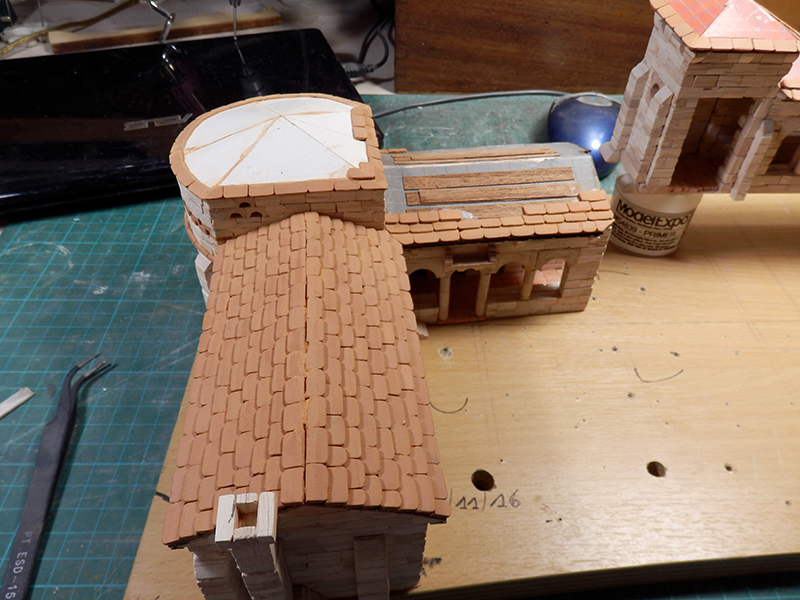
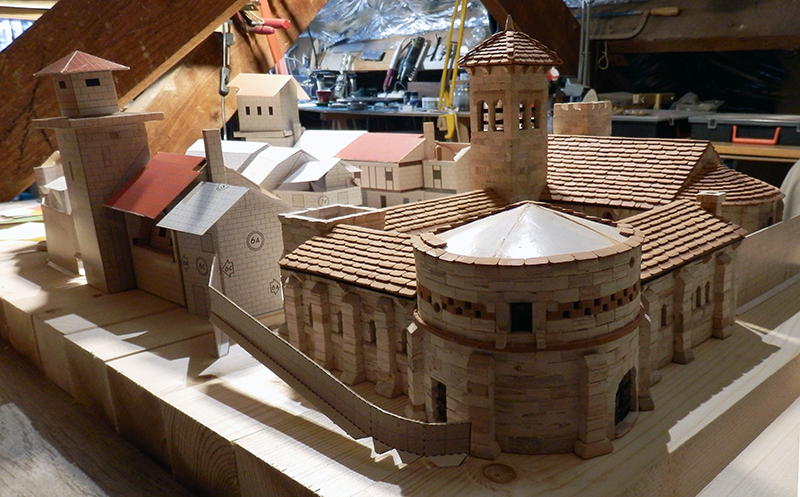
While the roofing continues...
I did 2 or 3 things: the descent to the crypt (to be inlaid in the support block to come), the installation of the local sanctified monk, the central well and a basin surely recovered from a nearby Roman ruin...")
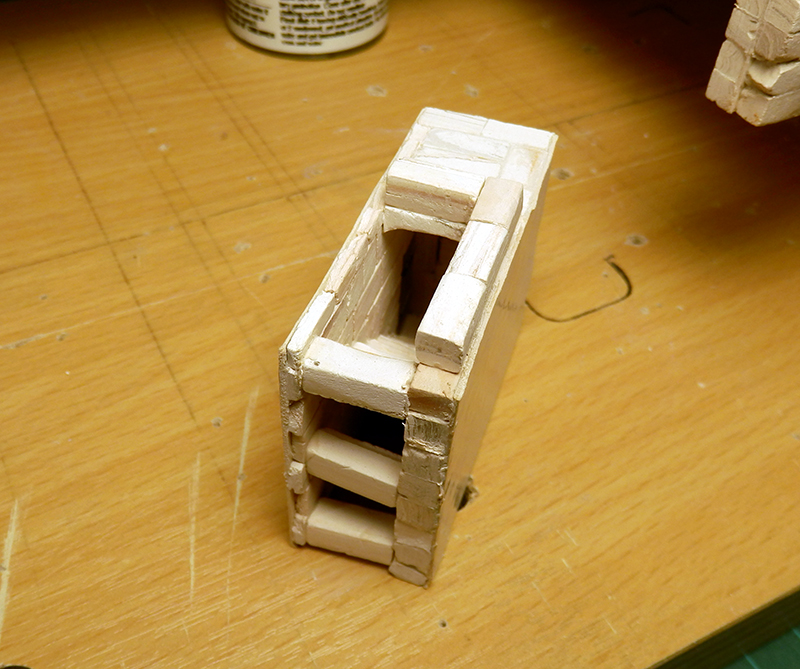
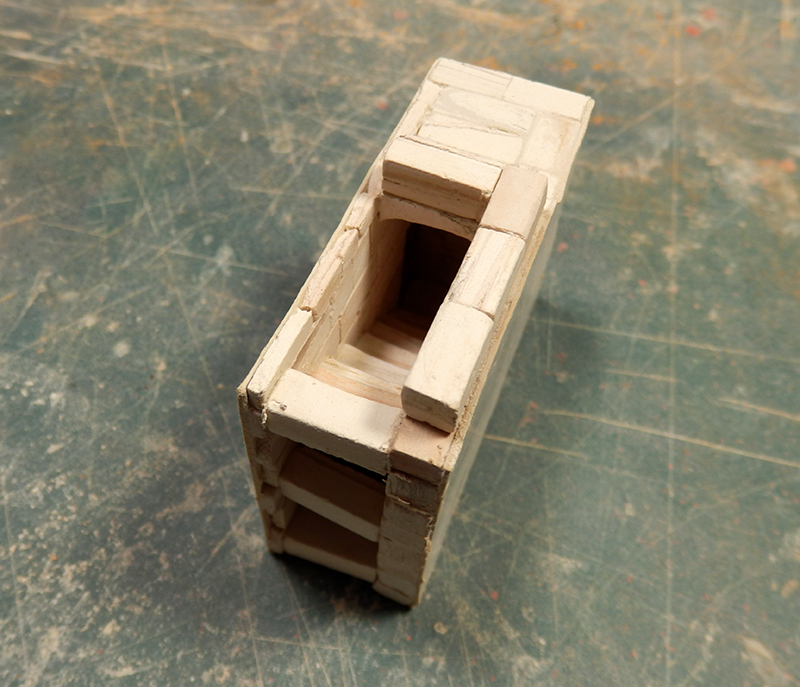
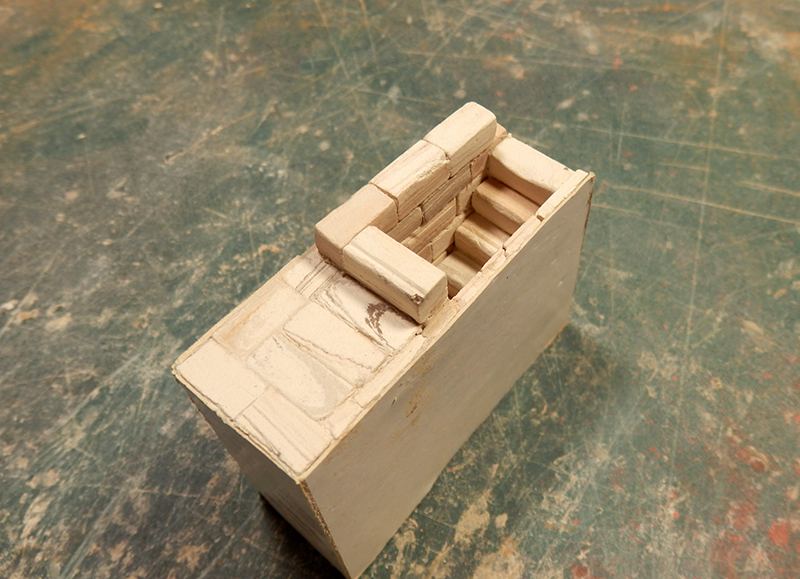
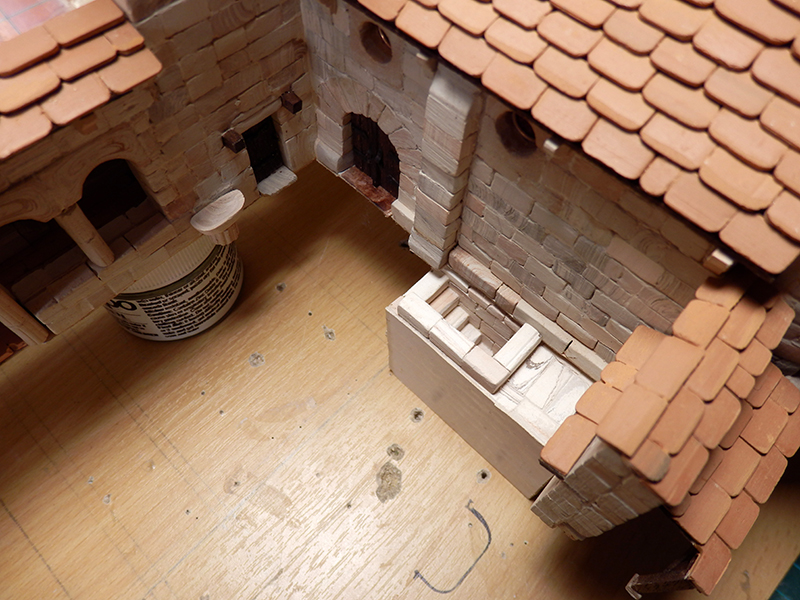
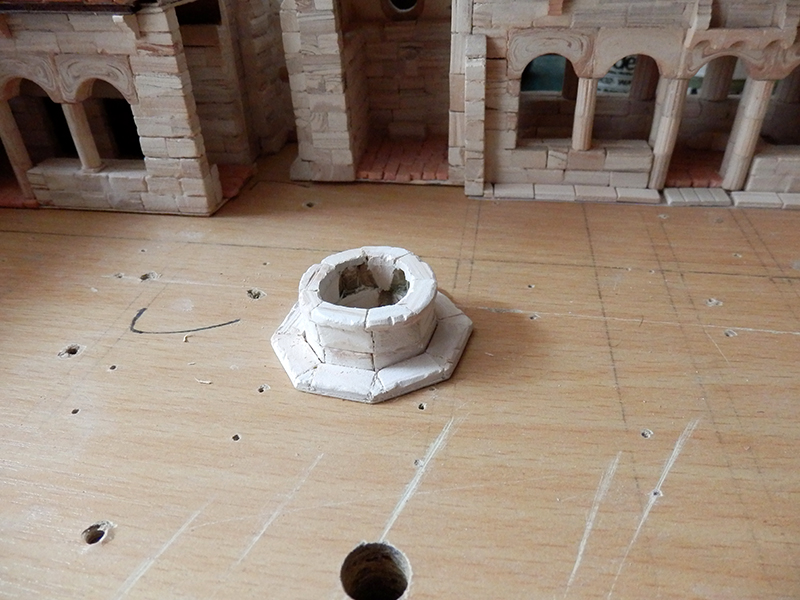
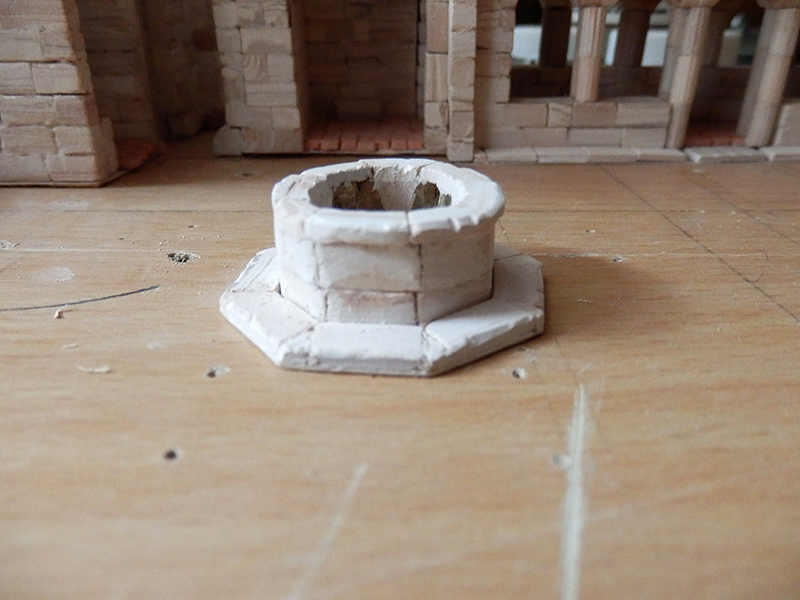
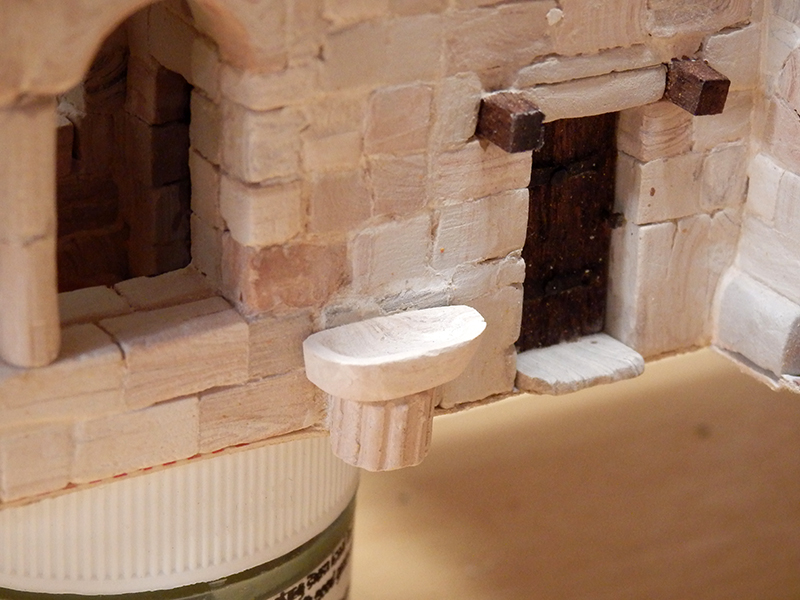
I did 2 or 3 things: the descent to the crypt (to be inlaid in the support block to come), the installation of the local sanctified monk, the central well and a basin surely recovered from a nearby Roman ruin...
Lovely work, and very interesting to watch it is growing. 
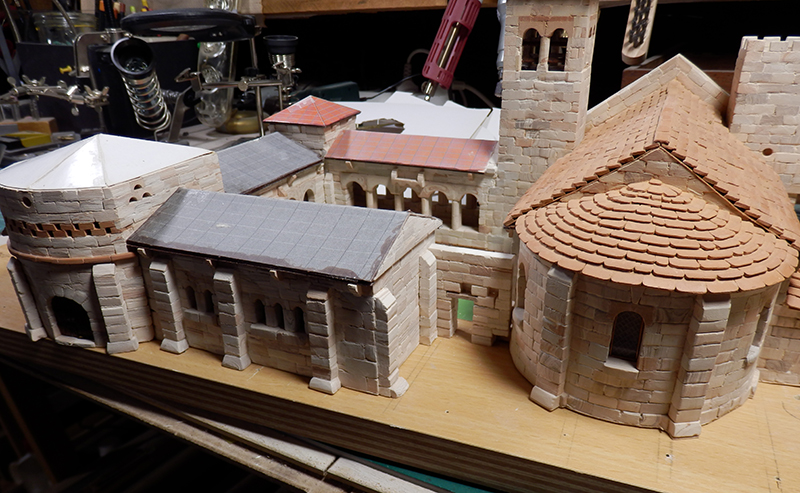
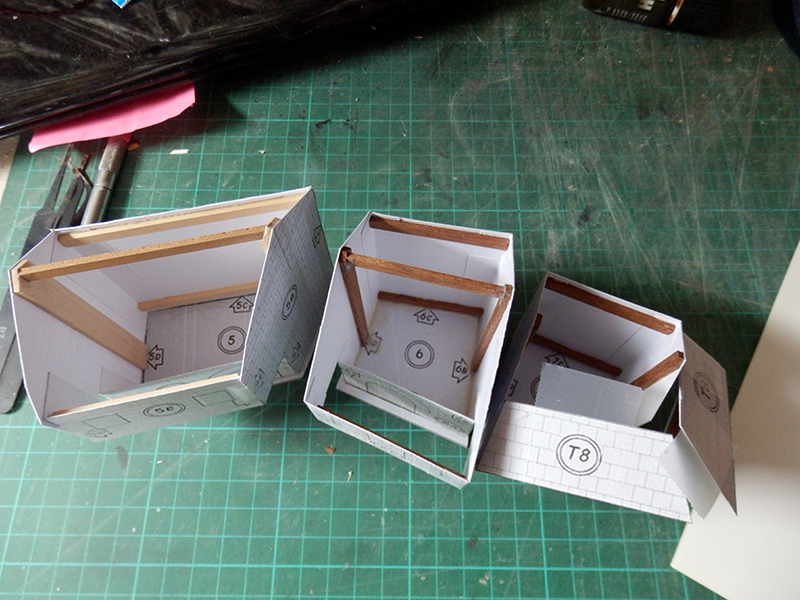
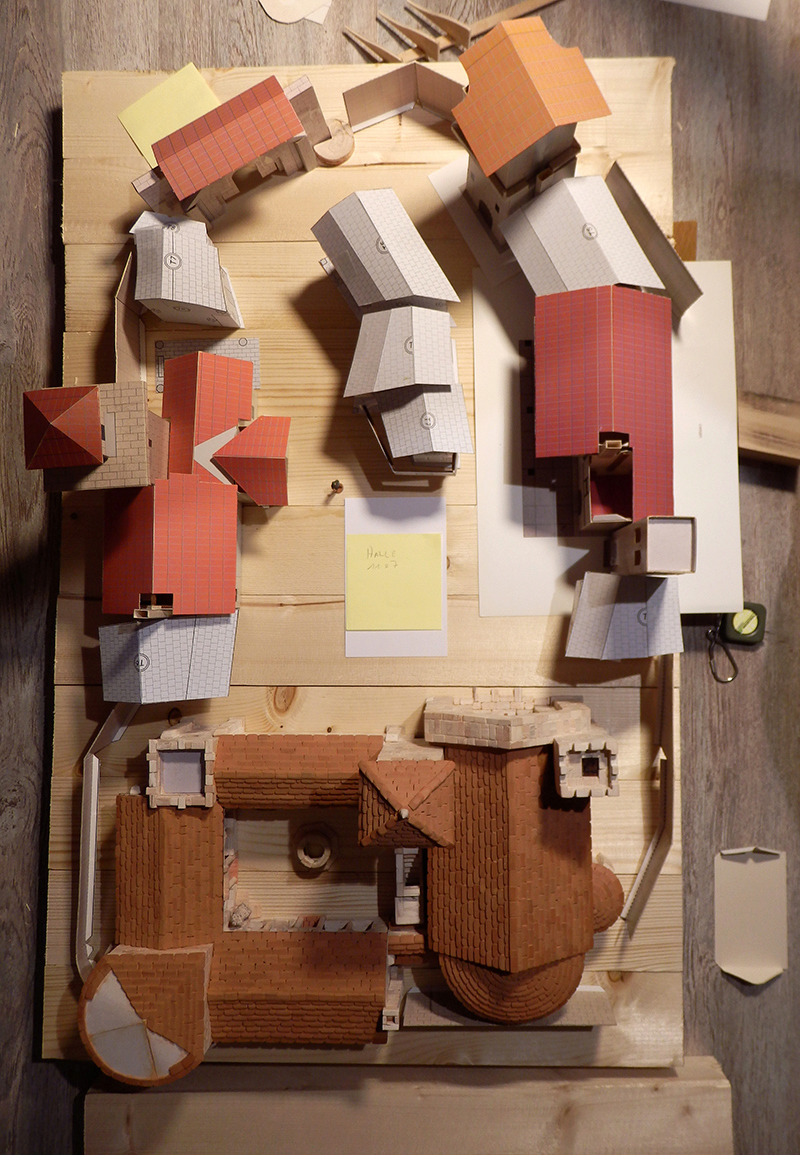
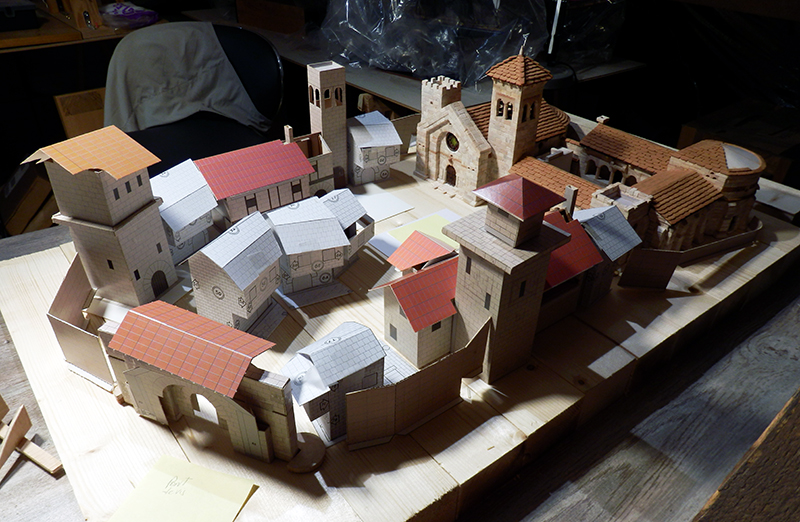
Here's the project just laid out to get an idea of the work to follow. I had to do a quick assembly of the cardboard structures (they're just taped, they need to be reinforced from the inside, more framework) to see where they'll be placed.
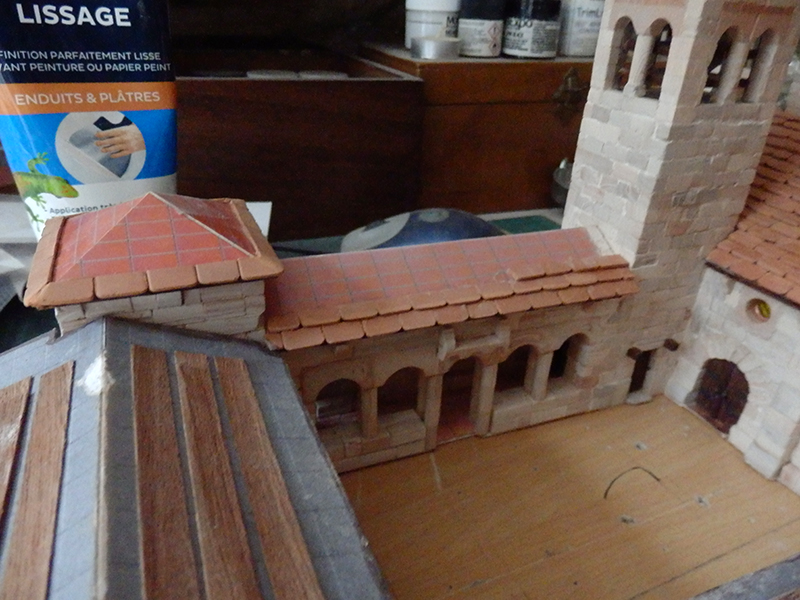
Of course, the cardboard models have already been modified for some and not yet for others. Corrections are necessary. Also missing is the open hall, which will be a wooden frame with a tiled roof. And all kinds of small annex buildings, accessories, etc...
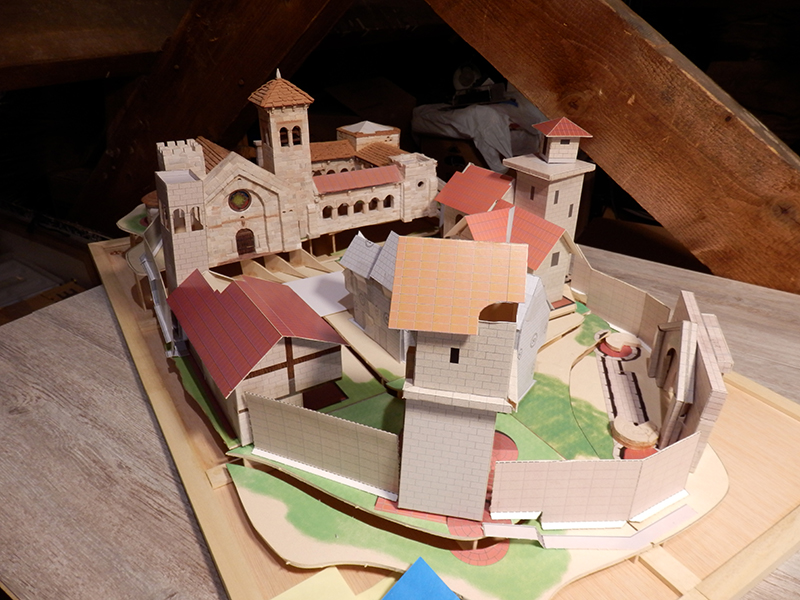
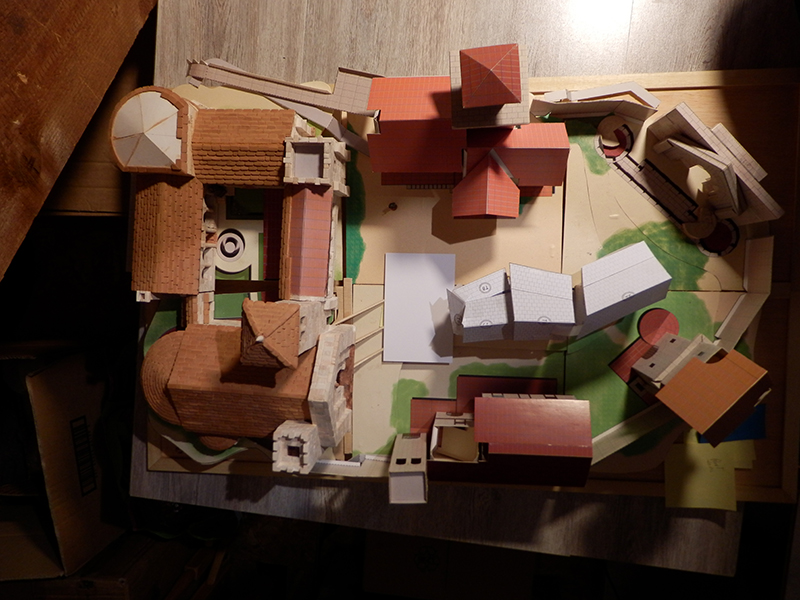
Of course, the cardboard models have already been modified for some and not yet for others. Corrections are necessary. Also missing is the open hall, which will be a wooden frame with a tiled roof. And all kinds of small annex buildings, accessories, etc...
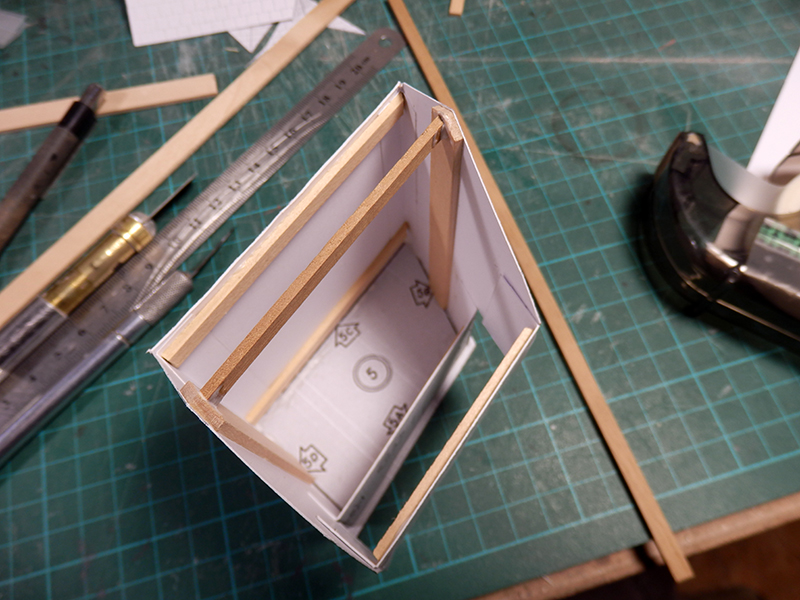
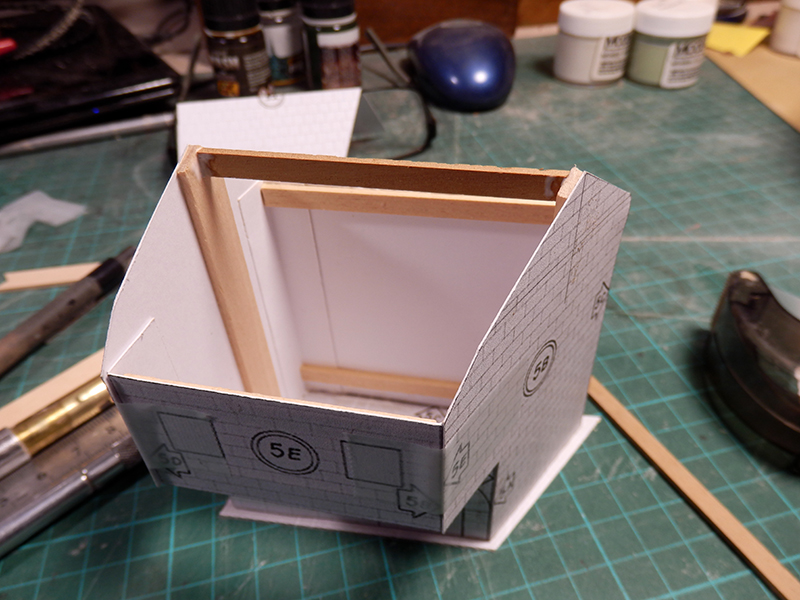
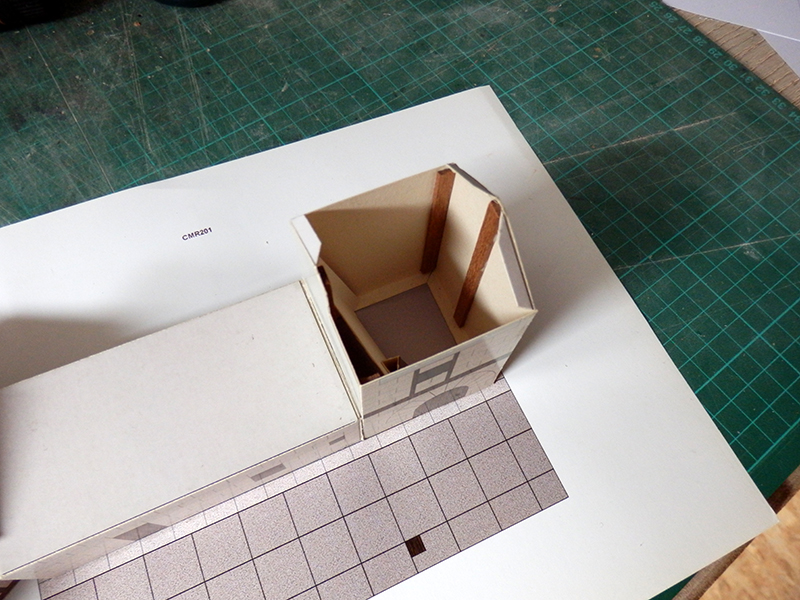
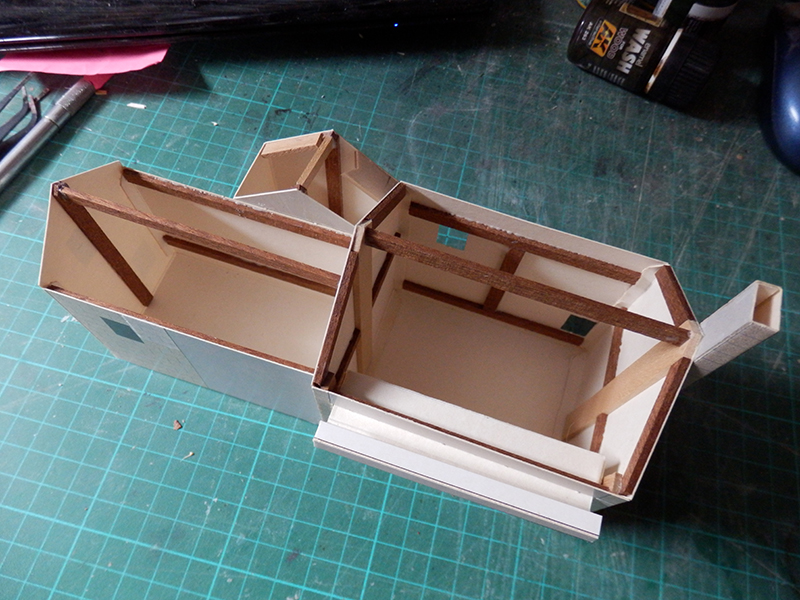
Ok, I've reinforced all the cardboard bases of the other buildings coming up. I took the opportunity to rectify the angle and size of some roofs to be consistent with the church/cloister (rather from the south). The 3 small houses planned in the center of the village had roofs that were squarely cartoon ...

Thank you, Graham, and thank you to everyone who is following this.
There are 7 or 8 figurines with the basic kit. I don't know if I'm going to put them on yet. One thing's for sure, I won't make this village a scene of life like Playmobil or Lego...
There are 7 or 8 figurines with the basic kit. I don't know if I'm going to put them on yet. One thing's for sure, I won't make this village a scene of life like Playmobil or Lego...
- Joined
- Nov 29, 2019
- Messages
- 74
- Points
- 103

I'm finding myself oddly fascinated by this build - I'm not sure I would have the patience for this kind of thing (says a man who will quite happlily spend 8 hours making a ships ladder 25mm long) but am certainly enjoying watching the progress - very interesting and very..... different.

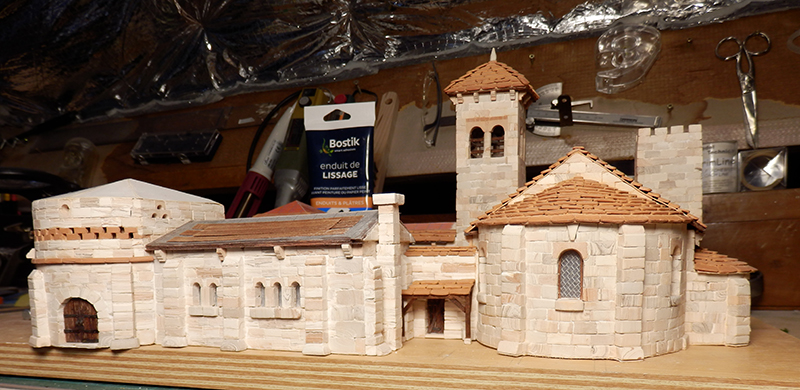
A few more pictures:
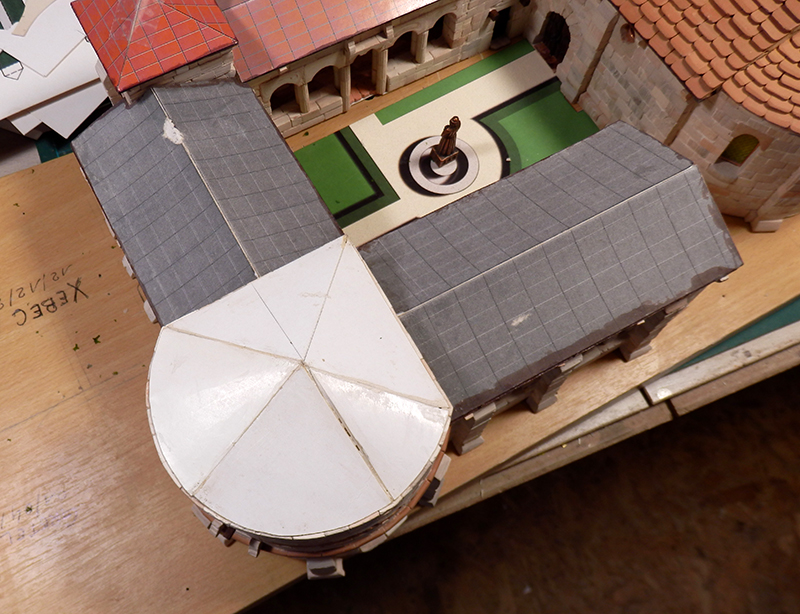
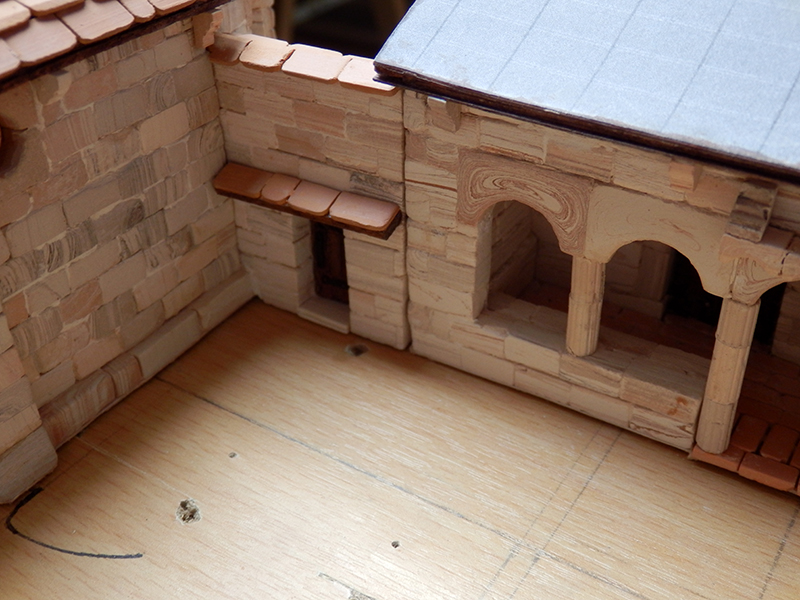
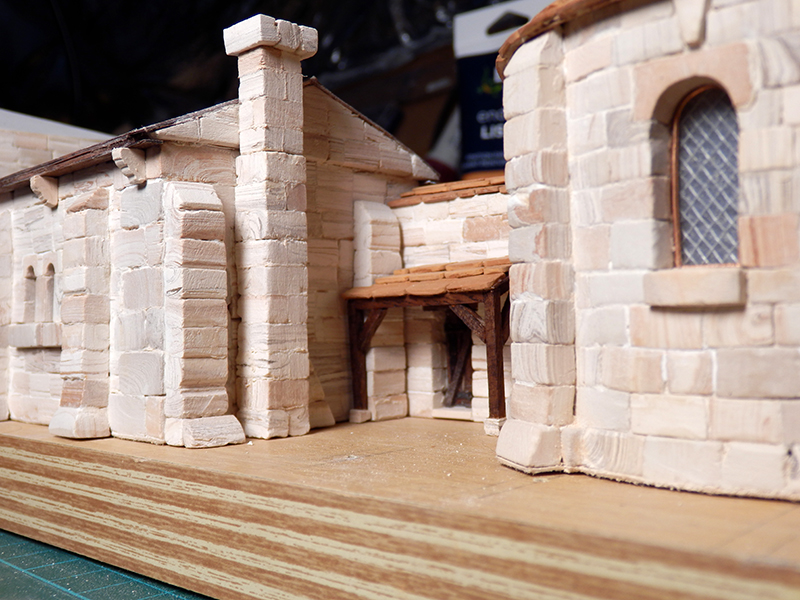
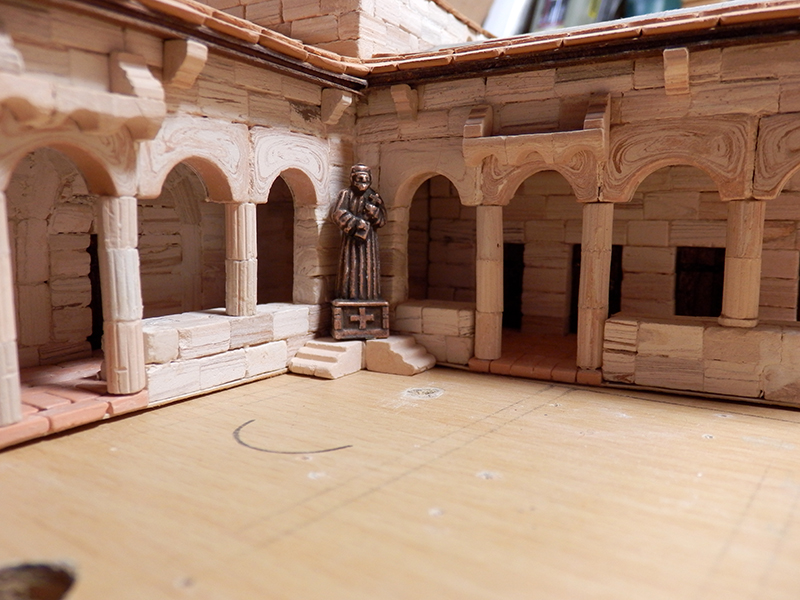
The statue of the cloister, formerly in bronze (and therefore anachronistic for a village), has regained a stone aspect (with a mixture of diluted glue and stone dust).
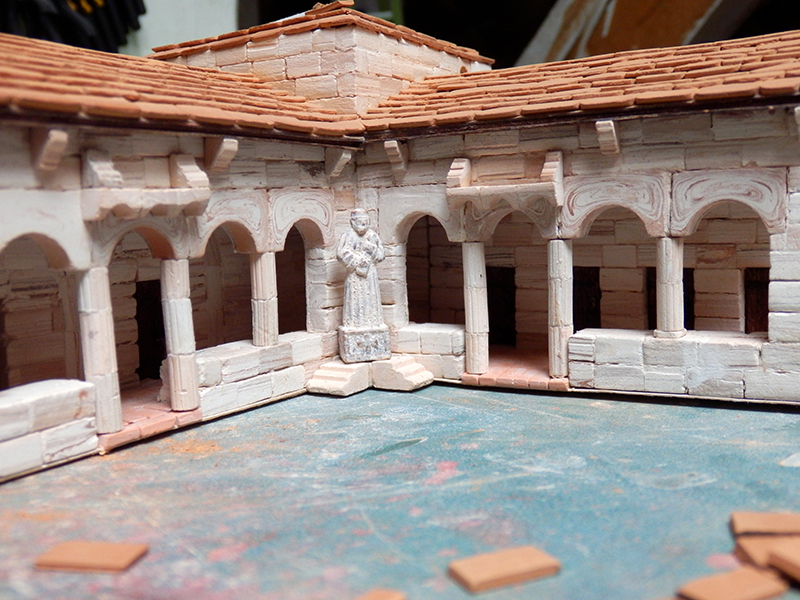
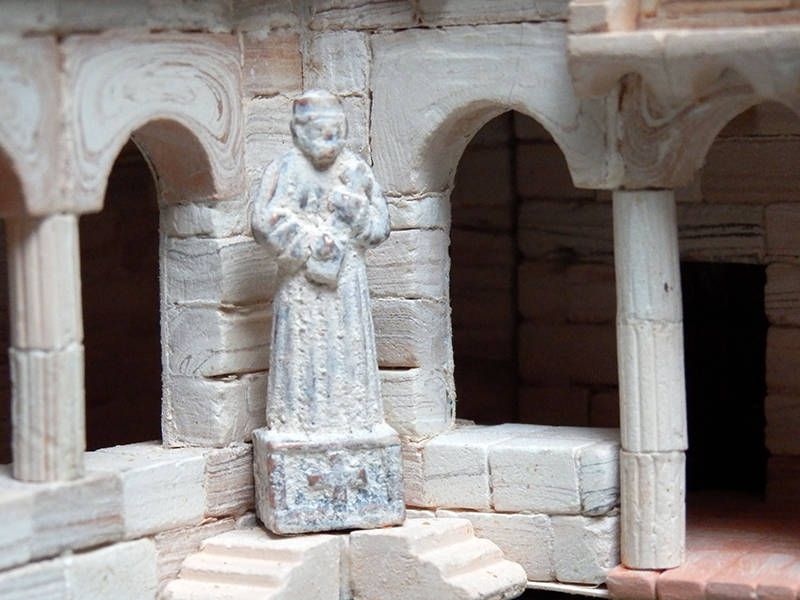
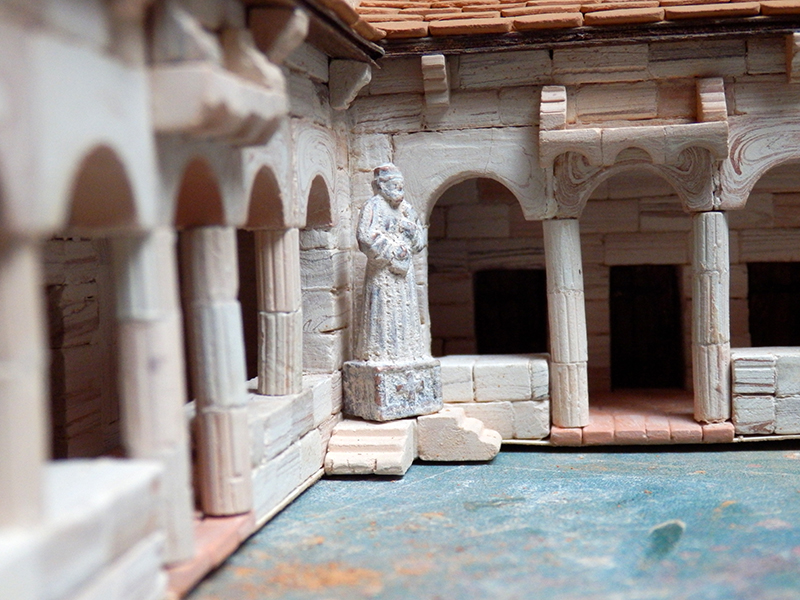
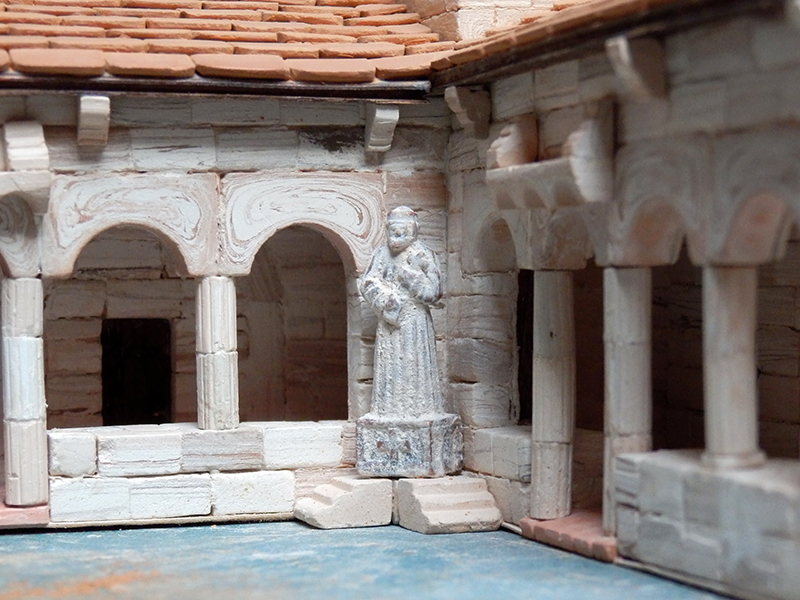
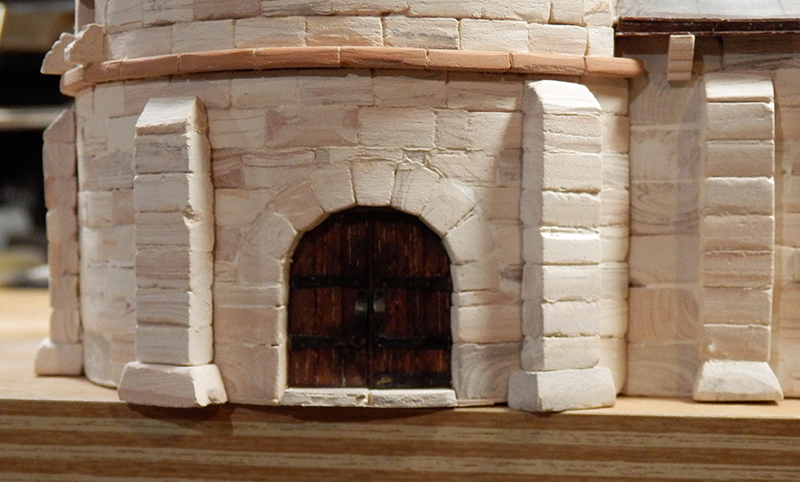
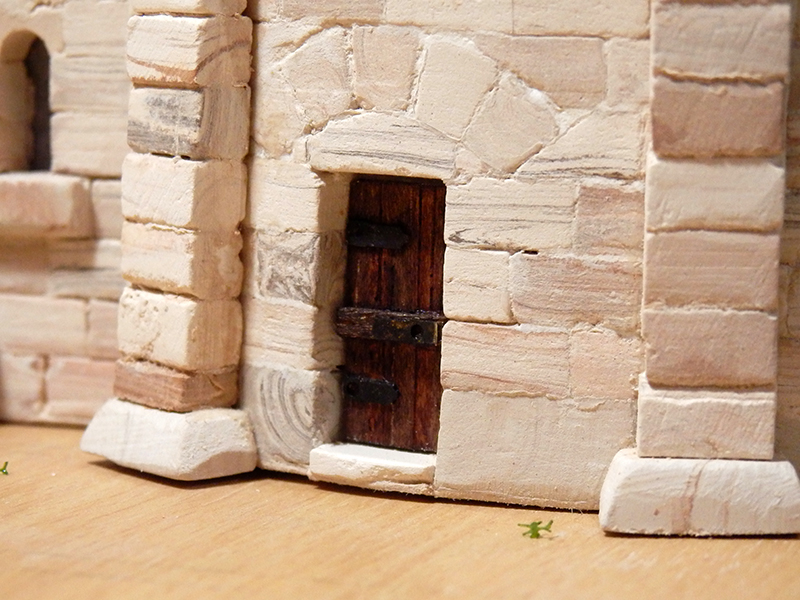
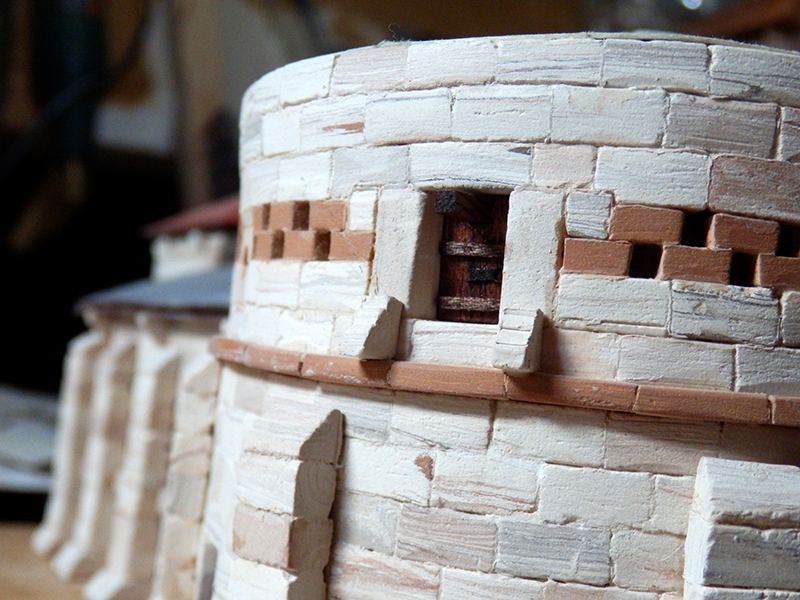
The zoom doesn't forgive anything !
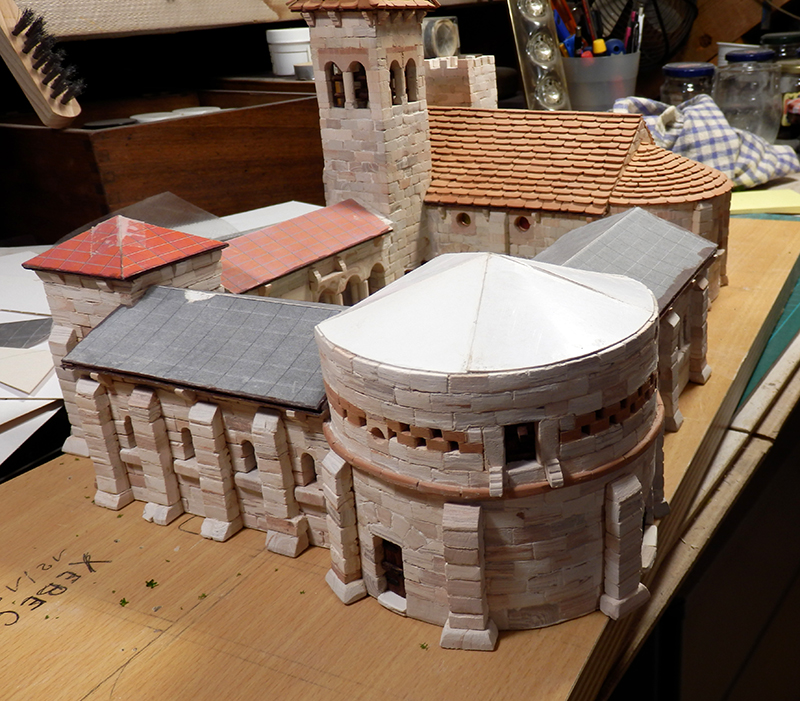
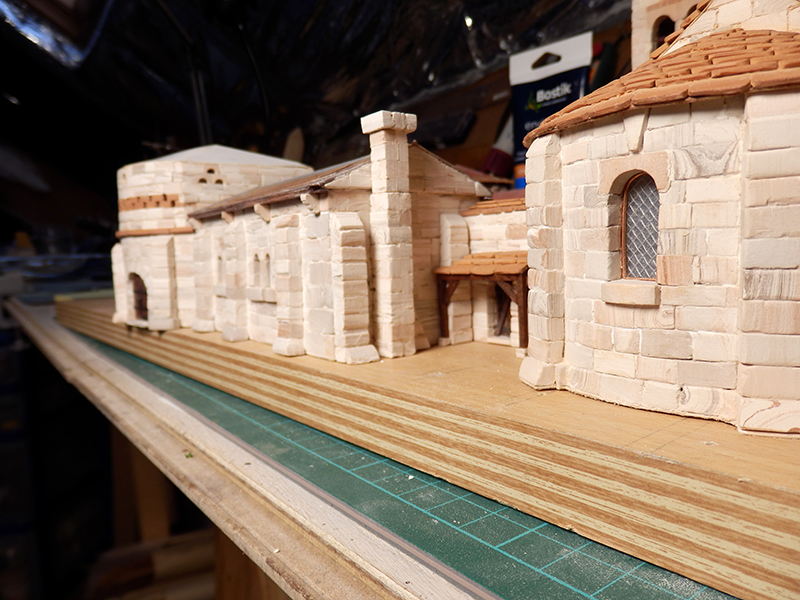
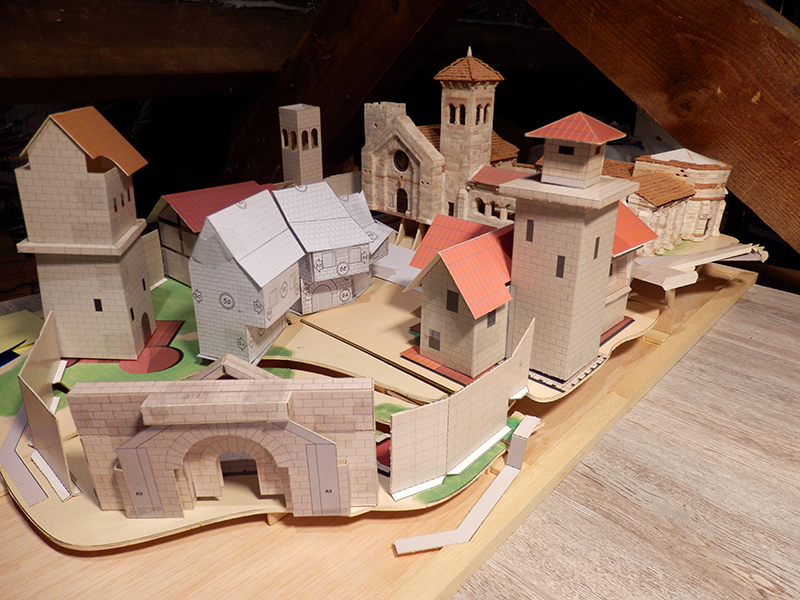
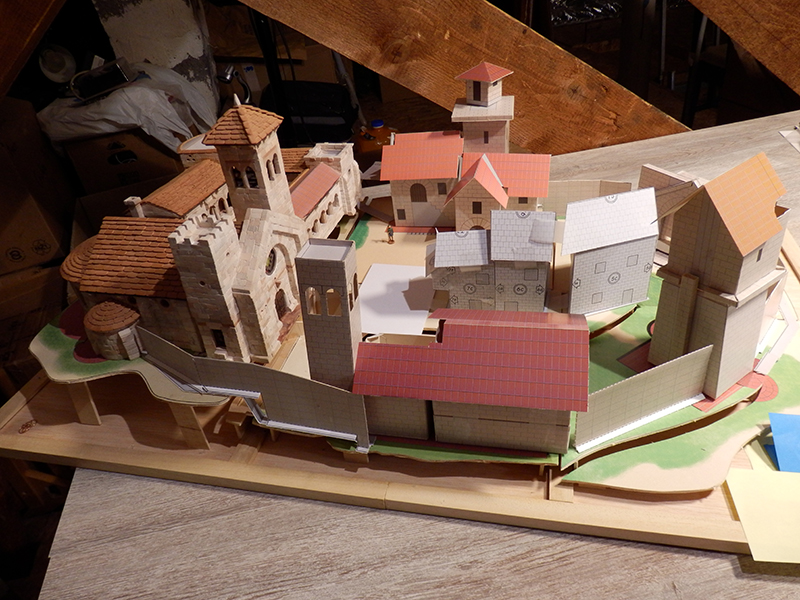
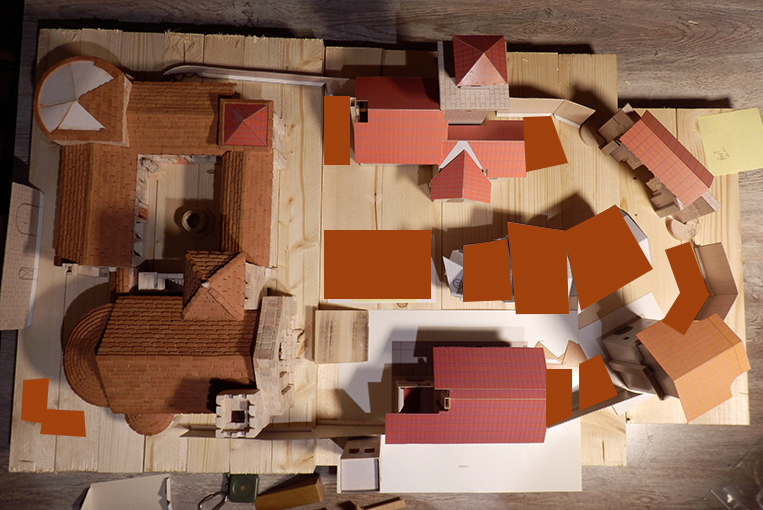
And other views of the final project:
The brown squares are additions to small buildings, halls and central houses.
Still a lot of stones and tiles to lay to have a real 14th century fortified town.
The statue of the cloister, formerly in bronze (and therefore anachronistic for a village), has regained a stone aspect (with a mixture of diluted glue and stone dust).
The zoom doesn't forgive anything !
And other views of the final project:
The brown squares are additions to small buildings, halls and central houses.
Still a lot of stones and tiles to lay to have a real 14th century fortified town.
Last edited:
Man..., if i wouldn't know it is model, in those close up views, it look like a real! Very impressed.
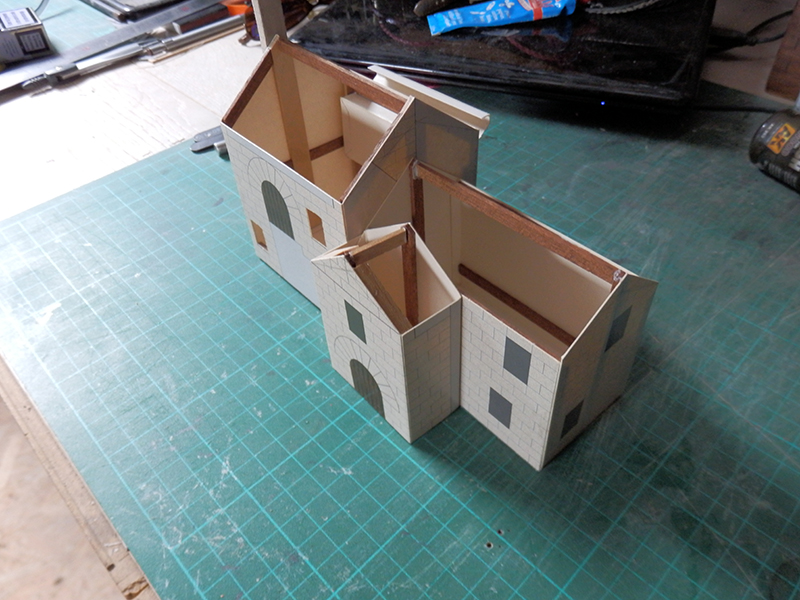
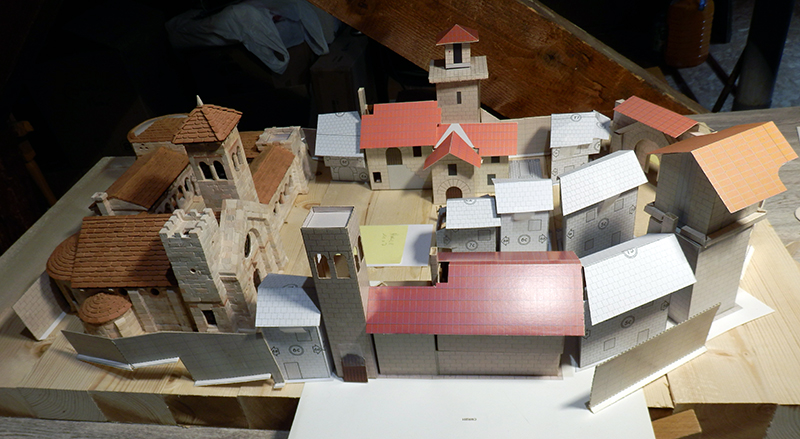
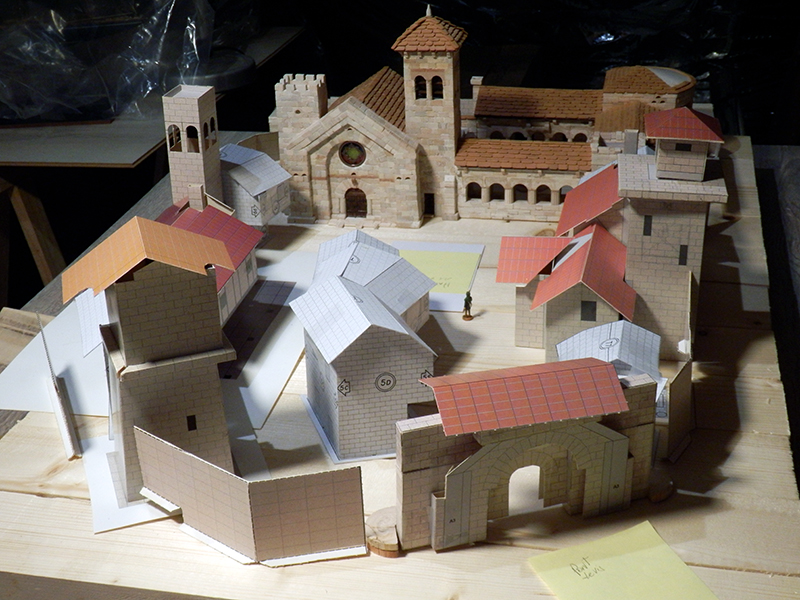
Ok, the final implantation will be this one.
The streets are narrow and logical, the buildings are tightly packed together as they were then, the constructions use the existing walls to lean on.
There will be some small annex buildings to be done in the end, but overall, it seems coherent to me.
I give up the difference in level, too complicated to manage!
The wall will surround the whole, with the exception of the back of the cloister, protected by the steep and inaccessible slopes.
The whole respects the separation into 3 parts of the village.
So, let's go for the next part...
- Joined
- Nov 29, 2019
- Messages
- 74
- Points
- 103
The more I watch this build the more fascinated I become - just out of interest, what are you using as "mortar"? - ie what glue are you using to stick the bricks & tiles etc together? Is everything natural stone colour or are you painting some/all of them? What are you gonna do with the streets - will you cobble them?
The more I watch this build the more fascinated I become - just out of interest, what are you using as "mortar"? - ie what glue are you using to stick the bricks & tiles etc together? Is everything natural stone colour or are you painting some/all of them? What are you gonna do with the streets - will you cobble them?
Thank you for your interest in this topic.
And to give you a quick answer:
- I use quick-setting wood glue to glue stones and tiles. Joints are made with fine putty (crack sealant) when necessary, but not evenly to keep a view on old walls.
- The stone is this colour, but I will age things a bit later with mould, moss and vegetation.
- Parts of both streets will be cobbled, yes. But other places will remain rough to show that the Middle Ages were not urbanized like today...

Very interesting build!