• SUBSCRIBE TO SHIPS IN SCALE TODAY!

    The beloved Ships in Scale Magazine is back and charting a new course for 2026!
    Discover new skills, new techniques, and new inspirations in every issue.

    NOTE THAT OUR NEXT ISSUE WILL BE July/August 2026
  • Win a Free Custom Engraved Brass Coin!!!
    As a way to introduce our brass coins to the community, we will raffle off a free coin during the month of August. Follow link ABOVE for instructions for entering.

Misticque, 1/36 - Build Log by Moreplovac

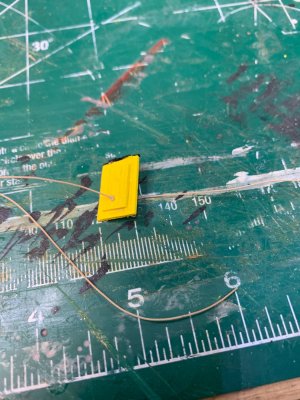
Ok so the process is like this; first i cut several ropes in 15cm length. Both ends of the rope are stiffed with a line of CA.
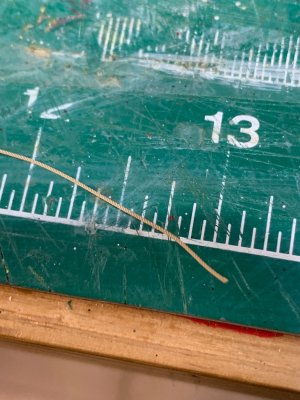
Mistique 524.jpg

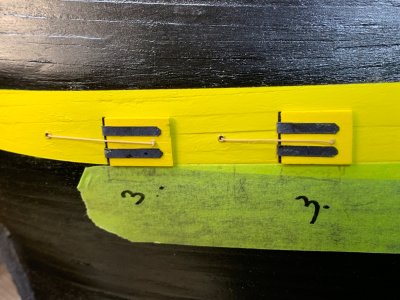
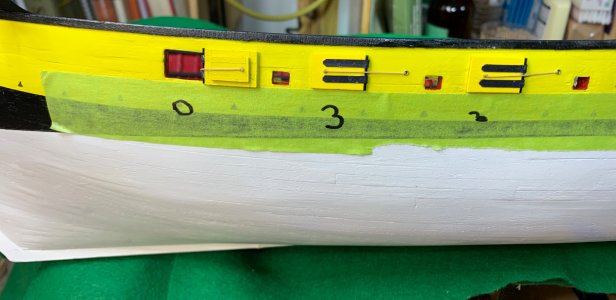
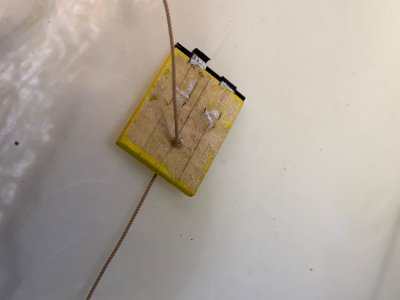
For lids that are just that, a lid, with no guns behind, last 2 towards the stern, I just run the rope for the outside of the lid. Inner rope side was glued to the hole, once rope was pulled thru the excess rope was cut.

Drag the rope thru the hole on lid...
Mistique 525.jpg

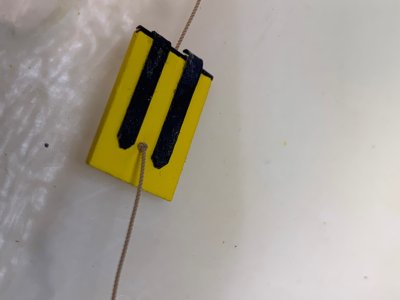
Re-glued the hinge leaves if they see them dividing like on the picture above.. this is because I used two sheets of paper, glued together so somewhere glue might not be applied.

Then apply a touch of CA to seal the opening and a rope. Light sand to make all flat.
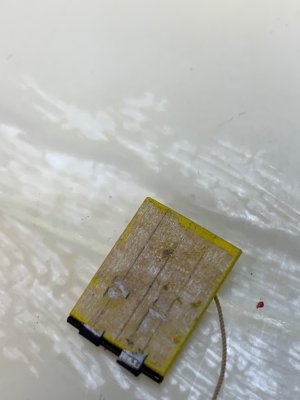
Mistique 526.jpg

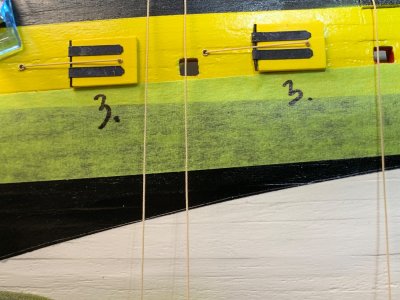
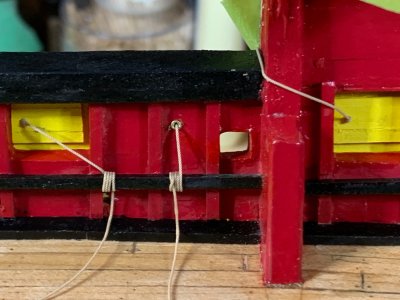
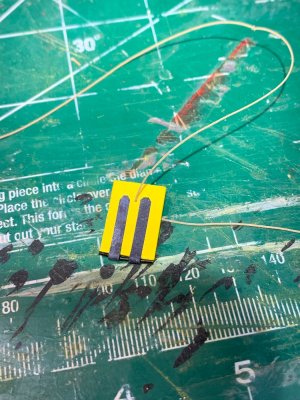
For the "real" lids, same process but with two knots, one either side of the lid..
Mistique 527.jpg

Mistique 528.jpg

Mistique 529.jpg

Finish with small drop of CA to seal the knot and rope.

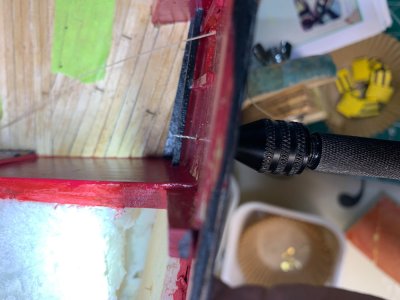
Since I had two rivets on both ends, I needed to make sure they are aligned. With cutting the rivets short, I might damaged the rivet and rope will not go thru easily. Fix is just to re-drill the hole, using hand drill and adequate bit size.
Mistique 530.jpg

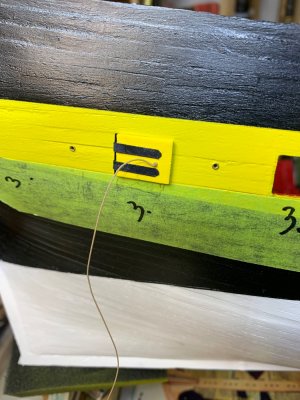
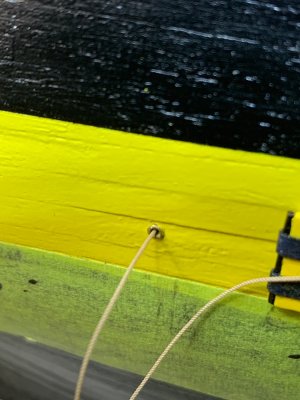
Now I will glue lids that will stay closed. I have some weird ideas for guns behind those lids... more to come..
Mistique 531.jpg

Mistique 532.jpg

Mistique 533.jpg

Mistique 534.jpg

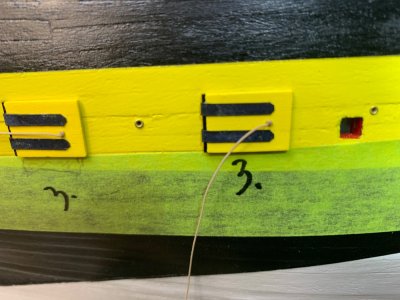
Two fake lids..

Mistique 535.jpg

Normal lids, with guns visible inside.

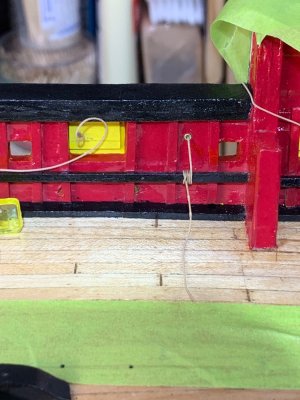
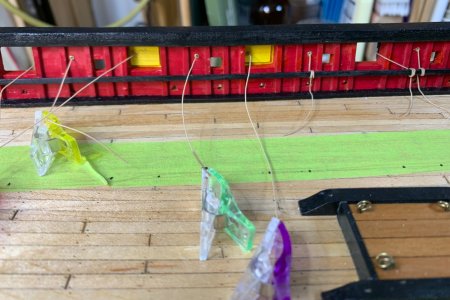
I used small clip to keep the rope straight so I can freeze it with a drop of CA, on the rivet exit and enter sides.
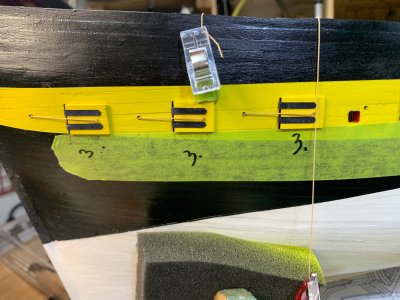
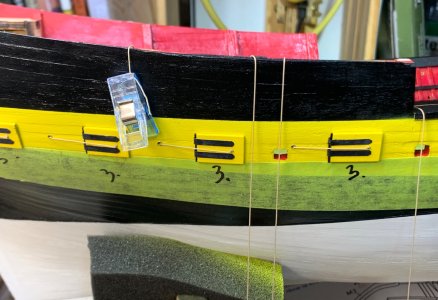
Mistique 536.jpg

Mistique 5367jpg.jpg

Mistique 538.jpg

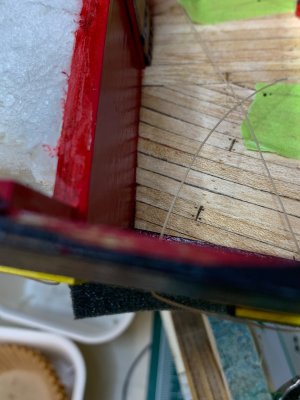
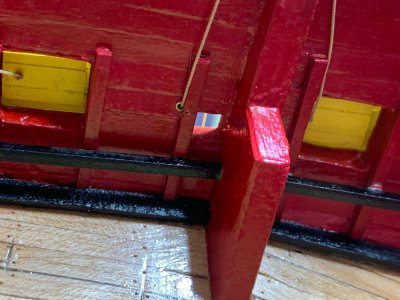
Let see how it looks from the inside...
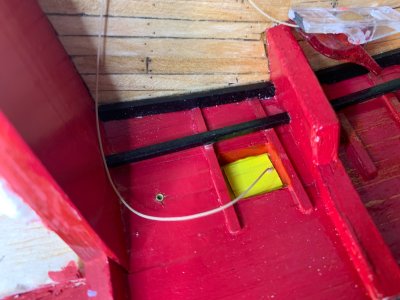
Mistique 539.jpgMistique 540.jpg

I will work on few more lids that will stay closed and than with work on tightening ropes nicely on inner bulwark.
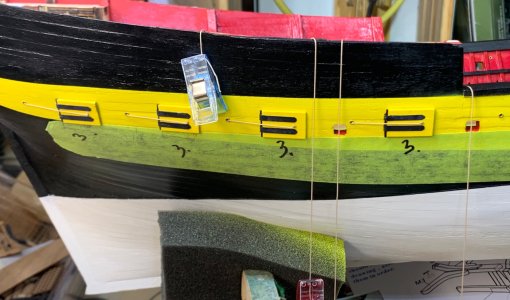
Mistique 541.jpg

Happy modelling..
 
Continue my journey with lid ropes. trying to find the best position for them.... not to be on the way of gun rigging...

Mistique 543.jpg

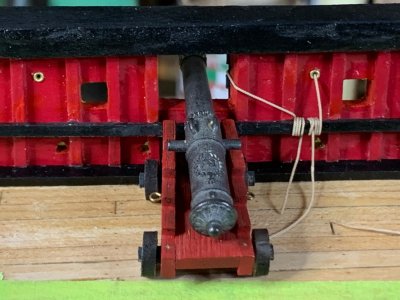
Some of my guns will stay fixed, out of an action and few will be in fire ready mode, which might not be historically correct but want to show different ways of guns positions on the ship...

Mistique 544.jpg

This is when the gun is firing and lids are in open stage, run out..

Mistique 545.jpg
and this is when guns are housed (gun is still missing)...

Mistique 546.jpg

Happy modelling..
 
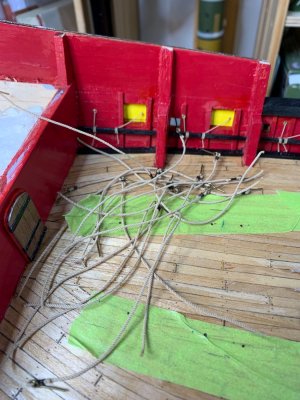
All gun lids were mounted in open or close position and lid ropes were pulled thru.

Mistique 549.jpg

Mistique 547.jpg

Mistique 548.jpg

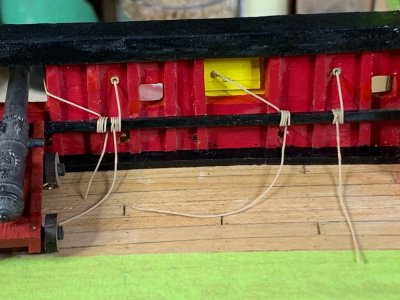
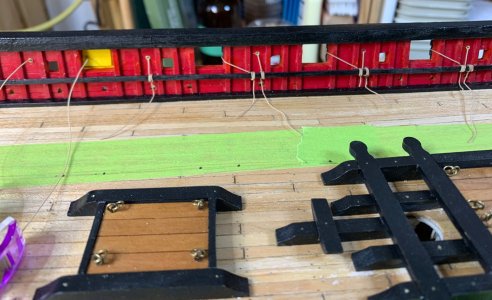
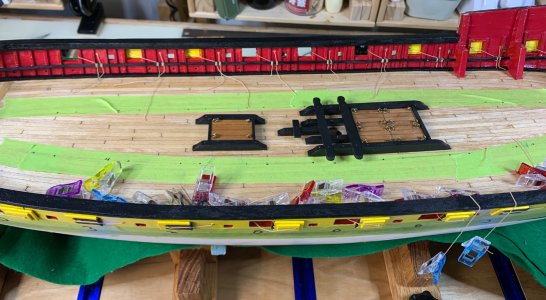
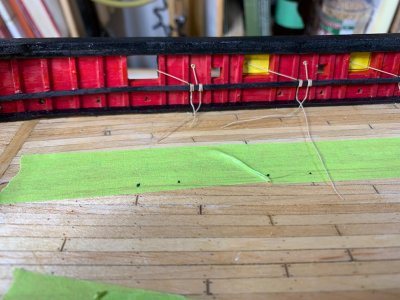
Then I started to tight all those gun lid ropes to the ship hull..

Mistique 550.jpg

Mistique 551.jpg

Mistique 552.jpg

The ropes were run around three times and freeze up with a drop of CA glue. Continue to all ropes and then will start with gun rigging... fun part.

Happy modelling...
 
Thanks Grant, yeah. it is very nice looking model... never done airbrush on wood at this scale so it was nice experiment and learning curve.. The biggest challenge with this kit is lack of instructions, which sometimes does not necessary introduce a problem; rather a solution in the form of your own personal artistic approach. Emphasis is on "personal".
I do have another brand, same ship but in a smaller scale which might come next... for a friend of mine.

Cheers
 
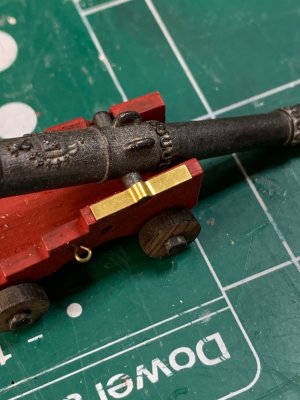
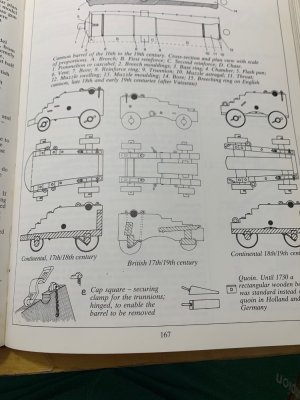
Working on gun capsquares.

Mistique 557.jpg

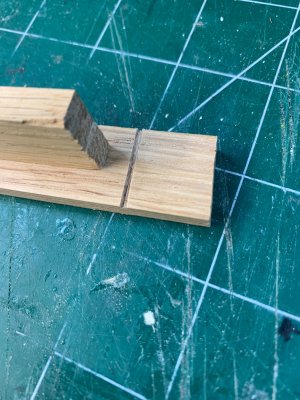
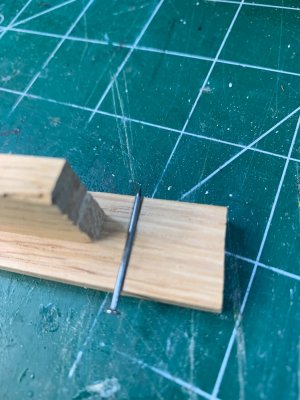
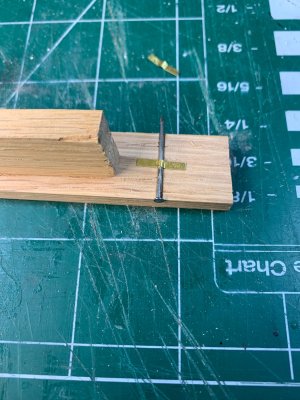
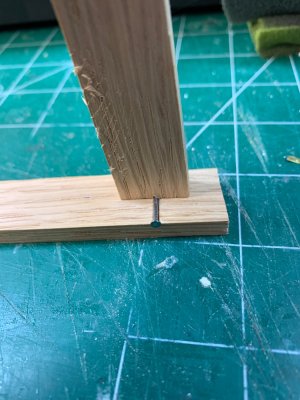
For this I made a simple stamping device... the groove was made in the scrap piece of oak, which will be used to hold the nail whose diameter is half the diameter of the capsquare (sorry not quite sure about correct terms)... On the stamping part, I also made a half groove and this will be used to curve the piece of metal. Light kick with a hammer will make required curvature...


Mistique 555.jpg

Mistique 554.jpg

The nail was fixed with few drops of CA.

Here is a first prototype...

Mistique 558.jpg
Mistique 556.jpg
OK, so 43 to go.

Happy modelling..

 
Last edited:
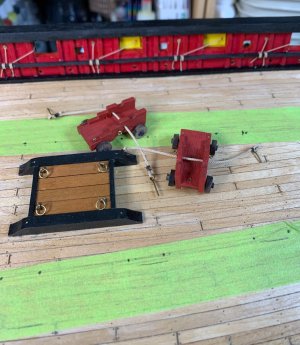
Now I am done with stamping the metal parts, just blackening later in the process and started to work on carriage rigging. For this I decided not to use kit provided ropes but instead third party. Ropes from kit are fairly low quality and personally it does not make sense putting so much time, money and customization into kit to be finished with low quality rigging, which is the most visible part of a model. Maybe in the near future I master the skills of making my own rope but for now, some online purchased ropes were used.

End result..

Mistique 574.jpg

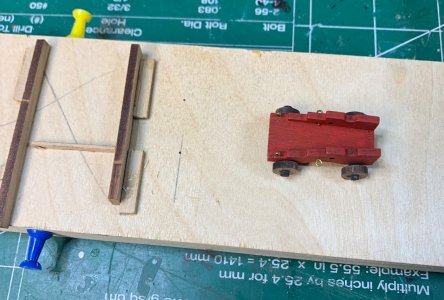
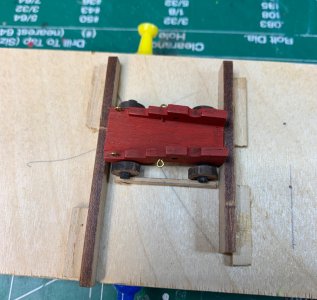
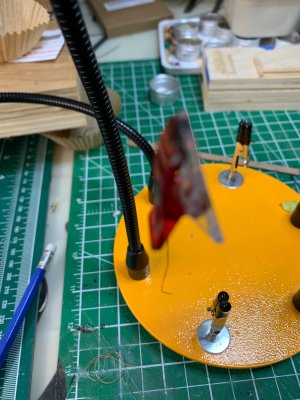
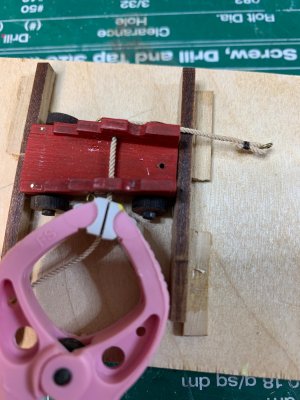
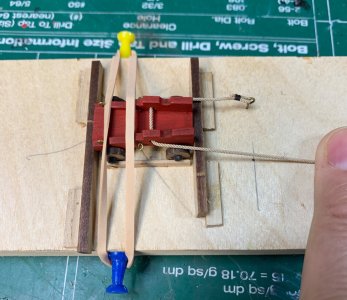
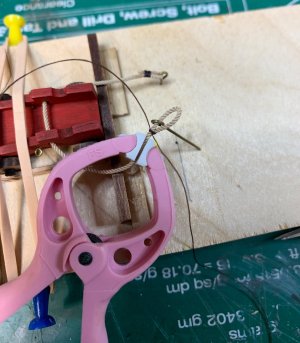
How did I get here? First I build a small jig that will assist keeping carriage fixed while working on rigging.

Mistique 559.jpg

Mistique 560.jpg

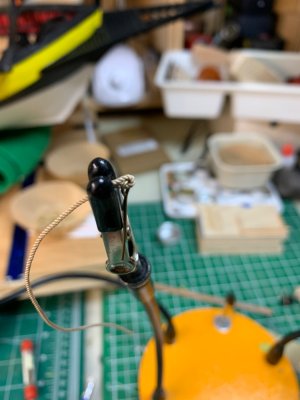
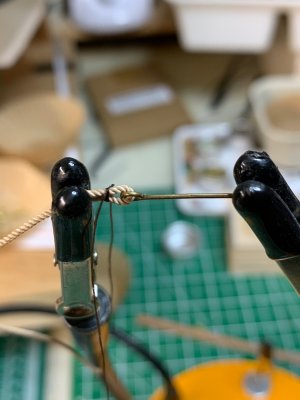
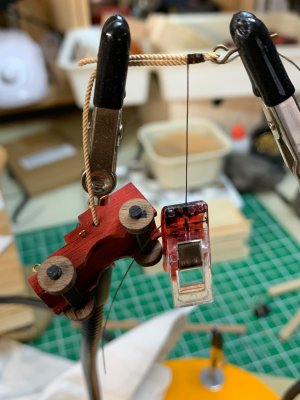
Then I cut all ropes in correct length and add an eyebolt on one end of the rope. Rope with eyebolt was put in helping hands..

Mistique 567.jpg

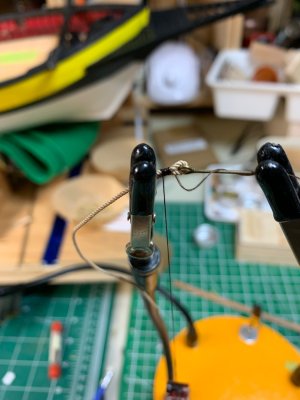
.. seizing was put around it...

Mistique 564.jpg

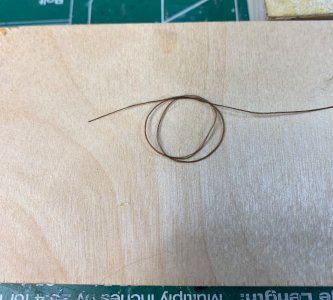
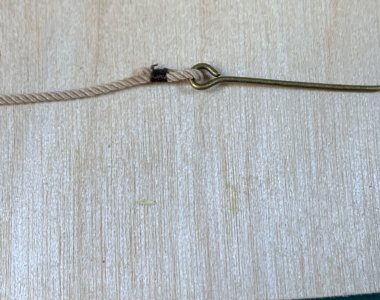
... I used polyester rope in darker colour than rigging rope since I like seizing to be visible. Poliester rope get tendency to split when cut so I put a small drop of CA on area were cut will be applied. It is clearly visible where cut was done. I do not care too much about split rope since seizing will make sure no hair is sticking out and a drop of CA will keep all in place.

Then I run excess seizing rope 5 times around the tan rope, and use a small clothespin as a weight, pulling one seizing rope side down..

Mistique 568.jpg

Mistique 570.jpg

Mistique 569.jpg

End result...

Mistique 571.jpg

Then the loose tan rope end was drag thru the carriage..

Mistique 572.jpg

Mistique 561.jpg

Mistique 562.jpg

Mistique 563.jpg

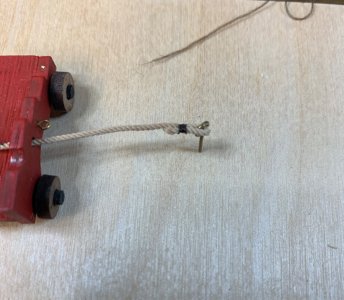
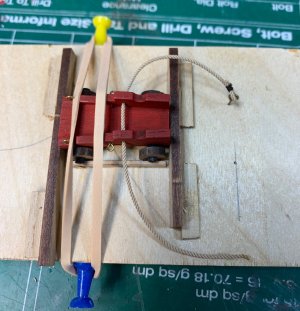
Another eyebolt installed with the same process when it comes to seizing..

Mistique 565.jpg

Mistique 566.jpg

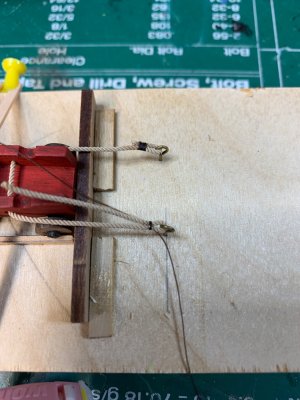
Once the tan rope was pull back towards the carriage so it stay tight, the seizing was applied, glued, and second eyebolt was moved to helping hand, assisting with 5 rounds of seizing rope around and drop of CA to freeze the seizing. Again, small clothespin was used to assist. End result..

Mistique 573.jpg

Happy modelling...
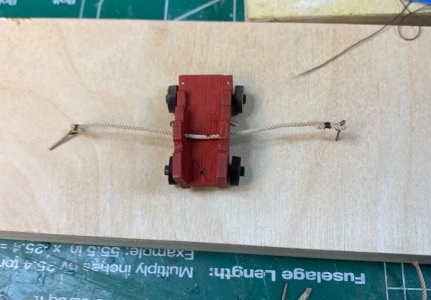
 
Your seizing looks wonderful, but I’ve never seen breeching ropes run through the carriage like that. They usually run through an eyebolt on either side of the carriage and wrap around the corbel of the gun.
 
Your seizing looks wonderful, but I’ve never seen breeching ropes run through the carriage like that. They usually run through an eyebolt on either side of the carriage and wrap around the corbel of the gun.
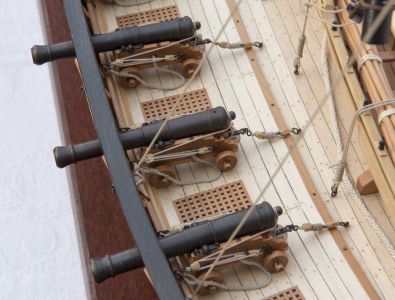
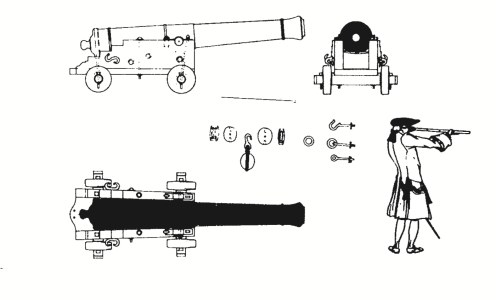
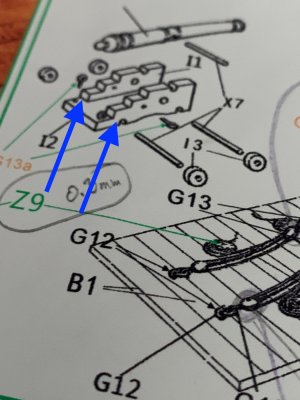
Yes, you are correct, this fancy ship is a bit weird... Here is what I will be aiming for..

Screenshot 2026-07-15 at 14.18.06.png
 
If I could, gentlemen... it was common for the French (and a few other nations) to run the breech rope through the carriage - it was an English (and American) practice to rig the guns through eyebolts and around the corbel on the barrel. Having now shared this, keep in mind that my wife assures me that I am often wrong...about most everything... :).
 
Back
Top