• Ships of Scale has incorportated an extra level of security when you log In. Please follow on-screen prompts to acknowledge that you are not a robot via a "Check Box" or a "Pictorial Check Box Puzzle". This is needed due to higher level of AI Activity Security.
  • SUBSCRIBE TO SHIPS IN SCALE TODAY!

    The beloved Ships in Scale Magazine is back and charting a new course for 2026!
    Discover new skills, new techniques, and new inspirations in every issue.

    NOTE THAT OUR NEXT ISSUE WILL BE July/August 2026
  • Win a Free Custom Engraved Brass Coin!!!
    As a way to introduce our brass coins to the community, we will raffle off a free coin during the month of August. Follow link ABOVE for instructions for entering.

Misticque, 1/36 - Build Log by Moreplovac

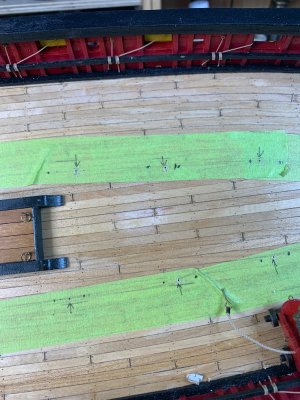
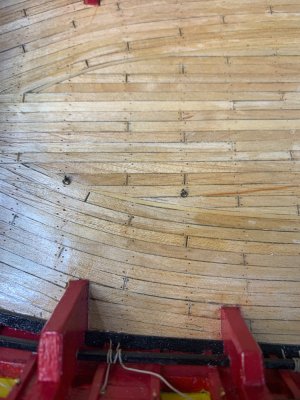
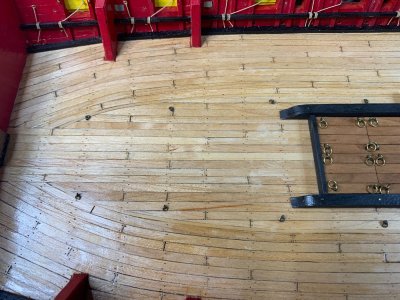
Holes were drilled into deck that will hold eyebolts for gun rigging..

Mistique 699.jpg

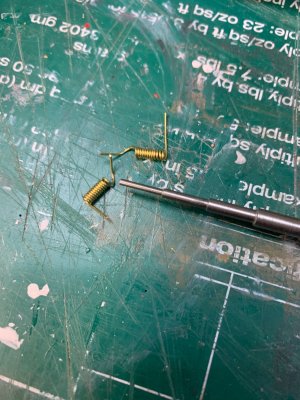
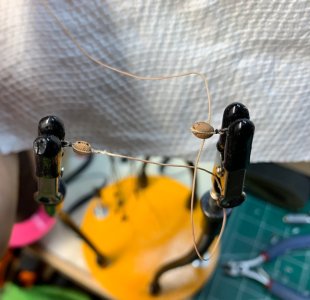
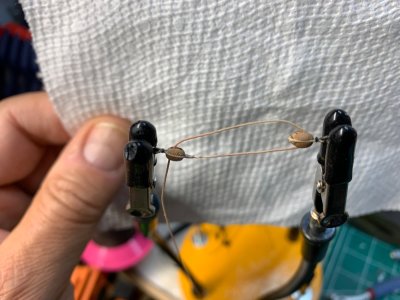
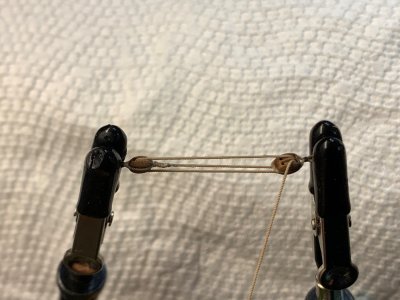
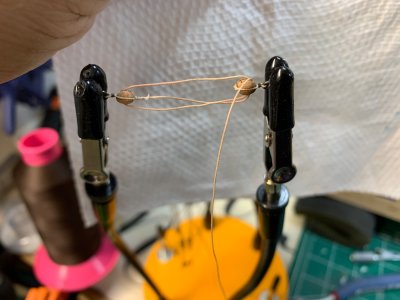
Then eyebolt making process start; I already had some tasks done but now I was making rings.. a wire twisted around the rod and rings cut out.

Mistique 700.jpg

Then mounted together...

Mistique 701.jpg

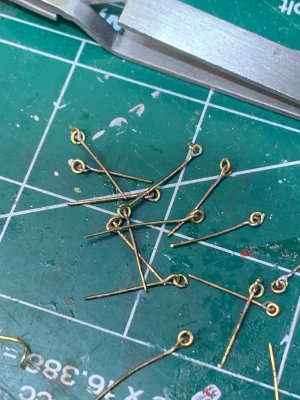
First alcohol bath to remove soldering paste and other garbage.. thought I might need some "internal wash" as well but unfortunately this alcohol is only for outside usage.

Mistique 702.jpg

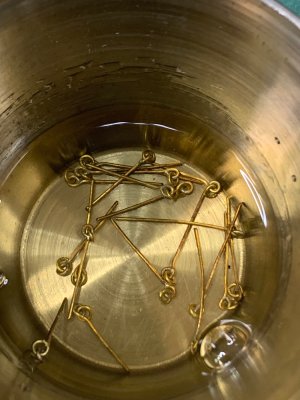
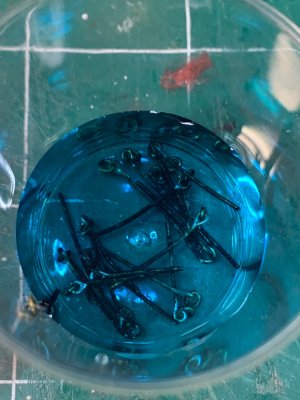
Then bath in blackening solution..

Mistique 703.jpg

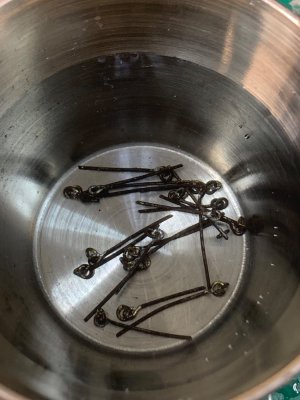
Water rinsing up..

Mistique 704.jpg

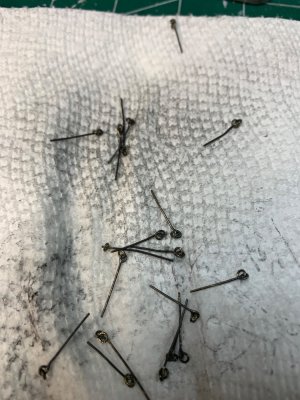
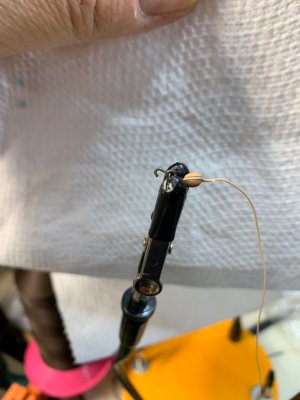
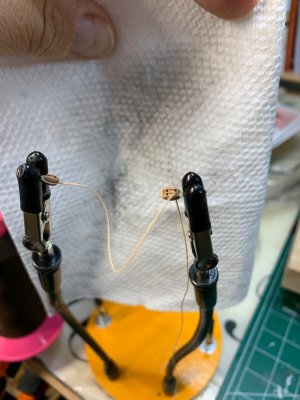
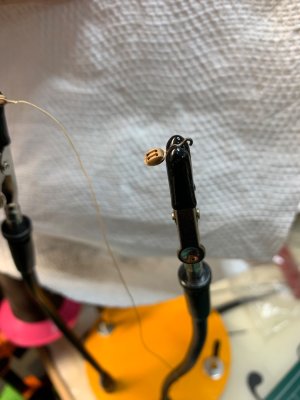
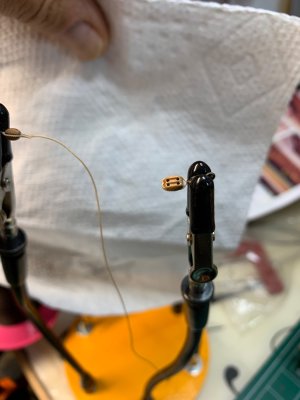
Drying on the paper towel and dry brushing to put some shine on them..

Mistique 705.jpg

Then the hole is received a drop of CA and an eyebolt..

Mistique 706.jpg

Mistique 707.jpg

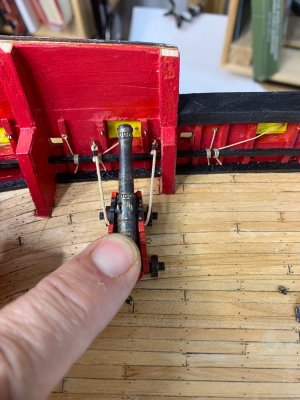
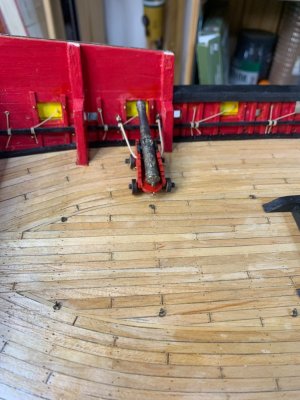
Could not resist not to test gun fitting...

Mistique 708.jpg

Mistique 709.jpg

Continue with other rigging tasks..

Happy modelling..
 
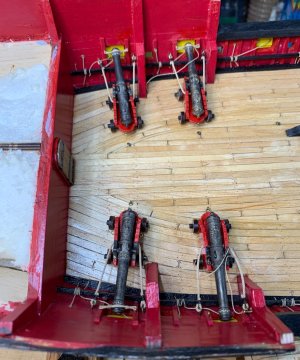
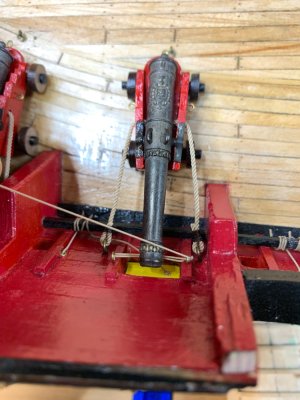
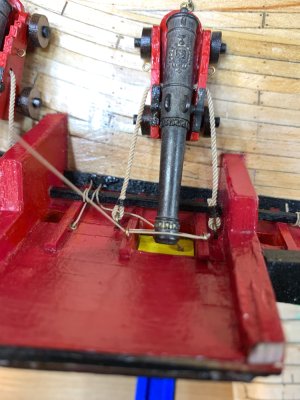
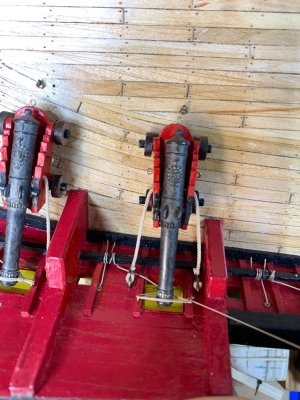
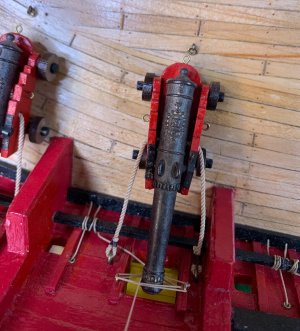
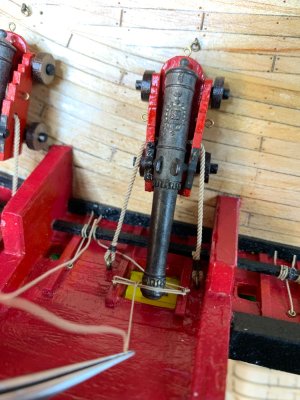
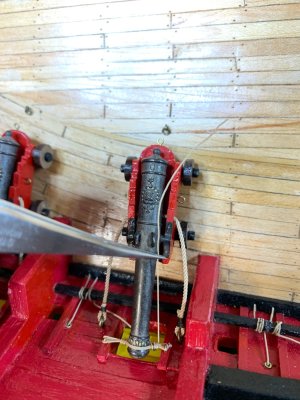
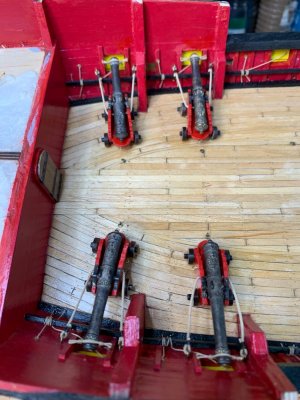
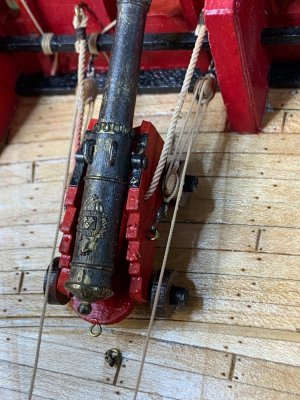
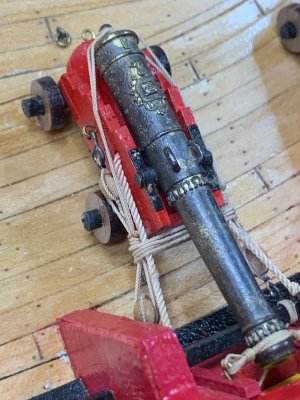
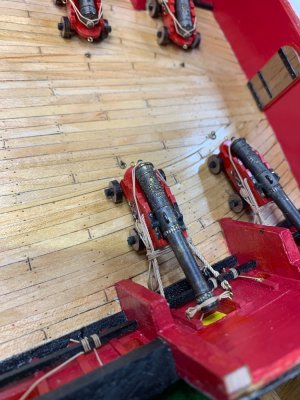
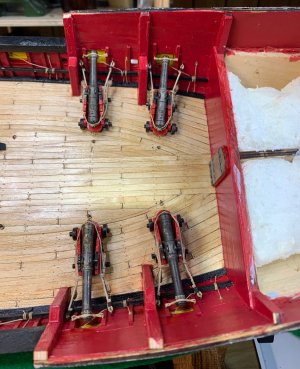
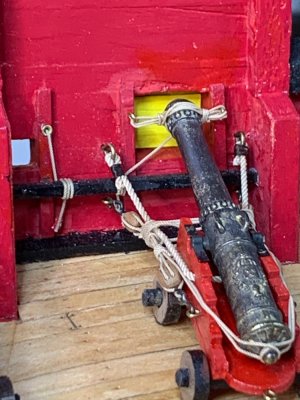
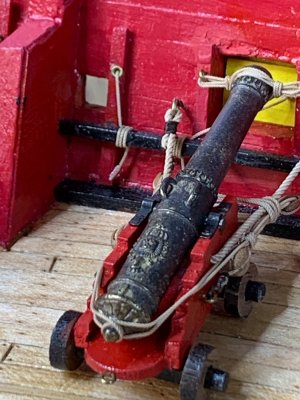
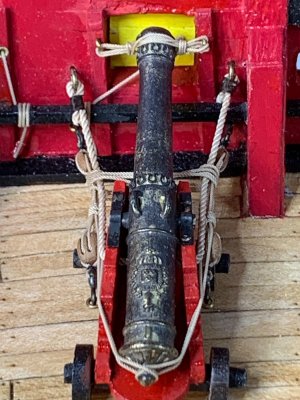
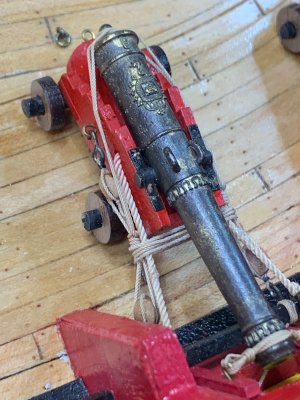
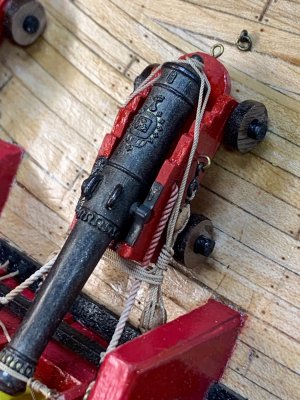
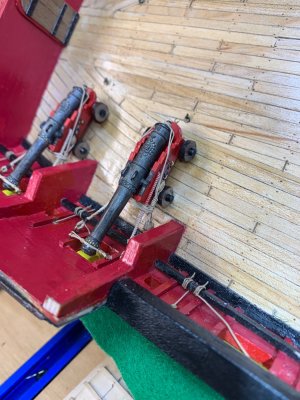
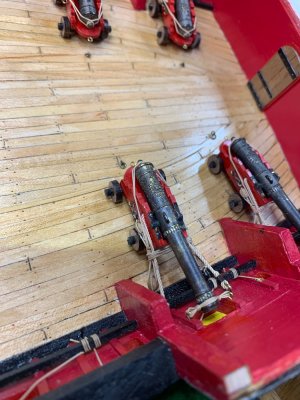
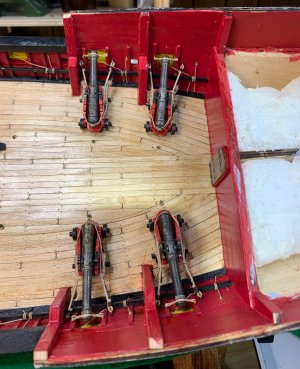
These four guns, that are not visible and located under the upper deck, I decided to secure them in the way they have done this task back in days 18th century. Searching thru some available documents explaining how guns should be stored while not in use, I located few different ways and decided to go with French version with some small modifications. Why modification? I was not able to locate any better picture of how guns should be secured, showing rope positions etc. so I ended up doing it in slightly modified way but the main idea is there..

But first things first... these gun tackle will be needed in next step.

Mistique 725.jpg

.jpg

Mistique 727.jpg

Mistique 726.jpg

This is done for all guns, two per gun.

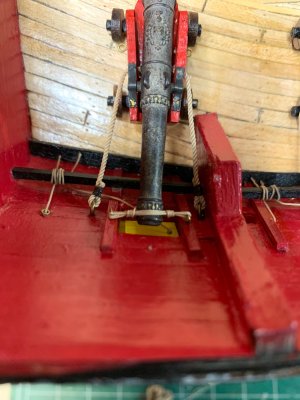
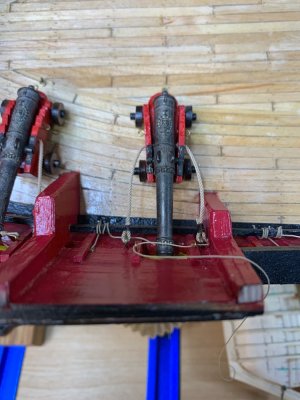
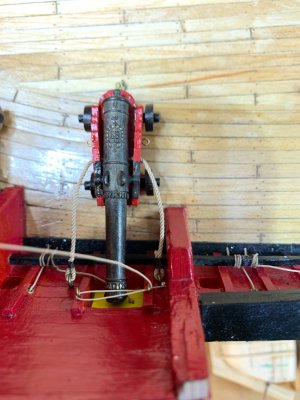
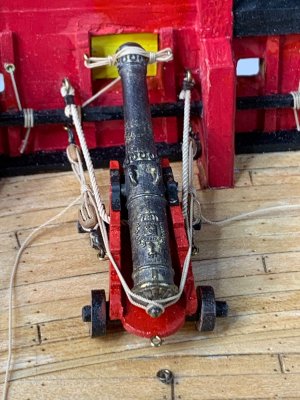
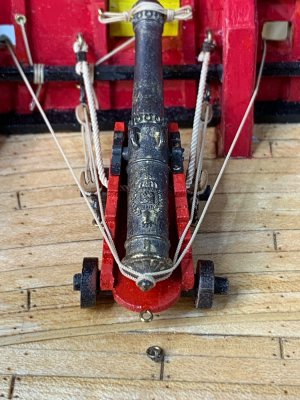
So let's secure that gun. The end result is like this:

Mistique 711.jpg

Lets work on the last gun left.

Mistique 710.jpg

First I started with small knot on one side.. Then run the rope thru other ring two times....

Mistique 712.jpg

Mistique 713.jpg

The tick rope visible towards the bottom is for gun lid...not important there..


Mistique 714.jpg

Once I have two lines created, a put them under the gun..

.jpg

Then next step was to run two runs above the gun...

Mistique 716.jpg

Mistique 717.jpg

Then the rope was pulled under the gun one more time, with intention to make few twists around the ropes..

Mistique 718.jpg

Mistique 719.jpg

Mistique 720.jpg

After three runs I brought the rope under the gun again but to the other side... Here you can secure this completed side with a small ca drop.

Mistique 721.jpg

Few runs arround..

Mistique 722.jpg

Mistique 723.jpg

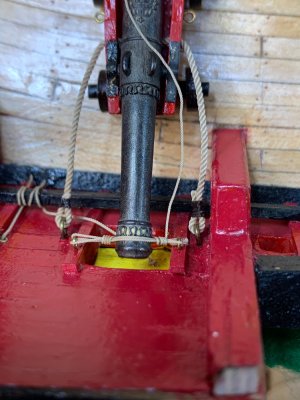
Then just tiny drop of CA to freeze all assembly and excess rope was cut.

And here we are for all four guns..

Misticque 724.jpg

Happy modelling..
 
Last edited:
The mistake was made and pointed out by our friendly member GrantTyler and corrected. Thank you Grant, much appreciated.

I will correct this post as assembly progresses, but the main idea will stay the same. The correct way is double block to bulwark. I was able to salvage all tackles with a help of acetone and reused them once they were cleaned.


Mistique 743.jpg

Mistique 744.jpg

Mistique 745.jpg

Mistique 746.jpg

The tackle is in place on the carriage...

Mistique 742.jpg

I will keep updating pictures on this post shortly. All steps will remain the same, just double block will be fitted correctly.. For now, pls ignore pictures where double block is at the gun carriage until I post correct one.

Mistique 752.jpg


Mistique 753.jpg


Mistique 747.jpg


Mistique 751.jpg


Mistique 750.jpg

Mistique 749.jpg


I have uploaded pictures with correct block positioning but the tweezer' exercise will be the same so will leave all bellow pictures for rope pulling procedures. Just pls have on mind that single block needs to be at the carriage side.

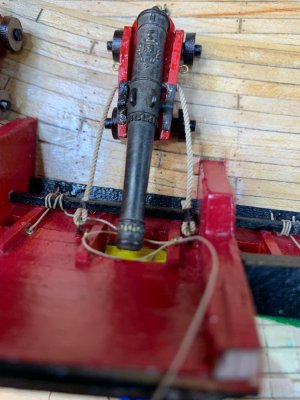
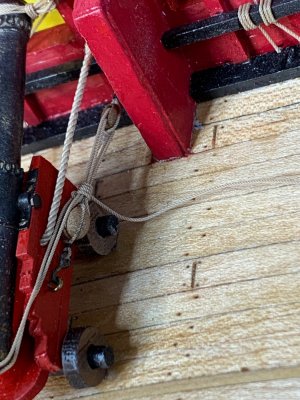
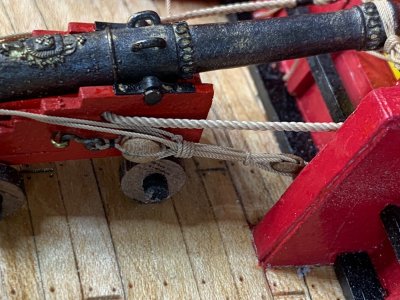
The excess rope was twisted around cascabel (or pommelion)


Mistique 732B.jpg

.. and brought forward a bit to make it ready for a final stage...

Mistique 733.jpg

The other side received the same treatment...


Mistique 737.jpg

Here I used crocodile clips to keep the rope tight..

Mistique 738.jpg

Then the excess rope was rounded around gun tackle and breeching in some form of quadrant shape that will hold gun tackles and breeching ropes on both side, making a frapping..

Mistique 739.jpg

Mistique 740.jpg

Mistique 741.jpg

That is it for today... 17 guns more to go :)

Happy modelling.
 
Last edited:
The tackle is in place on the carriage...

View attachment 632675

View attachment 632674

The excess rope was twisted around cascabel (or pommelion)

View attachment 632673

then brought back ... to make few runs around..

View attachment 632672

View attachment 632670

.. and brought forward a bit to make it ready for a final stage...

View attachment 632671

The other side received the same treatment...

View attachment 632669

View attachment 632667

View attachment 632666

View attachment 632666

Here I used crocodile clips to keep the rope tight..

View attachment 632665

Then the excess rope was rounded around gun tackle and breeching in some form of quadrant shape that will hold gun tackles and breeching ropes on both side, making a frapping..

View attachment 632664

View attachment 632663

View attachment 632662

That is it for today... 17 guns more to go :)

Happy modelling.
Details make the model- bravo. Cheers Grant. On the tackle I know British cannon have the double block hooking onto the bulwark and single block to the cannon? Maybe the French invert, I’m not sure- maybe check this out before all 17 are done. Cheers Grant
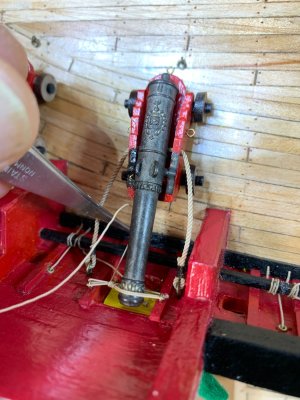
 
Details make the model- bravo. Cheers Grant. On the tackle I know British cannon have the double block hooking onto the bulwark and single block to the cannon? Maybe the French invert, I’m not sure- maybe check this out before all 17 are done. Cheers Grant
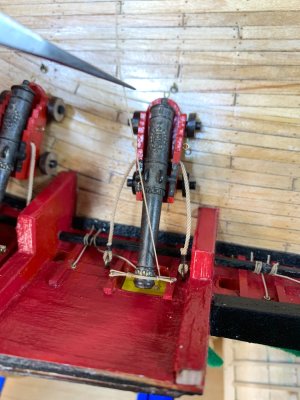
I thought I have it correct but now you make me think... let me doublecheck...

Thanks for pointing that out... I must have been to excited :) or that cleaning alcohol did its job...

Cheers
 
The tackle is in place on the carriage...

View attachment 632675

View attachment 632674

The excess rope was twisted around cascabel (or pommelion)

View attachment 632673

then brought back ... to make few runs around..

View attachment 632672

View attachment 632670

.. and brought forward a bit to make it ready for a final stage...

View attachment 632671

The other side received the same treatment...

View attachment 632669

View attachment 632667

View attachment 632666

View attachment 632666

Here I used crocodile clips to keep the rope tight..

View attachment 632665

Then the excess rope was rounded around gun tackle and breeching in some form of quadrant shape that will hold gun tackles and breeching ropes on both side, making a frapping..
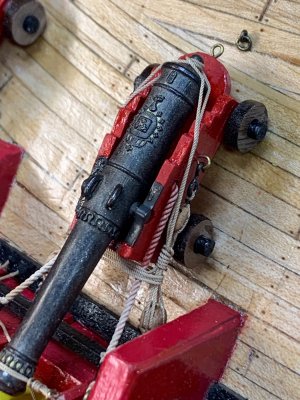
View attachment 632664
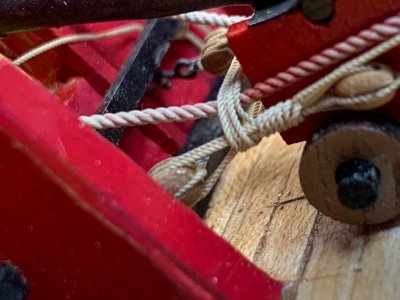
View attachment 632663
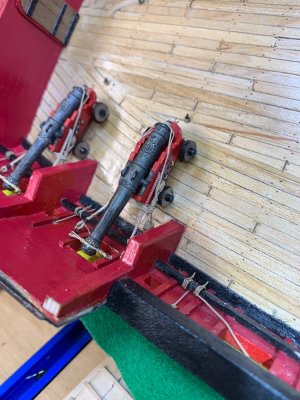
View attachment 632662

That is it for today... 17 guns more to go :)

Happy modelling.
So much to be admired in your build and the way you present. -- Apologies I may have missed it earlier on but are those 'Ropes of Scale or home made?'
 
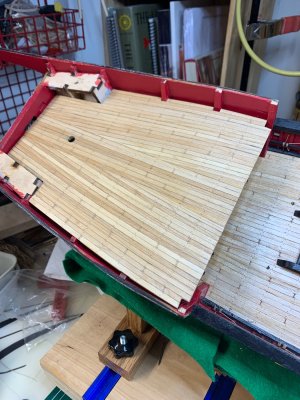
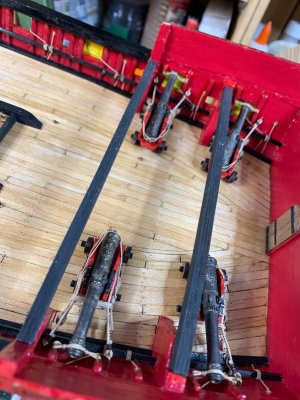
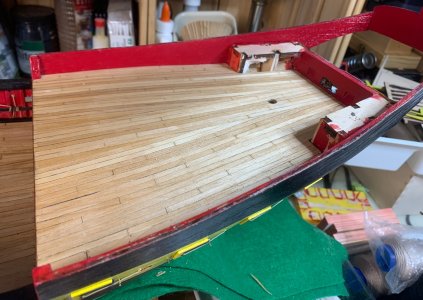
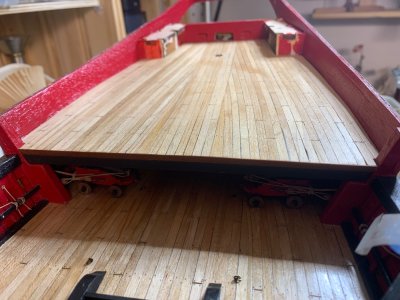
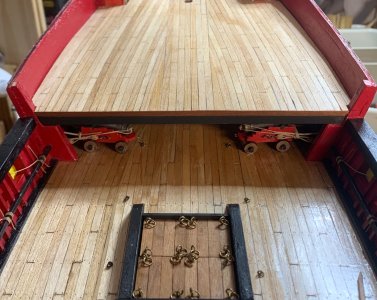
The upper deck was shaped and attached to the ship. The upper deck is so close to the guns, wondering how tall those sailors might have been, bet basketball was not popular back in days :)

Mistique 710.jpg

Mistique 711.jpg

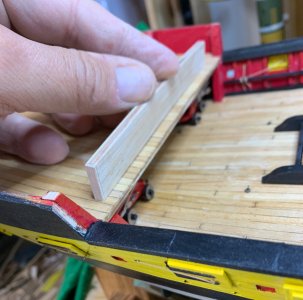
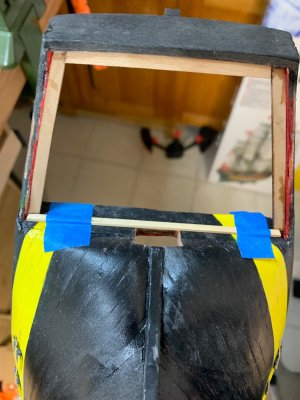
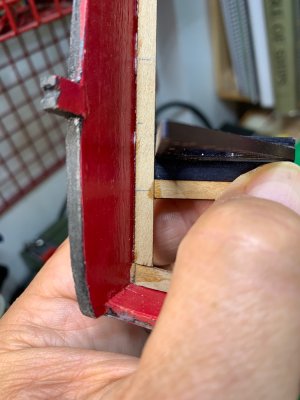
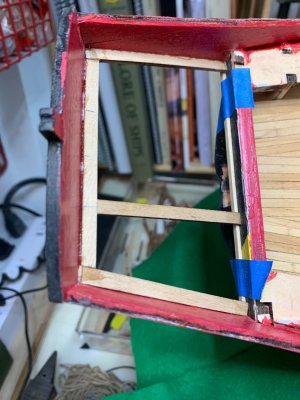
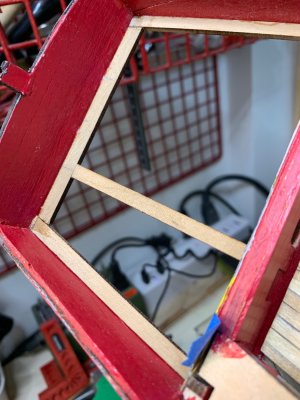
Then next one is, I would call it upper deck bulwark (if anyone is aware of correct term pls let me know).

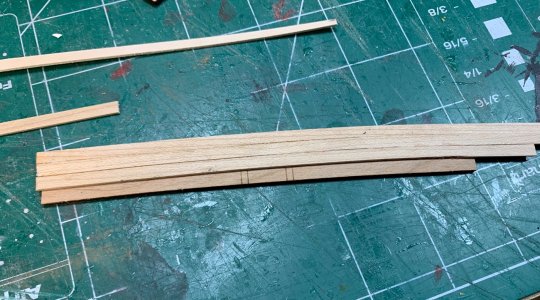
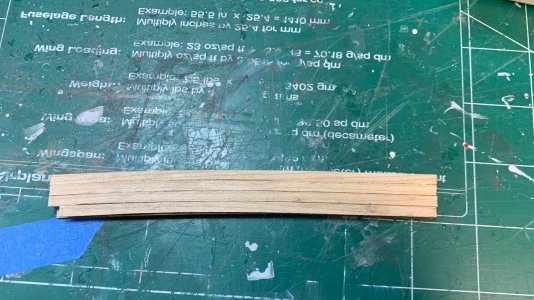
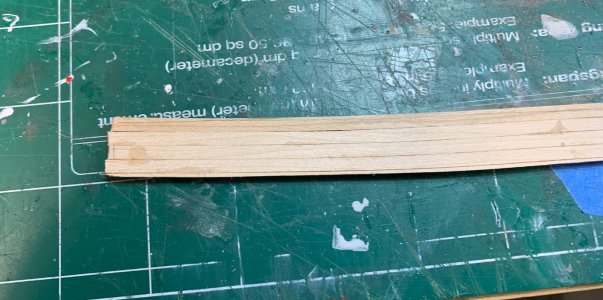
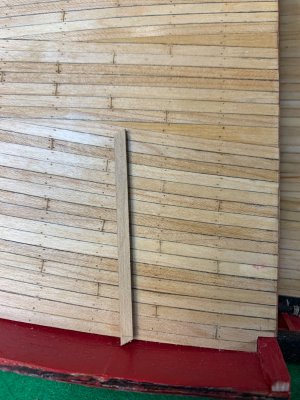
I wanted to cover it in planking since it looks very dull with just a plywood..

Mistique 712.jpg

Mistique 713.jpg

Mistique 714.jpg

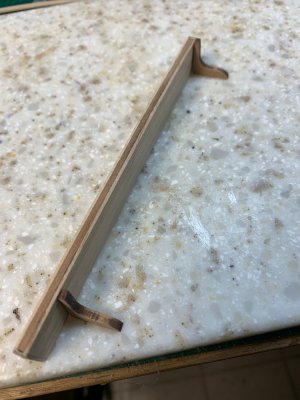
The edges were cut and sanded and the last pieces, kind of cover were applied at the ends.

Mistique 715.jpg

Now scrapping takes place..

Mistique 716.jpg

A bit of a testing..

Mistique 717.jpg

Knees were there just for fitting test..

Mistique 718.jpg

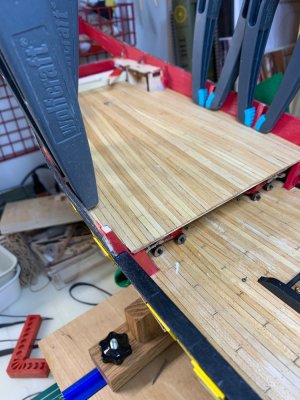
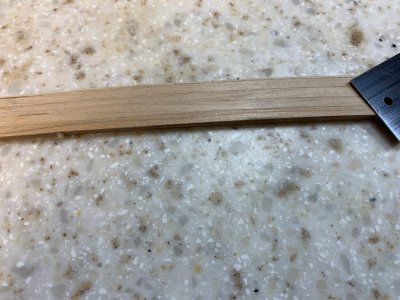
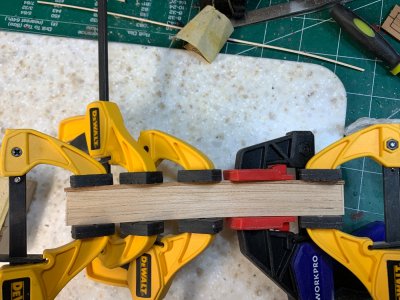
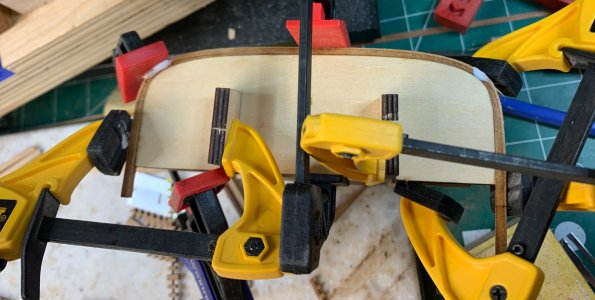
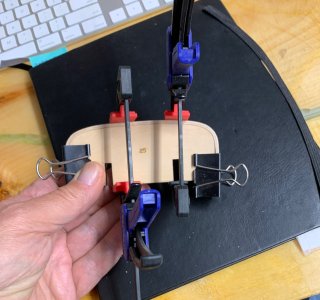
Than railing was fitted and glued.. left overnight under pressure...

Mistique 719.jpg

Final sanding and oil protection will be applied later..

Happy modelling..
 
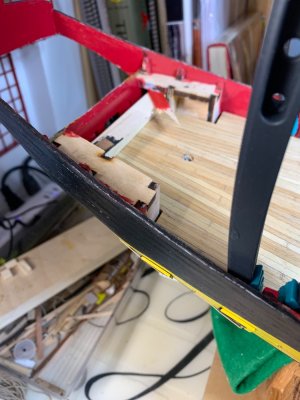
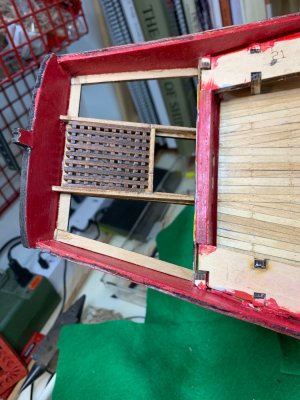
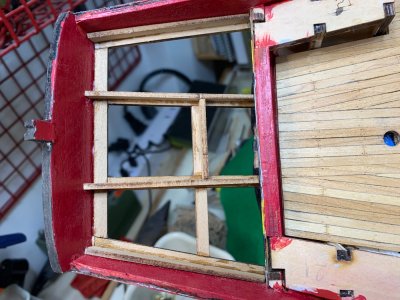
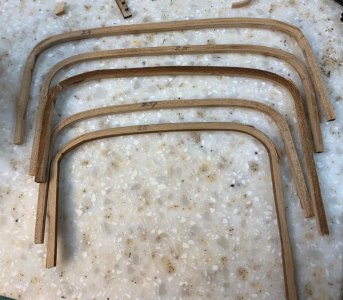
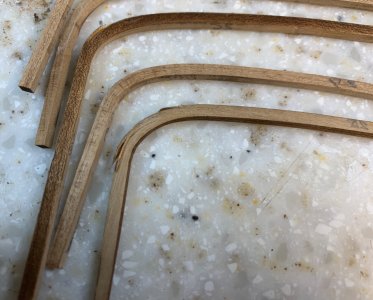
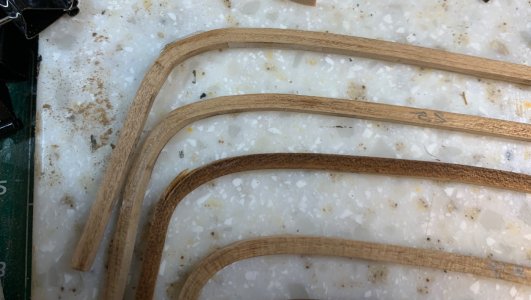
The work on upper deck continue and few mistakes were corrected. Also supporting beams were put in place. Make sure you turn the numbered side of those towards the rudder as the numbers were impeded into the wood, not sure why, otherwise you will be able to see plan number 13-I all the time.

Mistique 725.jpg

Mistique 723.jpg

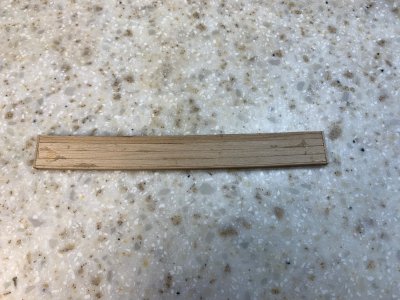
In front of the deck I put a layer of tiny veneer to cover bad looking plywood.

Mistique 722.jpg

Mistique 721.jpg

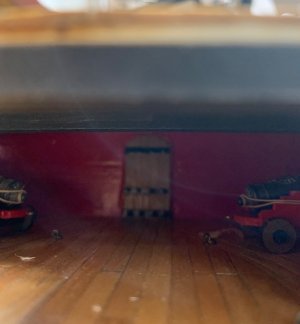
Peak under the deck..

Mistique 724.jpg

Happy modelling..
 
Last edited:
Back
Top