Model Airways Sopwith Camel 1/16 scale [COMPLETED BUILD]

Joined
Sep 26, 2020
Messages
5,723
Points
738

Location
Missouri City, Texas
I ordered the Model Airways Sopwith Camel and the Neiuport 28. I ordered them from two different vendors on the same day because of availability.
Anyway, the Camel arrived first, so I am starting on that one first.
Here is the photo from the add…I’m sure most of you have seen it.
C81F1AE4-9CC6-404C-B38D-DE3B113B25CE.jpeg

And here is the Neiuport 28 for reference…
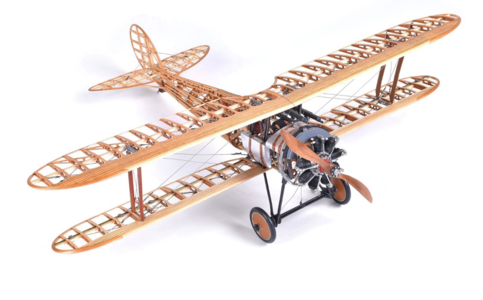
1649683949222.png

I also want to build the Albatross D.va kit.
Here is a picture for reference…
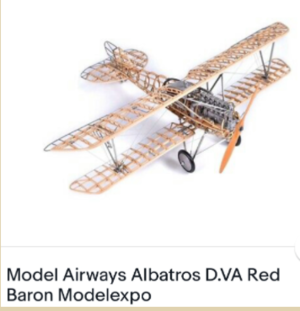
1645036651201.png

EDIT:
According to the instruction book, here are the build stages:
Stage 1: Building the Engine & Propeller
Stage 2: Building the Wings
Stage 3: Building the Empennage
Stage 4: Building the Fuselage
Stage 5: Building the Engine Mount & Plumbing
Stage 6: Building the Cockpit & Controls
Stage 7: Empennage Installation & Cabling
Stage 8: Attaching the Lower Wing & Undercarriage
Stage 9: Attaching the Upper Wing, Cabling and Bracing
Stage 10: Finishing Touches


I will add the stage number and name at the beginning of each stage in BOLD CAPS, on the post I start that Stage. ;)
 
Last edited:
Stage 1: Building the Engine & Propeller

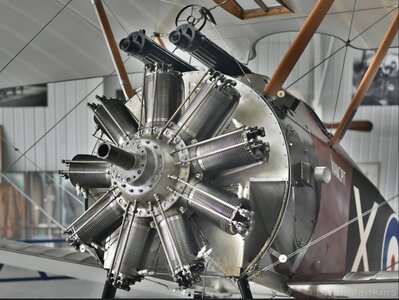
So the first step is to build the engine. It is the 130hp Clerget 9B rotary engine.
Here is the real engine…
F0477C68-F294-43F1-AAE7-F6825BDA28E7.jpeg

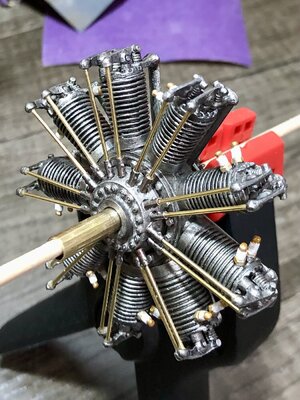
There is over 100 parts, all metal. Assembly is straight forward, however there is a lot of clean up of the castings due to flash, etc. so a lot of file work.
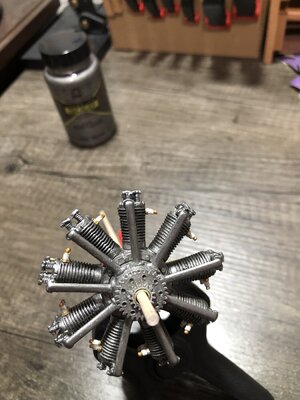
Then I did some washes with black and some dry brushing with antique silver, etc. I added a few small details, and chose to leave the push rods copper for contrast.
9766E2DD-184E-4B3E-B254-AEF63E60D435.jpeg137B4441-561E-4C82-AA38-5C79E9369329.jpeg

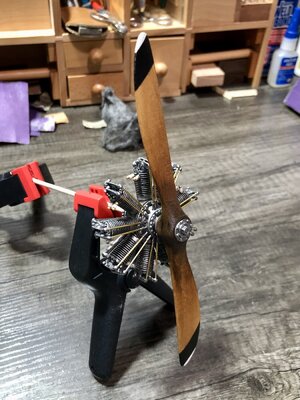
Now I have to build the propeller and add the plug wires.
 
Last edited:
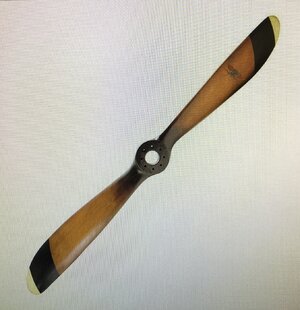
Then I did a search for Sopwith Camel propellers…and found this!
4520CDD9-56C6-47C1-A7F7-E23C1F8137BA.jpeg
I knew then I wanted to make a propeller like this and use it.
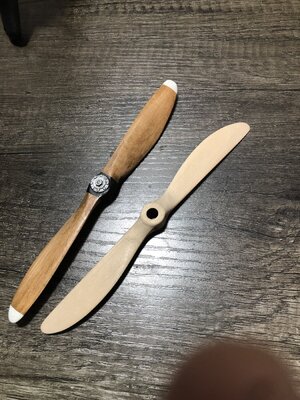
So I started making another propeller, I made the hub more pronounced like the one above.
Here it is next to the first one…
958FA5D8-9D18-4E6E-90F1-C102BC69BB96.jpeg

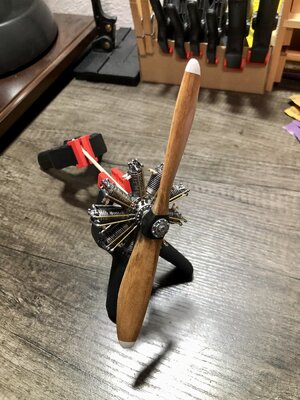
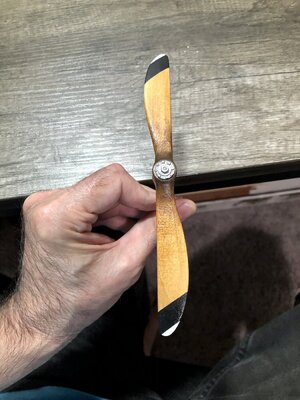
Then I finished sanding, stained it, added the fade from the hub outwards, then painted the tips and finally clear coat added.
Here is my version…
CCE05192-7C58-473D-83F9-AE5950FC59C0.jpeg
I think it is very close to the pictured one above.
So I’m happy with this one! ;)
 
Dean, I would have expected nothing less from a CMDCM. Really stunning work, I am looking forward to your next post. OBTW, what are you using to take your pictures as they are exceptionally clear?
Semper Fortis; Non Sibi Sed Patriae
Mark

 
Dean, I would have expected nothing less from a CMDCM. Really stunning work, I am looking forward to your next post. OBTW, what are you using to take your pictures as they are exceptionally clear?
Semper Fortis; Non Sibi Sed Patriae
Mark

Thank you, I am using my IPhone 8. It’s all I have, but it uses autofocus, etc. ;)
 
Well done on starting the build log on the Sopwith and the Nieuport. Of the two the Nieuport is definitely my favorite - and you having a French surname - I expect yours too!
Heinrich, you knowing my family background, that is a great assumption!
I do love the way the Neiuport looks, and it was a great flying plane as far as speed and handling goes. Being part French from my fathers side does make me a little biased…lol. But as you know I am also part Italian from my fathers side, and they were also flown by the Italians in WW1. So yes it is my favorite. ;)
As you remember I am also part German and Dutch on my mother’s side. And I am fond of the German airplanes as well. Which is why I want to build the Albatross D.VA kit too! Perhaps even the Fokker Dr.1 triplane!
It is interesting to note, the Camel was a later development by Sopwith, and was a very capable airplane, probably one of the best of WW1 in terms of abilities. Sopwith had made a triplane prior to the Camel. The Germans decided they wanted a triplane, and Fokker developed one. What they didn’t realize, that Sopwith had already learned, is that even though the triplane was very good at aerobatics, being unstable (no dihedral in the any of the wings) and having a lot of lift…is that the design has a lot of drag and visibility is hampered! Seeing your enemy is very important! It was described as looking through blinds as they close. So as you look down, the visibility due to the wings is impaired and made landing them more difficult as well. However it didn’t seem to be much of a problem for Baron Von Richthofen. ;)
And finally, the Camel was credited for the final flight of the Red Baron (Richthofen). Although it is still disputed as to whether it was ground fire or the Camel guns that killed Richthofen, the Ace of Aces.
 
Last edited:
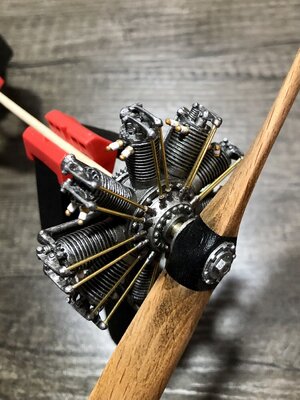
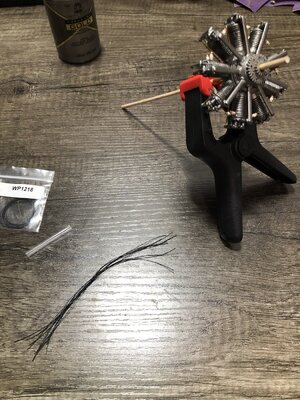
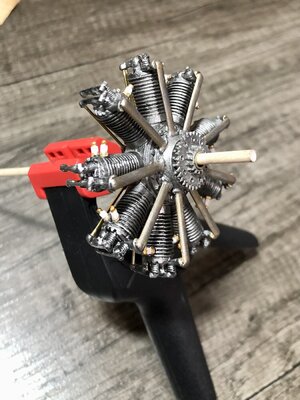
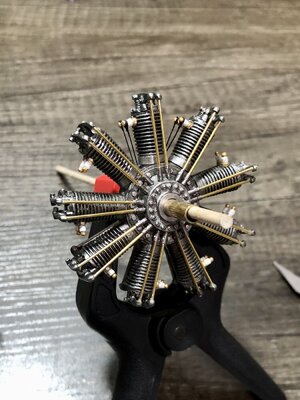
I cut 9 lengths of the provided black thread to install the plug wires. Each one going to 2 plugs.
I have a dowel and wood clamp as a makeshift motor stand. Actually works quite well. ;)
8454D037-5BF8-4A08-87E3-3EAD92C41B42.jpeg

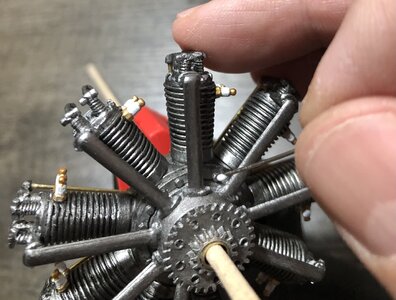
Looking at the back of the motor, I realized the intake runners were void of bolts on both ends where the flanges are…sigh. So I decided to add some bolt heads (simulated) using an old technique where I add a drop of glue with a straight pin, to be painted afterwards.
Below I added bolts to the upper flanges and started on the lower flange bolts…
86A717F5-20C8-4379-B397-075CFE665077.jpegCDE5D8EC-5C68-4F6F-8820-70B3CA9C6337.jpeg

I used bright silver to add contrast, to help make them stand out.
E1F7CF20-B0E4-4C35-8920-A38A115DEACA.jpeg

I add the paint with a toothpick dipped into the jar of paint, so it adds more height and is a controlled drop which remains round. At least that’s my logic verses using a brush for this task.

Then I decided to dry brush a little antique gold on the intake runners closest to the flanges on both ends. This is where the most heat would occur, and attempts to simulate heat cycling after much use. Once again a personal logic, but at the same time makes the model more interesting visually. ;)
Before and after below…
E64D93B8-C578-4B69-A353-D2F67AEC6FC6.jpeg8C2C0FD2-B4B5-4A5D-8F91-EB058CE372DC.jpeg

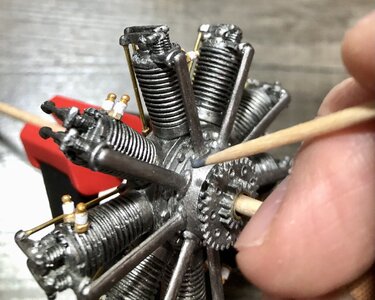
Now after being side tracked with adding additional detail (always happens!), I began adding the plug wires.
Here are the first 4, only 14 more to go!
EFC3D8D3-0798-4250-9726-21D5DAAFE753.jpeg

And from behind…
E92FB1F3-9A0F-483C-9781-9EDEE313CDB1.jpeg

The termination of the wires goes thru a hole, however I am certain this should not have gear teeth, but be a smooth diameter. I should have filed the teeth off prior to installation…sigh!
See you after I install the other 14 wires! :p
 
Last edited:
Back
Top