Model Airways Sopwith Camel 1/16 scale [COMPLETED BUILD]

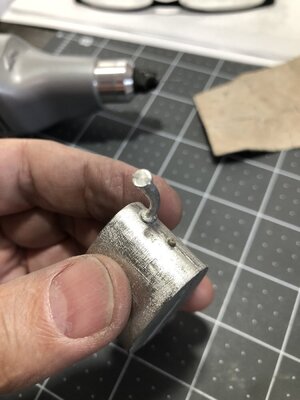
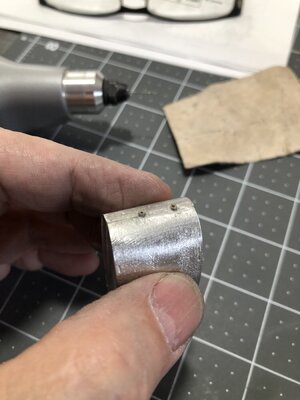
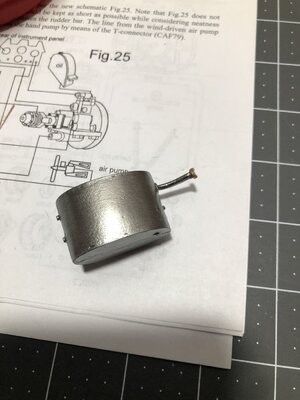
Then I started working on the fuel tanks and oil tank. Once those are finished, I can start the plumbing for the fuel and oil lines. ;)
368B2CB4-5DEF-4C56-8A5E-7F114A87791E.jpegDC88A572-A823-4641-8E3F-EFEED90BB191.jpeg

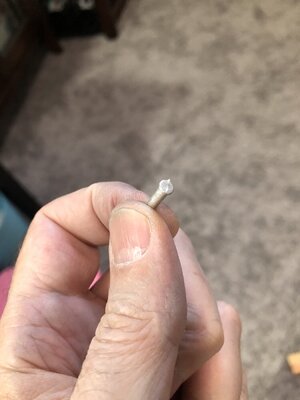
I drilled holes, then added a dowel, then drilled a hole for the tubing. That will simulate threaded bungs for the tank.
I also added the thumb bars for the fuel cap…
CCE44B64-8A7C-4198-9BE6-7E8961116E19.jpeg8D34020D-BA31-4163-8DE7-04FDEDD16B0C.jpeg

Because I add a lot more than bolt heads Paul! :p
 
Last edited:
Well I’m back…here in the section of the forum where airplanes are hidden! :p
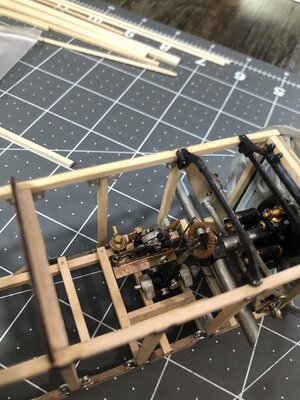
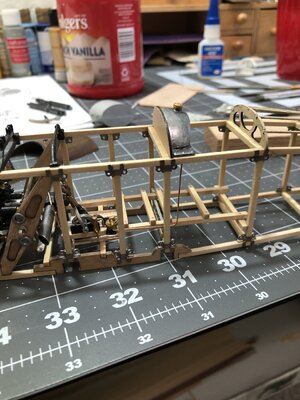
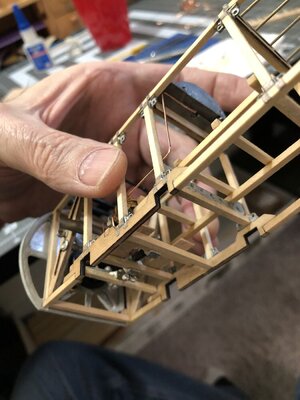
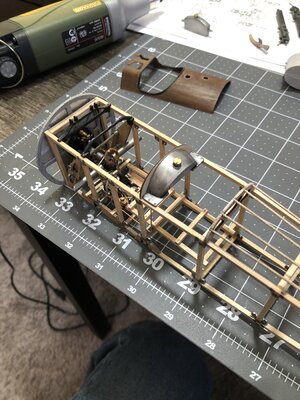
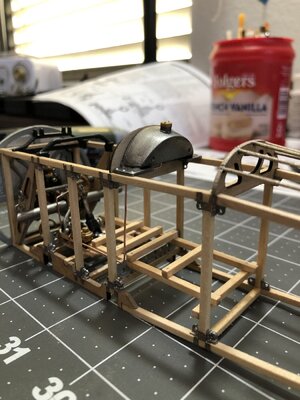
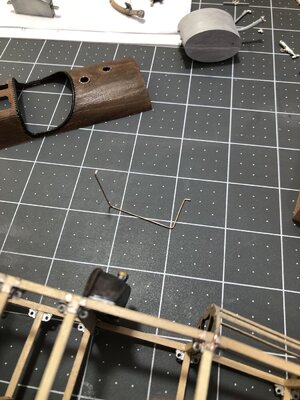
Today I worked on the rudder pedal assembly and the control stick assy.
Then I installed both of them. Then the throttle assembly could be installed.
I also added some floor or foot boards on each side of the control stick. They were not mentioned in the kit, but every actual photo I have seen of the real Camel had them.
I assume the pilot needed something to stand on when getting in and out of the cockpit. That would be the only place. ;)
Pics…
View attachment 298225View attachment 298226View attachment 298227View attachment 298228
Just wonderful detail Dean!
 
What a beautifully detailed model, the intricacies so cleanly and accurately executed. A real pearl.
Thank you Adi!
The Britannia metal castings leave a lot to be desired! They need a lot of clean up, and the detail is less than plastic or resin. And finally they are heavy! It’s amazing how heavy this fuselage is getting and the motor is not on yet!
In conclusion, I would have preferred they use plastic or resin because I am painting most of it anyway. ;)
 
It’s those “little” details that make an incredible model. Nicely done.
Thank you Jan! I am adding detail where I can.
At 1/16 scale, if they had used resin, the detail would have been amazing. But they chose to use metal castings and brag about it…lol. I see no real benefit with the metal…quite the opposite! :(
 
Todays madness…
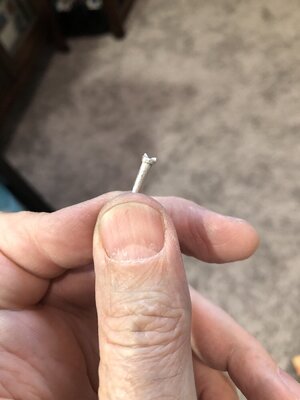
Started with adding the fuel line from the trim mechanism to the carburetor. There is supposed to be a shutoff valve inline. So I made one out of a toothpick. Drilled a thru hole, then drilled a hole perpendicular to that. Then added a bent piece of wire, with one end flattened in the vice.
That assy was painted gold.
The wire has to be bent, test fitted, removed and next bend added and keep repeating until all of the bends are in and the length determined. Frustrating process…lol. ;)
FB887033-61A9-4A90-8D51-A10946B9EE85.jpeg
See if you can find the shutoff valve! :p

Then I painted the reserve gas tank. After installing I ran the tubing to the tank selector valve. The other side of the valve will have the input line from the main tank.
91854CCF-0FAC-4A9B-9E57-4A6B9FF55D7C.jpegC6B7546E-2126-4E56-84A2-68599BCFD485.jpegF563B0CF-DF20-42A8-913E-F9BA2802930B.jpeg49A309E6-FA09-434A-B58C-75F17BB9B4CD.jpeg

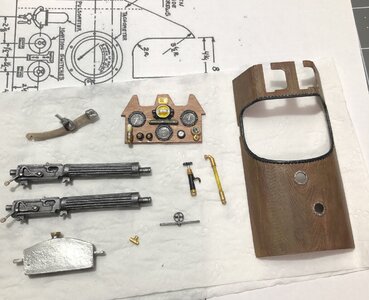
Then I painted the oil tank, tail skid and the machine guns…
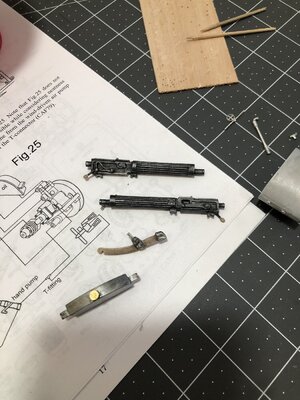
42F00046-93DE-4DC0-B727-5B02A1891F21.jpeg

Then I test fitted the cockpit cover to ensure the location of the reserve fuel tank fill cap was correct!
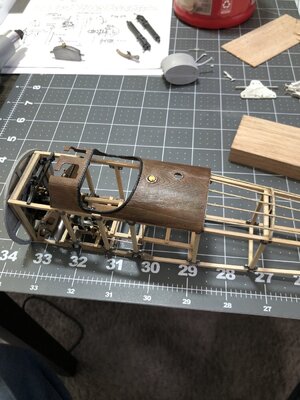
4ACE0E86-4BF8-414C-A41A-99007954981F.jpeg0DE6BB5F-1AB9-4267-AEDD-B8727ADB9C55.jpeg

Next will be the main fuel tank and the lines for it…
There is the output (from bottom of the tank) to the selector valve. Then there is one output (bottom of tank) to the visual gauge. Then a return from the gauge to the side of the tank. Then finally a line to the top of the tank from the fuel pressure system.
Then there is the fuel pressure system (components and lines), oil system (components and lines), machine gun ammo canisters, machine guns, instrument panel (and lines), and finally the tail skid!
Then the fuselage assembly will be ready for the installation of the empennage. ;)
 
Last edited:
I’m on a mission to finish all the parts so I can just concentrate on assembly! ;)
C1E560AF-0350-414A-9A5B-7965B1E9C627.jpeg
Made a few modifications to the instrument panel, painted the cockpit cover matte clear (much better), then I did the fuel pressure hand pump, fuel level sight glass, cross hairs, and tee fitting…

And finally finished the main fuel tank after modifications to the fill neck to work with the openings in the panel.
7C241BFD-30CA-458A-B02D-68B836FDFB81.jpeg

Next I can finish the ammo cartridges. The seat I am saving for last, as I may make it from scratch. Otherwise I will modify the kit supplied one! ;)
 
Next will be the main fuel tank and the lines for it…
There is the output (from bottom of the tank) to the selector valve. Then there is one output (bottom of tank) to the visual gauge. Then a return from the gauge to the side of the tank. Then finally a line to the top of the tank from the fuel pressure system.
Then there is the fuel pressure system (components and lines), oil system (components and lines), machine gun ammo canisters, machine guns, instrument panel (and lines), and finally the tail skid!
Hi Dean, it looks like a copy (in terms of ad-ons) out of my Ducati build-log. ROTF Nothing has changed in a century. :) Gasoline has to flow. I can almost smell it.
I loved all the details and the build belongs also in the chapter “Super Detailing”. Oeps, it is nearby in the overall area!
Regards, Peter
 
Last edited:
Hi Dean, it looks like a copy (in terms of ad-ons) out of my Ducati build-log. ROTF Nothing has changed in a century. :) Gasoline has to flow. I can almost smell it.
I loved all the details and the build belongs also in the chapter “Super Detailing”. Oeps, it is nearby in the overall area!
Regards, Peter
Thank you Peter! I love your Ducati, awesome build! ;)
 
Back
Top