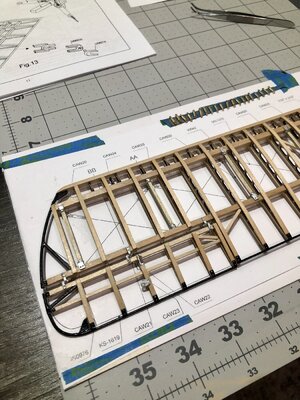
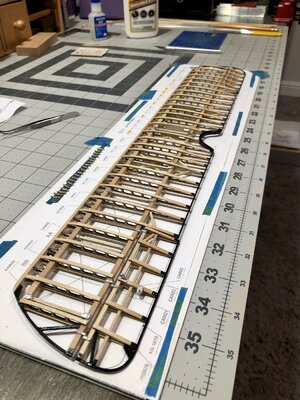
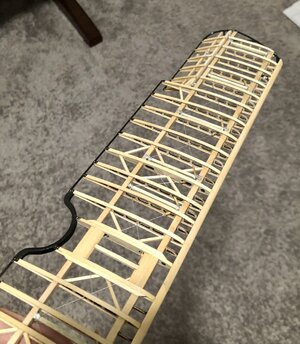
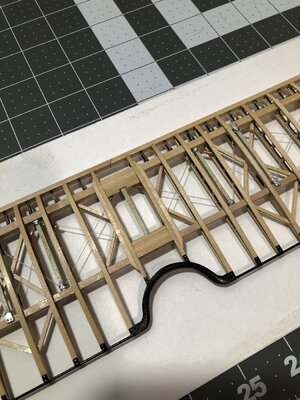
Thank you Daniel! I was debating a dark brown or black, but decided to try to match the wood color....or at least get close.Hi Dean, your painting of the compression bracing to look like wood was a great idea! I love it!
-

Win a Free Custom Engraved Brass Coin!!!
As a way to introduce our brass coins to the community, we will raffle off a free coin during the month of August. Follow link ABOVE for instructions for entering.
-

PRE-ORDER SHIPS IN SCALE TODAY!
The beloved Ships in Scale Magazine is back and charting a new course for 2026!
Discover new skills, new techniques, and new inspirations in every issue.
NOTE THAT OUR FIRST ISSUE WILL BE JAN/FEB 2026
- Home
- Forums
- Ships of Scale Build Logs
- Super Detailing Static Models / Other Genres
- Historical Trailways, Guns, Aircraft, and Cars
You are using an out of date browser. It may not display this or other websites correctly.
You should upgrade or use an alternative browser.
You should upgrade or use an alternative browser.
Model Airways Sopwith Camel 1/16 scale [COMPLETED BUILD]
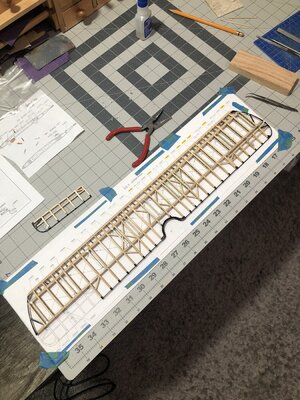
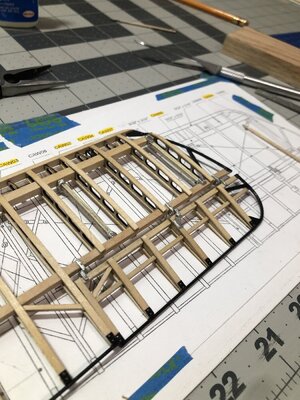
Today was more progress on the upper wing. I finished sanding, drilling holes, and painting on all of the compression braces. Then they were glued in place.
Then I cleaned up the hinges and control horns for one aileron, and glued that in place. I added a few bolt heads here and there and painted them.
Ahead will be the other aileron, and the tension wires and turnbuckles.
Then finally there are some additional boards in the center section, which I will get into when the time comes.
This has been a lot more work than I anticipated, but that’s usually the case!
Some pics…
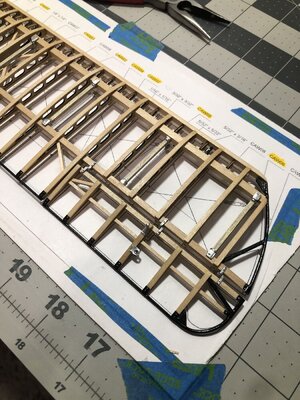
I hope to finish the other aileron tonight. Then I can start on the wires and turnbuckles tomorrow!
Then I cleaned up the hinges and control horns for one aileron, and glued that in place. I added a few bolt heads here and there and painted them.
Ahead will be the other aileron, and the tension wires and turnbuckles.
Then finally there are some additional boards in the center section, which I will get into when the time comes.
This has been a lot more work than I anticipated, but that’s usually the case!
Some pics…


I hope to finish the other aileron tonight. Then I can start on the wires and turnbuckles tomorrow!
That’s a peace of Art  , Dean. Very complex and still items to come. Looking forwards how you manage all the tension wires through all of this.
Regards, Peter
 , Dean. Very complex and still items to come. Looking forwards how you manage all the tension wires through all of this.
Regards, Peter
Thank you Peter! Tension wires were definitely fun, passing thru the ribs and holes in the compression braces!That’s a peace of Art, Dean. Very complex and still items to come. Looking forwards how you manage all the tension wires through all of this.
Regards, Peter
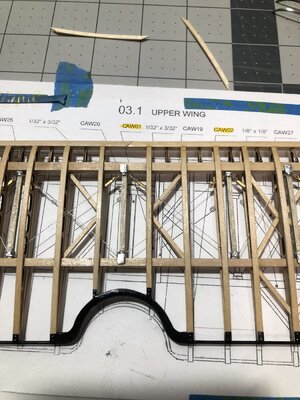
Tension wires with turnbuckles are done. Then center section of wing could be finished after that.
Looked like this after tension wires…
Then the additional boards were added for the center opening frame…
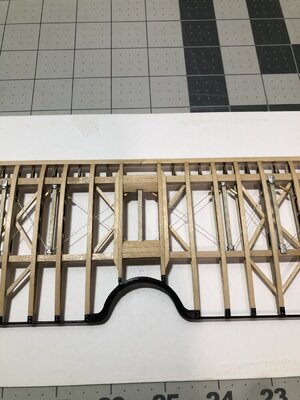
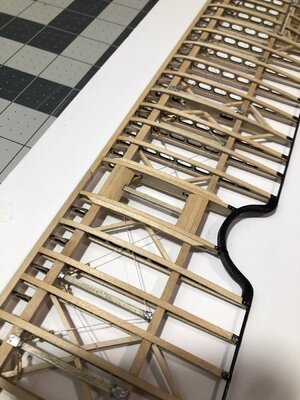
Then the wing was finally done!!!
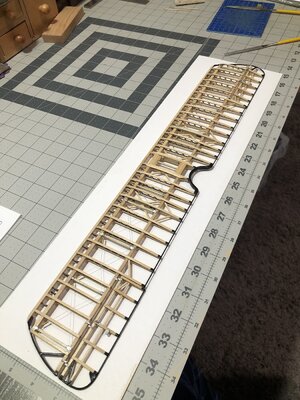
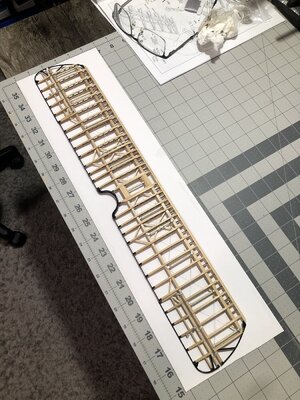
Total progress on the airplane…engine, propeller and upper wing…
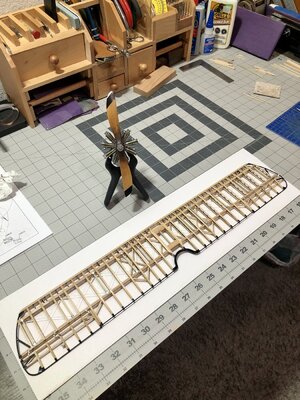
Now I can start on the lower wing!
Looked like this after tension wires…

Then the additional boards were added for the center opening frame…


Then the wing was finally done!!!


Total progress on the airplane…engine, propeller and upper wing…

Now I can start on the lower wing!
Well, clearly the reason I am making no progress on my build is that I am unwilling to pull an all-nighter like you Dean!
This is such a pleasure to look at and study Dean.
Insomnia does that…if I can’t sleep, I build!Well, clearly the reason I am making no progress on my build is that I am unwilling to pull an all-nighter like you Dean!
But in my house it’s really all about opportunities! With my granddaughter staying with us 5 days a week, I don’t get much opportunity. Only after she goes to sleep can I think about hobby time. You know the saying, “I will sleep when I die!”
Last edited:
Thank you Daniel! I agree, which is why I decided to build one.This is such a pleasure to look at and study Dean.
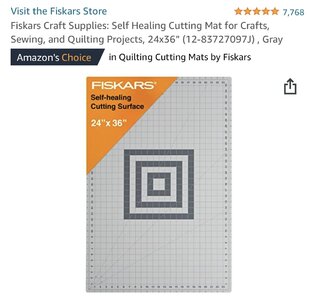
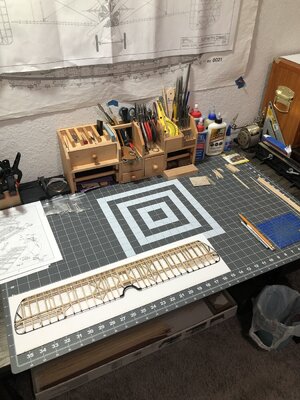
Wonderful detail Dean! Spreader bar paint looks real, and those are the best looking kit turnbuckles I have seen on a build… Can’t wait to see the fuse/cockpit - gonna look like the real thing! Hey, which cutting mat is that? The grey one? Do you cut on it? It sure looks good if you do, I have those green ones but they seem to show every cut line… can you post a link to yours please?
Thanks Lou!Wonderful detail Dean! Spreader bar paint looks real, and those are the best looking kit turnbuckles I have seen on a build… Can’t wait to see the fuse/cockpit - gonna look like the real thing! Hey, which cutting mat is that? The grey one? Do you cut on it? It sure looks good if you do, I have those green ones but they seem to show every cut line… can you post a link to yours please?
The compression bars were dry brushed and then I coated them, with the same solution of clear with some stain added, that I used on the wood. I think the clear with stain helped match the wood better.
On the turnbuckles, I got dimensions of the real ones, and at scale would be around .25” long x .023” in diameter. The kit turnbuckles are the correct length, just a bit large on the diameter. I looked at my brass tubing, and the smallest piece I had was the same diameter as the kit turnbuckles. Using that would only create work! Therefore I just filed the kit turnbuckles and painted them. The real ones were a dark gold or bronze color. I may darken them some and see if it looks better.
The cutting mat I got last year. Let me check on the details.
Last edited:
I have been working on the plane the last few days, but on the computer!
I had to use the full scale plans and measure, and then take out the lazer cut parts and metal cast parts to measure them with calipers.
Then I used all of that information to CAD up enough of the frame to design some parts.
I am making a motor cowling, cockpit cover, and the machine gun cowling.
It was a lot of work as the frame tapers side to side, top to bottom, and the location and size of the bulkheads are all different! And it needs to be exact for everything to fit properly
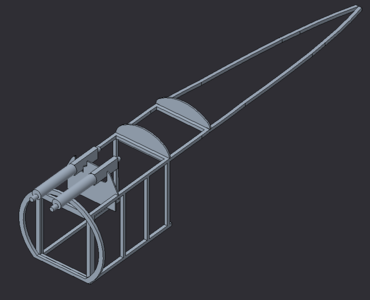
Here is the frame and guns, that is my foundation to work with...
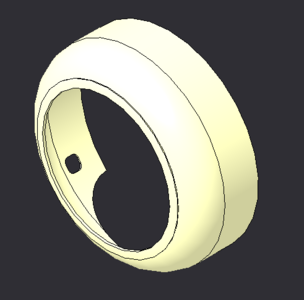
First was the cowling...
Then I modeled the cockpit cover, which extends past the seat to cover the gas tanks.
I still need to make two holes in the proper locations for the gas tank filler necks. Those will be fun to locate, I may have to wait until I create the fuselage and place the tanks to get the exact measurements.
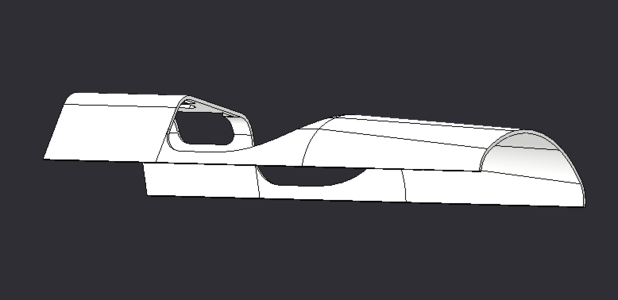

There was 4 sections that I had to locate and sketch to use for a swept profile. This was the hardest part to create!
From this I made an assembly to start putting parts on, as I design them, to check the fit and make any necessary modifications.
Now for the assembly...
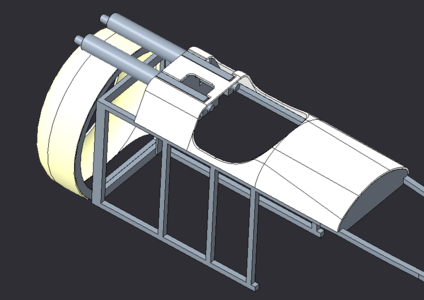
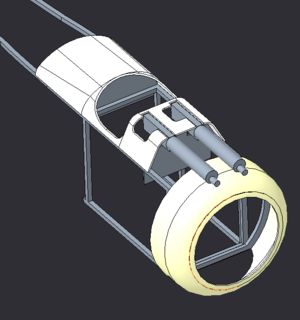
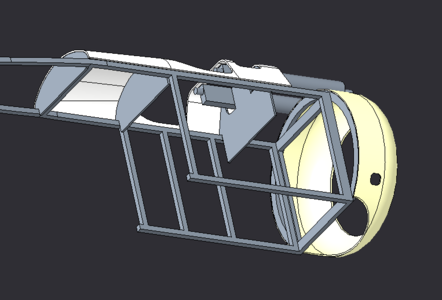
So that's where I am at right now! Next will be modeling the machine gun cowling.
Here is a pretty pic...
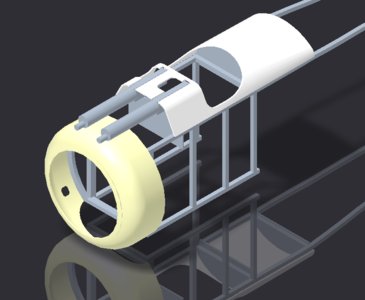
I had to use the full scale plans and measure, and then take out the lazer cut parts and metal cast parts to measure them with calipers.
Then I used all of that information to CAD up enough of the frame to design some parts.
I am making a motor cowling, cockpit cover, and the machine gun cowling.
It was a lot of work as the frame tapers side to side, top to bottom, and the location and size of the bulkheads are all different! And it needs to be exact for everything to fit properly
Here is the frame and guns, that is my foundation to work with...

First was the cowling...

Then I modeled the cockpit cover, which extends past the seat to cover the gas tanks.
I still need to make two holes in the proper locations for the gas tank filler necks. Those will be fun to locate, I may have to wait until I create the fuselage and place the tanks to get the exact measurements.


There was 4 sections that I had to locate and sketch to use for a swept profile. This was the hardest part to create!
From this I made an assembly to start putting parts on, as I design them, to check the fit and make any necessary modifications.
Now for the assembly...


So that's where I am at right now! Next will be modeling the machine gun cowling.
Here is a pretty pic...

Last edited:
Update on the models:
Cockpit cover…
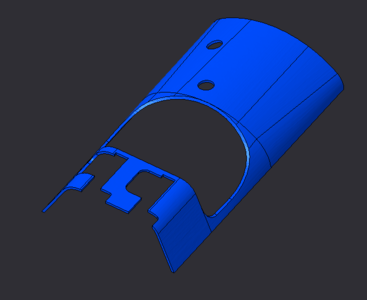
A lot of cutouts for the guns.
There is more work to do, I don't have all of the details in yet, but getting there!
Let's look at the assy and parts...
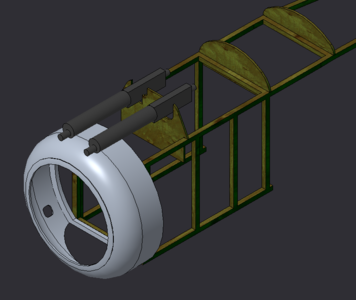
The frame with guns...
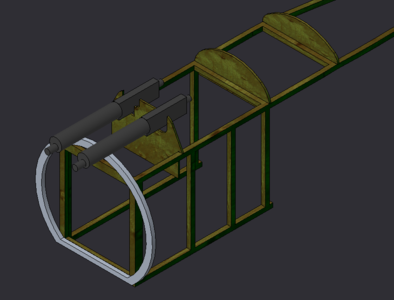
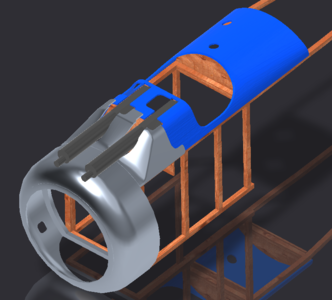
add the metal motor cowling...
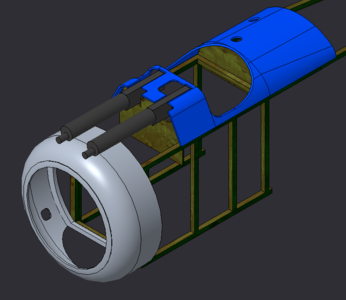
add the wood cockpit cover...
add the metal gun cowling...
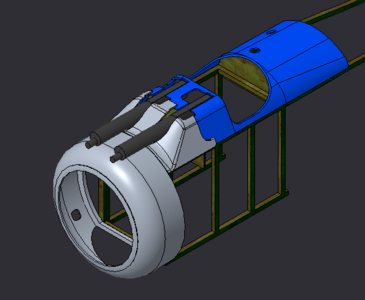
That's all I am adding as far as cowlings and covers. Just have to finish with the detail on these.
Then I am starting the lower wing!
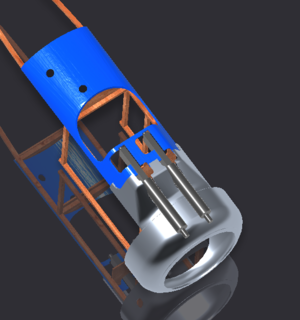
A quick rendering...
Cockpit cover…

A lot of cutouts for the guns.
There is more work to do, I don't have all of the details in yet, but getting there!
Let's look at the assy and parts...
The frame with guns...

add the metal motor cowling...

add the wood cockpit cover...

add the metal gun cowling...

That's all I am adding as far as cowlings and covers. Just have to finish with the detail on these.
Then I am starting the lower wing!
A quick rendering...


Last edited:
Thanks Lou! I will probably print some test parts in the next week or two. But I won’t be able to test fit them until I build the fuselage!That looks so cool Dean! Now it looks like a Camel! Those last two renderings are awesome!
Kurt Konrath
Kurt Konrath
After searching online for a large cutting mat/self healing mat, I finally found one at U-line. I paid for it and shipping which was as much as the mat, due to size.Lou, here is the cutting mat. It is reversible. So if one side gets abused, flip it over!
View attachment 293753
Flipped mine over!
View attachment 293754
Last week while shopping at Walmart and Hobby Lobby, with the Admiral we were in fabric section and they has several sizes of cutting mates at reasonable price with no shipping. Worth giving them a trip to check out. Lots of other fine tools in bead and craft section for boat and airplane construction there as well.


