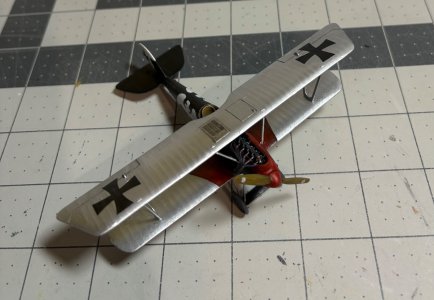
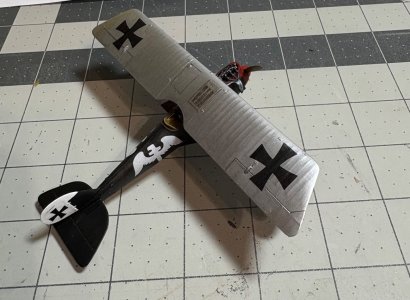
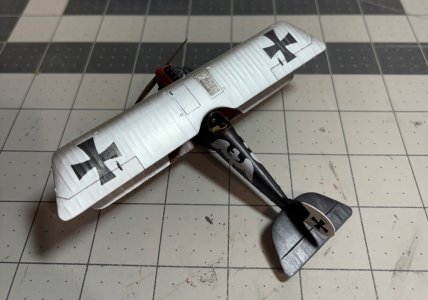
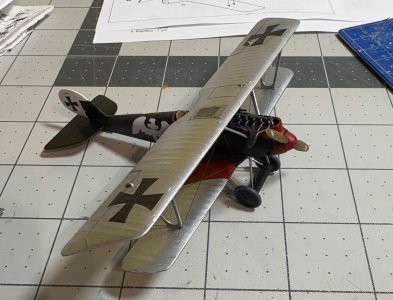
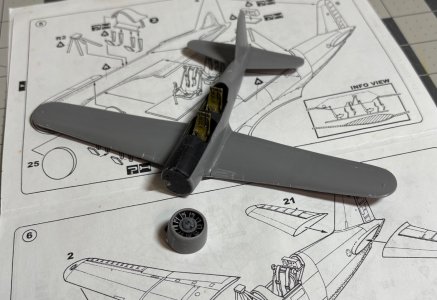
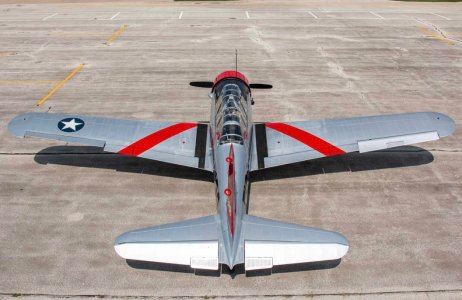
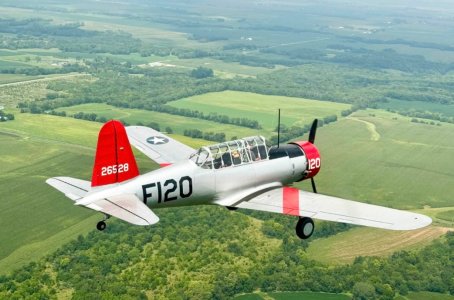
BT-13 update…
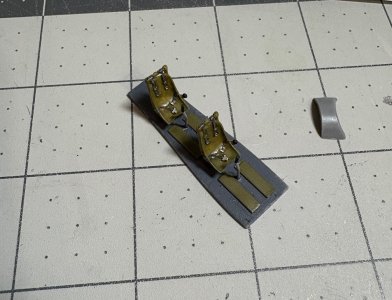
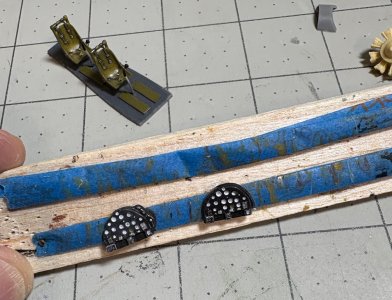
Fuselage halves joined after installing the interior bits…
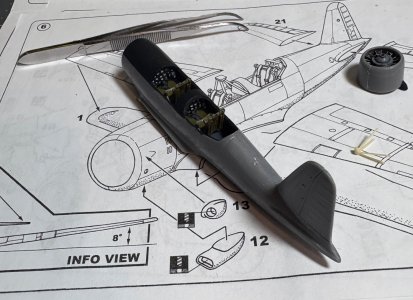
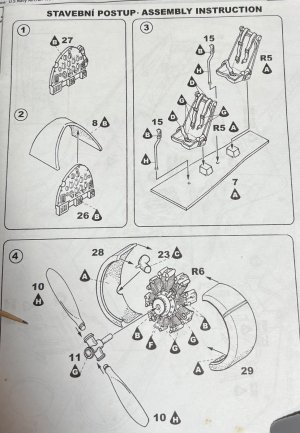
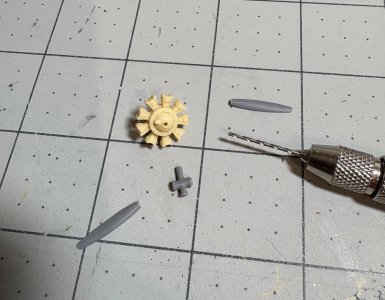
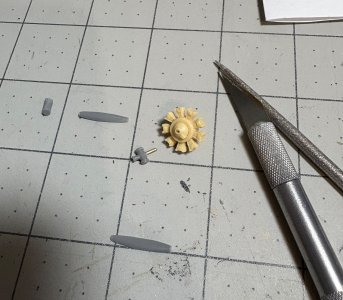
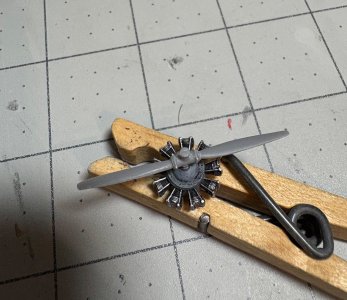
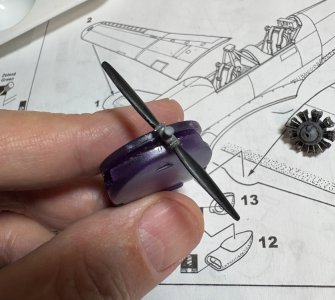
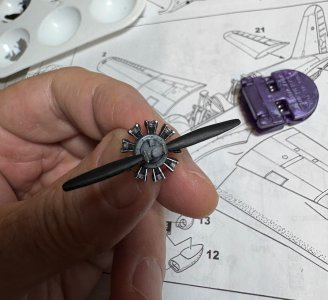
Then I glued the motor inside the cowling and also the exhaust pipe, which I hollowed on the end.
There are some interior components that were shown, but are not on the sprue because they want you to scratch build them. What? That’s why I buy a model so I don’t have to scratch build! Strange!
Anyway here is the main wing…
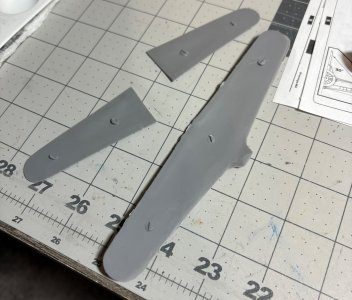
Aside from all the flash that needs to be removed, there are ejector pins that have to be cut and sanded flush. In addition, there are no locating pins to aid in proper alignment. And if they are not flat, the edges will have gaps. So I am not sure how much sanding I am in for!
In addition the fuselage had no alignment pins, nor was there any positive alignment or location for the seats, instrument panels, etc. Everything so far requires careful alignment and planning. Pieces need to be test fit and adjusted. I have never built a kit that is this crude!
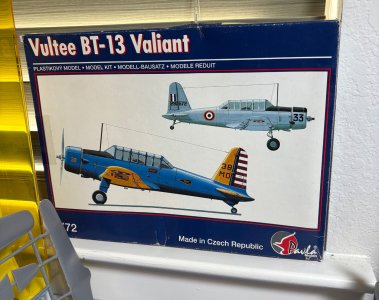
I will survive, but it has been a kit I would never want to build again! Unfortunately it was the only kit I could find of the Vultee BT-13 Valiant. It seems to be more obscure than say the Stearman or T-6 Texan.
All USAF pilots in WW2 were trained in the Stearman, Valiant and then Texan. So the Valiant served as the intermediate trainer. Odd it was not a popular model kit.
Anyway, I will have an example for my collection.
I am going to take pictures of the actual aircraft when I fly in it next weekend. That will help me add some custom bits to my build.


