


I am currently in the process of building a kit mash up of 2 of these kits. Your eyes aren't playing tricks on you. 
Here I am joining the 2 frames of the kit and adding some bracing with the 2x5 strips.

Here are all the frames joined together. Total footprint of this one will be 21" x 10"
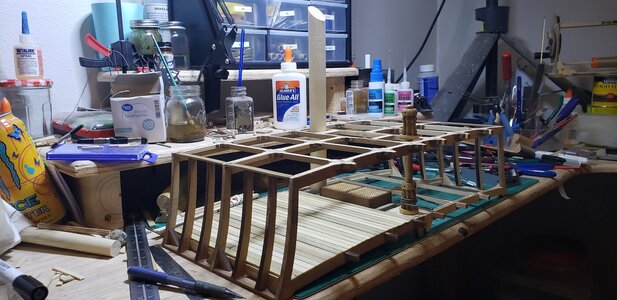
Getting frame bracing in and placing a mast section.

Scratch built a capstan for this model too.

Getting things mocked up for placement.

Showing how it will be once it's in place.

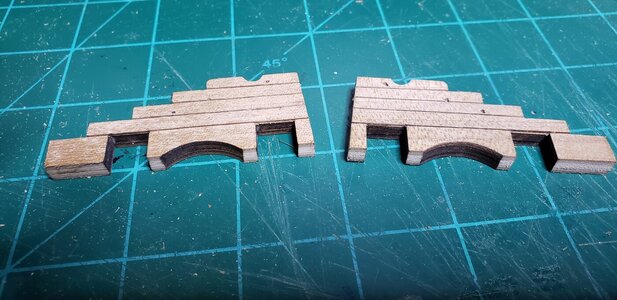
Figured I'd put some bolts in it.

Laying down some decking

More decking going down.

Fitment of the grating is in

More decking and painted the mast section and have some rope lashing on it. Will be adding spears to it later on.

Planking on the bottom deck is complete.

About to get started laying down some wooden nails.
Inserting toothpicks

Bottom deck nails are in

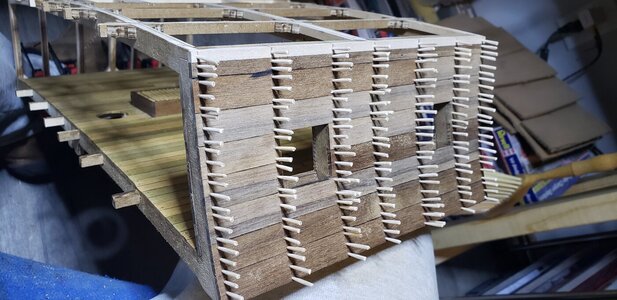
Just a sea of toothpicks

Everything is clipped off and sanded down and has a coat of light walnut stain

Close up of how the nails turned out.

More test fitting.

Starting to lay the sides on.

Side is complete now for the nails
Sanded and stained and even got the rubbing painted and on.

Got the inside of the bulwarks done.

Here I am joining the 2 frames of the kit and adding some bracing with the 2x5 strips.
Here are all the frames joined together. Total footprint of this one will be 21" x 10"
Getting frame bracing in and placing a mast section.
Scratch built a capstan for this model too.
Getting things mocked up for placement.
Showing how it will be once it's in place.
Figured I'd put some bolts in it.
Laying down some decking
More decking going down.
Fitment of the grating is in
More decking and painted the mast section and have some rope lashing on it. Will be adding spears to it later on.
Planking on the bottom deck is complete.
About to get started laying down some wooden nails.
Inserting toothpicks
Bottom deck nails are in
Just a sea of toothpicks
Everything is clipped off and sanded down and has a coat of light walnut stain
Close up of how the nails turned out.
More test fitting.
Starting to lay the sides on.
Side is complete now for the nails
Sanded and stained and even got the rubbing painted and on.
Got the inside of the bulwarks done.


")


