Pavel Nikitin San Bartolome

Enjoying watching progress. I am having problems locating part 187 which is the plain backing for the sternmost bulkhead shown in your picture on yiur July 9th post. The instructions show it on page 93, but not which plate it is located on. I am hoping you can help as you just made it yourself. Thanks in advance!
 
Thanks for the quick reply! I just watched that video, and it looks like part 187 is on plate 31. Unfortunately, after much searching ( and choice words) I see that my kit is missing plates 30, 31, 32 and 20A, all of which are supposed to be in box 1 pack 19 which I don't have. So now I have to see how long it will take to get those shipped from Ukraine. Quite frustrating. Did you get those plates, or am I missing something?
 
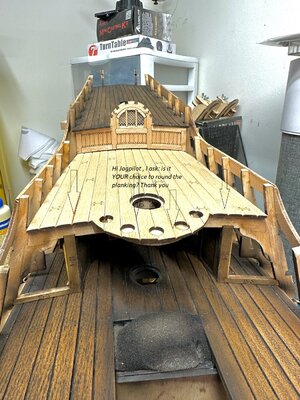
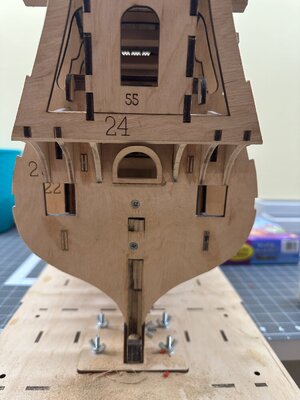
Latest work on the decks IMG_6901.jpegIMG_6900.jpegand wheel house. Not much time spent in the shipyard. Have been setting a new work area. Spent the last few days assembling ikea furniture. Trying to keep the wood models separate from the plastic.
 
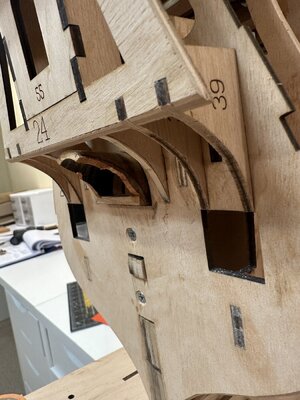
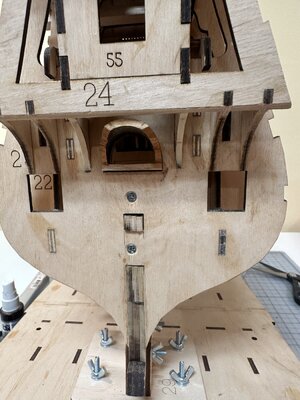
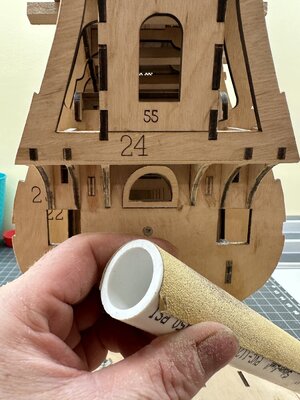
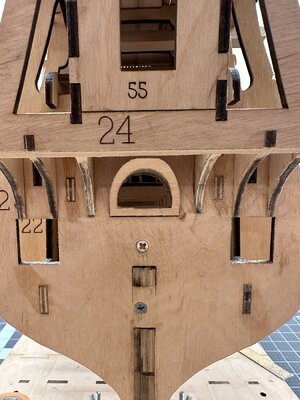
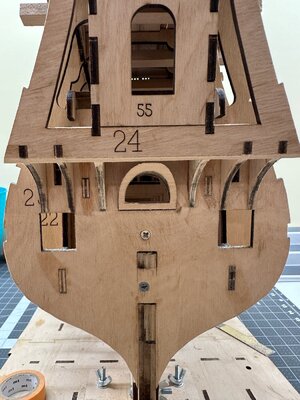
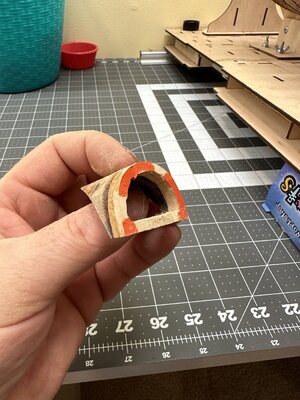
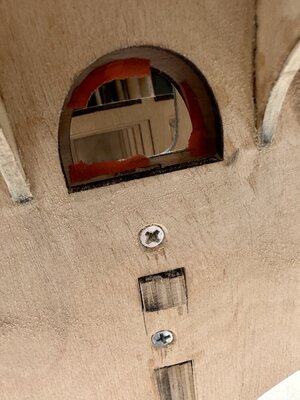
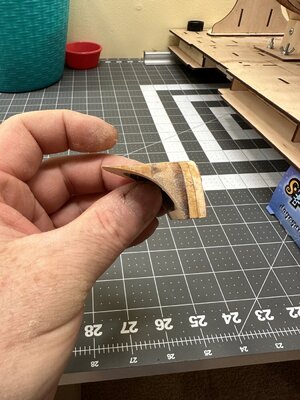
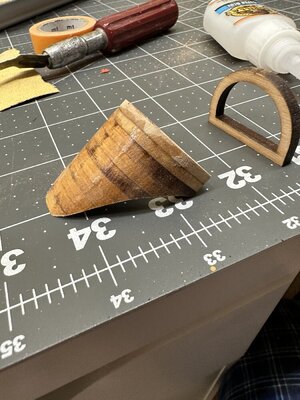
Got the helm port fitted in place. I used a piece of paper to fix it in place with a couple of dots of thick super glue while I shaped it. This will allow the piece to be removed easily with out damage to the wood. I shaped it with a pvc pipe wrapped with sandpaper. I darkened all the fillets so I can tell when the helm port is the exact shape. Then I removed the helm port sanded the paper off and glued the last piece in place that just happens to be 4 mm. The required amount the helm port is suppose to protrude according to the instructions.
IMG_6908.jpegIMG_6907.jpegIMG_6912.jpegIMG_6910.jpegIMG_6911.jpegIMG_6914.jpegIMG_6915.jpegIMG_6913.jpegIMG_6916.jpegIMG_6923.pngIMG_6924.pngIMG_6919.jpeg
 
Nicely done. I found that a little bit tricky to accomplish. I wrapped sandpaper around a 1 inch dowel to do the shapping.

Jan
 
Has anyone tried fitting the ladders for bow and the rooster grate. The bow ladder is not long enough and the one for the rooster is to wide to even fit in the opening. I me getting ahead of my self. I really did not look at the full size plans yet. Could be something about it on there?IMG_6988.jpegIMG_6987.jpegIMG_6986.jpegIMG_6985.jpeg
 
Well I think I figured it out. It’s supposed to go facing the other way and rest on the mast support.
But as you can part of the hangs off. So a little scratch building will make it look good when looking down the scuttle. I will sleep on it and see what I come up with. IMG_6995.jpegIMG_6992.jpegIMG_6991.jpeg
 
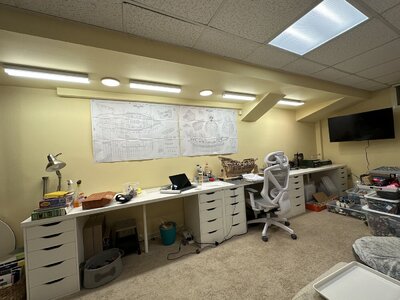
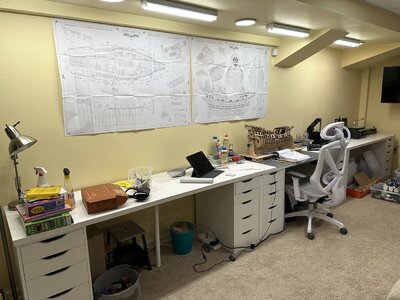
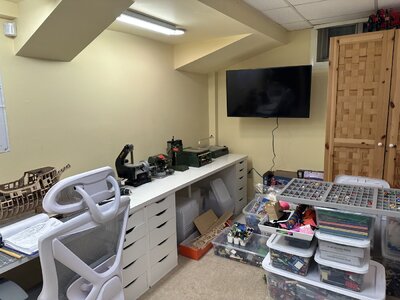
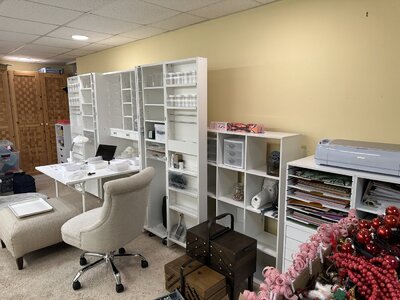
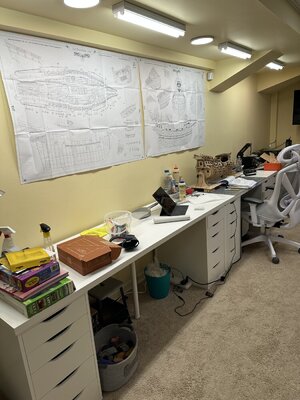
I also had the week off from work and set upper a proper shipyard. I even have the far left side of the desks to work on two models at once. The far end has all my tools. Even added plenty of lighting above. Hopefully don’t blow circuit. Should be ok though they are led. Waited many years for it. 12 to be exact, my son is finally old enough not to want Legos anymore so he took the Lego section of the basement and turned it into a shipyard on one side for myself and my wife has her hobby section on the opposite side, we even put a TV on the wall. You can see all my sons Legos and bins in the back and that’s not even half of them. Some of them have already gone into storage. I may never leave the space lol. IMG_7001.jpegIMG_6997.jpegIMG_6998.jpegIMG_6999.jpegIMG_6996.jpeg
 
Well I think I figured it out. It’s supposed to go facing the other way and rest on the mast support.
But as you can part of the hangs off. So a little scratch building will make it look good when looking down the scuttle. I will sleep on it and see what I come up with. View attachment 386377View attachment 386378View attachment 386379
Good morning. This is looks like an marvellous model to build. I have been following Jan’s build and I think Pavel has created an intricate and beautiful kit. Well done you are owning this. Cheers Grant
 
Back
Top