-
LUCZORAMA SHIPWRECK SCAVENGER HUNT GIVEAWAY. 4 Weeks of Fun • 1 Legendary Prize ((OcCre’s Fram Ship)) • Global Crew Welcome!
**VIEW THREAD HERE**
You are using an out of date browser. It may not display this or other websites correctly.
You should upgrade or use an alternative browser.
You should upgrade or use an alternative browser.
I wish you a lot of fun with this new project
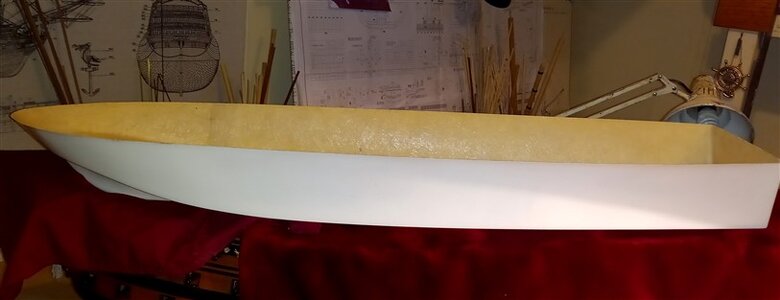
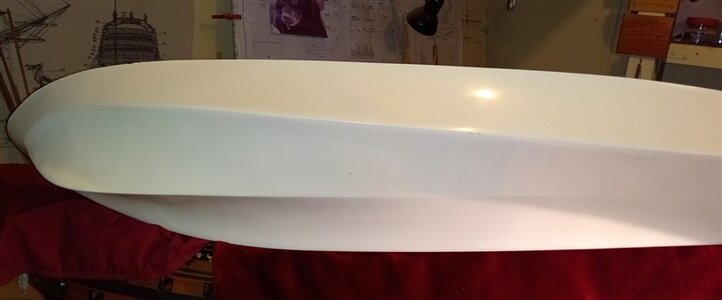
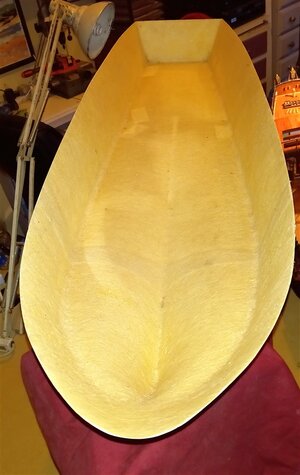
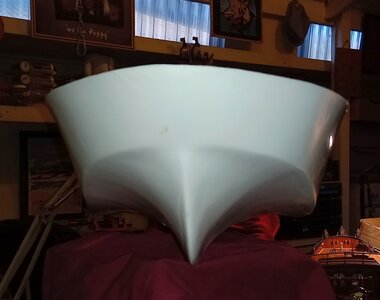
The fibre glass hull was not too bad, but the superstructure build as i received it was,nt very good, the parts that were glued together were just coming apart, and what was glued was out of line, so i decided to scrap most of it , see pics below,
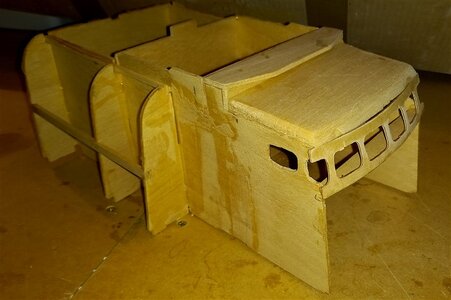
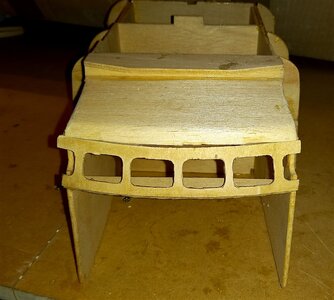
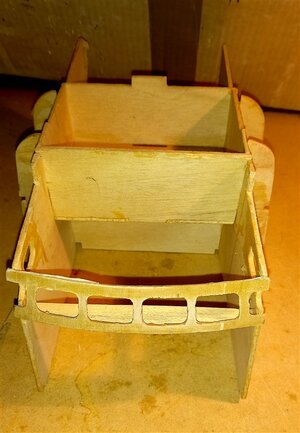
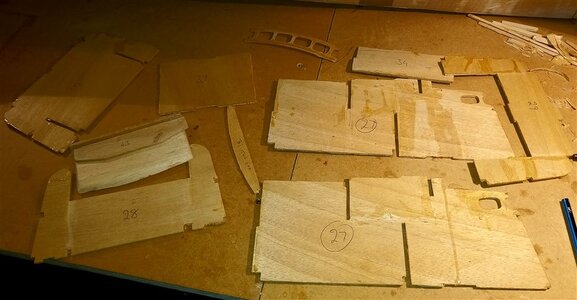
So i managed to deconstruct and use the parts as templates,
best regards John,


So i managed to deconstruct and use the parts as templates,
best regards John,
Thank you Uwe,I wish you a lot of fun with this new project
best regards John,
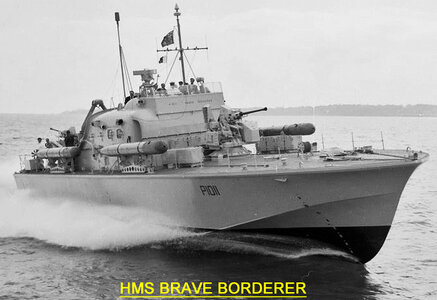
The Percassa was fitted with one 40mm bofors gun and a smaller gun on the transom, I wanted to fit two 40mm bofors guns so i did a search on the net and came up with HMS Brave Borderer which was a variant of the Percassa and she had two bofor guns and also the cabin at the front of the bridge had been removed, which suited me,
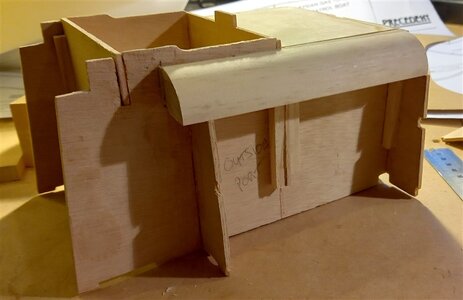
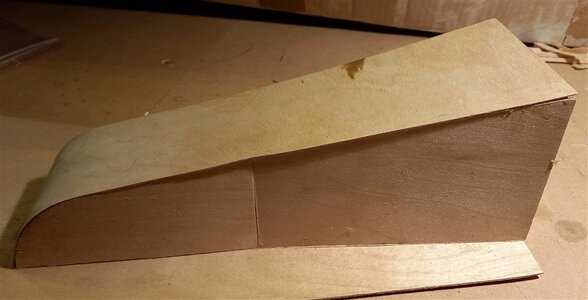
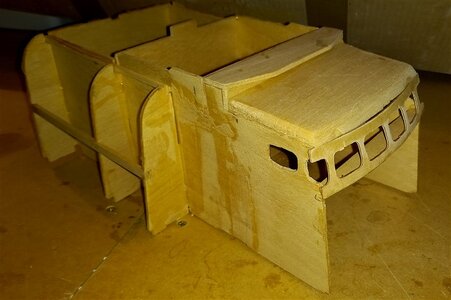
I cut off the cabin at the front and also cut away some of the frame work, I cut and glued a new deck to the top back of the bridge and added some 1/4 round to the top edge for supporting the outer covering which is a very thin plywood, I also added sides of a thicker plywood, not shown in the pic,
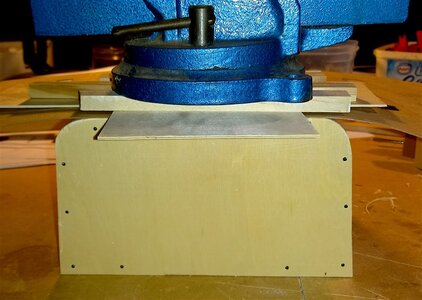
To glue the thin plywood skin I first glued it across the top of the superstructure and let it dry overnight with a heavy weight on it, ( 4 inch vise )
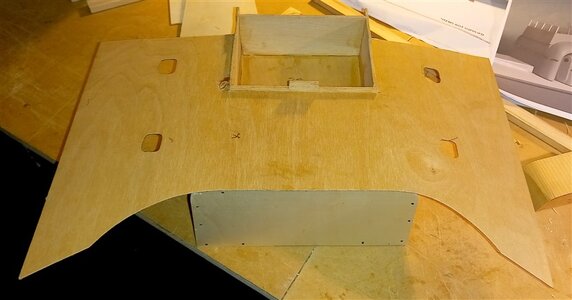
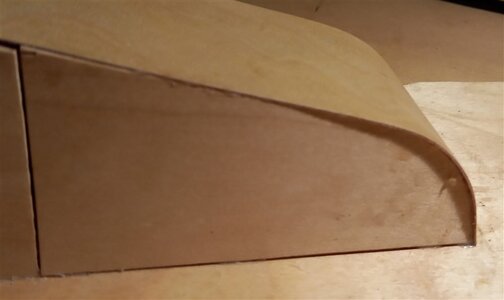
next day after removing the vise, the plywood skin has to be folded down the sides and glued in place, I was lucky that I was able to remove all the glue that was on the thin plywood,
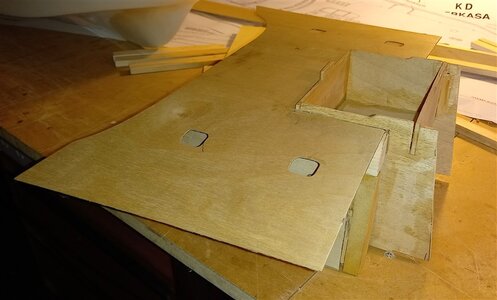
another view from the side, and you can see where I have cut the front of the cabin off the superstructure,
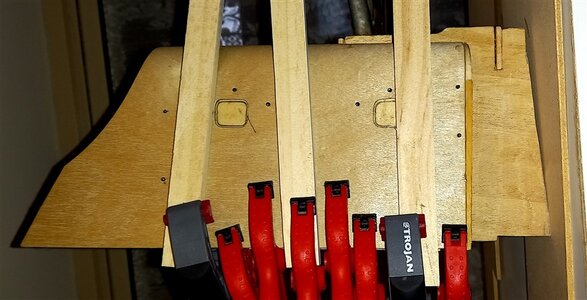
I folded the plywood down over the sides and glued it in place with the help of some wood strips and a few brass nails which I removed after the glue was dry,
best regards John,
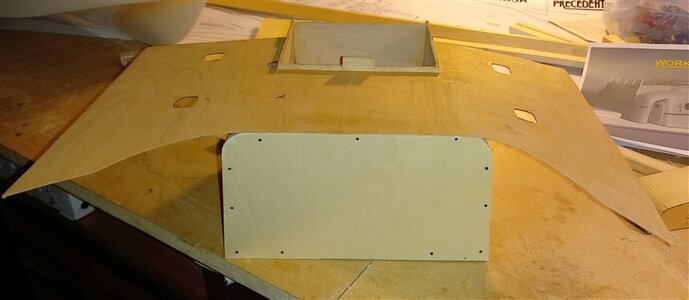
Next up was fitting a framework to support the deck and also the sides of the hull, the thick plywood framework that came with the hull was all cracked and broken,
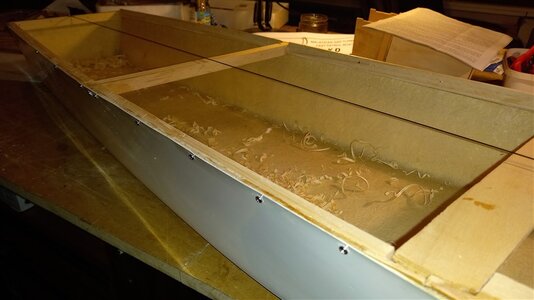
I cut and attached the timber strips around and across the the hull, I strung a piece of piano wire from bow to transom to act as a centre line,
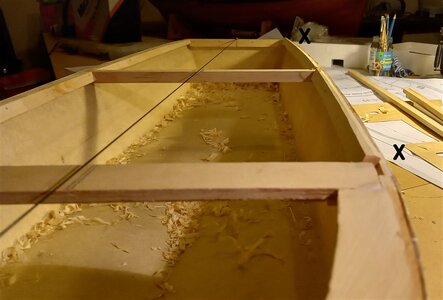
after gluing the strips around the hull I had to level them down, see between the X's,
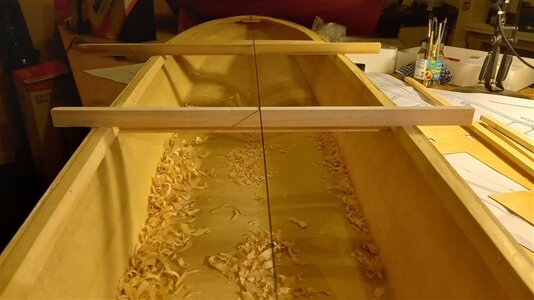
Just checking to see that all is level, from the research that i have done it looks like these boats had no camber or sheer,
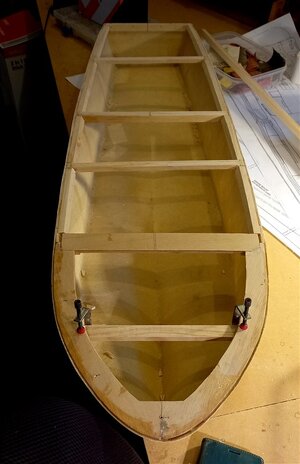
thats all the beams in place,
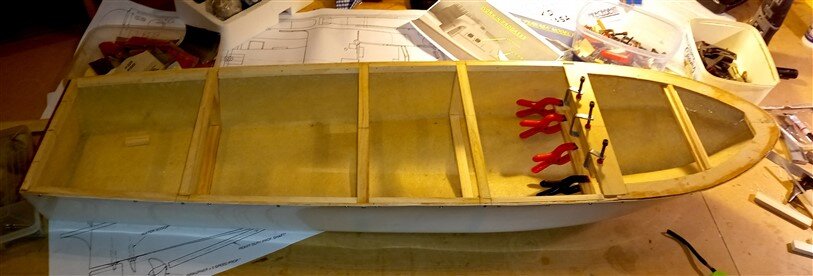
and on this pic you can see the frame work added under the beams,
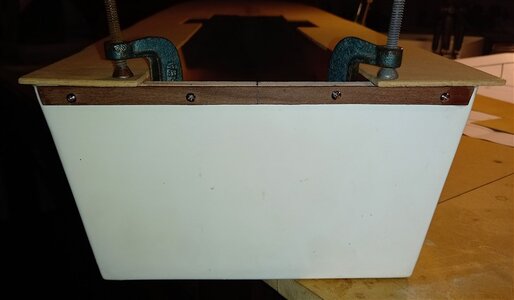
and at the fransom I had to add a cross piece as the top edge of the fiber glass was cracking up a little bit,
best regards john,
.

I cut and attached the timber strips around and across the the hull, I strung a piece of piano wire from bow to transom to act as a centre line,

after gluing the strips around the hull I had to level them down, see between the X's,

Just checking to see that all is level, from the research that i have done it looks like these boats had no camber or sheer,

thats all the beams in place,

and on this pic you can see the frame work added under the beams,

and at the fransom I had to add a cross piece as the top edge of the fiber glass was cracking up a little bit,
best regards john,
.
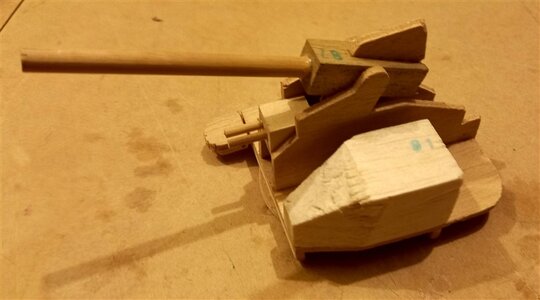
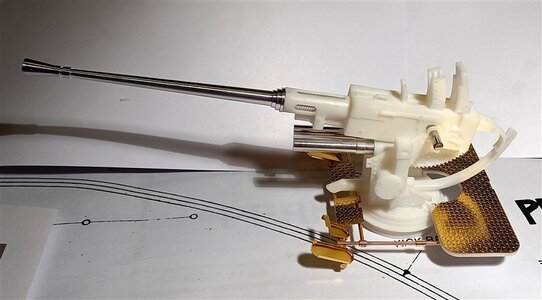
These are the bofor guns that came with the boat that the previous owner had built,
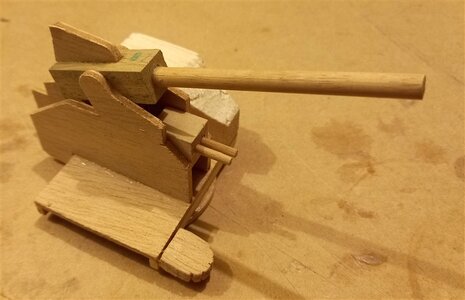
another view,
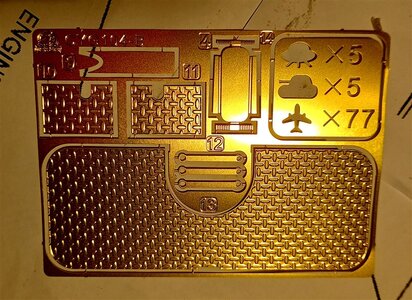
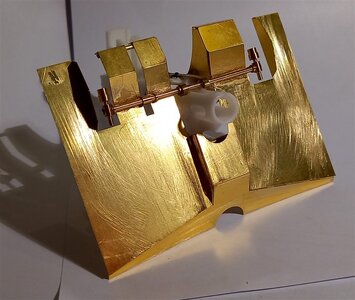
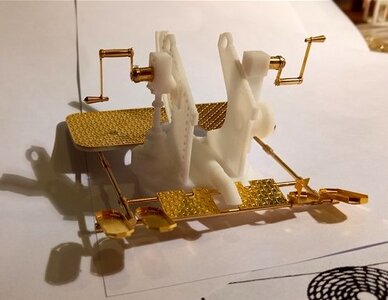
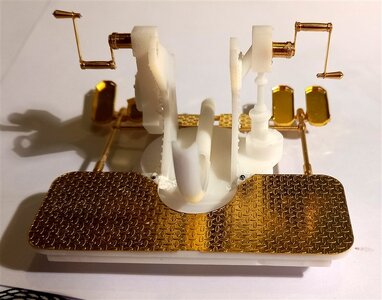
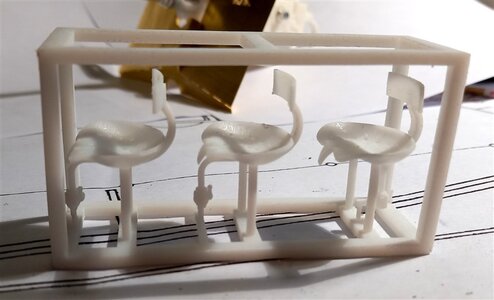
I wanted something a little bit better so went on line and found these, they are Printed and Photo etched, these are the floor plates, niceand thick,
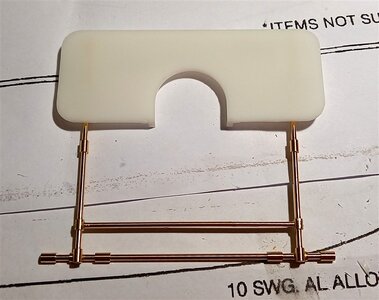
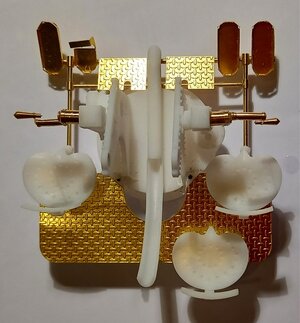
making up the framework, the piece at the rear is where the floor plates goes,
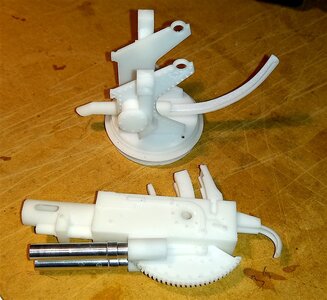
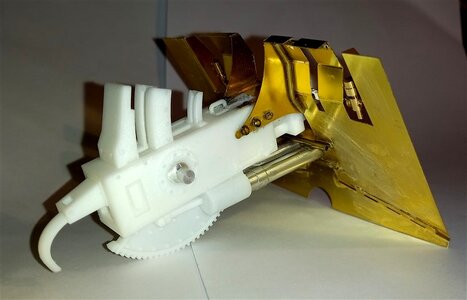
the main parts of the gun body, very well printed,
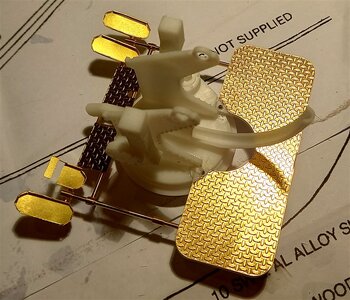
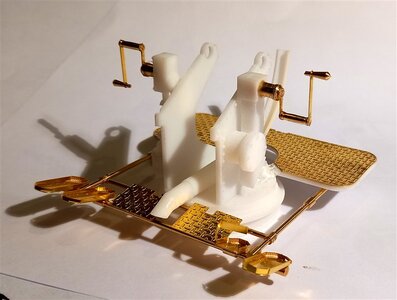
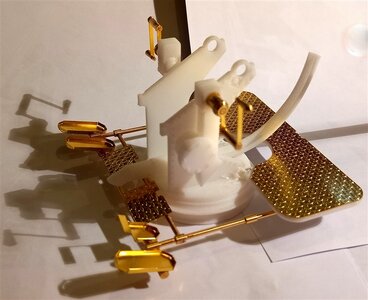
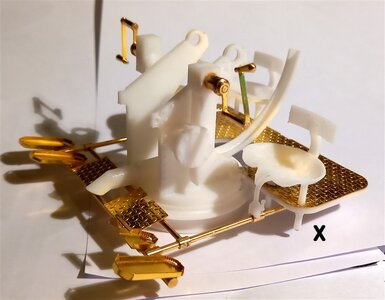
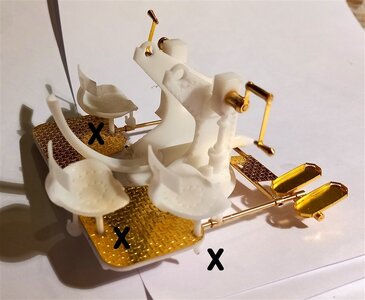
after gluing the floor pates, foot controls etc to the main body of the gun,
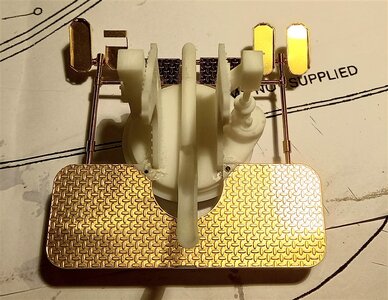
looking down on top of the build,
best regards John,
.
Last edited:
Kurt Konrath
Kurt Konrath
I have seen double and quad bofor's before but this is first time to see a single barrel version.
The work and gun look great, this boat should look great when done, are you making it a RC model?
The work and gun look great, this boat should look great when done, are you making it a RC model?
Awesome modeling, John!
G'day Kurt, thank you for the nice comments, and yes she will be RC model, I have the the tubes and prop shafts, also the rudders, just waiting for the 55mm twin props,I have seen double and quad bofor's before but this is first time to see a single barrel version.
The work and gun look great, this boat should look great when done, are you making it a RC model?
best regards John,
Great work so far, following with interest.
Awesome modeling, John!
Thanks Graham and Jim for the nice comments,
best regards John,
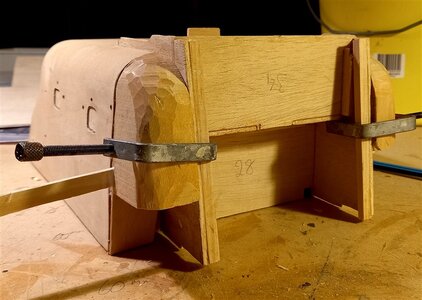
Back to the superstructure, I used some blocks of Jelutong that i had for the corners of the bridge, Jelutong is nice and easy to carve and sand and it is a lot more solid than balsa,
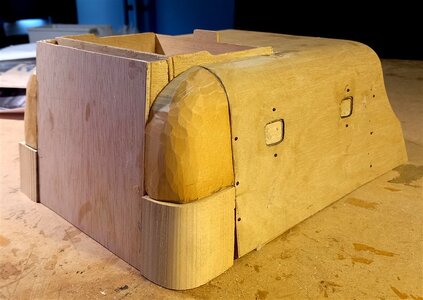
with the lower blocks in place and also the front of the bridge, the reason I used four blocks was that I had plenty of them and just wanted to use up stuff that I have available,
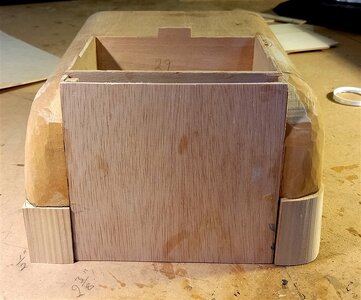
another view from the front,
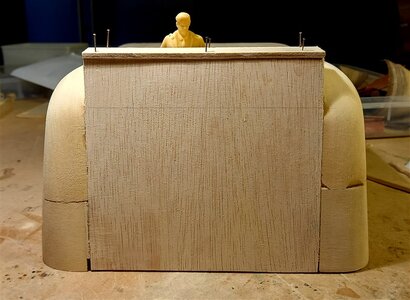
and after a preliminary sanding, some filling and more sanding to do yet,
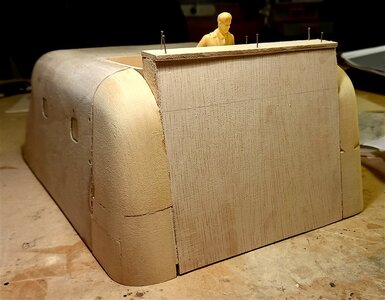
Testing a figure for scale on the bridge,
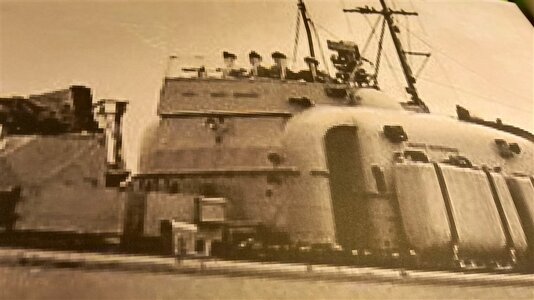
and a photo of the bridge with crew,
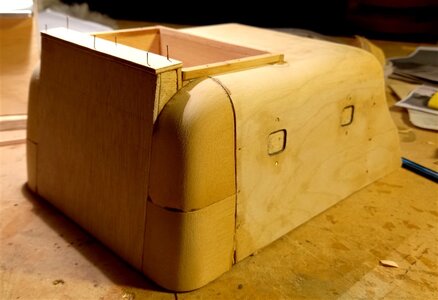
and another view,
best regards John,
.
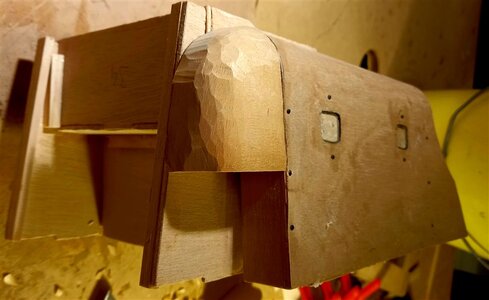
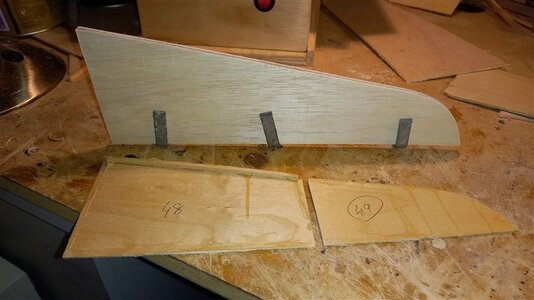
The parts used to make the aft superstructure, I used the old parts as a template and cut it all out in one piece,
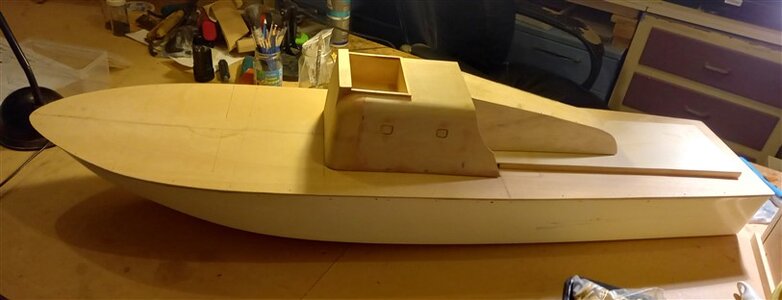
a pic where I am at at, the moment, I have fitted the deck, the original deck was in good condition it had not been glued on the model so I used it, I've cut and lined the hatches for easy access, and I will cut one more access point under where the fore Bofor will go,
thanks for looking in,
best regards John,
.
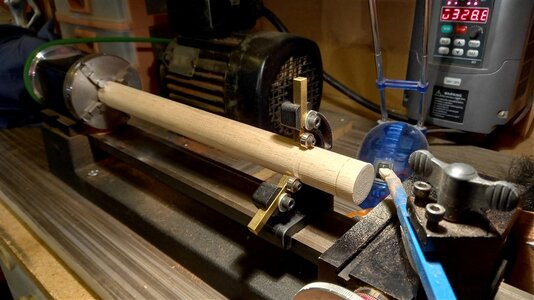
While the glue was drying on the other parts I decided to make the torpedo's, they are 300mm 12inches long and 25mm one inch in diameter, so i set up my Sherline long bed lathe with the steady rest, and mounted the dowell,
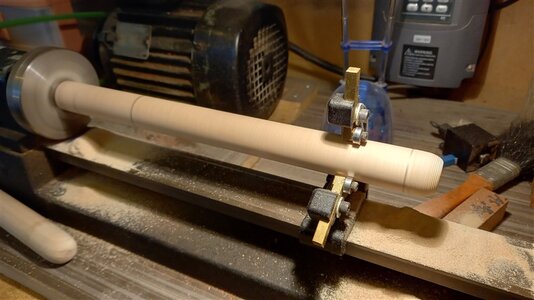
I used a slow speed and a miniature Rasp to form the noses and finished off with sandpaper,
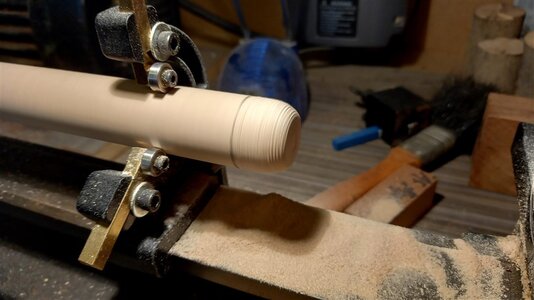
a close up view,

then while the dowell was still on the lathe I marked the taper for the after end and where the very end of the torpedo was I made a cut down into the torpedo, then i removed it from the lathe and using a craft knife I cut the taper to just over size, mounted it back in the lathe and did the final tapering and cut off the end piece,
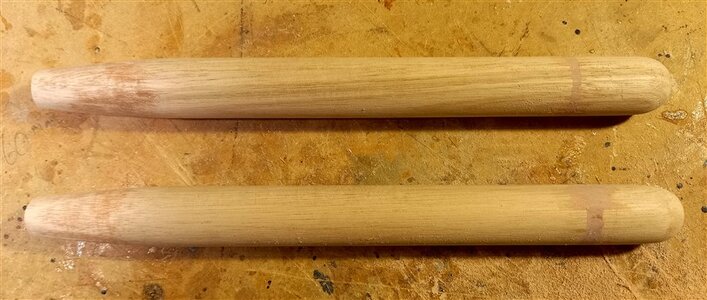
Two of the four torpedo's after filling and sanding, I'm now waiting for four 12mm propeller's to come, i could only get three bladed one's, they should be Ok, then I have to make the fins and the cowell part that covers the blades,
once again thanks for looking in,
best regards John,
.
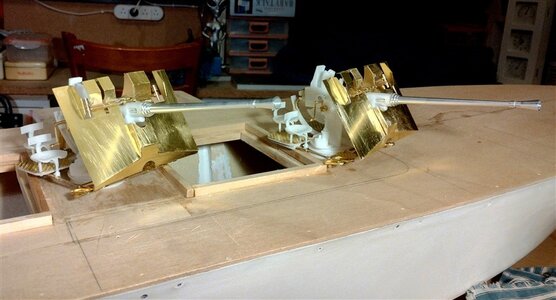
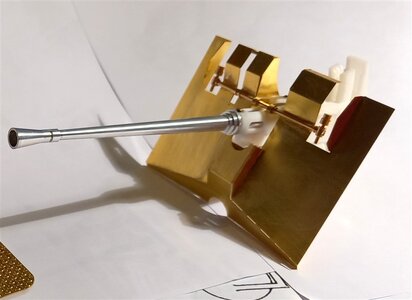
well thats both the Bofor guns completed apart from making the mounting and painting,
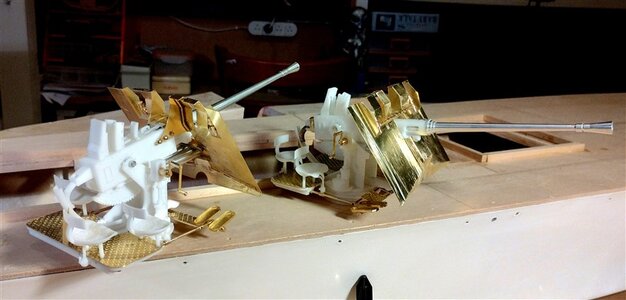
another view,
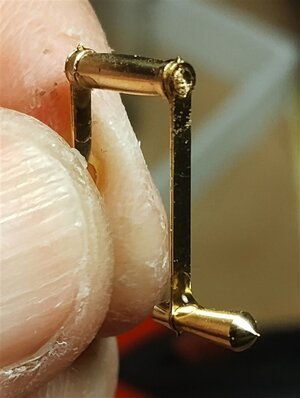
there were some tricky little suckers to glue, i think that these, the winders for the elevation were the fiddliest, but I enjoyed building the guns,
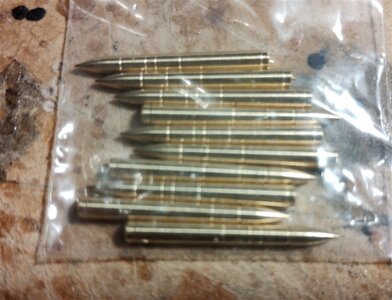
they also give you ten shells with each gun to go in the magazine on the top of the gun,
best regards John,
.
Kurt Konrath
Kurt Konrath
If I didn't know better I would say you found JFK's twin as crew member for your boat! 


