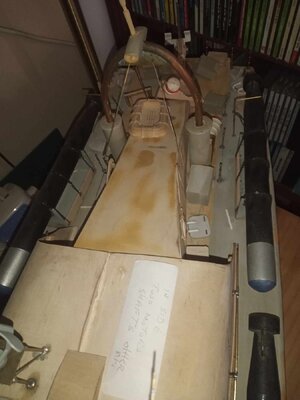
-

Win a Free Custom Engraved Brass Coin!!!
As a way to introduce our brass coins to the community, we will raffle off a free coin during the month of August. Follow link ABOVE for instructions for entering.
-

PRE-ORDER SHIPS IN SCALE TODAY!
The beloved Ships in Scale Magazine is back and charting a new course for 2026!
Discover new skills, new techniques, and new inspirations in every issue.
NOTE THAT OUR FIRST ISSUE WILL BE JAN/FEB 2026
You are using an out of date browser. It may not display this or other websites correctly.
You should upgrade or use an alternative browser.
You should upgrade or use an alternative browser.
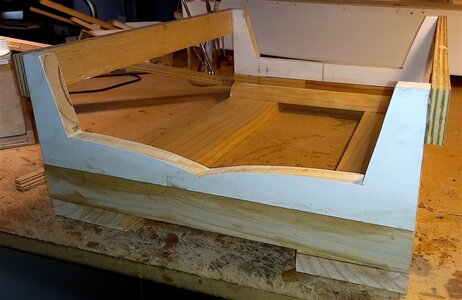
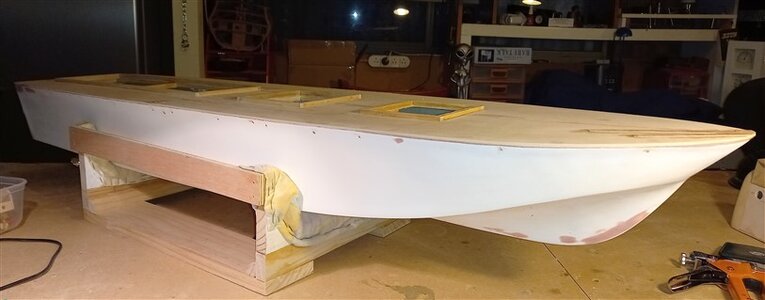
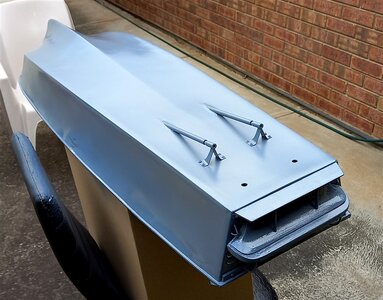
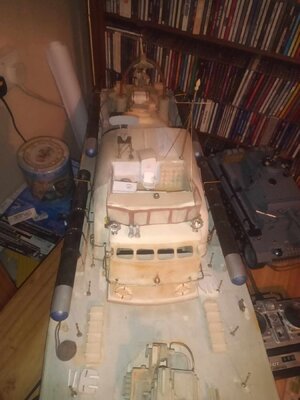
Next up was to make a stand I just used up some the wood I had around the workshop, the main thing to make sure of is that the stand is high enough so that the props and rudders are clear,
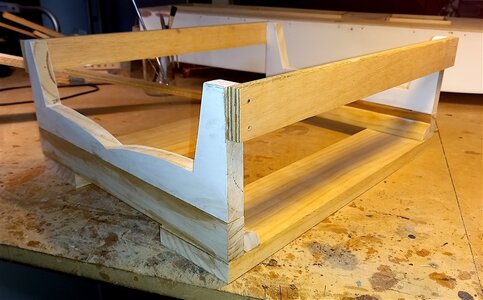
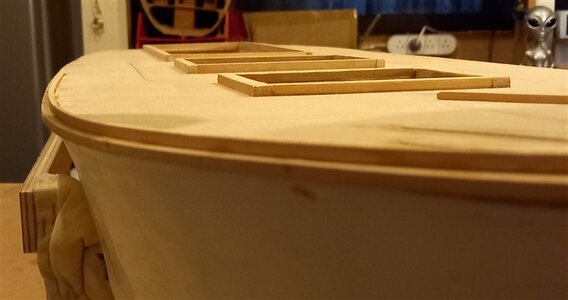
another view,
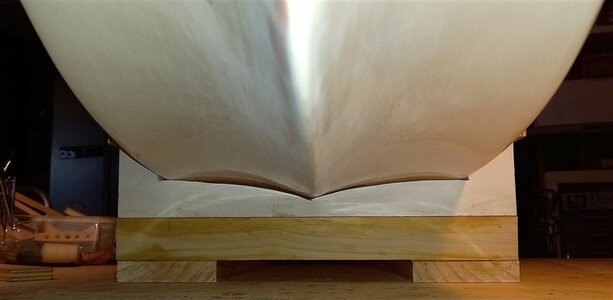
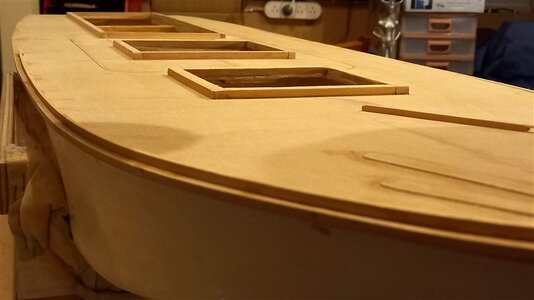
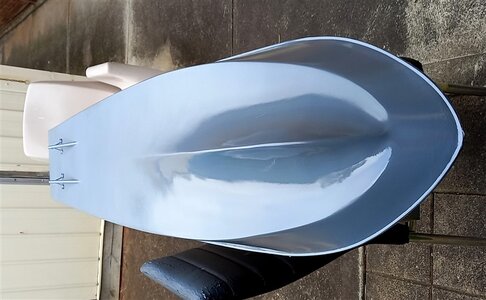
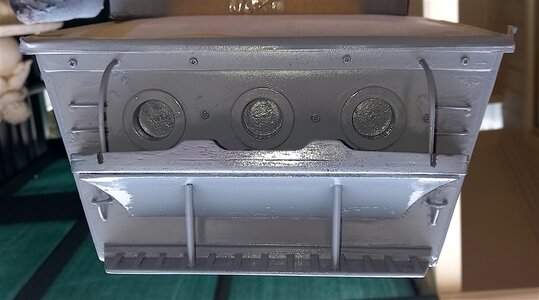
a look below, just a little bit of final adjustment needed, the edges of the frames will be padded tp protect the paint work,
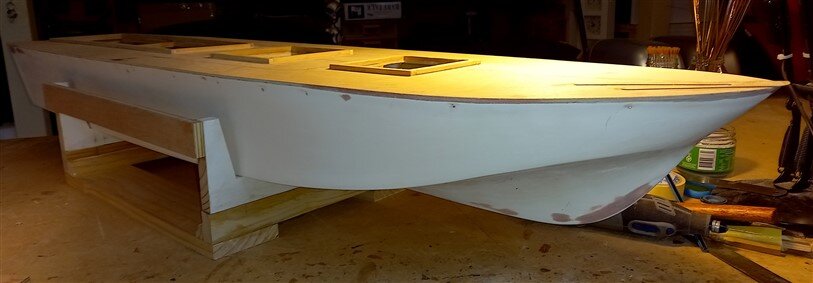
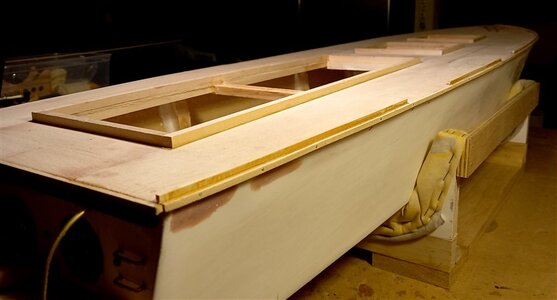
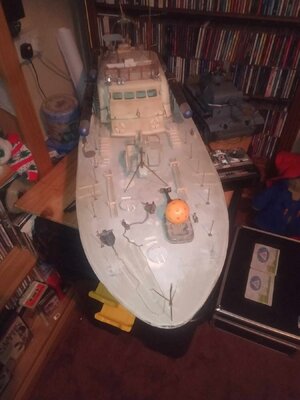
and a couple of views sitting on the stand,
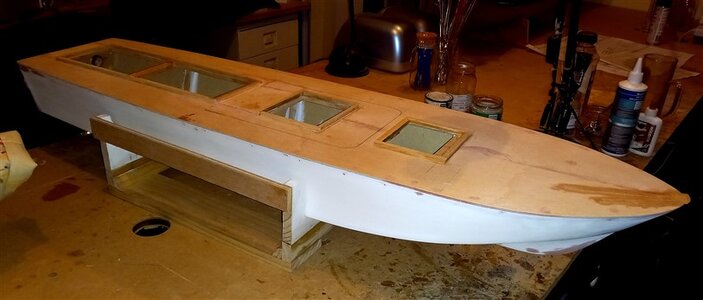
best regards john,
Your experience is showing as you work through the various challenges without delay....
Your experience is showing as you work through the various challenges without delay....
Thank you Paul,
Best regards John,
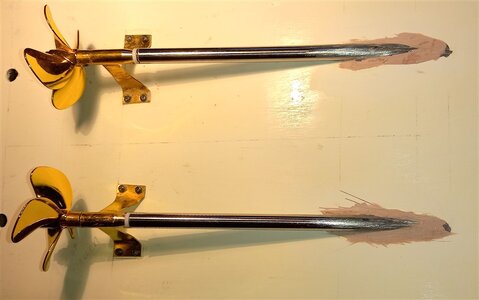
Good morning John. She is starting to come together beautifully. I love your metal work on the props, shafts and your rudder enlargement. Cheers GrantView attachment 439761
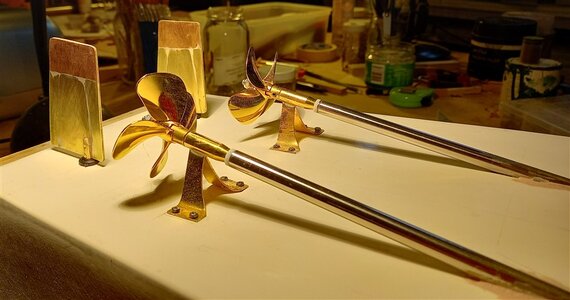
Next up was to make a stand I just used up some the wood I had around the workshop, the main thing to make sure of is that the stand is high enough so that the props and rudders are clear,
View attachment 439762
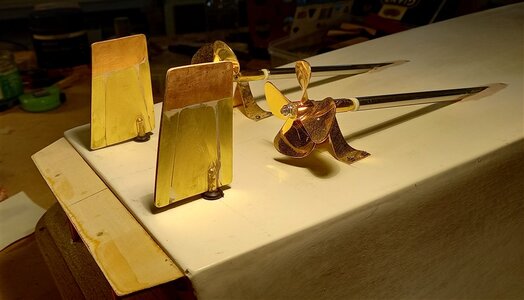
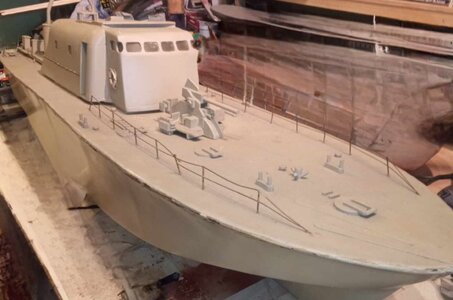
another view,
View attachment 439763
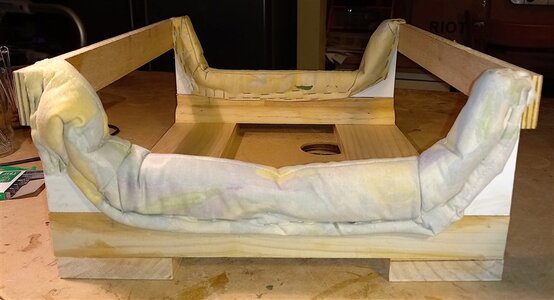
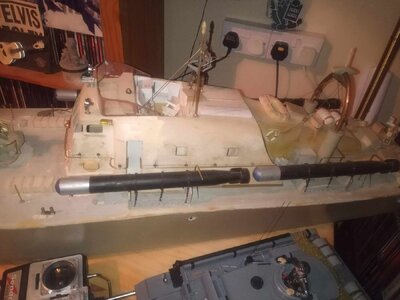
a look below, just a little bit of final adjustment needed, the edges of the frames will be padded tp protect the paint work,
View attachment 439764
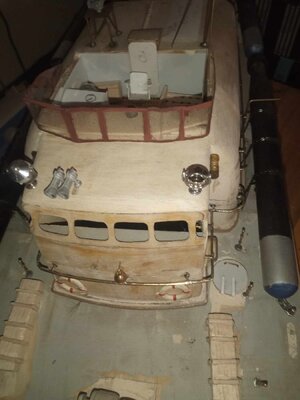
and a couple of views sitting on the stand,
View attachment 439765
best regards john,
Canoe21
Lawrence
Hello John, Very nice work, she sure has come a long way in a very short time, Well Done. You never fail to amaze me of just how you are able to see all of these parts that you alone can come up with and they all look so very nice goon in fit in very nicely.
Please say hello to your Admiral Maureen for us, it is nice that she is able to keep you working in your Old Ship Yard.
Regards
Bernadette and Lawrence
Please say hello to your Admiral Maureen for us, it is nice that she is able to keep you working in your Old Ship Yard.
Regards
Bernadette and Lawrence
Last edited:
- Joined
- Apr 20, 2020
- Messages
- 6,239
- Points
- 738

wonderful work, dear JohnView attachment 439761
Next up was to make a stand I just used up some the wood I had around the workshop, the main thing to make sure of is that the stand is high enough so that the props and rudders are clear,
View attachment 439762
another view,
View attachment 439763
a look below, just a little bit of final adjustment needed, the edges of the frames will be padded tp protect the paint work,
View attachment 439764
and a couple of views sitting on the stand,
View attachment 439765
best regards john,

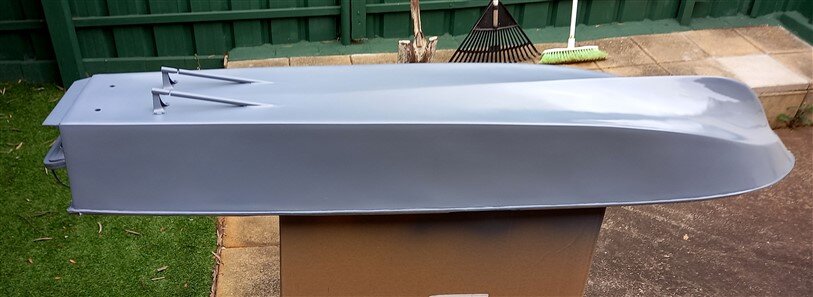
Wow! Now that's a nice painted hull!
Wow! Now that's a nice painted hull!
Thank you Paul, one more coat to go,
best regards John ,
A big thank you to all for all the likes,
best regards John ,
best regards John ,
- Joined
- Jun 11, 2024
- Messages
- 8
- Points
- 13

G'day Lee, I hope the following info helps you, I'm not very good at this sort of thing, I have a small set of plans also with a Photo book with some instructions and a build sequence I will send these to you through a PM or your email,
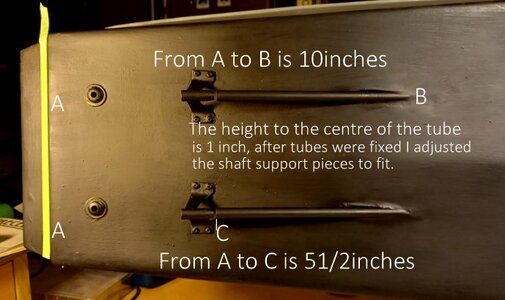
So from A to B, B is where the tube emerges from the hull and C is where it stops, I used 350mm tube shaft assemblies, but with adding the shaft support behind the tube I had to cut the length of the tube down so as to fit the support in place, I also used 55mm contra rotating propellers,
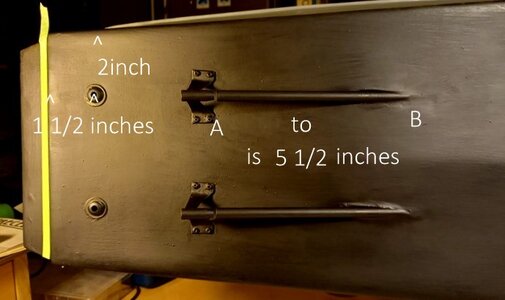
The green tape is where the transom ends, I put the twin rudders in line with the shafts,
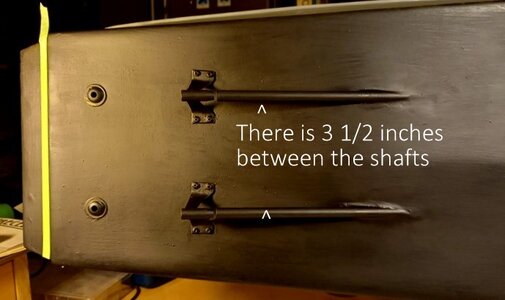
I hope all this is clear enough I'm not too good at describing things,
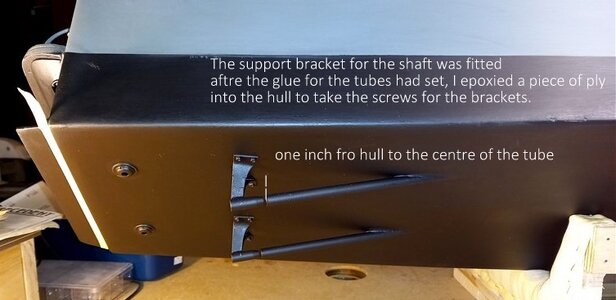
hope this helps you,
best regards John,
PS I will scan the plans and instruction books tomorrow and send them to you.
.

So from A to B, B is where the tube emerges from the hull and C is where it stops, I used 350mm tube shaft assemblies, but with adding the shaft support behind the tube I had to cut the length of the tube down so as to fit the support in place, I also used 55mm contra rotating propellers,

The green tape is where the transom ends, I put the twin rudders in line with the shafts,

I hope all this is clear enough I'm not too good at describing things,

hope this helps you,
best regards John,
PS I will scan the plans and instruction books tomorrow and send them to you.
.
- Joined
- Jun 11, 2024
- Messages
- 8
- Points
- 13

G'day Lee, I hope the following info helps you, I'm not very good at this sort of thing, I have a small set of plans also with a Photo book with some instructions and a build sequence I will send these to you through a PM or your email,
View attachment 453567
So from A to B, B is where the tube emerges from the hull and C is where it stops, I used 350mm tube shaft assemblies, but with adding the shaft support behind the tube I had to cut the length of the tube down so as to fit the support in place, I also used 55mm contra rotating propellers,
View attachment 453568
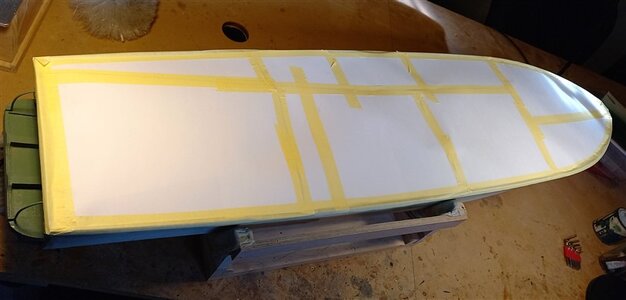
The green tape is where the transom ends, I put the twin rudders in line with the shafts,
View attachment 453569
I hope all this is clear enough I'm not too good at describing things,
View attachment 453570
hope this helps you,
best regards John,
PS I will scan the plans and instruction books tomorrow and send them to you.
.
Thank you so much that should help me out quite a bit it's more than what I know befor hand lol will just need to track down all the parts now eg props,shafts,shaft supports, some brushless motors lots to do lol. But thank you will look out for tge plans on email much appreciated buddyG'day Lee, I hope the following info helps you, I'm not very good at this sort of thing, I have a small set of plans also with a Photo book with some instructions and a build sequence I will send these to you through a PM or your email,
View attachment 453567
So from A to B, B is where the tube emerges from the hull and C is where it stops, I used 350mm tube shaft assemblies, but with adding the shaft support behind the tube I had to cut the length of the tube down so as to fit the support in place, I also used 55mm contra rotating propellers,
View attachment 453568
The green tape is where the transom ends, I put the twin rudders in line with the shafts,
View attachment 453569
I hope all this is clear enough I'm not too good at describing things,
View attachment 453570
hope this helps you,
best regards John,
PS I will scan the plans and instruction books tomorrow and send them to you.
.
- Joined
- Jun 11, 2024
- Messages
- 8
- Points
- 13

Don't suppose you have links to where you got all the props,shaft, shaft suports ect.

2 PCS High-Precision 4mm Stainless Steel Ship Propeller Support Shaft And Bushing Set Various Sizes For Remote Control Boat - AliExpress 26
Smarter Shopping, Better Living! Aliexpress.com
The tubes and shafts

1Pair 4-Blade Zinc Alloy Propeller Diameter 55mm Metal Paddle 4mm Shaft Hole CW CCW Props for RC Tug Bait Boat Accessories - AliExpress 26
Smarter Shopping, Better Living! Aliexpress.com
The props

2pcs Brass Propeller Shaft Bracket Double Arm Axle Strut Holder Inner Dia 4mm Flexible Supporter DIY Handmade Parts for RC Boat - AliExpress 26
Smarter Shopping, Better Living! Aliexpress.com
The shaft supports
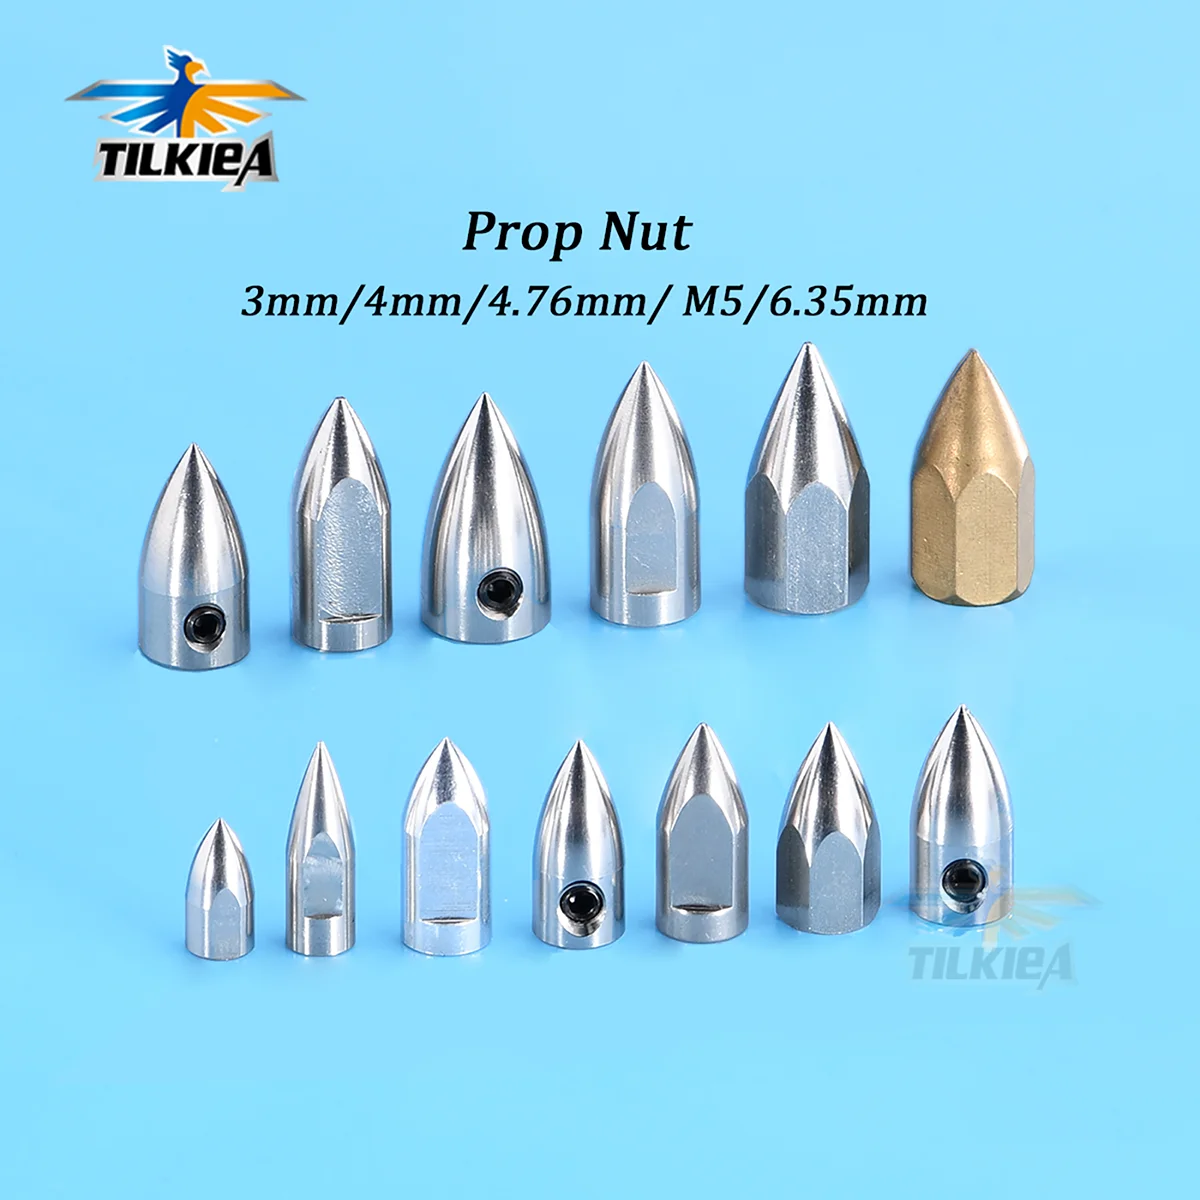
Good Quality Stainless Steel/Copper/Aluminum 3mm/4mm/4.76mm(3/16
Smarter Shopping, Better Living! Aliexpress.com
The nuts for the ends of the shafts

1Pc M2 Stainless Steel Push Rod Linkage + 2Pcs Nylon Rod End Ball Joint Set Assembly for Rc Model Airplane Car Boat - AliExpress 26
Smarter Shopping, Better Living! Aliexpress.com
The connecting rods for the rudders

CYG104 1/16 Bofors 40 mm Flak 28 AA Gun With Brass Detail Up Assembly Model Kit DIY Hobby Making Accessories - AliExpress 26
Smarter Shopping, Better Living! Aliexpress.com
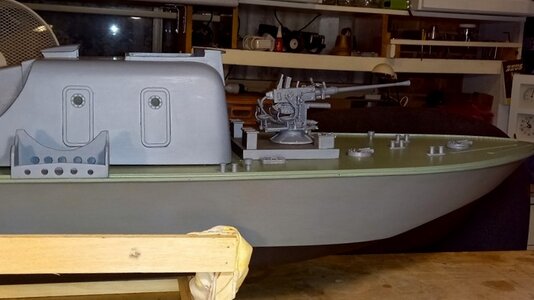
The Bofor guns, these are a little on the big side so I opted to leave the shields off, they claim they are 1/16 scale, I'm not sure I think they look alright on the boat, I did adjust the foot pedals,
Last edited:
I have sent you the instruction booklet by PM, I am having trouble trying to scan the plan, so if you PM me your name and address I will post the plan to you, it is at half size so if you take to the Printers and ask them to enlarge it 200 percent, this is what I did and then you can take all your measurements straight off the enlarged version,
best regards John,
best regards John,


