POF Hayling Hoy 1760 Modelship Dockyard

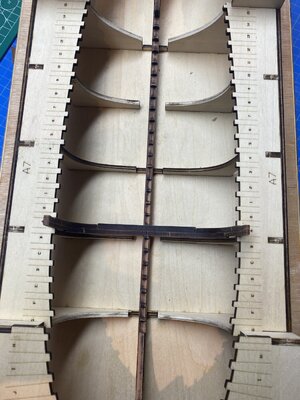
Uwek thanks for the info. There is a lot of information in your build log of the La Salamandre. After some reading and looking at the pictures in the manual I’m pretty sure which is the B side and assembled the A-frame today.
7FB2D463-7252-4642-BFAF-F9749D64B448.jpeg
I’m going to proceed with frame 0 and on so I get some practice before I start with the frames that have the sanding lines on them.
 
Uwek thanks for the info. There is a lot of information in your build log of the La Salamandre. After some reading and looking at the pictures in the manual I’m pretty sure which is the B side and assembled the A-frame today.
View attachment 329574
I’m going to proceed with frame 0 and on so I get some practice before I start with the frames that have the sanding lines on them.
I am very hapopy, that I could be of some help and the problem is solved for now.
Often it is helping to make a first frame midship and also one mor aft or fore also to understand the system sanding lines - think twice before cutting (or sanding)
 
You are a fast builder, Arne. In your opinion, how would you rate the frame assembly? Is it straightforward according to the manual, or do you sometimes have to scratch your head?
 
You are a fast builder, Arne. In your opinion, how would you rate the frame assembly? Is it straightforward according to the manual, or do you sometimes have to scratch your head?
Jimsky, for me as a beginner in frame assembling I could have used a little more explanation from the manual. With the help of Uwek and reading other logs it turned out oke I hope. I first build the A frame on a glass plate and after this the same with the B frame. After this I glued the A and B frame with there backs together.
 
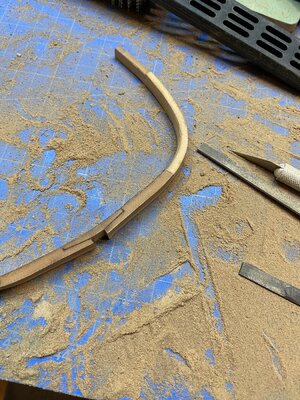
A lot of dust with the sanding of the ribs.
CF1DE56B-7875-4D2A-A4EE-E12DEB9CEAD8.jpeg

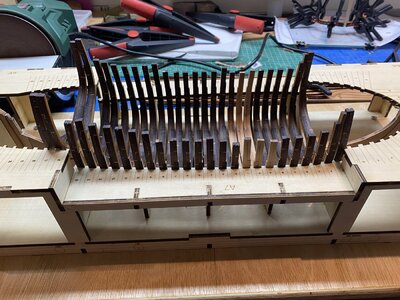
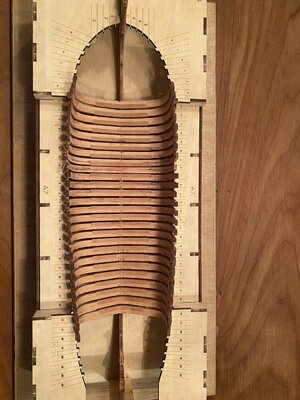
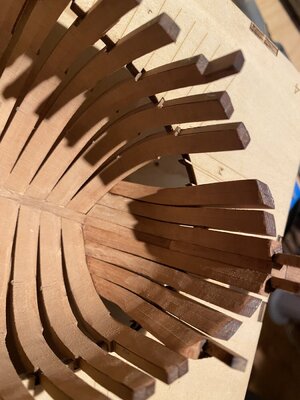
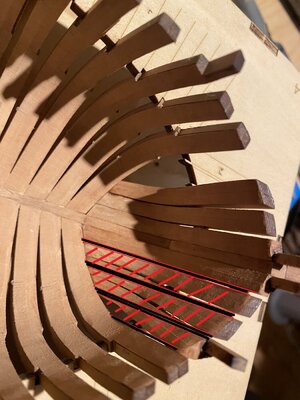
Al the middle frames are now sanded and dry fitted in the jig. There is still some sanding needed on the inside to make everything smooth. First i will start with the ribs for the stern and the bow. After that I will do a final sanding.
7C326B0B-C1C4-4F0A-91F2-7F16793FB763.jpeg

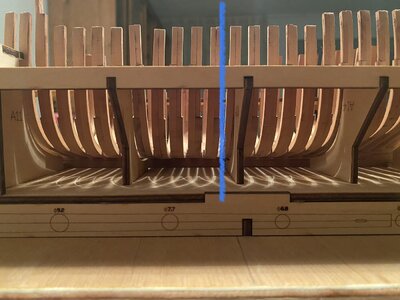
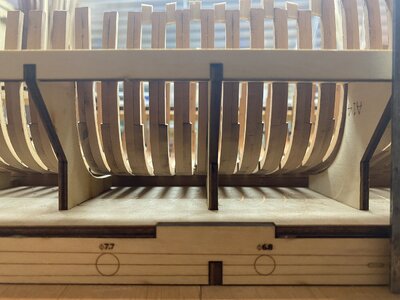
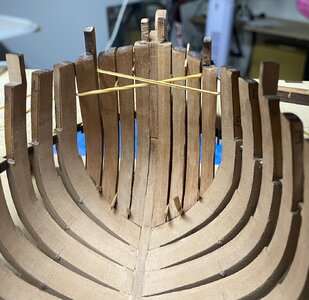
When I look from the side the ribs are not completely square to the keel. To correct this the keel should move but it’s locked in the jig. Should I correct something or is this normal?
F4E4BE44-E0BC-4514-97AF-DCEEBE19BCC3.jpeg
 
When I look from the side the ribs are not completely square to the keel. To correct this the keel should move but it’s locked in the jig. Should I correct something or is this normal?
Arne, while not being familiar with this kit, but having gained some experience with POF-building, I would strongly suggest to leave the keel as is, but instead, if and where possible, correct the orientation of the frame('s) affected. If you don't have your frames aligned and perpendicular, you're in for some nasty surprises. To ensure equal spacing of the frames some in this forum use fillers.
 
A lot of dust with the sanding of the ribs.
View attachment 332429

Al the middle frames are now sanded and dry fitted in the jig. There is still some sanding needed on the inside to make everything smooth. First i will start with the ribs for the stern and the bow. After that I will do a final sanding.
View attachment 332446

When I look from the side the ribs are not completely square to the keel. To correct this the keel should move but it’s locked in the jig. Should I correct something or is this normal?
View attachment 332447
Are all frames appr. in the same angle ? and not rectangle?
Did you check with the drawings, if there is a rectangle alignment between the frames and the keel?
Did you check the rectangle alignment of your jig? Not that your upper level is slightly dislocated towards (I guess the stern)?
Somehow like a trapez but not rectangle
 
First of all thanks for the likes and the helpful comments.
As RDN1954 suggested I will leave the keel as it is. Checked it with the drawing and there is nothing wrong.
I also checked the rectangle alignment of the jig on the advice of Uwek. This also seem to be in order.
When I reassembled the ribs in the jig I discovered that when the ribs where inserted in the jig there is still some room to play. If I put my finger on top of the rib and put a little bit of pressure in the right direction it’s sits nice and square.

I have seen some where here somebody using rubber band on the top of the ribs in the jig. I think I will try this to get everything square.
 
Tried to get the frames square with the rubber bands. This was not working like I thought it would. Finally I tried it with fillers, like mentioned by RDN1954.
It looks al lot better now. 31957035-DC50-49C2-BF46-75D5A5947360.jpeg
For now it’s back to making the final ribs and sanding.
 
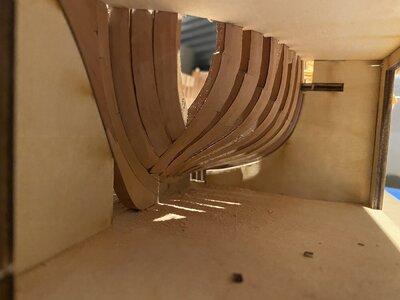
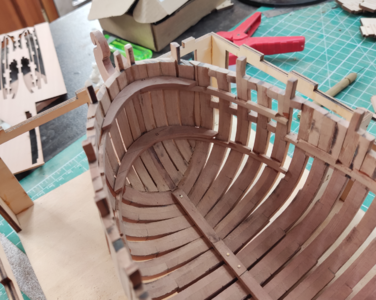
Finally al the ribs are finisht. Some small cleaning up and then I will assemble them with glue. On the pictures of Modelship Dockyard there are also fillers between the frames. Later in the build these will be covered by the side planking, wales and the inner planking. It’s not in the manual but I think this will give the hull more strength and keeps the frames square.

Final sanding on the keel. So next step is to glue them all, after that the final sanding of the inner hull and making the hawse pieces.
Progress is slow butt I’m enjoying it.
6F4D0C83-AB40-4422-B4FB-666ED3F5A560.jpeg
 
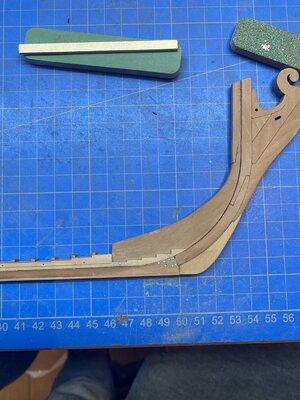
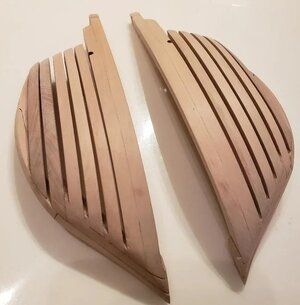
A small update, all the frames are glued in there position. At the moment I’m struggling with the hawse pieces. The last to pieces F4 and F5 should be glued together and fit. As it is now this will need more sanding than the beveling lines.
3874F84C-A0DB-4A31-B648-E16D559A88C0.jpeg
CB472306-5C7E-4B82-B23B-6185D43423AE.jpeg
I glued the top of the jig and think this will be a problem when placing the parts for the stern. Is it wise to try to remove the glue or can I make room by removing some wood so that there is room to work?
 
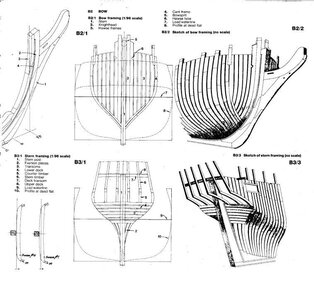
Uwek thanks again for your reply. Like Dubz mentions I forgot to check the images of the model.D1B87CAC-F1F8-42B9-B5C3-1059B5E9FB6E.jpeg
Removed the pieces and put them back again but now parallel to each other. The last piece F5 still needs some sanding but is looking beter than before.
Small mistake but a big difference.
 
Great work and you are learning from some of the best available to help out.

When in doubt, read and reread instructions and compare to the images and drawings provided.

But never forget help is a message away when needed or in doubt of how things should be.
 
Back
Top