This is just such stunning work Shota! I became a little behind on your log, but I love everything you are producing here.Good morning my friend. First of all, happy Easter. Your result looks very good and the tower brings back memories.
View attachment 438684
-

Win a Free Custom Engraved Brass Coin!!!
As a way to introduce our brass coins to the community, we will raffle off a free coin during the month of August. Follow link ABOVE for instructions for entering.
-

PRE-ORDER SHIPS IN SCALE TODAY!
The beloved Ships in Scale Magazine is back and charting a new course for 2026!
Discover new skills, new techniques, and new inspirations in every issue.
NOTE THAT OUR FIRST ISSUE WILL BE JAN/FEB 2026
You are using an out of date browser. It may not display this or other websites correctly.
You should upgrade or use an alternative browser.
You should upgrade or use an alternative browser.
POF L'Amarante Corvette de 12 canons 1744 1:36 (Ancre Monograph- Gérard Delacroix) By Shota
- Joined
- Apr 20, 2020
- Messages
- 6,242
- Points
- 738

Dear RogerHello Shota, it is a joy to follow your build and see such excellent workmanship. I was fascinated to see your tower of frames grow higher and higher.
Thank you very much for the warm and complimentary words, it's nice to know that you like my work
- Joined
- Apr 20, 2020
- Messages
- 6,242
- Points
- 738

my dear friend DanielThis is just such stunning work Shota! I became a little behind on your log, but I love everything you are producing here.
thanks for your kind words and compliments
- Joined
- Apr 20, 2020
- Messages
- 6,242
- Points
- 738

Hello dear friends
First I would like to thank you all for the kind words and compliments, likes and smiles. It's nice to know you like her
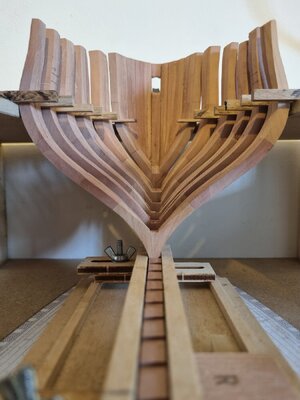
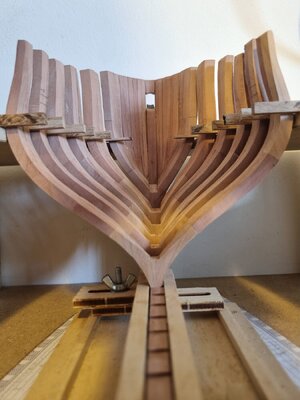
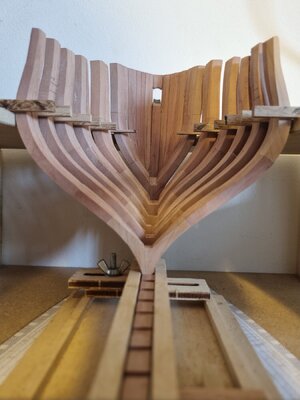
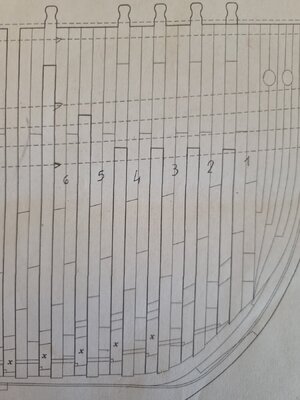
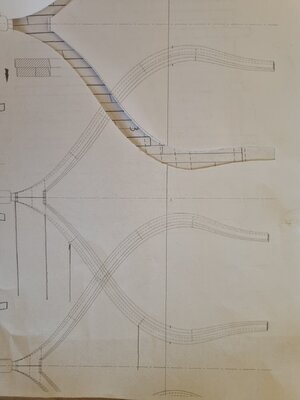
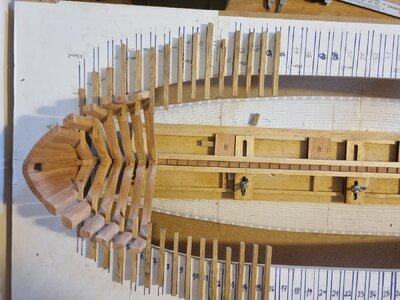
In the last few days, I started working on the next step, I'm making the necessary adjustments to fit the frames to the jig, including the keel.
I take and check each frame in terms of the slopes that express the contours of the ship's hull. I'm Maintaining the exact measurements at each corner of the frames and also marking the place where the three wooden strips of the wheels will be placed/glued.
In addition, I glued 4.5 mm thick wooden strips on the jig that help maintain the correct space of the frames and also make sure they stand at a 90 degree angle as required.
I admit that I pay a lot of attention to each frame to maintain the accuracy required to minimize mistakes/
damage to the ship's hull.
I would like to make it clear that this is not the last step in the process and there are many more, so for now I wish everyone a pleasant and enjoyable weekend
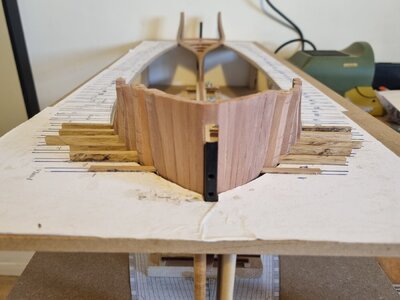
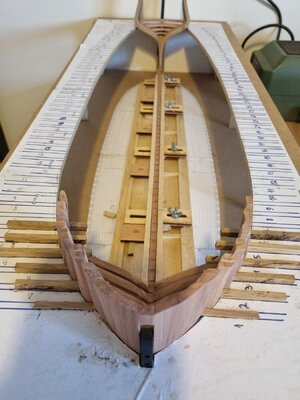
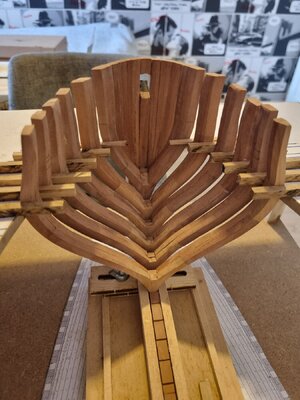
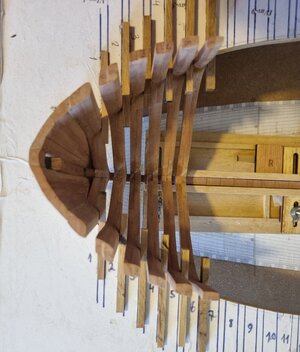


Very nice progress, my friend! You excel in your skills with each task.
- Joined
- Oct 23, 2018
- Messages
- 886
- Points
- 403

Hi Shota,
are you sure that the first cantframe and the hawse pieces (sorry I did not know the correct french name) are correct? In the first picture it looks that the frames are to much inside of your jig.
I hope that I am wrong, but now you can fix it easier than later
are you sure that the first cantframe and the hawse pieces (sorry I did not know the correct french name) are correct? In the first picture it looks that the frames are to much inside of your jig.
I hope that I am wrong, but now you can fix it easier than later
- Joined
- Apr 20, 2020
- Messages
- 6,242
- Points
- 738

my Dear friendHi Shota,
are you sure that the first cantframe and the hawse pieces (sorry I did not know the correct french name) are correct? In the first picture it looks that the frames are to much inside of your jig.
I hope that I am wrong, but now you can fix it easier than later
Thanks for the question and attention,
it just didn't sit in the right way .
In any case, I will verify this throughout the adjustment process
- Joined
- Apr 20, 2020
- Messages
- 6,242
- Points
- 738

my dear friend Jim, thank you very much for your kind words and compliments, I'm trying to do my best, I'm learning from the best (I mean all of you professional friends here)Very nice progress, my friend! You excel in your skills with each task.
- Joined
- Apr 20, 2020
- Messages
- 6,242
- Points
- 738

thank you very much my dear friendI agree with Jim
Good evening Shota. Wow- you are owning this my friend. Beautiful. Cheers GrantHello dear friends
First I would like to thank you all for the kind words and compliments, likes and smiles. It's nice to know you like her
In the last few days, I started working on the next step, I'm making the necessary adjustments to fit the frames to the jig, including the keel.
I take and check each frame in terms of the slopes that express the contours of the ship's hull. I'm Maintaining the exact measurements at each corner of the frames and also marking the place where the three wooden strips of the wheels will be placed/glued.
In addition, I glued 4.5 mm thick wooden strips on the jig that help maintain the correct space of the frames and also make sure they stand at a 90 degree angle as required.
I admit that I pay a lot of attention to each frame to maintain the accuracy required to minimize mistakes/
damage to the ship's hull.
I would like to make it clear that this is not the last step in the process and there are many more, so for now I wish everyone a pleasant and enjoyable weekend
View attachment 440244View attachment 440245View attachment 440246View attachment 440247View attachment 440248View attachment 440249View attachment 440250View attachment 440251View attachment 440252View attachment 440253
- Joined
- Apr 20, 2020
- Messages
- 6,242
- Points
- 738

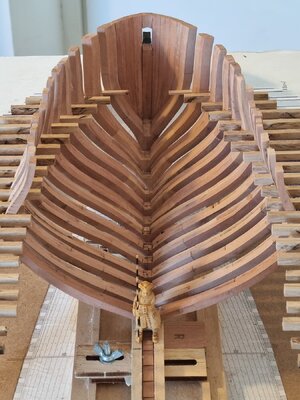
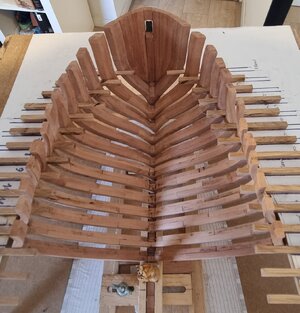
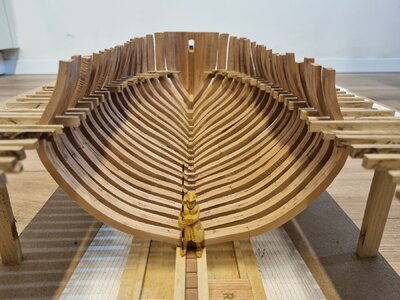
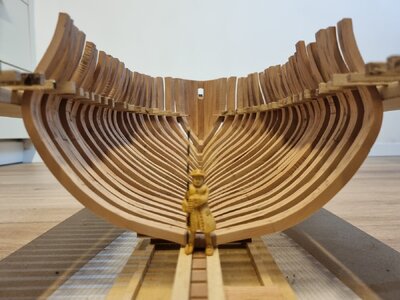
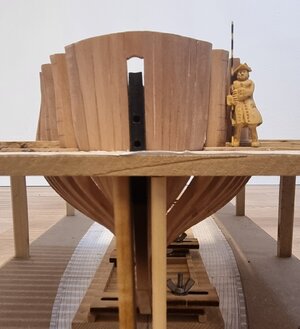
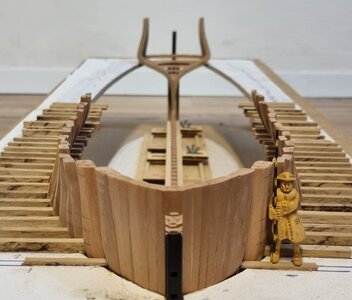
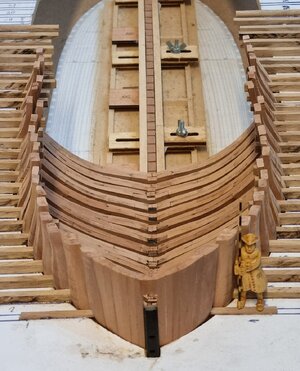
good evening dear my friends
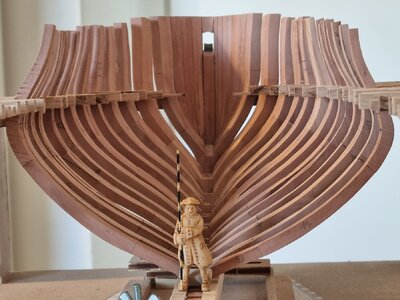
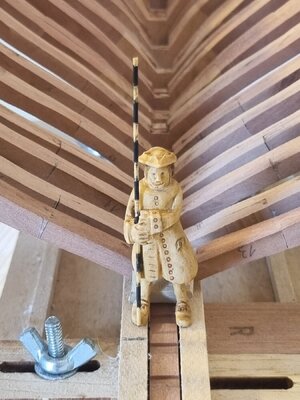
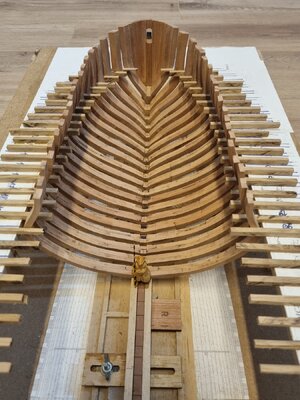
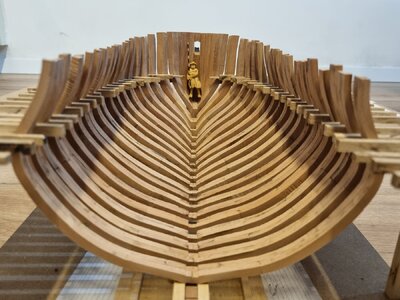
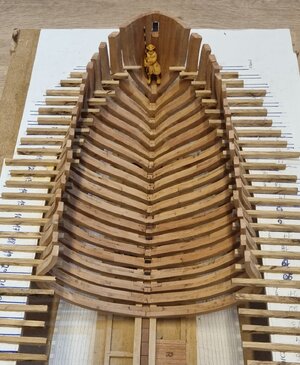
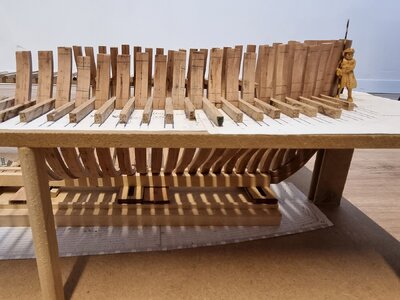
In the last week I continued to work on the initial adjustments that required to place the frames on the keel.
I reached frame number 20, an Amount that making it possible to get an impression along with the draft of the ship from the contours of the front third.
I also call in pencil the locations of the wills of the ship and the gunports.
As I mentioned the previous update ,I still have a lot more sanding work, adjustments and even repairs are required of me in some of the frames in order to reach an optimal result that will allow them to be glued permanently (after the installation of the nails that connected the two layers of each frame).
So until then you will be impressed by the small progress.
Good night everyone


- Joined
- Apr 20, 2020
- Messages
- 6,242
- Points
- 738

Great job Shota70. these type of builds are way over my head and ability and very much beyond me. Cheers.
my dear friends, thank you very much for your kind words and complimentsWitaj
Bardzo podoba mi się twoja praca Shoto . Powodzenia czekam na więcej. Pozdrawiam Mirek
Remarkable Shota, the dry fit looks good to me. One thing does show up however, the notch outs in the keel where the frames sit down seems to my very novice eyes a bit shallow. Maybe they are deeper than they appear?
- Joined
- Apr 20, 2020
- Messages
- 6,242
- Points
- 738

thanks my dear friend, I will check it soon as possibleRemarkable Shota, the dry fit looks good to me. One thing does show up however, the notch outs in the keel where the frames sit down seems to my very novice eyes a bit shallow. Maybe they are deeper than they appear?
Made some nice progress, Shota. Now that her shapes are becoming so visible, this can only be a stimulus for the next.good evening dear my friends
In the last week I continued to work on the initial adjustments that required to place the frames on the keel.
I reached frame number 20, an Amount that making it possible to get an impression along with the draft of the ship from the contours of the front third.
I also call in pencil the locations of the wills of the ship and the gunports.
As I mentioned the previous update ,I still have a lot more sanding work, adjustments and even repairs are required of me in some of the frames in order to reach an optimal result that will allow them to be glued permanently (after the installation of the nails that connected the two layers of each frame).
So until then you will be impressed by the small progress.
Good night everyone
View attachment 442105View attachment 442106View attachment 442107View attachment 442108View attachment 442109View attachment 442110View attachment 442111View attachment 442112View attachment 442113View attachment 442114View attachment 442115View attachment 442116View attachment 442117
Regards, Peter
Nice progress Shabtai. First time that I see those pictures on a large screen. Looks impressive, especially when considering your building speed. Waiting to see more .
.
Regards, Maks
Regards, Maks


