-

Win a Free Custom Engraved Brass Coin!!!
As a way to introduce our brass coins to the community, we will raffle off a free coin during the month of August. Follow link ABOVE for instructions for entering.
-

PRE-ORDER SHIPS IN SCALE TODAY!
The beloved Ships in Scale Magazine is back and charting a new course for 2026!
Discover new skills, new techniques, and new inspirations in every issue.
NOTE THAT OUR FIRST ISSUE WILL BE JAN/FEB 2026
You are using an out of date browser. It may not display this or other websites correctly.
You should upgrade or use an alternative browser.
You should upgrade or use an alternative browser.
IS THAT FOR ALL THE DECORATIONS INCLUDING STERN. Don
those are some impressive pictures. Are you using a Mobile phone or Camera and what brand type ?
Small advance of the week.
The second row of the planks was glued (plank 3# and 4#).
I followed the steps described in the manual. I have to confess a little deviation from the instructions. After bending and twisting the plank 3# with heat, I soaked the first two inches of the plank in hot water during a few minutes ant put it in place (without glue) to obtain a more precise shape. I waited the next day to start gluing it. A little sanding is still needed on the lower outboard side near the bow to flush with the plank 1#.
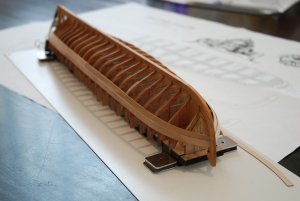
We notice well the clinker planking on this first picture.
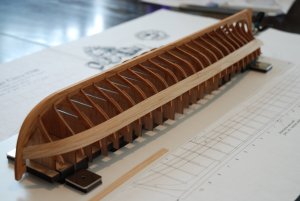
Now, I will begin the last row (Inspired by the two models visible at the NMM of London, only three rows of planks are installed,
leaving visible the frame of the barge).
The second row of the planks was glued (plank 3# and 4#).
I followed the steps described in the manual. I have to confess a little deviation from the instructions. After bending and twisting the plank 3# with heat, I soaked the first two inches of the plank in hot water during a few minutes ant put it in place (without glue) to obtain a more precise shape. I waited the next day to start gluing it. A little sanding is still needed on the lower outboard side near the bow to flush with the plank 1#.

We notice well the clinker planking on this first picture.

Now, I will begin the last row (Inspired by the two models visible at the NMM of London, only three rows of planks are installed,
leaving visible the frame of the barge).
You mentioned, that the boat is clinker built.......
and you started the planking with the planks in the height of the waterline.
How you can achieve, that the "lower" planks are getting under the upper planks?
Take a look at this sketch:
The planks with red arrow are installed, the plank with blue arrow has to be under the installed plank, so the yellow painted area is covered by the other plank
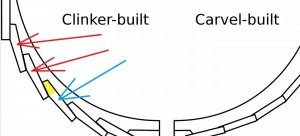
usually clinker planked ships and boats are planked started with the plank close to the keel.
Are you making a notch longitudinal, so you can push the plank under the other one?
and you started the planking with the planks in the height of the waterline.
How you can achieve, that the "lower" planks are getting under the upper planks?
Take a look at this sketch:
The planks with red arrow are installed, the plank with blue arrow has to be under the installed plank, so the yellow painted area is covered by the other plank

usually clinker planked ships and boats are planked started with the plank close to the keel.
Are you making a notch longitudinal, so you can push the plank under the other one?
The barge will have only three range of planks... I begin with the third row of plank (the lower plank in this case...) As mentioned in my previously message, the kit has only three rows of planks, it is inspired of the 2 models visible at the NMM of London. The kit is designed to leave visible the framing.
- Joined
- Oct 23, 2018
- Messages
- 886
- Points
- 403

Hi,
if I look at your pictures, it seems that there is a small mistake in your clinker planking. At the bow ends the klinker planking carvel. Perhaps you can change this. If not, it's also ok.
if I look at your pictures, it seems that there is a small mistake in your clinker planking. At the bow ends the klinker planking carvel. Perhaps you can change this. If not, it's also ok.
Yes Christian, I know that I have a little imperfection. I will try to adjust.
I made a small advance on the build of the Queen Anne barge. The last row of planks is over. This last three planks represent the sheer strake. They are pre-spiled like the others planks. For this row, the type of planking change. They are not clinker planked but set flush against the strake below. We don't need to have caulking because a molding will be positioned exactly between this two strakes.
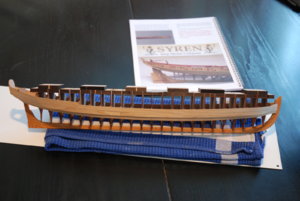
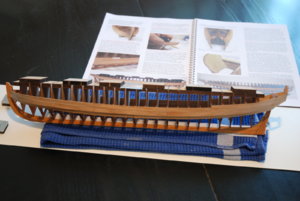
I also measured and trimmed the planks at the stern. The flying transom was posed and the barge then takes its final shape.
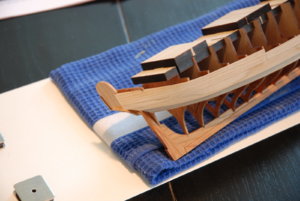
Now it's time to remove the frame centers...
The construction of this model is a real pleasure the assembly of the kit being very well thought out.
I made a small advance on the build of the Queen Anne barge. The last row of planks is over. This last three planks represent the sheer strake. They are pre-spiled like the others planks. For this row, the type of planking change. They are not clinker planked but set flush against the strake below. We don't need to have caulking because a molding will be positioned exactly between this two strakes.


I also measured and trimmed the planks at the stern. The flying transom was posed and the barge then takes its final shape.

Now it's time to remove the frame centers...
The construction of this model is a real pleasure the assembly of the kit being very well thought out.
Thanks to everyone who follows this build.
I have removed the model from the base. The key word is 'Take your time'. Go slow and push alternatively from port to starboard. I was a little worried before I started but finally this step happened more easily than expected. Just proceed slowly.
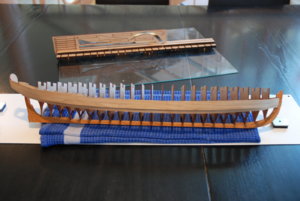
Then I prepared the build board gluing together the two parts and adding cherry strips provided in the kit.
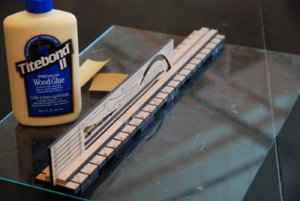
Then I remove the frame centers.
The frame centers were removed. I used for this step four different tools : I started cutting with a triangular files. Then I enlarged the cut with the semi-circular file (the rounded shape used on the inside of the hull). Then I continued using the little saw. The cut is delicately finished using the cutter.
Once again just one tip : work gently.
Only the first frame to remove is a little more complicate because we have little room to bend it... Then the workspace gets bigger and bigger...
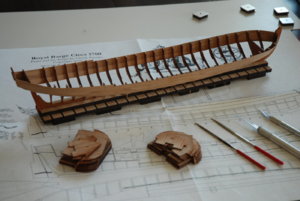
I just started to sand the tops of each frame down so they will be flush with the top of the planking. It's the preliminary step before to glue the cap rail.
I have removed the model from the base. The key word is 'Take your time'. Go slow and push alternatively from port to starboard. I was a little worried before I started but finally this step happened more easily than expected. Just proceed slowly.

Then I prepared the build board gluing together the two parts and adding cherry strips provided in the kit.

Then I remove the frame centers.
The frame centers were removed. I used for this step four different tools : I started cutting with a triangular files. Then I enlarged the cut with the semi-circular file (the rounded shape used on the inside of the hull). Then I continued using the little saw. The cut is delicately finished using the cutter.
Once again just one tip : work gently.
Only the first frame to remove is a little more complicate because we have little room to bend it... Then the workspace gets bigger and bigger...

I just started to sand the tops of each frame down so they will be flush with the top of the planking. It's the preliminary step before to glue the cap rail.
That looks very, very delicate.
You are doing a great job with the launch, she looks really good, enjoy,
Best regards John,
Best regards John,
Thanks for all people who follows my build.
@paulv1958, You are right. At this step, the barge is very delicate. But adding the cap rails will strengthen all the structure.
@john, thank you for your kind words.
The cap rail is in place. The three sections were glued quite easily because the width of the pieces is generous. So no problem to position the cap rail. Just make sure you have enough width when you will sand the pieces. Sanding the cap rail was more time consuming than expected. After having sanding the outboard edge flush with the planking, I drew with a compass open to a width of 5/64" a line all along the top of the cap rail. I have the view of the area to be eliminated.
I completed this step in three work sessions. I think that this step is important and that it is necessary to devote the necessary time because it gives you the final aspect of the barge.
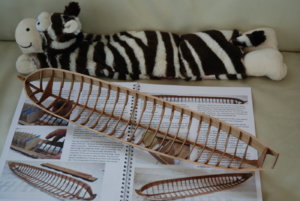
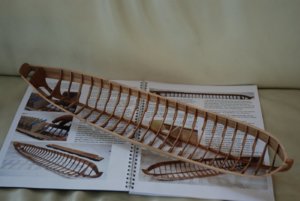
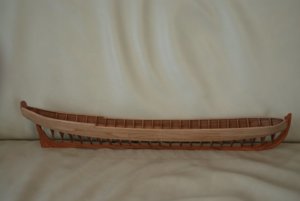
I will now work on the floorboards.
@paulv1958, You are right. At this step, the barge is very delicate. But adding the cap rails will strengthen all the structure.
@john, thank you for your kind words.
The cap rail is in place. The three sections were glued quite easily because the width of the pieces is generous. So no problem to position the cap rail. Just make sure you have enough width when you will sand the pieces. Sanding the cap rail was more time consuming than expected. After having sanding the outboard edge flush with the planking, I drew with a compass open to a width of 5/64" a line all along the top of the cap rail. I have the view of the area to be eliminated.
I completed this step in three work sessions. I think that this step is important and that it is necessary to devote the necessary time because it gives you the final aspect of the barge.


I will now work on the floorboards.
Thanks for all people who follows my build.
While waiting to finish laying the boards of the center floor, I prepared the two others platforms.
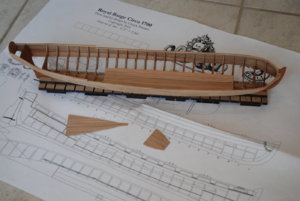
The floorboards consist of pre-spiled laser cut cherry planks. You just need to glue them together...
I just mark on side of each board with a a pigma brush from Sakura Corporation.
Looking at the picture, I realize that a small sanding on the sides is required...
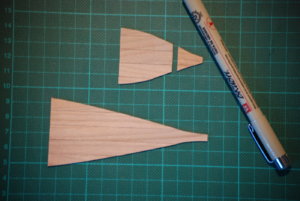
The floorboards are done. I have begin with the center platform which did not pose any particular problems. Little bending and twisting are necessary on some of the laterals boards.
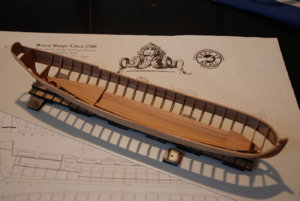
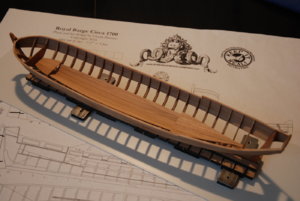
I still have to apply some teak oil before to work on the treenails.
While waiting to finish laying the boards of the center floor, I prepared the two others platforms.

The floorboards consist of pre-spiled laser cut cherry planks. You just need to glue them together...
I just mark on side of each board with a a pigma brush from Sakura Corporation.
Looking at the picture, I realize that a small sanding on the sides is required...

The floorboards are done. I have begin with the center platform which did not pose any particular problems. Little bending and twisting are necessary on some of the laterals boards.


I still have to apply some teak oil before to work on the treenails.
Thanks for all people who follows my build.
The process of treenailing is finished. I decided to use a method found on the build log of the Naiad Frigate by Ed Tosti. This is also the method recommended in the instruction manual. I ordered some 10lb black line so that the result is light enough.
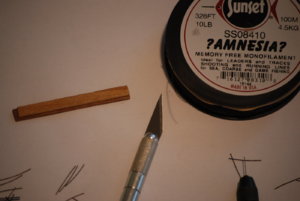
I built a jig by gluing two strip of woods leaving a gap of 1mm between the two pieces. On the opposite side, I then traced, with a well-sharpened pencil, small marks at a distance of 6mm.
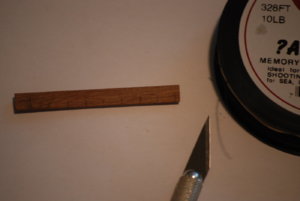
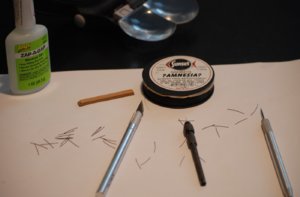
Then just put the jig at the bottom of the plank and mark the location to drill using the needle holder. You will have the mark at one millimeter of the bottom edge and spaced 6 mm. To put the treenails I followed the instructions provided by the manual. The size of the drill bit is 0.3mm. Just be sure to use a sharp blade to cut the line.
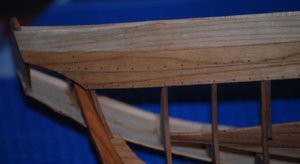
It took a while because there were a little over 300 treenails to glue... but I am quite satisfied with the result.

Now it's time to work on the moldings and to take out my brushes...
The process of treenailing is finished. I decided to use a method found on the build log of the Naiad Frigate by Ed Tosti. This is also the method recommended in the instruction manual. I ordered some 10lb black line so that the result is light enough.

I built a jig by gluing two strip of woods leaving a gap of 1mm between the two pieces. On the opposite side, I then traced, with a well-sharpened pencil, small marks at a distance of 6mm.


Then just put the jig at the bottom of the plank and mark the location to drill using the needle holder. You will have the mark at one millimeter of the bottom edge and spaced 6 mm. To put the treenails I followed the instructions provided by the manual. The size of the drill bit is 0.3mm. Just be sure to use a sharp blade to cut the line.

It took a while because there were a little over 300 treenails to glue... but I am quite satisfied with the result.

Now it's time to work on the moldings and to take out my brushes...
Very nice work, she is looking very good,
best regards John,
best regards John,
The treenails are looking very good (close-up photo)
Thanks to everyone who follows this build.
I work on the upper molding.
I fix a boxwood strip on a metal jig using double-sided tape.
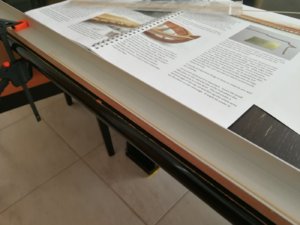
and I can use the scraper to create the molding passing several times slightly.
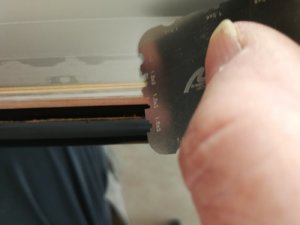
Top molding was glued. All the small interstices between the molding and the cap rail were filled and were sanded using a 320 sheet of sandpaper.
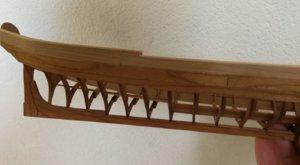
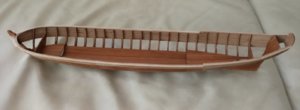
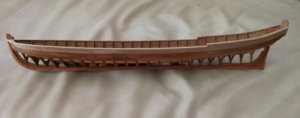
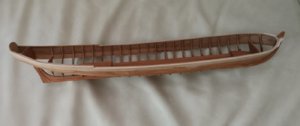
I will now paint the space between the upper and the future lower molding. Its seems easier with only one molding in place. The lower molding will be added once the painting is done.
I work on the upper molding.
I fix a boxwood strip on a metal jig using double-sided tape.

and I can use the scraper to create the molding passing several times slightly.

Top molding was glued. All the small interstices between the molding and the cap rail were filled and were sanded using a 320 sheet of sandpaper.


I will now paint the space between the upper and the future lower molding. Its seems easier with only one molding in place. The lower molding will be added once the painting is done.


