Thank you to all the 'Likes'.
As I have a very specific idea for the base and it requires the use of a table saw (which I have not yet ...), I move quietly on the sculpture of the decorative carvings.

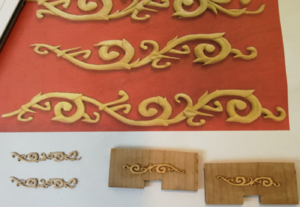
Having finished the first 2 carvings, it was at the time of the setting up on the barge that I realized my stupidity
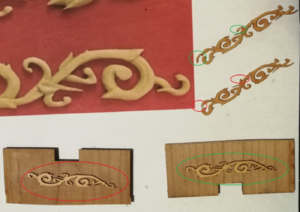
The decorations must be symmetrical and should not be carved on the same side.... So I have to start one of her again ...

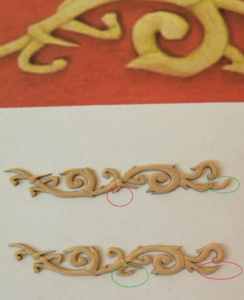
The good news is that each carving had a small piece of broken and I could not find any more broken parts that I had yet set aside....
I was able to repair one of the broken elements by sacrificing the second carving (which anyway was unusable because carved on the wrong side)

The second good news is that I reproduced the same mistake in preparing the second part but as I just started to sculpt one of them, I'll be able to glue the second piece on the right side.
A second set of extra boxwood carving blanks should arrive shortly from Syren...
As I have a very specific idea for the base and it requires the use of a table saw (which I have not yet ...), I move quietly on the sculpture of the decorative carvings.

Having finished the first 2 carvings, it was at the time of the setting up on the barge that I realized my stupidity
The decorations must be symmetrical and should not be carved on the same side.... So I have to start one of her again ...

The good news is that each carving had a small piece of broken and I could not find any more broken parts that I had yet set aside....
I was able to repair one of the broken elements by sacrificing the second carving (which anyway was unusable because carved on the wrong side)

The second good news is that I reproduced the same mistake in preparing the second part but as I just started to sculpt one of them, I'll be able to glue the second piece on the right side.
A second set of extra boxwood carving blanks should arrive shortly from Syren...


