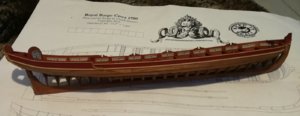
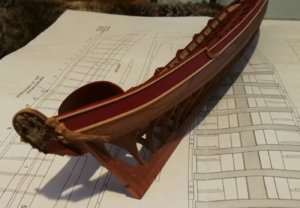
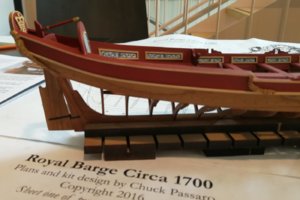
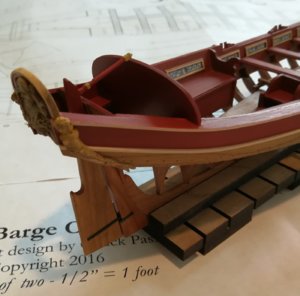
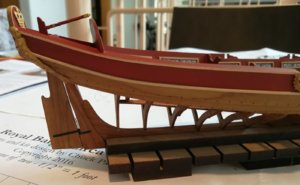
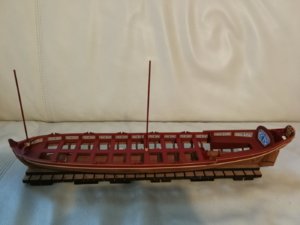
Queen Anne Barge - Syren Ship Model - 1:24

Marteen, I used Vallejo Model air color and Winsor&Newton Galeria Acrylic.
It's a little complicate but as I started with this recipe, I follow it at each step of painting :
(From right to left on the picture)
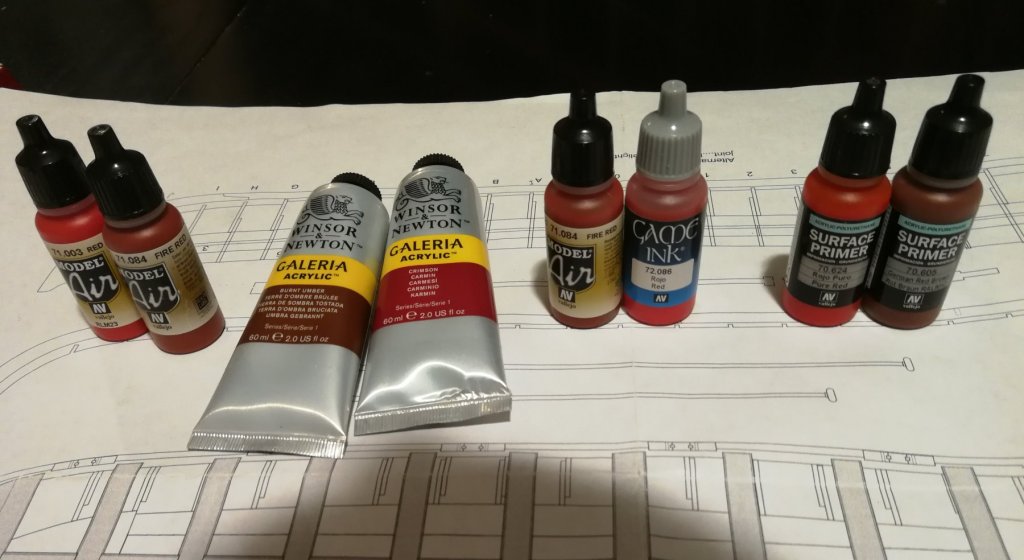
Paints_1.thumb.jpg.b14ce82db22defe43ed17205e725cff8.jpg

Two coats of Vallejo Surface Primer (mix of 70 605 German Red Brown and 70 624 Pure red) ratio 50/50 - applied using an airbrush
One coat of Vallero Model Air 71.084 Fire Red mixed with Game ink 72 086 (ratio 50/50) - applied using an airbrush
Then three coats of Windsor&Newton Crimson with a little part of Burnt Umber - brushed, very diluted
and at the end three or four coats of Vallejo 71.084 Fire Red mixed with 71.003 Red (ratio 50/50) - applied using an airbrush
I think it's the Fire Red that gives the slightly darker color...
 
Marteen, I used Vallejo Model air color and Winsor&Newton Galeria Acrylic.
It's a little complicate but as I started with this recipe, I follow it at each step of painting :
(From right to left on the picture)
Paints_1.thumb.jpg.b14ce82db22defe43ed17205e725cff8.jpg

Two coats of Vallejo Surface Primer (mix of 70 605 German Red Brown and 70 624 Pure red) ratio 50/50 - applied using an airbrush
One coat of Vallero Model Air 71.084 Fire Red mixed with Game ink 72 086 (ratio 50/50) - applied using an airbrush
Then three coats of Windsor&Newton Crimson with a little part of Burnt Umber - brushed, very diluted
and at the end three or four coats of Vallejo 71.084 Fire Red mixed with 71.003 Red (ratio 50/50) - applied using an airbrush
I think it's the Fire Red that gives the slightly darker color...
Thx, The result is definatey worth the effort.
 
Thanks to all who follow the progress of my build.
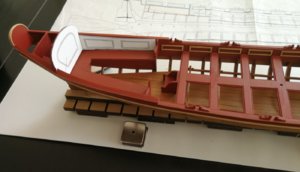
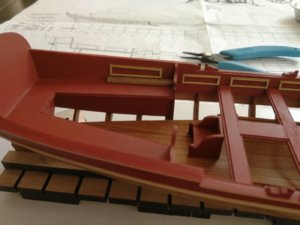
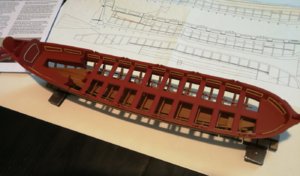
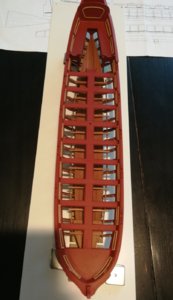
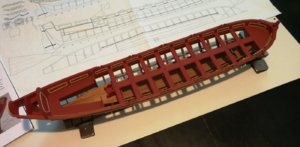
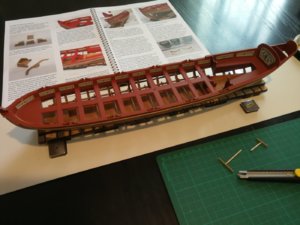
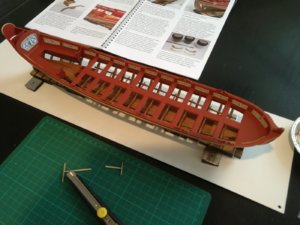
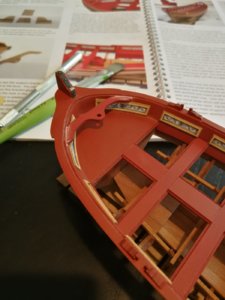
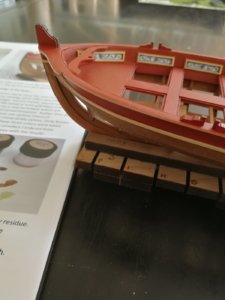
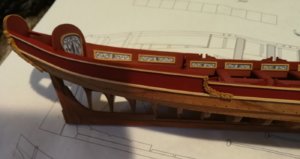
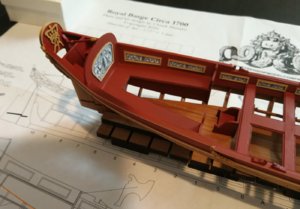
I was able to advance on the laying of the boxwood panels. For the 20 small side panels, no particular problem, they position themselves on top of the thwarts.
Boxwood_panel_1.jpg

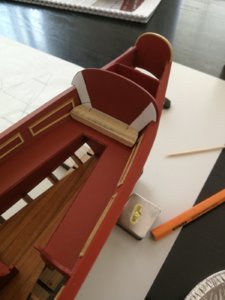
At the stern, I photocopied the plan and cut out the useful parts to precisely determine the position of the panels.
Boxwood_panel_2.jpg
Boxwood_panel_3.jpg

A piece of wood of the right height quickly shaped will help to install the panels.
Boxwood_panel_4.jpg
Boxwood_panel_5.jpg
Boxwood_panel_6.jpg
Time to add the friezes.
 
Thanks to all who follow the progress of my build.
I finished laying the paper friezes .
Friezes_3.jpg
Friezse_4.jpg
I just built quickly some jigs using the inner shape of the panels. A small hole, a toothpick, a little sanding stroke once the assembly done and we have a help to cut the rounded shapes of the friezes and to ensure they are well in place once glued.

Iron_strap_1.jpg
The iron strap was glued. It is composed of three parts. The seams between each length was filled with some modelling epoxy.
Iron_strap_2.jpg
The whole is sanded with fine-grit sandpaper and receives some touching up of paint. The bolts have been simulated.
I still have to apply some rust brown weathering powder to the strip.

The resin castings are in place.
Lateral_resin_01.jpg
Lateral_resin_02.jpg
Lateral_resin_03.jpg
Lateral_resin_04.jpg
I will start now to carve the Queen Anne cypher.
Happy New Year everyone !
 
Finally back !
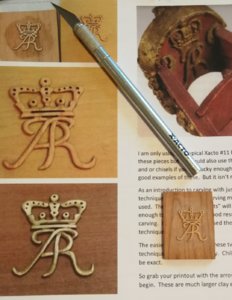
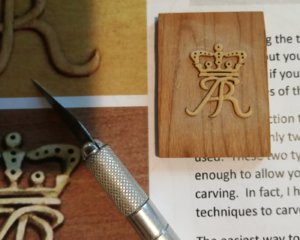
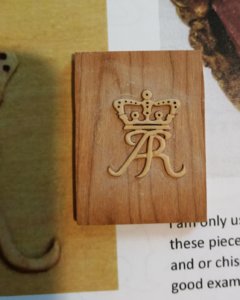
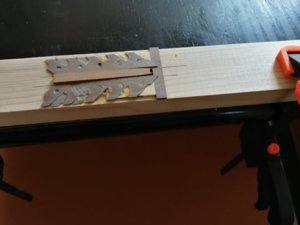
The Queen Anne cypher was glued on a scrap piece of 1/8" thick cherry. I used some Uhu stick's glue. When everything is dry and strong, I started by removing the residue of laser chart and rounding the edges using a sharp #11 blade. I referenced the drawing found in the appendix of the instruction manual. The arrows added on the drawing are very useful to know the right direction of cutting.
Carving_1.jpg
Finally, I made a light sanding with a small piece of sandpaper. I have to hope that the separation with the backing piece goes well...
Carving_2.jpg
Carving_3.jpg
The carving of the next 6 pieces will probably be more complex but I will mark beforehand with a pencil the stop cuts on the drawings and on the carving blanks.
 
Thank you to all the 'Likes'.
The Queen Anne cypher was separated from his backing piece (one night in the alcohol bath) and glued.
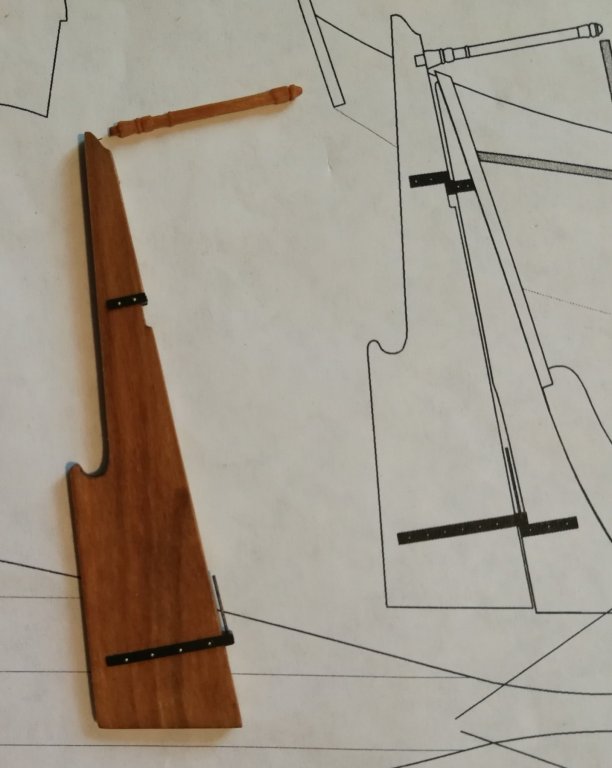
I worked on the rudder. I followed the instructions strictly. Ah ! this manual ! What a pleasure !

Rudder_01.thumb.jpg.feafb69fa39c3bc18b31fd4aaed2e06d.jpg
I also added micro bolts of 0.4 mm.
Rudder_02.jpg
The tiller was simply carved from a 1/16" x 1/16" cherry strip using a sharp #11 xacto blade.
Rudder_03.jpg
After painting, the two pieces was glued.
Rudder_04.jpg

Rudder_05.jpg

Rudder_13.jpg
Time to work on the two flags... and continuing to carve...
 
Thank you for the 'Likes'.
Yes, Don, I use the paper friezes (Look at post #69 to see how they were installed) I just use some jigs to put them in place. They are very very small ( 4mm wide) and unfortunately I don't have the talent to paint them at this scale...
 
Thank you to all the 'Likes' and for your kind words.
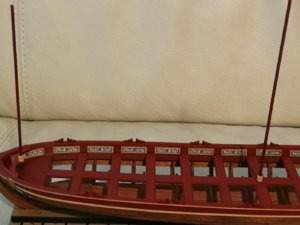
The flag staffs are in place waiting on the flags.
Mats_1.jpg

Mats_2.jpg

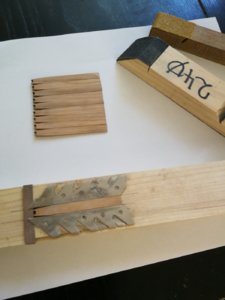
In parallel, I worked on the oars. The problem was to find a solution to repeat the regular shaping of the blades.
I built a little jig for this.
Rames_1.jpg

Rames_2.jpg

Just turn the blade halfway in order to have a regular angle on both sides.
Rames_3.jpg

Rames_4.jpg

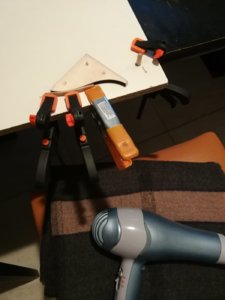
Then the blades are slightly bent
Rames_5.jpg

All the four pieces are finally glued together
Rames_6.jpg

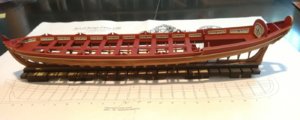
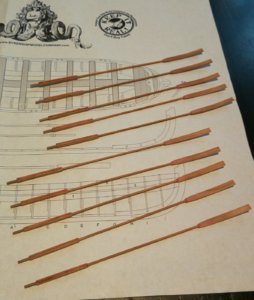
The ten sweeps are ready for the painting phase...
 
Hi JP. Any updates on this beautiful build?
 
Thank you to all the 'Likes'.
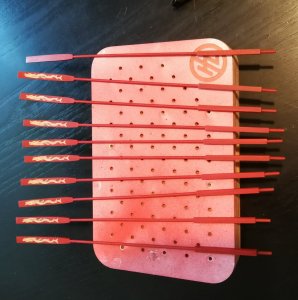
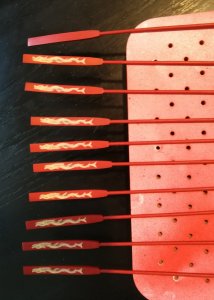
The oars are almost complete .

Rames_1.jpg
Rames_2.jpg

I just need to add the thin tape around the tip of the blade.

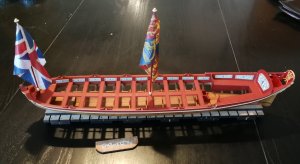
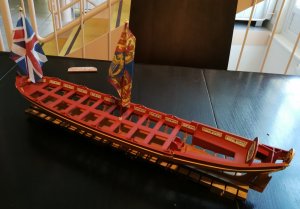
The Flags have also been added. I think the flag at the bow need more folds...
Flag_1.jpg
Flag_2.jpg
I just have to finish the carvings...
 
Back
Top