Rattlesnake by MS

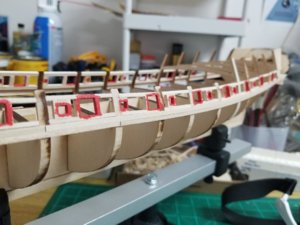
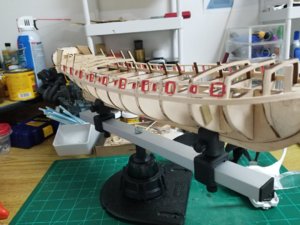
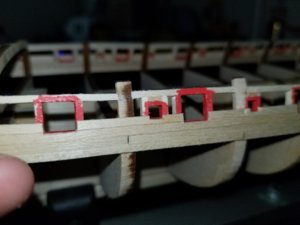
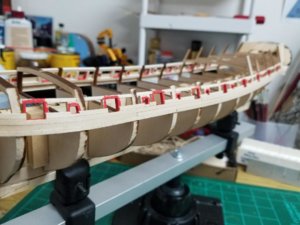
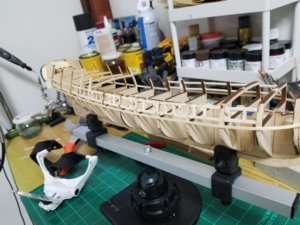
Starboard gun ports and sweep ports framed and faired...sort of. I just roughed it as I was eager to get on with the port side. I can see where I messed up with Syren and her port framing. The better I can fair the upper hull AFTER doing the port framing the more seamless the whole gun port will look. Even after painting, the lines between the framing and the hull planks are obvious, to me anyway. So I'll go back and give each and every port minute attention.
thumbnail.jpg
 
Starboard gun ports and sweep ports framed and faired...sort of. I just roughed it as I was eager to get on with the port side. I can see where I messed up with Syren and her port framing. The better I can fair the upper hull AFTER doing the port framing the more seamless the whole gun port will look. Even after painting, the lines between the framing and the hull planks are obvious, to me anyway. So I'll go back and give each and every port minute attention.

View attachment 105783
On each ]gunport do you have to cut that out individually?
 
on each gun Do you have to cut them out individually?
Yes. Each and every gun port has to be framed individually. First are two horizontal frames that fit in between each bulkhead. Then two vertical frames squared up and that defines the gun port. Same goes for the sweep ports. Sweep ports are the smallish ports where sailors would extend long sweeps (oars) to move the ship when there was no wind.
 
Gun port and sweep port framing completed. The bulwarks and port frames will be Model Shipyard "gun port red" color. It's always a good idea to paint the frames first before planking the upper hull. With all the adjustments and trimming and sanding still to go when framing the upper hull additional coats of red will be needed, but it's a good idea to pre-paint the frames initially.

completed gun port framing.jpgcompleted gun port framing2.jpg
 
Progressing with the planking of the hull above the wales. I've found that short wood strips in between two gun ports, trimming along the lines of the gun port/sweep port is best. I'm using CA glue for most of the hull planking.

thumbnail (4).jpgthumbnail (5).jpg
 
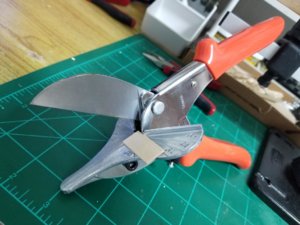
My new favorite tool for cutting wood strips. I'm an idiot for not buying this earlier.

View attachment 105782
Funny, back in the day, I used a tool just like this to cut shoe molding after installing sheet flooring. Yes it is a little known tool out there that is perfect for the job it was designed to do. I believe there was a kit mfg also marketing them w/their logo. You do know the blade is replaceable:cool:.
Rick
Yep, that's a real neat feature for sure.
 
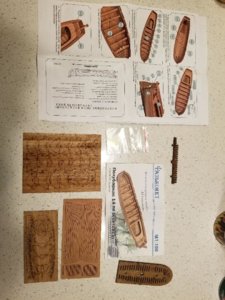
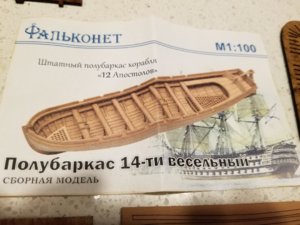
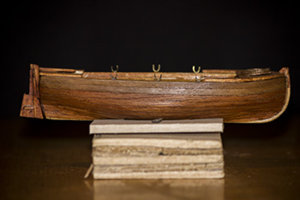
I found this Ship's Launch kit on the Model Shipyard website. It comes in kit form and the quality and shape appears to be far superior to what was provided in Rattlesnake's box. All the instructions are in Russian but I think I can figure it out.

The length is almost exactly what the kit provided and it's far more detailed. I think I might go this way from now on with future projects too. MS has many of this type of kit in various sizes. This one was only $14.

launch 2.jpglaunch.jpg
 
I found this Ship's Launch kit on the Model Shipyard website. It comes in kit form and the quality and shape appears to be far superior to what was provided in Rattlesnake's box. All the instructions are in Russian but I think I can figure it out.

The length is almost exactly what the kit provided and it's far more detailed. I think I might go this way from now on with future projects too. MS has many of this type of kit in various sizes. This one was only $14.

View attachment 106720View attachment 106721
You found an interesting alternative - I am also building in the moment a "chinese" longboat, so it would be good to compare a little bit the russian and chinese quality
 
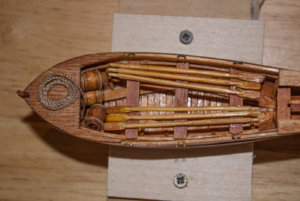
going with an alternative longboat works, however with a little modification I think the MS longboat is one of the better items in the kit, again it needs to worked and approached just like building onther ship only smaller. In the end I got the I was looking for.

IMG_4447.jpglongboat3.jpg
 
FYI, on the Model Ship Builders site there is a build log of the Rattlesnake by Jonathan G he built the Mamoli kit but he goes into great detail I think he spent 7 or 8 years building it a must read for anyone building the Rattlesnake
Can you send me the link this is mikemc
 
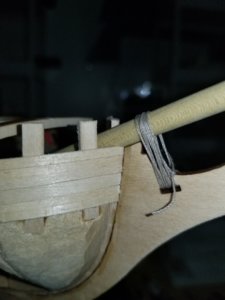
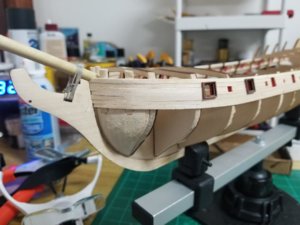
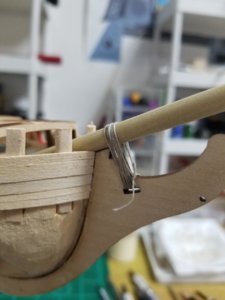
Continuing with the hull planking above the wales. I decided on commercial gun port frames from Model Dockyard. I trimmed all the 8x8 gun ports after planking then dry fitted a gun port frame to make sure they fit. They fit. I'll paint the inside edges red and anything that shows outside black. I still plan on scratch building the port covers.

bow.jpgbowsprit.jpg
 
I am interested to follow your build as I will learn a few thing about the building method that MSW use
This winter I am suppose to start the Syren from them and I am not familiar with there method (North American) of building having done only European kit to date.
 
Starboard gun ports and sweep ports framed and faired...sort of. I just roughed it as I was eager to get on with the port side. I can see where I messed up with Syren and her port framing. The better I can fair the upper hull AFTER doing the port framing the more seamless the whole gun port will look. Even after painting, the lines between the framing and the hull planks are obvious, to me anyway. So I'll go back and give each and every port minute attention.

View attachment 105783
Nice job on the rattlesnake!What is the measurement from the gun Port from the bulkheads? I'm alsomaking the rattlesnake build but my directions are not that good
 
Back
Top