Rattlesnake by MS

Nice job on the rattlesnake!What is the measurement from the gun Port from the bulkheads? I'm alsomaking the rattlesnake build but my directions are not that good
Each gun port has a different measurement from its neighboring bulkhead. My plans are also not that good but just start with either the most forward or most aft port then after taking a measurement from the bulkhead confirm the distance between each gun port is the same, or within a millimeter or so. That symmetry and evenness between gun ports is what makes it look "right".
 
I am interested to follow your build as I will learn a few thing about the building method that MSW use
This winter I am suppose to start the Syren from them and I am not familiar with there method (North American) of building having done only European kit to date.
Ah, I'm also working on the Syren by Passaro. After almost two years I've got the structure done and almost all of the standing rigging done. I have two residences and so naturally I have two builds going.

thumbnail.jpg
 
I was following Passaro on another forum when he was building the prototype
Lots of talent and know how, got the Syren as soon as it was available.
 
I was following Passaro on another forum when he was building the prototype
Lots of talent and know how, got the Syren as soon as it was available.
I contact Chuck on a regular basis asking about how to do such-and-such with Syren and he always responds right away.
 
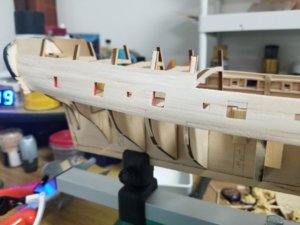
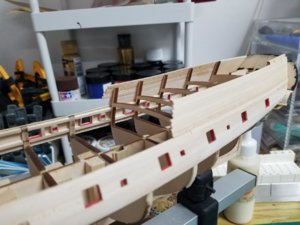
Hull planking proceeding. I've given the hull (above the wale) a good sanding and am anternating using filler and sanding using a fine grit. I still need to cut a square hole for the forward most gun port. It will be closed with no gun barrel.

thumbnail (3).jpgthumbnail (4).jpg
 
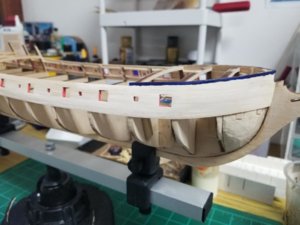
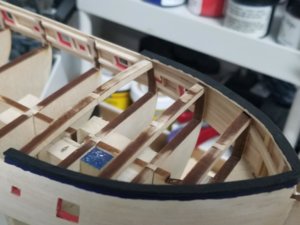
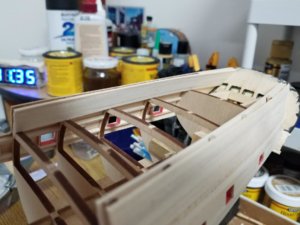
Focsil boards installed and painted. I pre-painted the band of blue below the boards and also the boards themselves. Many coats of sanding and painting to come, just a pre-paint. I had to scratch build the boards instead of using the laser cut pieces. My planking at the bow was less than perfect and the laser cut pieces just wouldn't match the lines of the bow. The supplied laser cut hand rails should be just fine however.

thumbnail (1).jpg
 
Last edited:
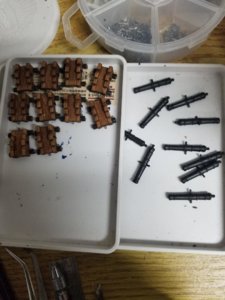
All of the 10 gun carriages are complete, including hooks for future rigging. I still need to complete 8 more carriages as I plan to install guns in all the ports that this kit has covered. As these ports are hidden within the lower deck I don't need to rig the carriages but I think a full carriage with cannon is better than a simple fake gun barrel sticking out of the open port.

thumbnail (2).jpg
 
All of the 10 gun carriages are complete, including hooks for future rigging. I still need to complete 8 more carriages as I plan to install guns in all the ports that this kit has covered. As these ports are hidden within the lower deck I don't need to rig the carriages but I think a full carriage with cannon is better than a simple fake gun barrel sticking out of the open port.

Yes I think it is a very good idea Thumbs-Up
Did something similar on my ST
I do not know the part supplied on the kit but just make certain the muzzle of the gun you will add are the same as the full gun supplied
Just my 5cent:cool:
 
Finished with the hull planking above the wales with the planking on the poop deck, with some trimming and sanding to go. I plan on first installing the "ceiling planks", that being the planks inside the bulwarks, on the poop deck before tackling the planking below the wales. Sadly, I'm just looking for some solid progress before I mess up the lower hull planking. How good I do depends on whether I will paint the hull or just copper over my mistakes.

thumbnail.jpg
 
Starting on the lower hull planking. These strips are double the thickness of the upper hull, per instructions. The Rattlesnake, apparently, had thicker wales than the upper hull just like most ships. The difference is that instead of a "band" of thicker planks that signify the wale that thicker layer of planks extends all the way down to the keel.

lower hull planking.jpg
 
Hey my name is Mike been following a build of the rattlesnake I'm not as experienced as you can you walk me through the steps I'm at the transom now I just finished the bulkheads
 
Hey my name is Mike been following a build of the rattlesnake I'm not as experienced as you can you walk me through the steps I'm at the transom now I just finished the bulkheads
Just follow along, I'm trying to post step by step of what I'm doing. Bottom line is there will be mistakes but I'll let you in a little secret: only you will know where the mistakes are unless you specifically point them out. Just go slow and be resolved to spend an hour on something that should only take 30 minutes. Be a perfectionist. If you're not happy with how something came out, rip it out and do it over.
 
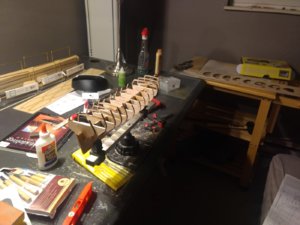
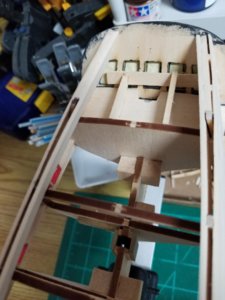
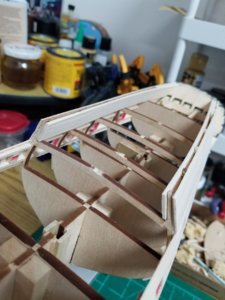
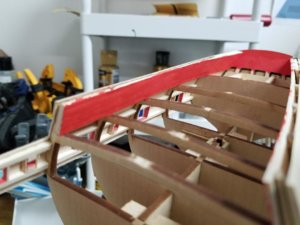
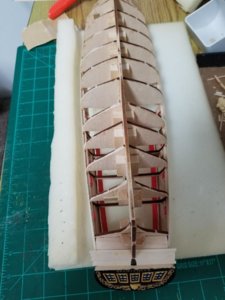
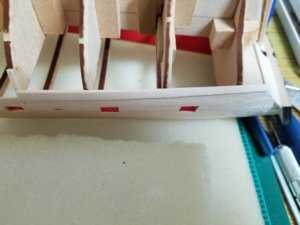
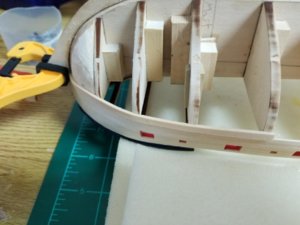
First wale planks laid fore and aft. So far so good. Notice the shims on some of the bulkheads. Yes, I was not as careful as I should have been with the initial bulkhead installation....but I'll say it again that most of these laser cut pieces are far from precise.

Of course these most fore and aft planks are tapered, about 2/3 tapered to full width for the bow planks and about 4/5 tapered to full width for the aft planks. I soaked the wood strips for 30 minutes before applying CA to the end of the wood strip, placing the strip in position and clamping. Then a dot of CA glue on each bulkhead and laying down the rest of the strip.

thumbnail (1).jpgthumbnail (2).jpg
 
Last edited:
Back
Top