-

Win a Free Custom Engraved Brass Coin!!!
As a way to introduce our brass coins to the community, we will raffle off a free coin during the month of August. Follow link ABOVE for instructions for entering.
-

PRE-ORDER SHIPS IN SCALE TODAY!
The beloved Ships in Scale Magazine is back and charting a new course for 2026!
Discover new skills, new techniques, and new inspirations in every issue.
NOTE THAT OUR FIRST ISSUE WILL BE JAN/FEB 2026
You are using an out of date browser. It may not display this or other websites correctly.
You should upgrade or use an alternative browser.
You should upgrade or use an alternative browser.
- Joined
- Jan 12, 2023
- Messages
- 92
- Points
- 113

Last edited:
- Joined
- Nov 25, 2018
- Messages
- 635
- Points
- 403

Есть какие фотки? Все пригодилось бы мне.Sorry. I was made to order in St. Petersburg in 2010.
- Joined
- Jan 12, 2023
- Messages
- 92
- Points
- 113

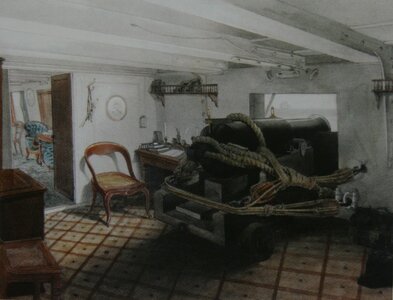
Many Thanks for sharing these informative photos of this amazing modelHere are some interesting pictures I found. A model from the museum in Greenwich.I wonder how the shaft of a steam engine was inserted into the screw? And when the frame with the screw was lifted, why didn't the water go into this hole?
View attachment 415563
View attachment 415564
View attachment 415565
View attachment 415566
View attachment 415568
View attachment 415569
View attachment 415570
View attachment 415571
View attachment 415572
View attachment 415573
For everybody interested,
- Joined
- Nov 25, 2018
- Messages
- 635
- Points
- 403

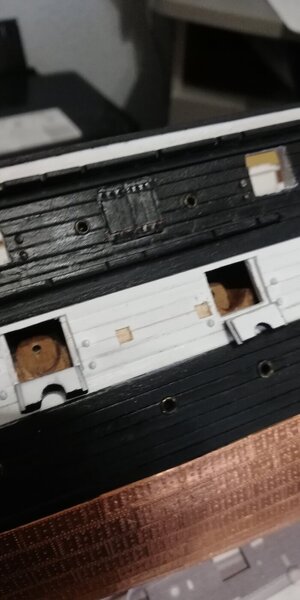
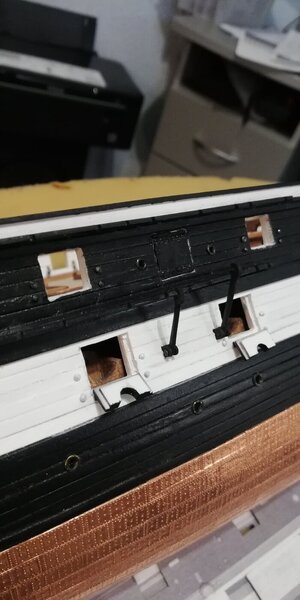
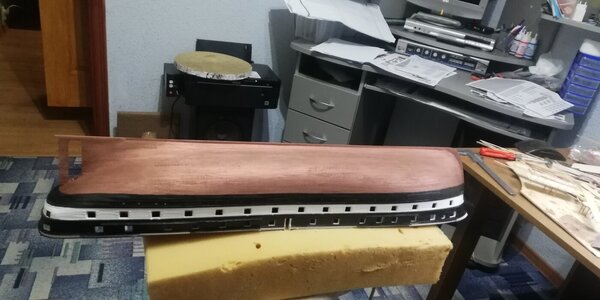
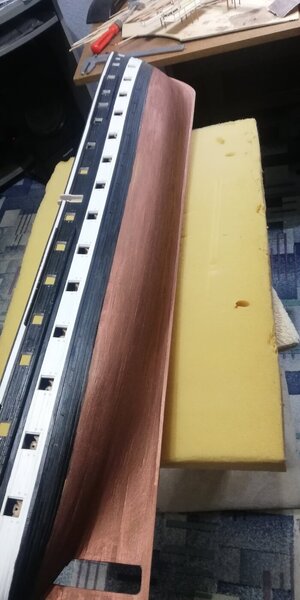
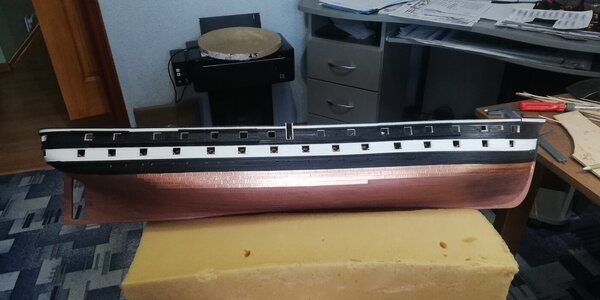
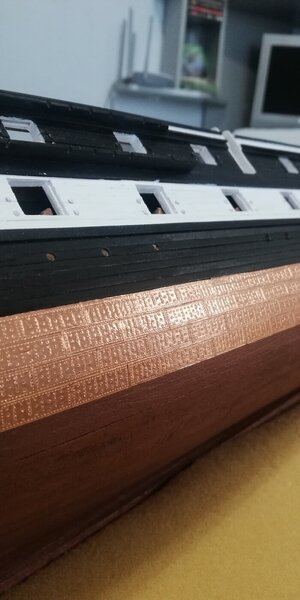
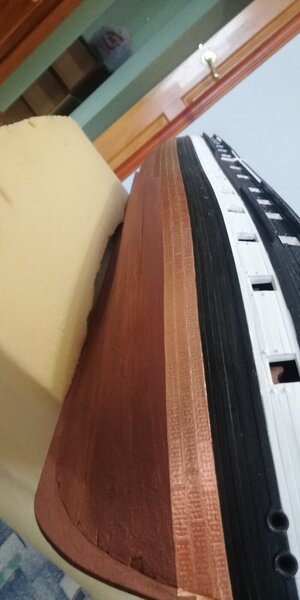
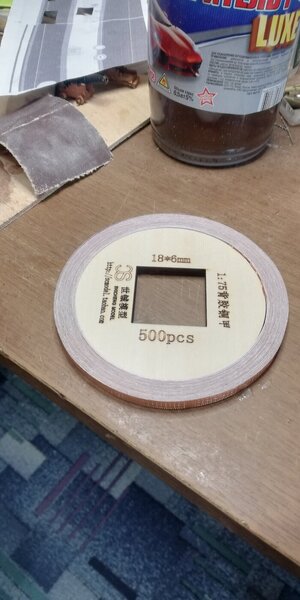
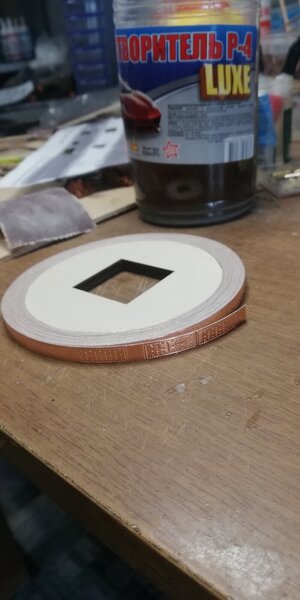
I started gluing the copper plating. Pre-cleaned the case again. Coated with copper-colored paint for better adhesion of the plates. The copper ribbon comes from China. I took the size 18 by 6 mm. I have to order more, I'm afraid there won't be enough.I would like to wish all modelers and forum participants a Merry Christmas. I wish you happiness, health, and fulfilled wishes. And most importantly, world peace. You have to enjoy life for your own pleasure. It is given once and it is such a short infection. Merry Christmas and Happy New Year!


- Joined
- Jun 17, 2021
- Messages
- 3,202
- Points
- 588

Thank you for the lovely message and the same good wishes and blessings for you and yours. 
Pete
Pete
- Joined
- Jun 17, 2021
- Messages
- 3,202
- Points
- 588

It' been and continues to bea treat to follow your "Oleg" build from the start. She's truly beautiful at this stage. Very finished if not yet done.
- Joined
- Nov 25, 2018
- Messages
- 635
- Points
- 403

- Joined
- Jun 17, 2021
- Messages
- 3,202
- Points
- 588

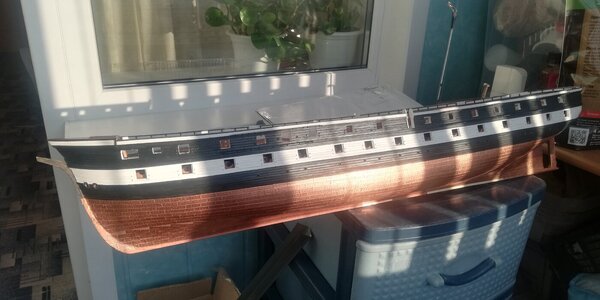
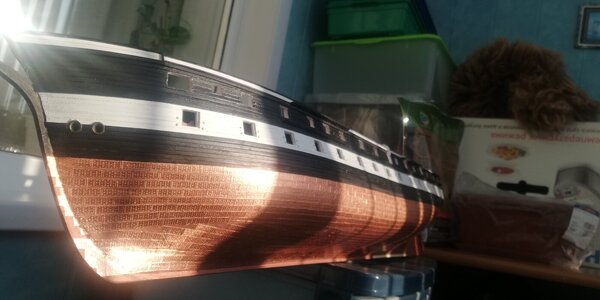
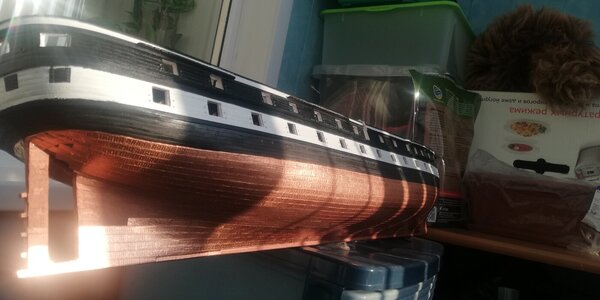
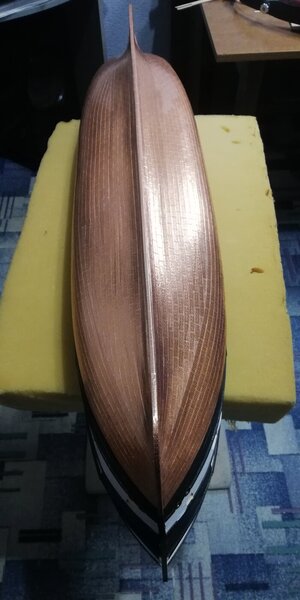
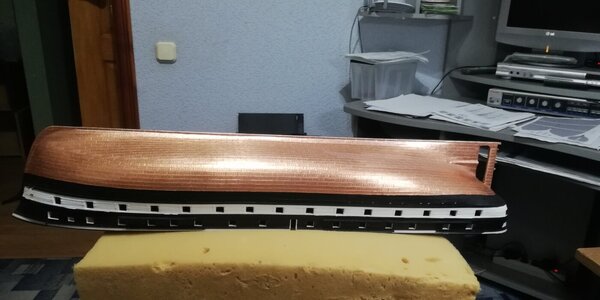
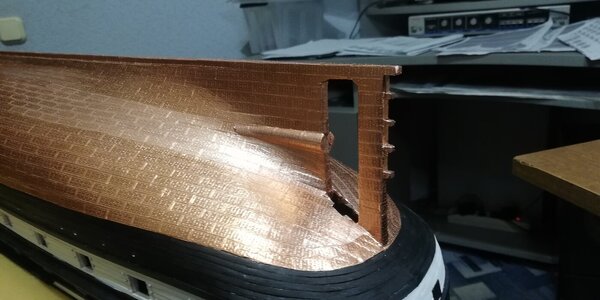
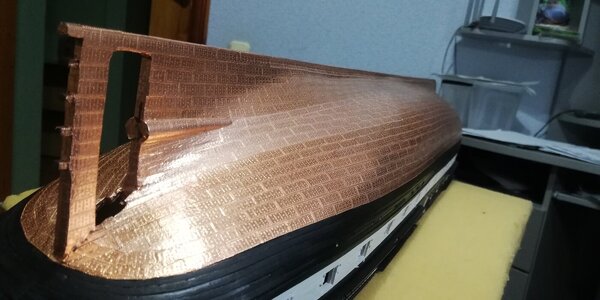
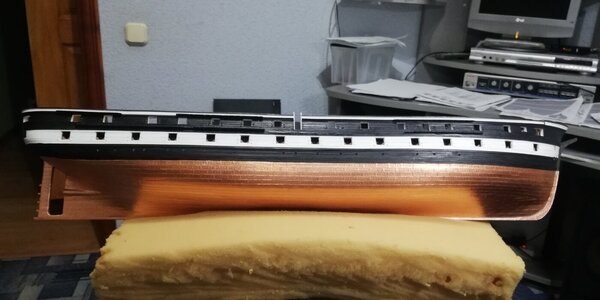
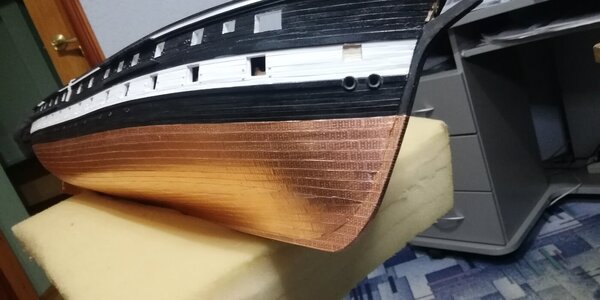
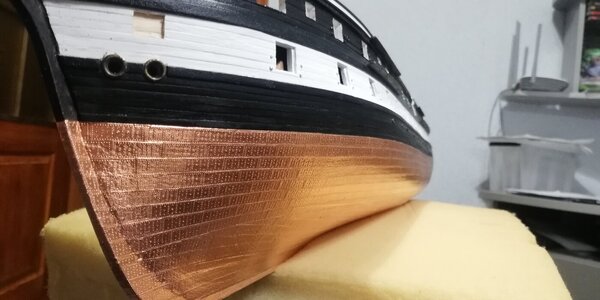
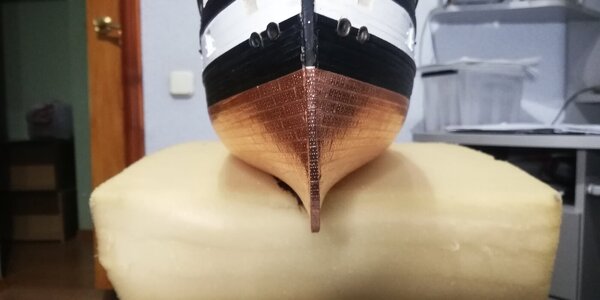
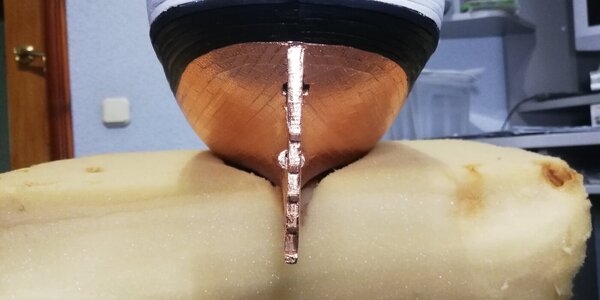
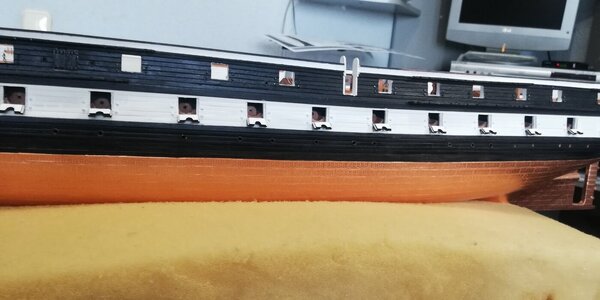
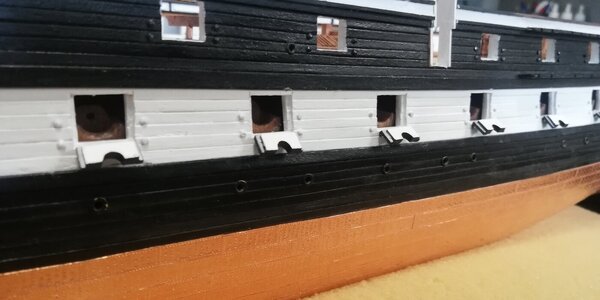
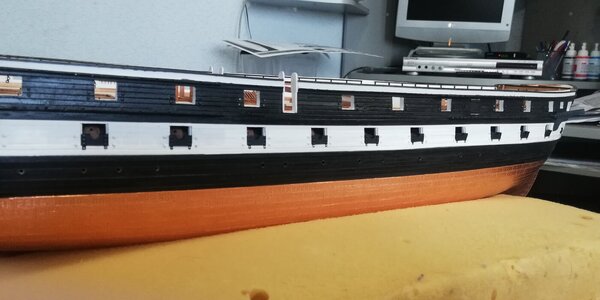
Be aware that hands and fingers will leave prints on your copper. Handle with care. The oily acids in your skin will discolor and etch finger and handprints deeply into and discoloring the bare copper.Hurray! I did it! I finished gluing the underwater part with copper. It remains to cover the steering wheel with copper. And that's the end of the copper. The last plates still shine strongly. Let's wait until the copper oxidizes naturally and cover all the colorless acrylic with varnish.
View attachment 420278
View attachment 420279
View attachment 420280
View attachment 420281
View attachment 420282
View attachment 420283
View attachment 420284
View attachment 420285
View attachment 420286
- Joined
- Nov 25, 2018
- Messages
- 635
- Points
- 403

Я в курсе о существовании этой книги. Издана ещё в 2022 году.
- Joined
- Jun 17, 2021
- Messages
- 3,202
- Points
- 588

Your build continues to be a treat to follow!
regarding the copper plating. you may have to wait a while for the copper to oxidise and "green up" i used the same tape on a build of the constellation and the tape is still as shiny as the day i installed it 3 years ago. i believe this tape is designed for electronics use and has a protective film on it to prevent oxidation. the chinese just used that tape and embossed rivets on it. hope i am wrong.
- Joined
- Nov 25, 2018
- Messages
- 635
- Points
- 403

Yes, I'm already starting to understand that. It has been more than a week, the color of copper from different supplies does not want to align.regarding the copper plating. you may have to wait a while for the copper to oxidise and "green up" i used the same tape on a build of the constellation and the tape is still as shiny as the day i installed it 3 years ago. i believe this tape is designed for electronics use and has a protective film on it to prevent oxidation. the chinese just used that tape and embossed rivets on it. hope i am wrong.

