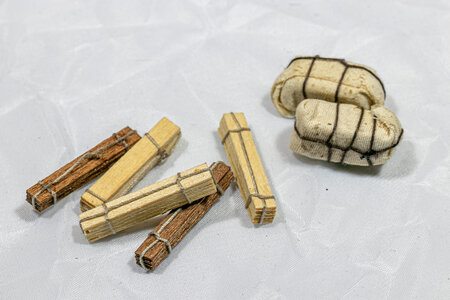
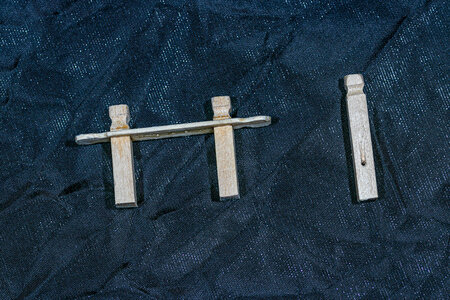
San Francisco II Cross Section - AL 1:50 by JeffT

Joined
Sep 1, 2020
Messages
802
Points
353

Location
Cicero, NY
I have decided to put myself out there and do a build log. I have selected the Artesania Latina "San Francisco Cross Section" for my second wooden build. My reasons for this choice were:
1: The kit was available (many kits were sold out, I assume due to the number of people staying at home in early and mid-2020). The price was right as well.
2. My first build took me 21 months to complete and I was looking for something a bit quicker this time.
3. I liked the 1:50 scale after doing one at 1:100 scale.
4. I wanted a model that would allow me to better my skills on the details and rigging without taking nearly 2 years to complete.
The model arrived (from the UK) about 2 weeks earlier than expected.

Damaged corner of the box brought out the camera to document the damaged box and the contents.

IMG_6008.jpg

The damage was isolated to one corner away from the model.
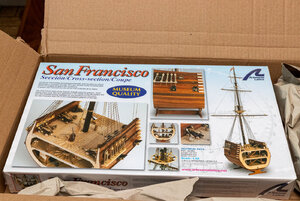
IMG_6010.jpg

Inside the box everything was ship-shape without any damage.
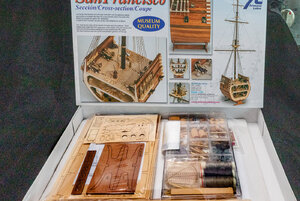
IMG_6015.jpg

My initial impressions were that the materials are quite nice. The wood appears to be straight with sharp edges. The small parts are housed in a hard plastic compartmented box. My only real disappointment is the lack of a printed manual. The manual is provided as a CD. Hopefully everyone who buys this kit will have a CD reader to be able to see the booklet. I had already downloaded the two PDF instruction files from the AL website and I have a CD reader, so not a big deal for me. I would have liked to have had full size drawings of the masts and yards, but the instructions are clear enough to follow. I decided to printout the instructions and put them into a three-ring binder as opposed to having to refer to a computer screen; I guess I am still somewhat old school.
 
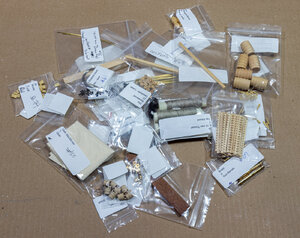
I spent some time doing an inventory on all the pieces and found that they were all in the box. The plastic box supplied for the doesn't look like it would hold up to a fall on the floor without popping open and spilling the contents, so I put all parts in separate labelled plastic bags.

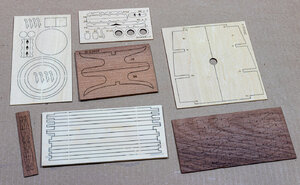
Laser cut parts
IMG_6017.jpg

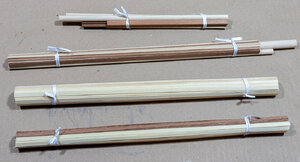
Dimensional wood and dowels
IMG_6018.jpg

Small parts
IMG_6019.jpg
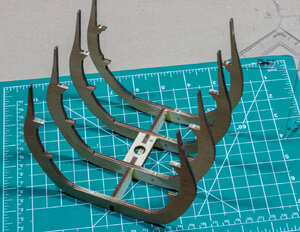
I have decided to make some modifications as described by others (in particular Osmosis on MSW). Specifically I am not going to follow the directions exactly, but will do the work one deck at a time from the lowest deck up. Also, I don't like the ladder placement in this kit which goes under the gratings. The angle is wrong from my perspective, but just important, I do not believe that a ladder would be placed under a grating. Gratings are designed to be removed so that cargo can lowered into the hold. I don't think a ladder would have been placed in that way. So, I will follow others builds and put the ladders in fore to aft instead of side to side. I think I will look into planking the inner hull for the lower 2 decks as well.
I also plan on staining the decks and lighter colored wood with Golden Oak stain. This includes the visible parts of bulkheads, deck supports and under the decks. A little color on the exposed bulkheads should add some interest to the final build.
Stained bulkheads
IMG_6016.jpg

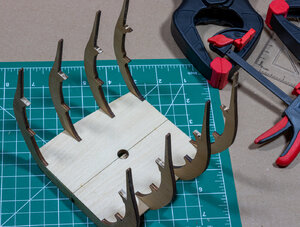
Bulkheads installed
IMG_6021.jpg

Lower false deck installed
IMG_6022.jpg
 
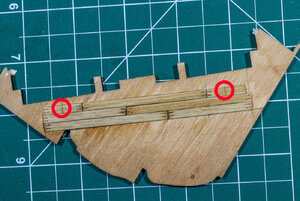
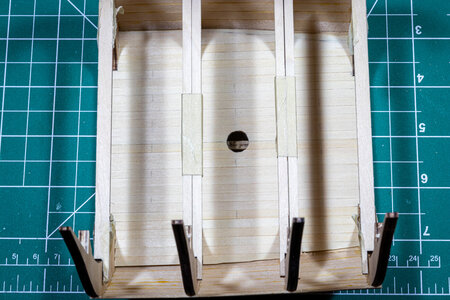
Planning the decking is underway. In my last build I planked the deck with shorter individual pieces as opposed to running single decking strips the entire length. I liked the way that looked. The instructions suggest using single strips and then scoring the deck to simulate plank joints. I did a small test of the 3 plank repeat that I am going to use. I still like the look of the shorter strips butted together (more care in getting a 90⁰ cut is definitely required). The areas with the red circles are where I simulated the joints by scoring the planking. As I look at the picture I may be convincing myself that the scoring looks better, especially if I continue with the idea/plan of staining the deck. Once stained the butted strips may be too noticeable.

IMG_6025.jpg

Any thoughts on the two alternatives?

Also don't pay too much attention to my attempts at simulating decking nails. That can be a discussion for a later time and there will only be one set of 2 per board end. Of course if anyone would like to make recommendations, I am certainly open to them.
 
The left one is looking better,
you are trying to simulate the caulking between the planks which was also used at the front ends of the planks.
But two comments:
I know, that this was only a trial piece, so keep in mind, that the planks were never so short
and
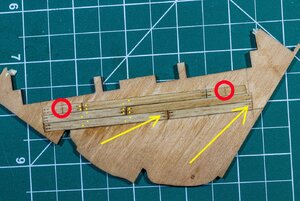
at the ends of a plank there were only two treenails and not four (like marked with yellow arrows) - I marked on two areas where under the deck planking some deck beams would be. So the treenails were fixed towards the deck beams
The tree-nailing pattern would be like shown with the yellow dots
IMG_6025.jpg
 
Thanks for the feedback, Uwe. Definitely only one set of two nails at the ends of each plank and placed closer to the joint.

As for length planks, the instructions suggest 50mm per plank joint. I am likely going to use 60mm since it hits the exposed bulkheads better. No short 10mm (or less) planks in the middle of the deck that way. Since this is a cross section, I will not be adding nails on any planks less than 60mm that fall at the ends of the 120mm long section of deck. There may be some short pieces at the ends, but only simulated nails at the places where there are joints. Some will end at the edge of the deck and these will have simulated nails since they would be at a joint even if the next plank doesn't exist on the cross section.
 
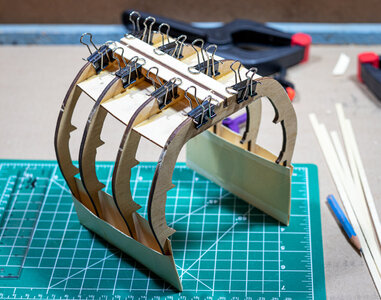
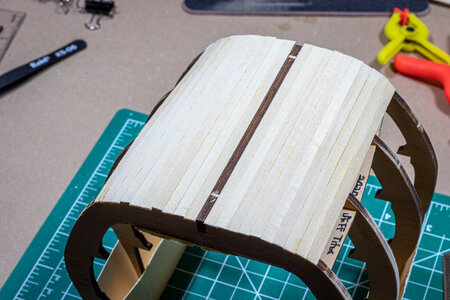
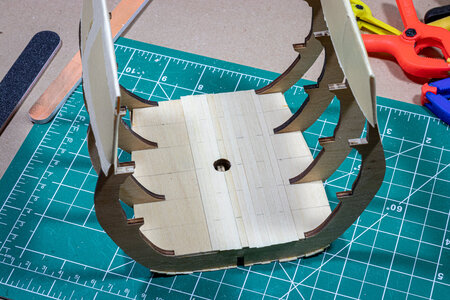
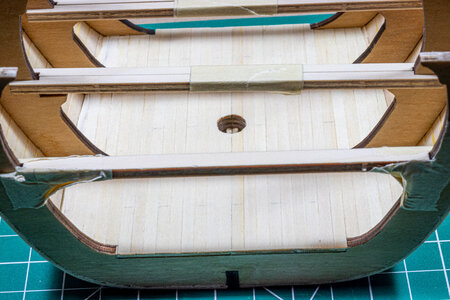
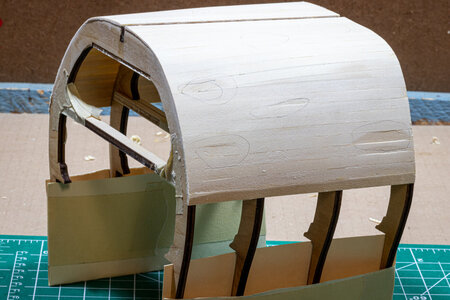
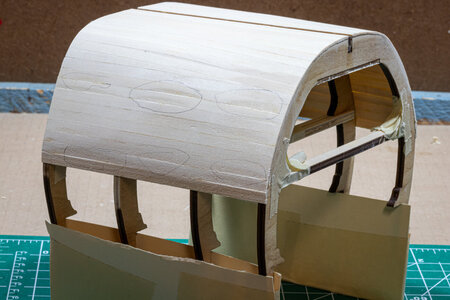
I have been jumping around a bit. I started with the first layer of planking on the bottom of the model and then moved to planking the lower deck. Then I went back to the first layer of planking and planked up to the level of the middle deck. I added the middle deck supports (taped in place) and the middle false deck (dry fit) to add some support while I was planking. Because I can be somewhat clumsy around exposed parts like the upper bulkheads (especially when I have to take my glasses off to see thing close up), I decided to make a cover for the ends of the bulkheads to protect them. I have read in other builds for this model that the bulkheads can be easily broken off. My solution/protection was to bend a file card in half and tape it together to form a pocket. I slipped it over the ends of the bulkheads and I have some additional support for the 8 bulkhead ends. So far so good. I sanded of the first layer of planking and marked some of the low spots to fill latter. I am not certain what caused them, but I think there are some slight differences in the shapes of the various bulkheads. Hopefully it's not because the bulkheads are not set correctly to the false keel.

1st layer of planking started.
IMG_6028.jpg
IMG_6032.jpg

Lower deck planking
IMG_6033.jpgIMG_6049.jpgIMG_6050.jpg

1st layer of hull planking to the level of the middle deck sanded and low spots marked.
IMG_6045.jpgIMG_6046.jpg

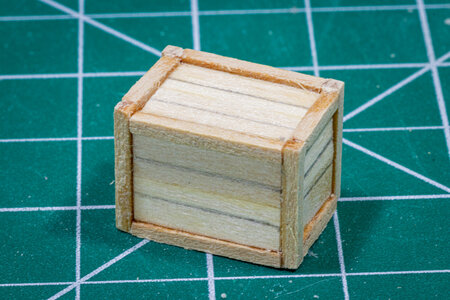
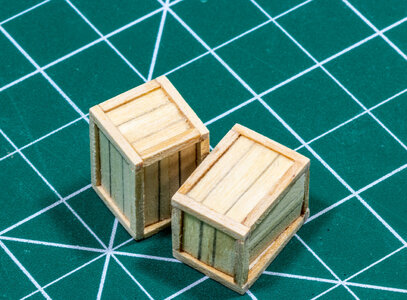
I tried my hand at making a box. Its probably a good thing that these are on the lower deck and not in plain sight.
IMG_6042.jpg
 
Last edited:
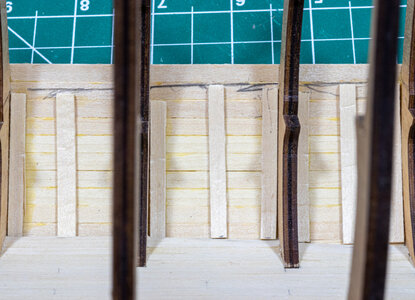
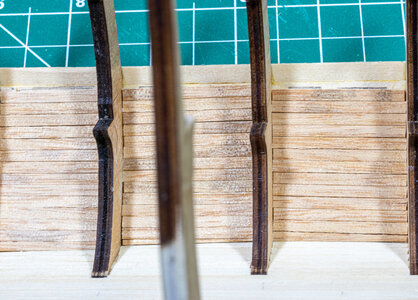
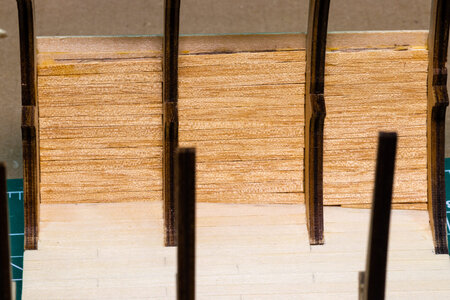
As mentioned previously I decided to plank the insides of the hull. FIrst I marked where the bottom of the lowr deck. I then added some pieces to use as gluing surface and glued in the planks. Some sanding is next. I am still considering how to finish the planking; no stain, golden oak stain, or walnut stain. I am leaning toward walnut to match what will be in place for the upper deck, but a lighter color make be better on this deck level to reflect a bit more light here in the finished model.

Gluing surfaces installed.
IMG_6055.jpg

Planking installed. Another side to do yet.
IMG_6054.jpg

After some sanding, boxes look better than they did initially. I want to leave them a bit rough since they are basically just shipping crates.
IMG_6056.jpg
 
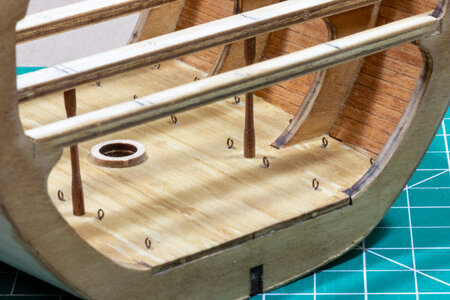
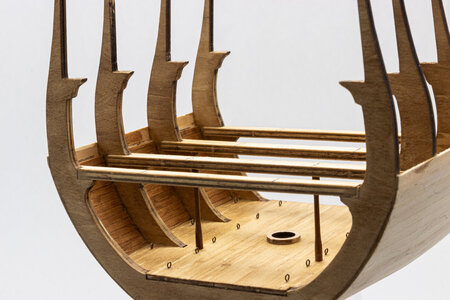
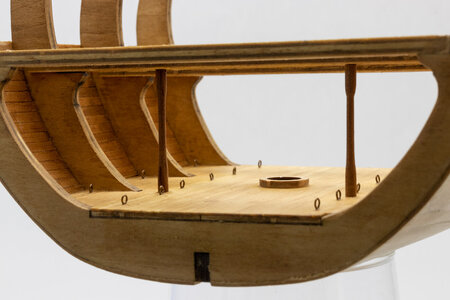
I have finished the inner planking of the lower deck and installed the cross supports for the middle deck. I decided to add eyebolts to the lower deck to tie down the boxes, barrels and wood bundles. I am still debating whether to partially rig them now so that it will be easier to pass ropes through the eyebolts in the back before I install the middle deck. I am not going to install the lower deck "decorations" until after the hull is fully sanded. It would be too hard to get rid of the sanding dust.

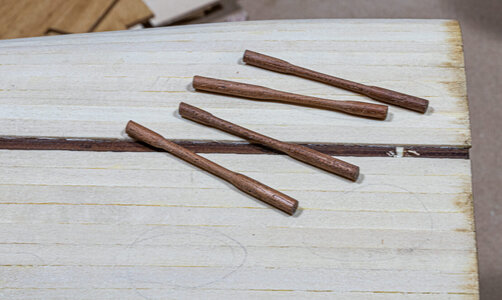
I have started on the deck columns and have turned all 8 columns I need for the lower deck. I have 2 installed and will fit/install the others in the next working session. Looking at the pictures suggests I need to straighten some of the eyebolts a bit.

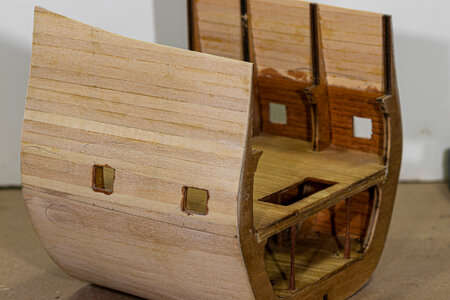
Next steps will be to glue down the false middle deck, plank the inner layer of the hull up to the main deck line and plank the middle deck. IMG_6059.jpgIMG_6069.jpgIMG_6061.jpgIMG_6067.jpgIMG_6068.jpg
 
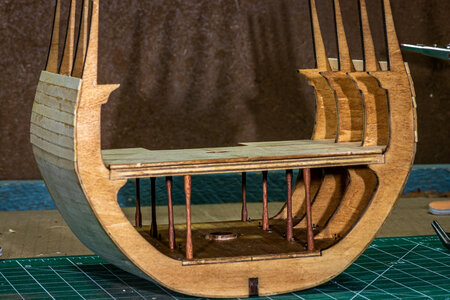
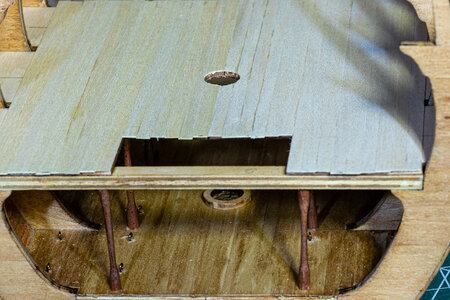
Not too much progress in the last days. Primary and secondary (fun) jobs have ramped up in the last week. I was able to get the lower deck columns installed and I glued in the middle false deck. The inner planking was completed to just above the middle deck. Next up, planking the middle deck.

IMG_6090.jpg
 
Sanded the first layer of hull planking and marked some low/high spots for further work. Planking on middle deck completed. Added supporting frames for inside planks. Lower gun ports marked, cut out on one side, and framed. I needed to frame the gun ports in order to avoid a large gap between the inner and outer hull planking. I then did the inner hull middle deck planking on one side and reopened the gun port after intentionally planking over the hole. I see I still have a bit to open yet.

IMG_6096.jpgIMG_6097.jpgIMG_6099.jpgIMG_6100.jpg
 
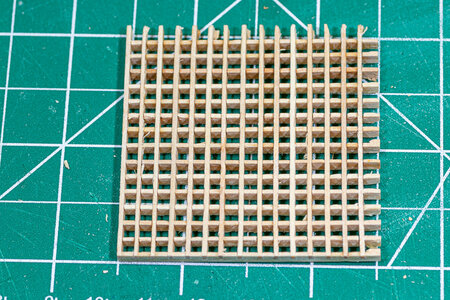
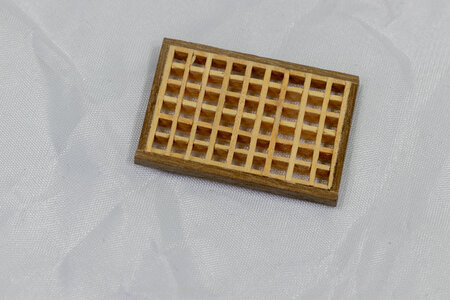
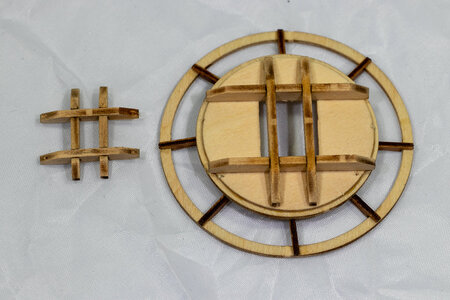
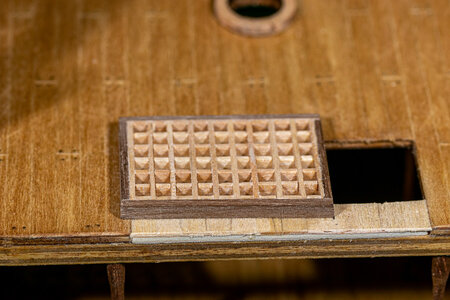
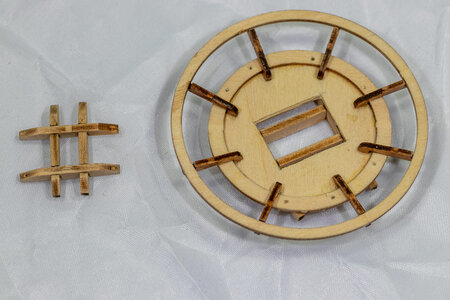
I have finished the first planking. I still need to do sanding on it and some fill in the low spots, but that has to wait until a nice day on a weekend since that's when I have daylight and outdoor time. I will wait to place anything on the decks until that sanding is complete since it makes a lot of sawdust. I have also been working a few other items in the kit. I made the gratings from those supplied and put a frame around it. I built the top and the trestle tree for the mast.

IMG_6102.jpgIMG_6105.jpgIMG_6127.jpgIMG_6123.jpgIMG_6125.jpgIMG_6126.jpg

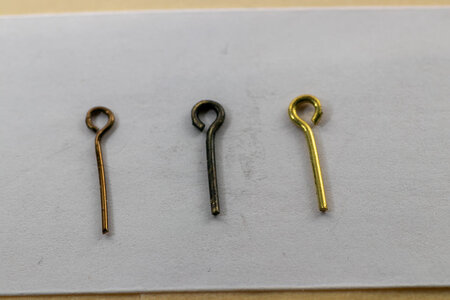
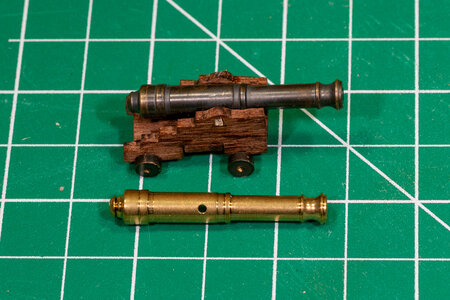
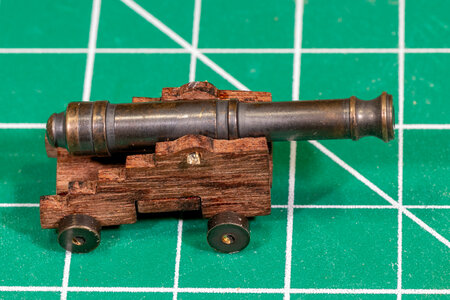
I got some brass blackener from a friend who works on guns to try. A comparison of an eye bolt I made from Antique Brass wire that I bought at a Hobby Lobby store with the kit supplied blackened eyebolt and the original eyebolt. I rather like the blackened eyebolt although the one from the Antique Brass wire is fairly similar if I want smaller diameter eyebolts. I am planning on using the blackener on the brass cannons supplier with the kit. I think they will be nice with some brass showing through the blackened barrels.

IMG_6118.jpg
 

Attachments

  • IMG_6109.jpg
    IMG_6109.jpg
    209.7 KB · Views: 3
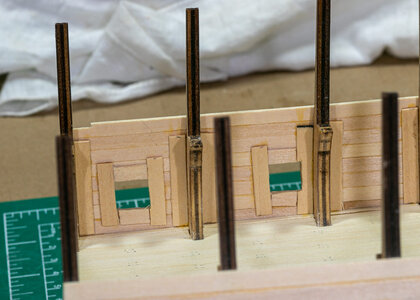
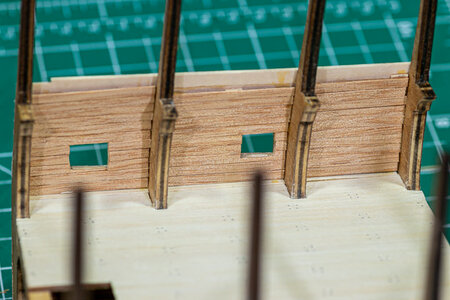
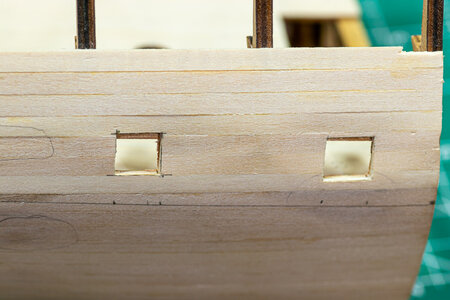
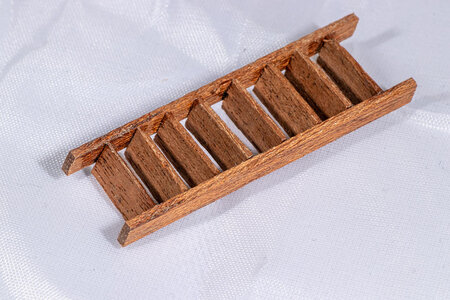
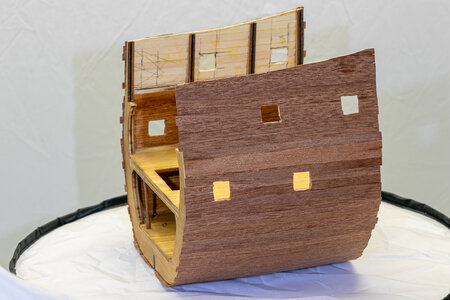
I have been working a a few odds and ends for the most part. I did redesign the ladder for the middle to lower deck and built it. I have another identical one to build for the main deck to the middle deck. I also have been working on setting the main deck gun ports. I cut them out and then decided to put on a few strips of the outer planking. A few strips became the entire outside as it was going exceeding well.

Next up: Finish the decoration for the lower deck and start on the decorations for the middle deck. I am still experimenting on how I want to rig the cannons. Also, gun port framing for the main deck which is not in the instructions. These may be interesting as the thickness will need to vary from top to bottom.IMG_6145.jpgIMG_6149.jpg
 
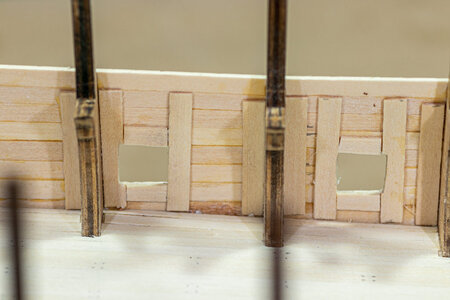
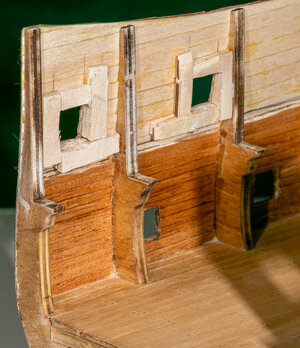
I completed the gun port inner framing. Without the framing there would have been a gap between the inner and outer sapelli planking. So I added some wood between the layers. It's a bit cobbled up looking (primarily because it is cobbled up), but only the inner edges will be visible. I still need to file down the inner edges of 2 of the four ports. I will give the edges a walnut stain once the first layer of planking on the bulwarks is completed. I also spent some time outside to sand the outer planking layer. I am happy with the outer planking although I did cause some damage when the sandpaper caught an imperfect edge and tore a partial strip of planking loose. With some careful use of the knife and file as well as some new sapelli strip, I was able to fix the problem. A final sanding is likely needed yet.

I will continue with the lower deck decorations and then rig the middle deck guns.

IMG_6154.jpgIMG_6159.jpg
 
Nice weather has somewhat interrupted by build. It seems a shame to sit in the basement in Upstate NY in November when it is over 70F/21C outside. That being said I have made some progress.

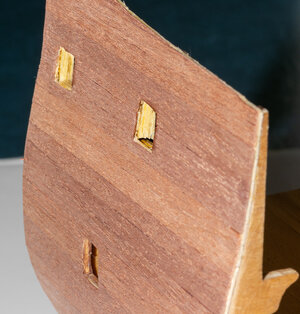
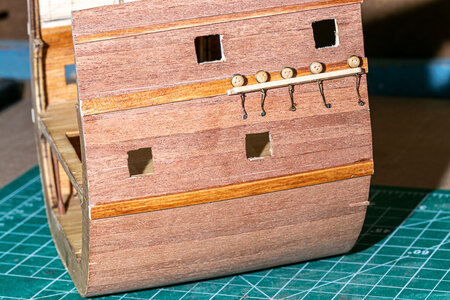
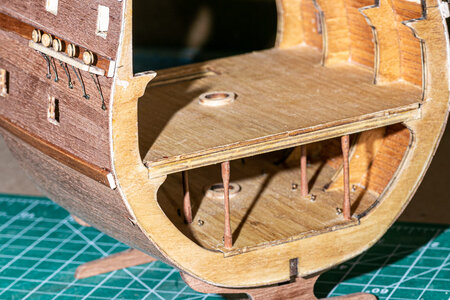
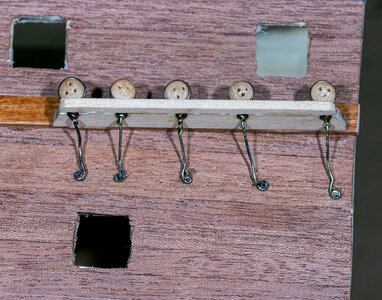
I installed the channels and deadeyes to both sides. No issues other than trying to keep the wire as straight as I could while twisting it to hold the deadeyes and making a loop for the nail. I am not so certain that I was successful, but I am likely to go back and see if I can straighten them out some more. Strakes were attached and stained prior to the channels.

IMG_6166.jpg

IMG_6168.jpgIMG_6171.jpg


Once I finished the channels, I put on a clear coat of acrylic. I have not had much experience with the clear acrylic as a final coat, but it does have a matte finish which is what I am looking for.


I finished the lower deck decorations. I will get the decorations added to the lower deck prior to the next post.

IMG_6172.jpg

I also built the bitt and rail for near the main mast on the upper deck.
IMG_6175.jpg
 
Last edited:
enjoying the build. Your correct on the price of the kit. I may have to give it a try.
 
Back
Top