- Joined
- Dec 1, 2016
- Messages
- 6,383
- Points
- 728

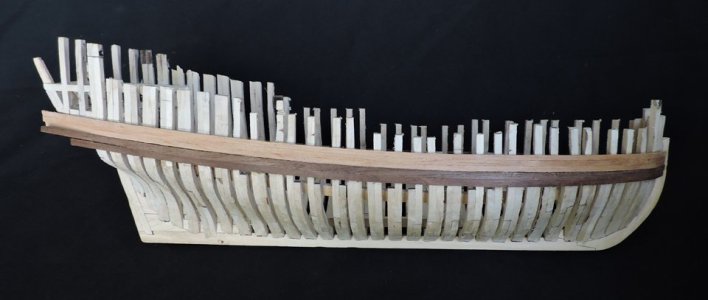
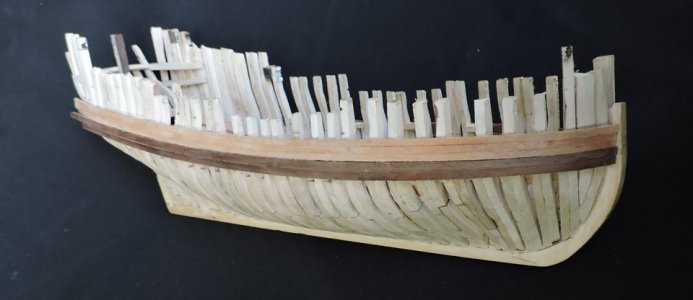
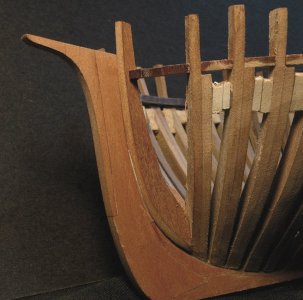
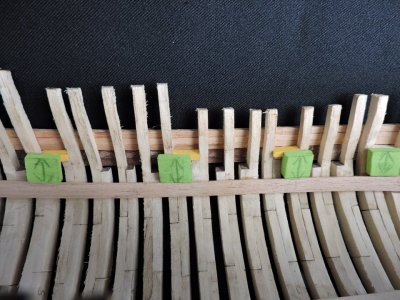
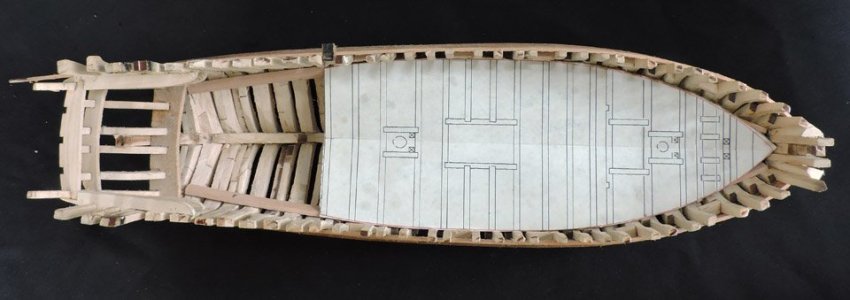
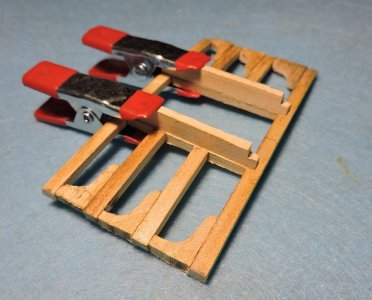
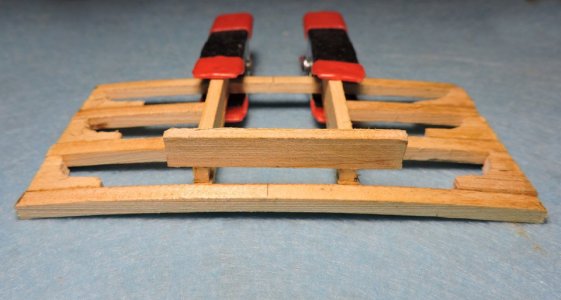
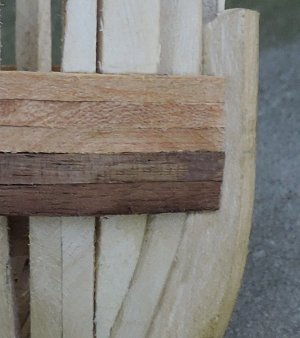
Building the bulwarks i am applying all 3 strakes at once to the hull starting at the bow.
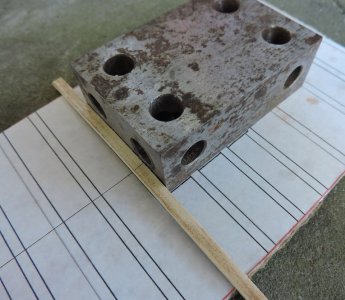
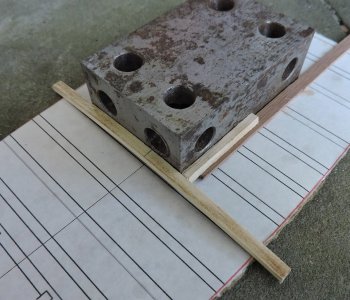
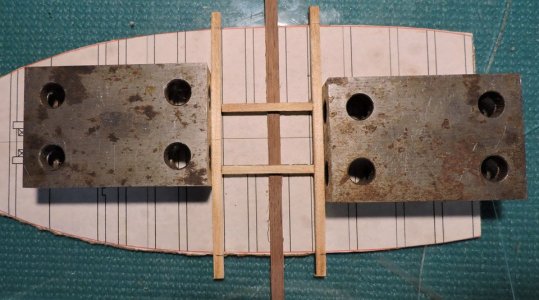
NOTE: you will see in these pictures i put the bulwark planks below the wales then took the pictures. After the picture set up i went back and added the planks. when i went back to check the pictures i noticed the error in setting up the photo shots. At that point it was too late to redo the pictures because i already glued the planks to the hull.
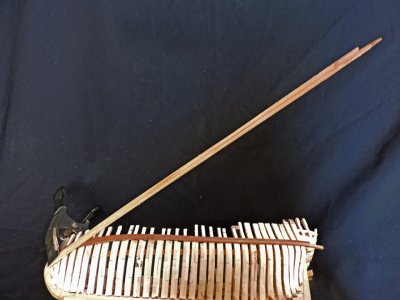
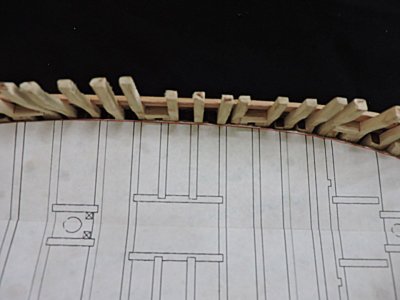
I like to glue the ends of the planks at the bow first to avoid and movement when clamping and maker sure everything is tight and even. Once the glue is dry then i will bend the planking. The planks are bent dry no soaking the planks or using heat the Cherry bent with no problem.
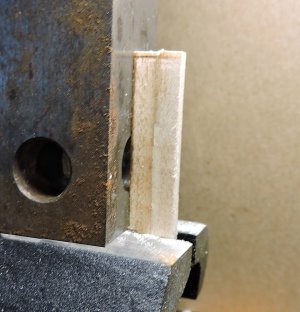
NOTE: you will see in these pictures i put the bulwark planks below the wales then took the pictures. After the picture set up i went back and added the planks. when i went back to check the pictures i noticed the error in setting up the photo shots. At that point it was too late to redo the pictures because i already glued the planks to the hull.

I like to glue the ends of the planks at the bow first to avoid and movement when clamping and maker sure everything is tight and even. Once the glue is dry then i will bend the planking. The planks are bent dry no soaking the planks or using heat the Cherry bent with no problem.

Last edited:


