• SUBSCRIBE TO SHIPS IN SCALE TODAY!

    The beloved Ships in Scale Magazine is back and charting a new course for 2026!
    Discover new skills, new techniques, and new inspirations in every issue.

    NOTE THAT OUR NEXT ISSUE WILL BE MARCH/APRIL 2026
  • Win a Free Custom Engraved Brass Coin!!!
    As a way to introduce our brass coins to the community, we will raffle off a free coin during the month of August. Follow link ABOVE for instructions for entering.

School for Shipmodel Building School for model ship building

a fad for deck planking was the use of Holly. This might of come from Harold Hahn who used Holly or from a mistaken holly stoning a deck.
Holly is stark white with no feature and no variation in color and extremely expensive. There are other woods that give a deck more of a natural appearance.

 
You may have noticed while the deck was being built it was dirty from using a China marker or also called a grease pencil for caulking.
I am giving serious thought to foregoing any simulation of caulking. Just let what Titebond II shows be it. Keep the deck at the rear of the stage.

About the Holly - much of these ideas came from Europe - where Holly is yellow - they do not have snow white varieties and it seems - no Blue Mold either.
 
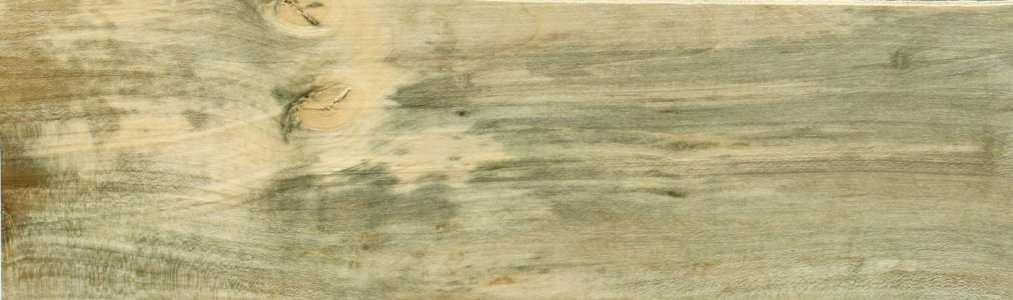
years ago on another forum i think it was YAHOO but there was a big debate on using Holly for decking. Those snow-white holly decks were not in any way realistic. Real decks were gray or shades of grayish brown. As a result, i got a run from model builders looking for blue stained Holly. The mold turned the Holly shades of gray. for awhile i could buy stained Holly very cheap because people did not want it. But woodworkers turned the dirty Holly into fine art and now the dirty Holly commands very high prices

233734_1_b3d68fb4-5eb7-4a92-aa3d-91b6c981ca46.jpg
 
now the dirty Holly commands very high prices
You can insert "also" between "Holly" and "commands".
It is a damn shame for those of us who scratch build 'stick and string' too.
Holly is "beautiful" wood to work with. It bends about as well as can be reasonably expected. The grain is tight, difficult to see, no pores, not too,many knots, the wood hard - cuts have edges crisp, readily accepts a dye - beats the hell out of Ebony for black wales after a proper dye job. I got a trunk load of a yellow variety for free from a cousin who owns a tree farm in Caroline County. Not enough for framing but enough for everything else. The Dogwood was also nice to get.
 
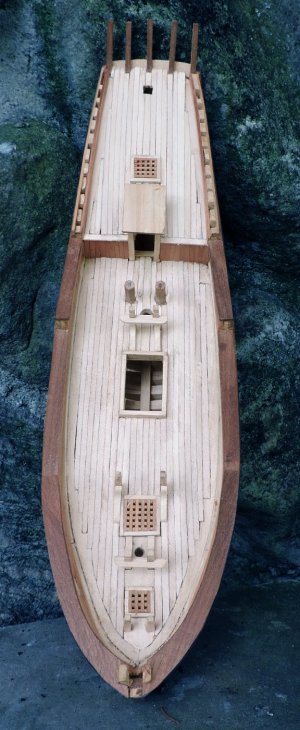
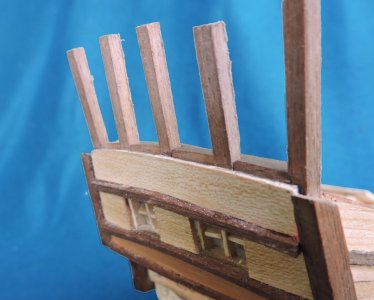
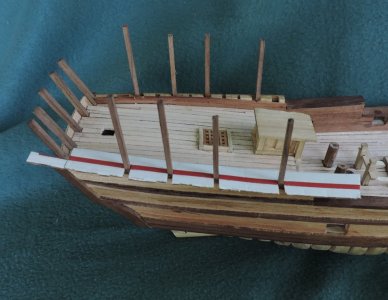
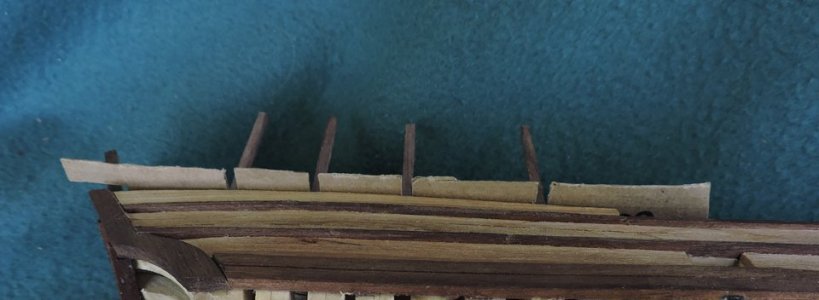
Before i start planking the upper deck i have to install the upper stern timbers but i decided to make a change very late in the build which at this point will require cosmetic surgery. So let's back track to the building of the stern, the end timbers are the same wood used for the framing of the hull and deck and as you can see here, they extend up to the railing.

deck planking45.jpg

that end timber is what you see here extending above the cap rail and supporting the railing around the upper deck. The cap rails, railing and the stanchions holding the railing are all done in Walnut so those end timbers will stand out because they are done in a different wood. I could stain them to match the rest of the cap rails and railing or get rid of them.

Capture profile1.jpg

you can see them sticking up as glaring white posts.

deck planking47.jpg

so i cut them off

deck planking46.jpg
 
Last edited:
What i should have done was to make the stern timbers out of Walnut but it is way to late for that. Installing the stern timbers

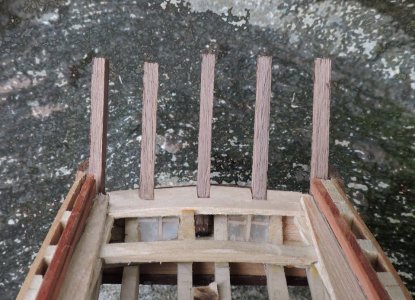
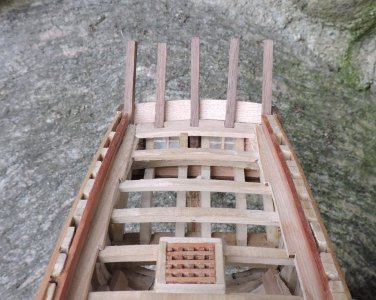
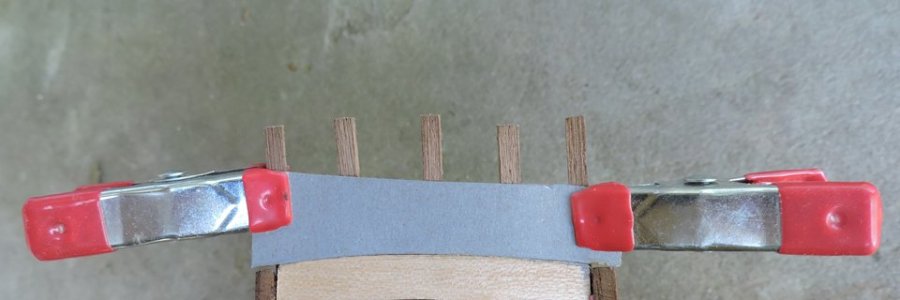
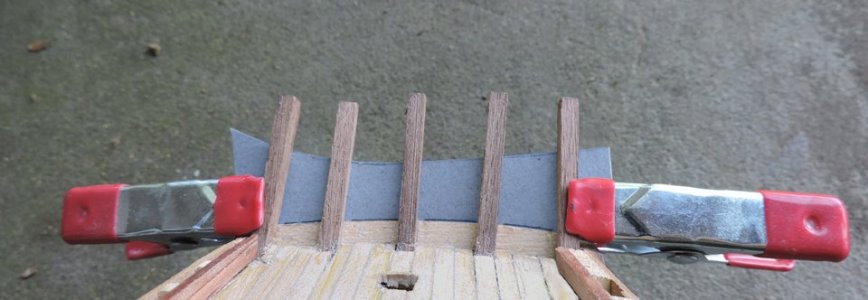
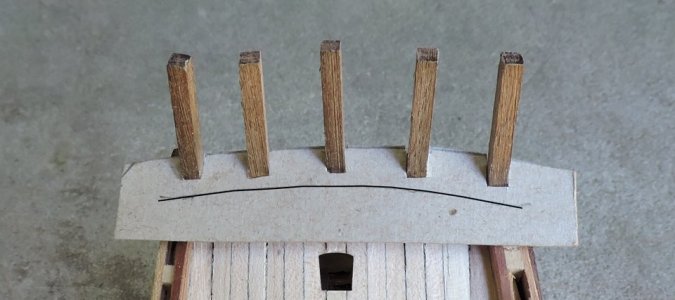
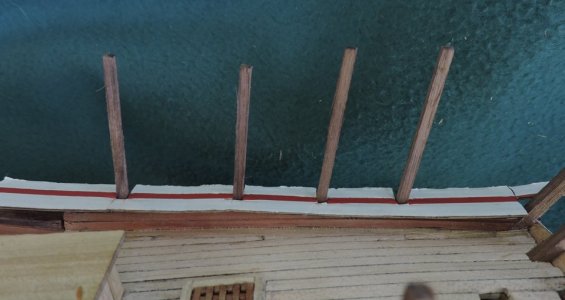
i cut a template to set the angle of the timbers and as you can see they are way to long. I will trim them down when it comes time for the railing
.

deck planking50.jpg

i figured it would be easier to plank the deck around the timbers rather than cutting a square hole for the timbers to fit in.

deck planking48.jpg

there isn't much holding the timbers in place just a shallow square hole so i put in the upper section of the outer stern plank. Once the deck in in place i will add knees to the timbers.

deck planking48.jpg

deck planking49.jpg
 
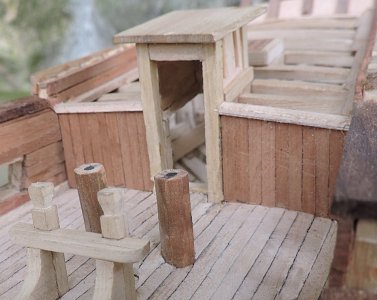
having finished the Alfred stern, i have the stern of the Hancock prepped up as the next project. After thinking about it i decided to do something different. I titled this school for model ship building because that is how i am going to create this next project. Starting with plans i will take you through the process of building a model of a ship. Focusing on one ship, i will keep the process generic so the information can be applied to any subject. The main focus will be around the work of Harold Hahn an engineer by trade, an artist by passion, a painter, illustrator, writer and master model builder. His work influenced a generation of model ship builders and his innovative approach to building a jig is used my kit manufactures around the world. I met Harold at a newly formed model ship club at the Inland Seas Maritime Museum. We hit it off and became friends for years after that meeting. i spent many hours in his library, office and work room. Over time the Lumberyards "timbering sets" were created for builders who did not have the machines to mill their own wood. One thing Harold made very clear he had a strong dislike for kits and that is why the timbering set never did become a full blown kit, he would not allow it. Harold reasoning was putting the art back into the art of model ship building. As he said "a builder has to develop skills. learn how ships were built" in order to create an original piece of art. Our relationship was more a master and student and i felt it was not my place to question the master, But, over time we became more of an equal (not in skills) and i did question his rule that never ever will his work be turned into a kit. My point was, i understand his purity of the art form but there is a need for builders to bridge the gap from building ships out if a box and jumping into the deep end of scratch building. Instructions were also a no, no again Harold's reasons you are following someone's else's methods rather than working out problems for yourself, it is your creation so figure it out and keep it original. Diving into this school for model ship building thread feels just like being a eager student again under a solid teacher who breaks down every lesson step by step. I've been hooked on these builds since my university days messing around in the library with old ship plans, and now as a sorta graduate hobbyist I'm picking up real skills without the kit crutch. It's all about that academic vibe where you learn from the masters like Harold Hahn and keep pushing your own techniques. Lately though my side gig has me buried in numbers so when balancing the books for hobby supplies gets tough I turn to this https://mysupergeek.com/accounting-assignment-help-service awesome accounting assignment help service packed with pros who make complex stuff click easy and keep things professional. Super handy for any builder juggling real life stuff while chasing that perfect hull. Keeps the passion alive without the headaches.
Been stuck mostly on kits for a while and always wanted to step up to proper scratch work without getting lost right away. Like the idea of keeping it generic so it applies to different ships too.
 
Last edited:
Those snow-white holly decks were not in any way realistic. Real decks were gray or shades of grayish brown. As a result, i got a run from model builders looking for blue stained Holly. The mold turned the Holly shades of gray. for awhile i could buy stained Holly very cheap because people did not want it. But woodworkers turned the dirty Holly into fine art and now the dirty Holly commands very high prices
David, What species do you use for deck planks if not gray mold holly? You have a far vaster selection than most of us to try so I was wondering what your preference is.

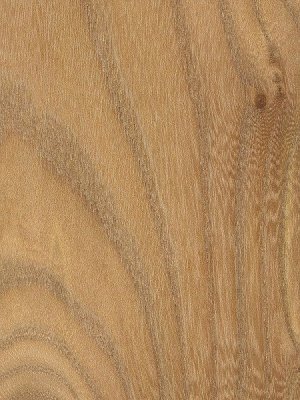
From what I can find, about 1740 when oak was becoming less abundant, elm was used for deck planks inboard of the first few strakes of oak. I may have this backward but what species would be appropriate for a model to depict their colors?

Thanks
Allan
 
David, What species do you use for deck planks if not gray mold holly? You have a far vaster selection than most of us to try so I was wondering what your preference is.

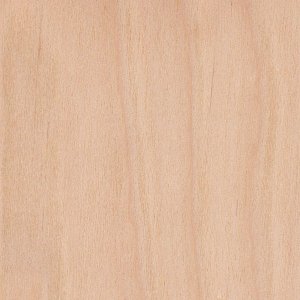
the two woods i use is Red Maple and Poplar i have also used Apple on the Alvin Clark build.

From what I can find, about 1740 when oak was becoming less abundant, elm was used for deck planks inboard of the first few strakes of oak. I may have this backward but what species would be appropriate for a model to depict their colors?

Elm is a brown ranging from light to darker

GreyElm-986-xl.jpgred-elm.jpg

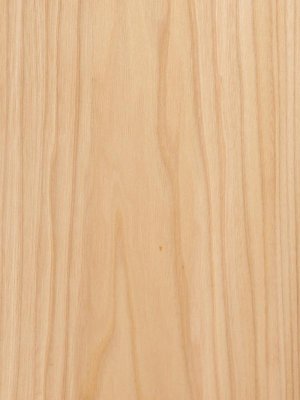
woods that come to mind is Birch

yellow-birch.jpg

also alder, applewood
 
Before starting the deck planking i added a bull nose at the break of the deck. a bull nose is a plank that runs at a 90 degree to the decking it serves to seal the ends of the planks.

upper deck1.jpg

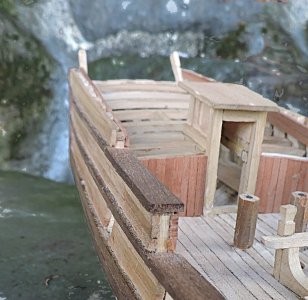
planking the upper deck was the same as the main deck. my first plank i ran alongside the companion way to the stern timbers

upper deck2.jpg

Now i have three sections to fill in the center and the two sides where the ends of the planks will nib into the margin plank. Once again i am using a China Marker for caulking.

upper deck3.jpg
 
Using the China marker or grease pencil for caulking is messy, a before picture of the deck

upper deck4.jpg

and an after picture of the deck once it is scraped clean. The deck looks white because fresh cut or sanded Red Maple looks white but it oxidizes to a honey color to light reddish with a hint of gray.

upper deck5.jpg
 
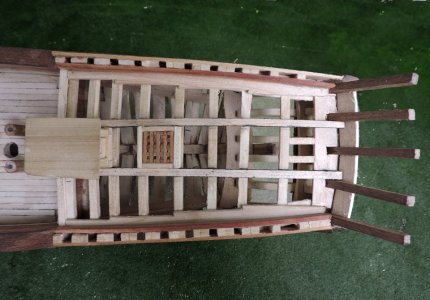
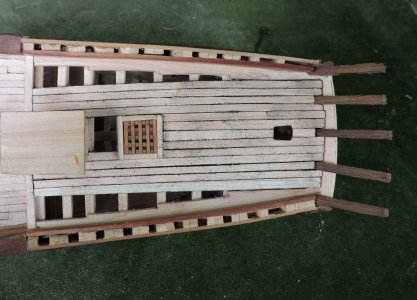
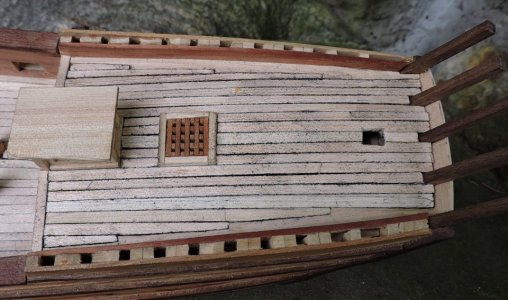
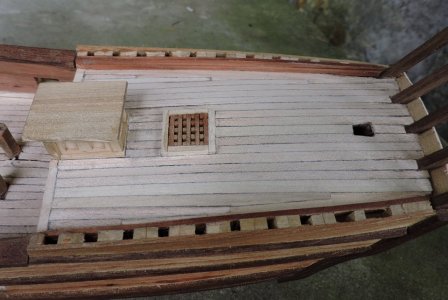
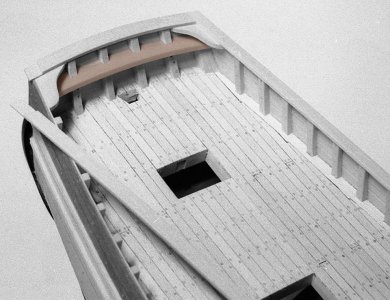
The decks are finished and some builders might wonder after building the deck with the beams, carlings and knees then cover all the work up what's the point in doing it? Well for this class in building it is to show how a deck is planked and you saw what is under the planking. some builders leave planks off to show the structure. Here the decks look stark white but in real life they are not, the picture was taken outside in the bright sun light.
I have heard of builders washing the deck with watered down paint to using graphite to tone down a deck and give it a weathered look.

upper deck25.jpg
 
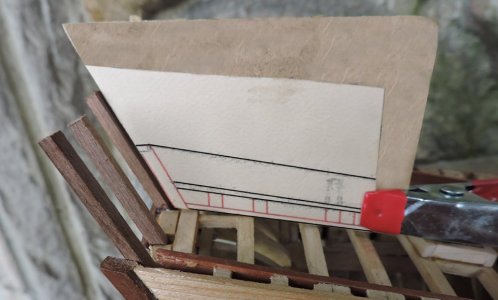
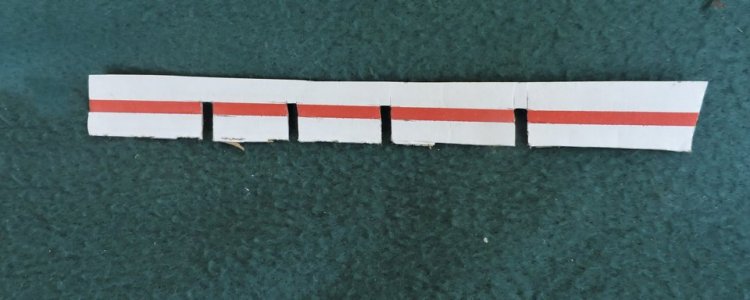
Moving on to the final phase is the cap rail along the upper deck and across the stern, then the stanchions for the railing. for now it will just be fabrication of the upper most transom piece at the stern. Once again i stress any build gets to the point where you abandon the drawings and use them for just a general reference. You're now building to the model and using templates to fit what you built. Cardboard is you friend at this point.
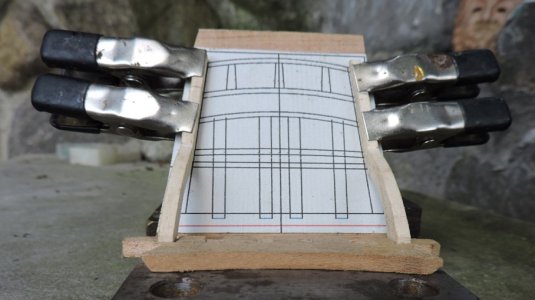
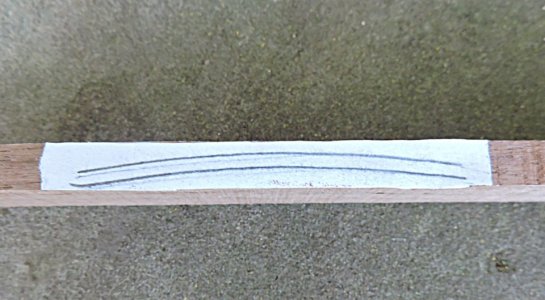
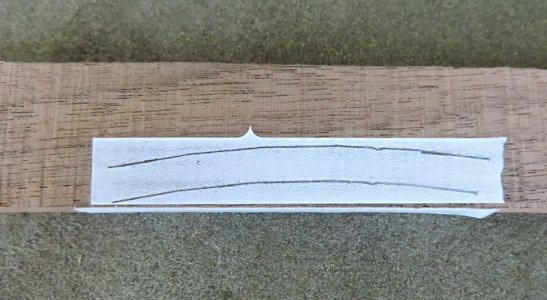
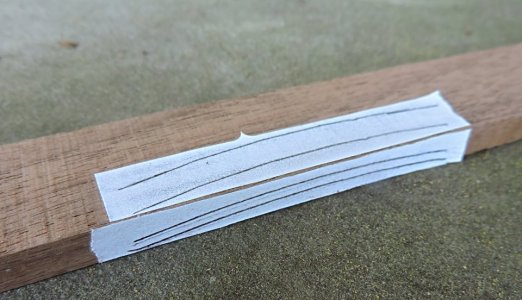
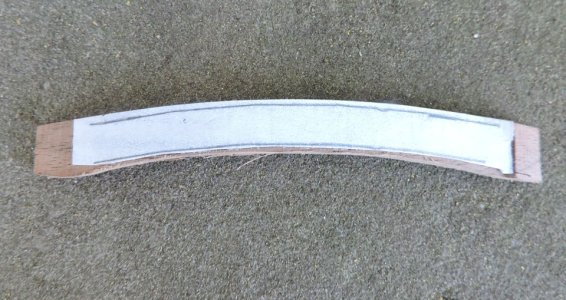
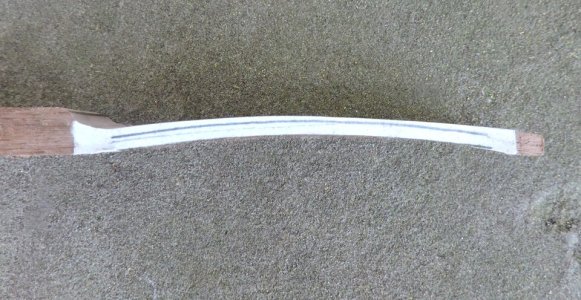
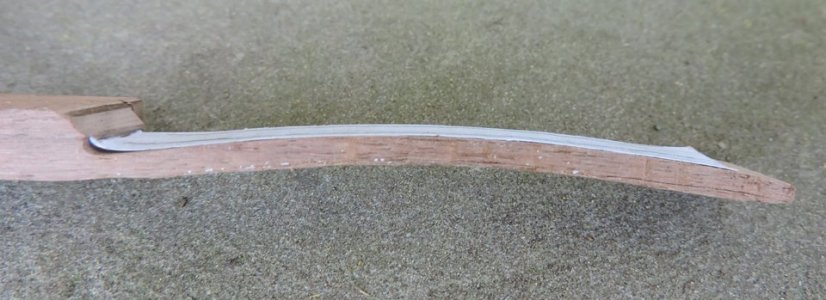
First i needed to exact shape of the curve of the upper section


upper deck6.jpg

tracing it on the inside

upper deck7.jpg

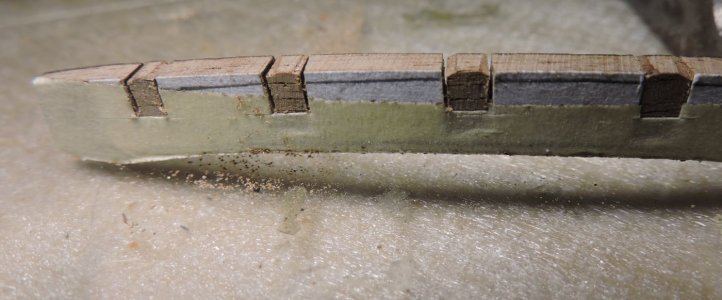
and cutting the notches

upper deck8.jpg
 
This is what Harold Hahn stressed when he said he disliked kits because they do not teach you anything other than the assembly of parts, keeping in mind Hahn was a woodworker building a staircase in his house as well as furniture. The two ways of looking at this is a skilled woodworker building a wooden ship model or a ship model builder lacking in woodworking skills struggling with the wooden ship model. When you need a part and realize it is not ready made and you have to actually do it from scratch.
Here is the part that has to be made and fit nice and tight into the model.


hannah65.jpghannah122.jpga46a.jpg

and here it is on the Sir Edward Hawke

b28.jpg
 
So let's go through the making of the part step by step starting with exactly what we need to make.

this will be a pieces that curves in two directions and it has notches in it.


upper deck9.jpgupper deck10.jpgupper deck11.jpg
 
first of all let's shape it starting with the arc of the stern notice i am staying proud of the lines giving myself a little adjusting room when it comes to the final fit.

upper deck20.jpg

now for the other arch this has to sit on the upper section of the stern so finish fitting the lower curve first as you can see the extra material at the top.

upper deck18.jpg

The lower curve is fit first because it has to match up to another part, the upper curve is for the thickness of the piece and it is worked down to match the lower arch.

upper deck19.jpg


notice the extra wood to the left that is a handle so i can hold the piece i am making to the sanding disk and not sand the tips of my fingers trying to hold a small piece
 
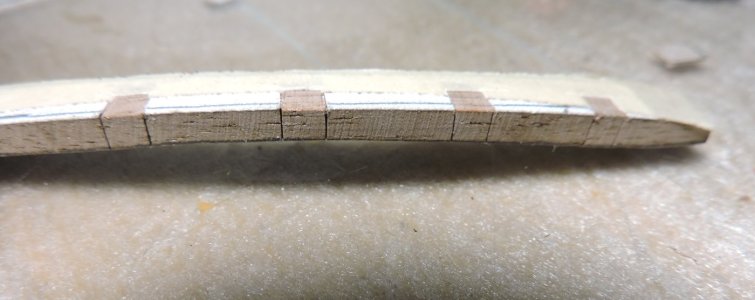
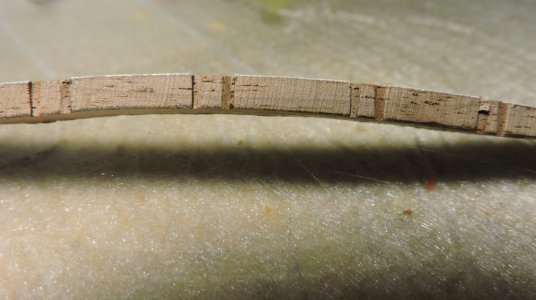
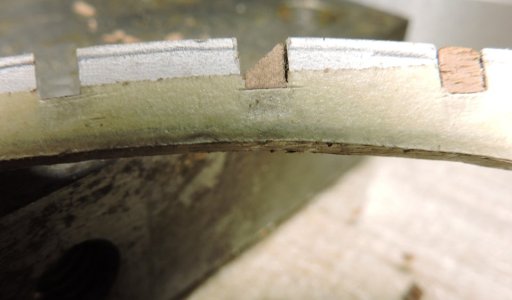
Now that the piece is shaped and fit to the stern arch it is time to cut those notches. Buy the time your done you will need to cut 13 of them. The cardboard template is now used to mark out the notches. If you were accurate in making the template it should work out when marking the notch locations

step 1 making a stop cut at the edge


upper deck12.jpg

step 2 cutting a V into the notch this is done to guide the razor saw.

upper deck14.jpg

step 3 using a razor saw cut the edges of the notches

upper deck13.jpg

Step four cleaning out the notch my method is to make a slanting cut down close to the bottom of the notch

upper deck15.jpg

then just slicing down the triangle of wood

upper deck16.jpg

at the bottom of the notch it is cut at an angle to match up with the slant of the timbers

upper deck21.jpg
 
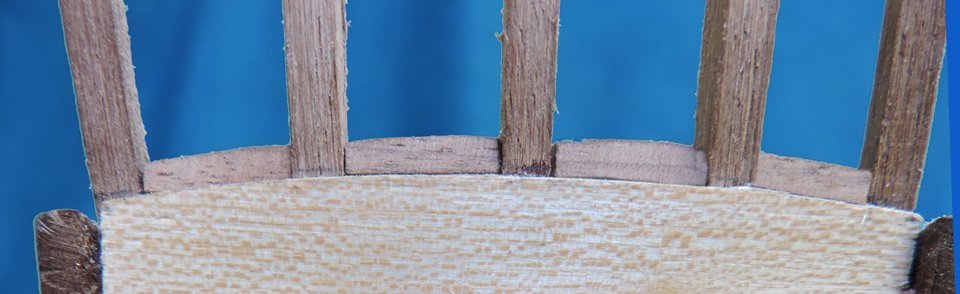
When fabricating a piece for the model it is a process of starting oversize and working it down by making small adjustments checking the fit and doing it iver and over until it fits.

upper deck22.jpg

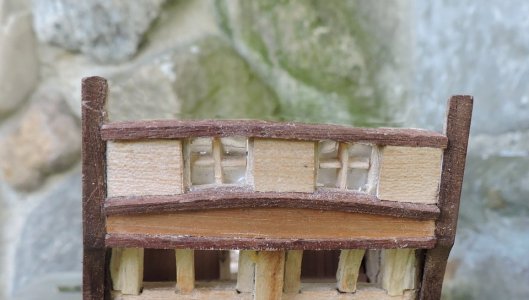
The transom piece outer edge stops flush with the timbers

upper deck24.jpg

a molding will sit on the arch of the top section and against the timbers and edge of the transom piece.
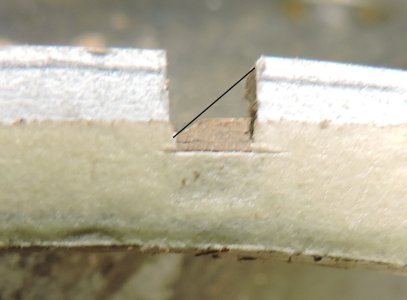
upper deck23.jpg
 
Since we were talking about deck planking let me share a couple of things that I recently learned. These apply to late Nineteenth Century regional craft NOT the model that Dave is building. Neverless, they do demonstrate the variety found when researching.

The nibbed deck ends are not seen especially when there was no waterway. Deck ends are pointed.

Caulking could be white. White lead putty was used on top of caulking to fill deck seams.
Roger
 
Back
Top