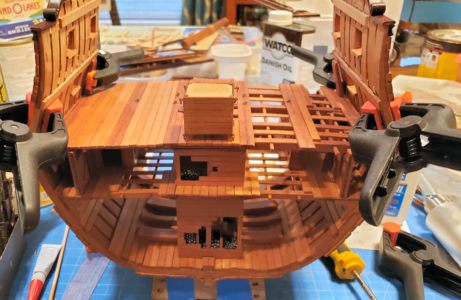
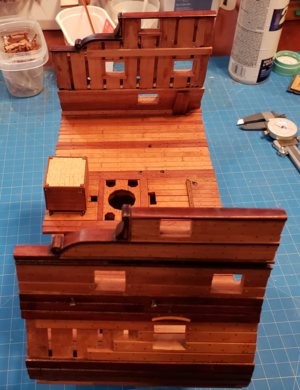
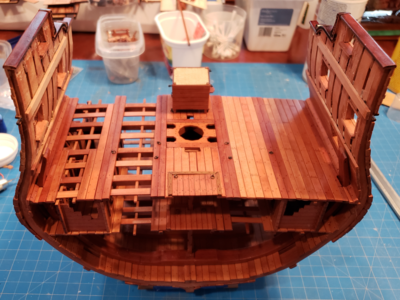
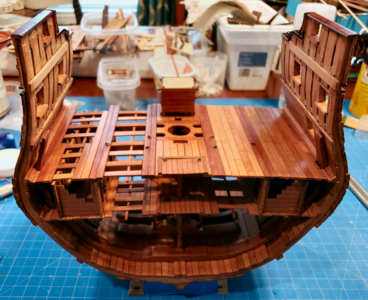
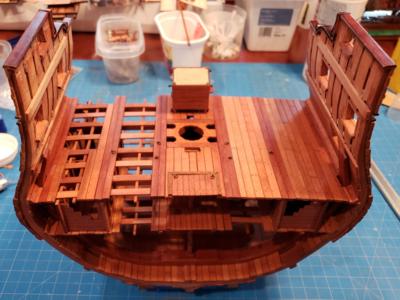
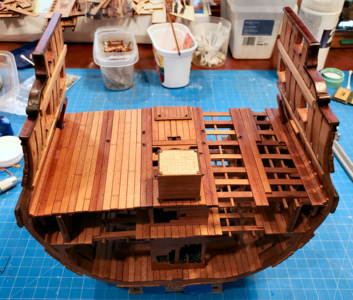
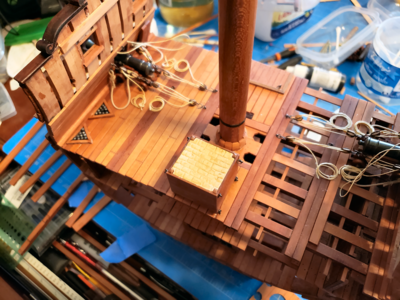
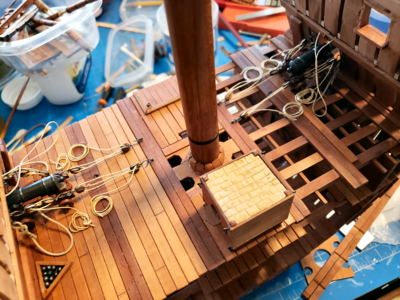
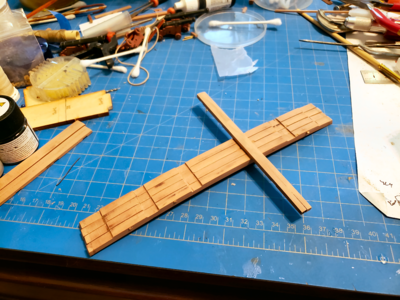
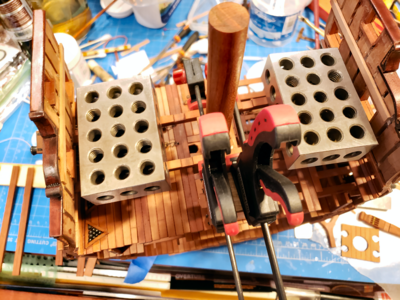
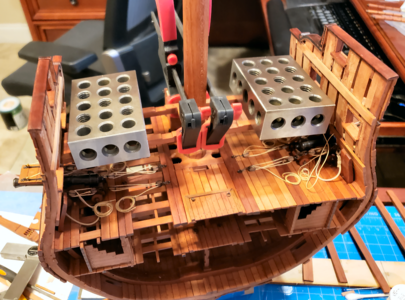
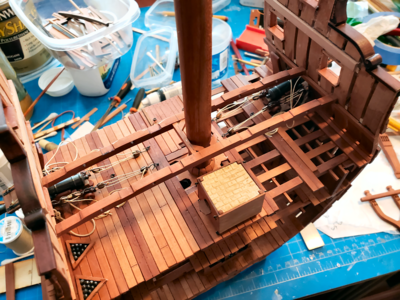
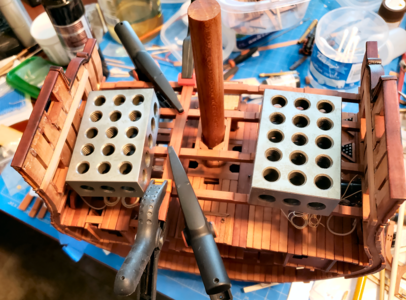
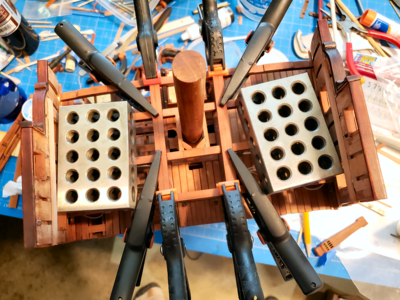
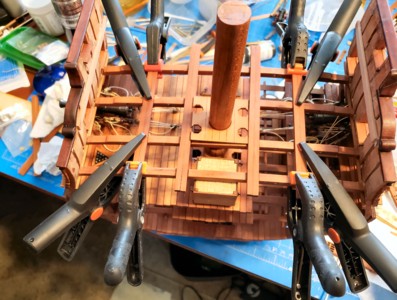
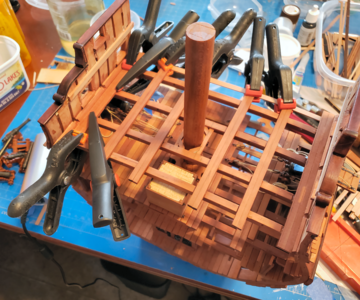
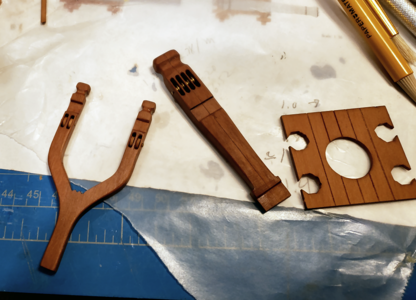
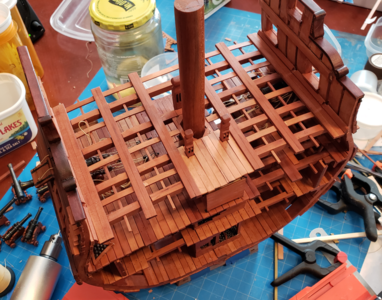
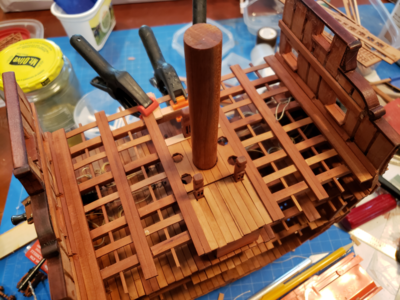
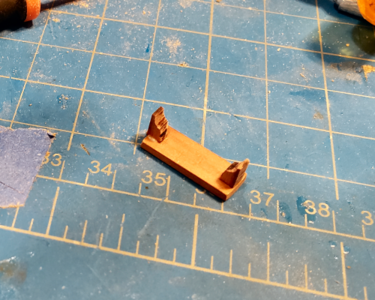
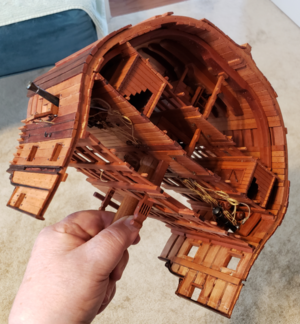
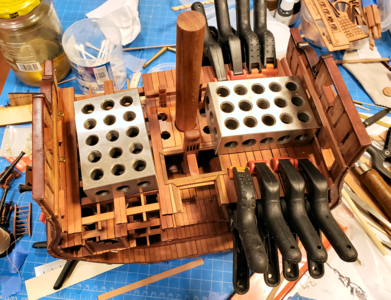
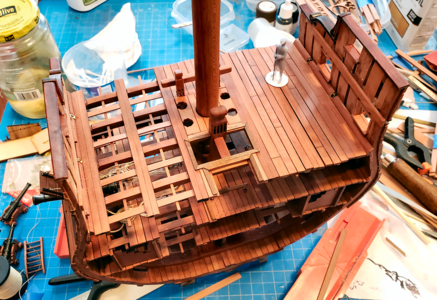
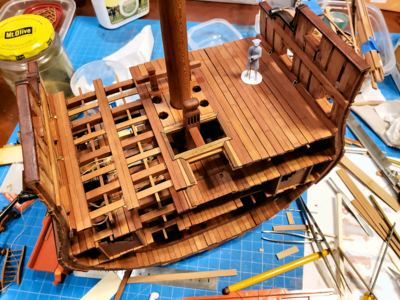
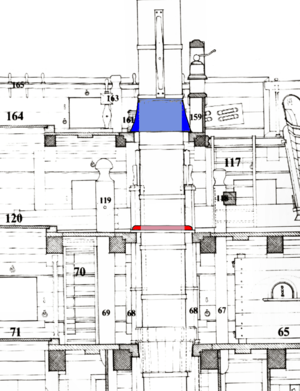
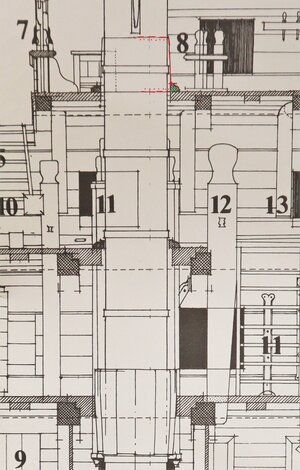
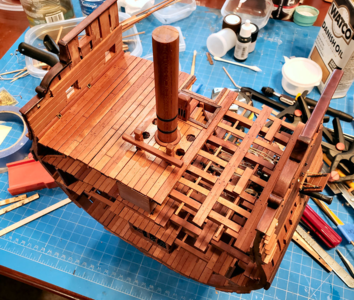
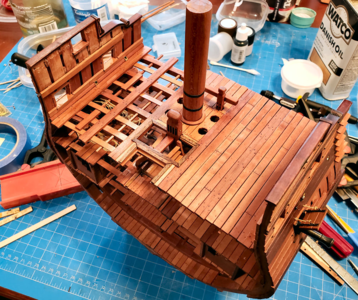
Continuing on, after adding some detail and such, I installed the lower gun deck, with the orlop deck cabins and carpenter's in place:
View attachment 295324
Unlike most, I think, I built up the entire deck, then slid it into place, but of course the cabins and carpenter's walk prevent doing the deck separately (since the are built higher between the cross beams). I slid the deck into place while holding the structures loosely in place, then glued and clamped the gun deck in place. Afterwards, I went back and added a few drops of CA here and there to keep the structures from moving. I also added the oven before putting the gun deck in place, because it would be more difficult for me to to install the eye bolts and rings that hold the oven in place.
I also added the inside planking on the gun deck after it was glued in place:
View attachment 295326
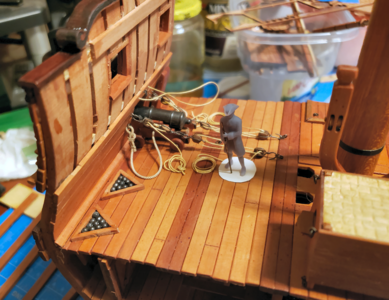
This photo shows how I want to continue with the build: One side with completed planking everywhere, the other with little or no planking to show the ship structure better, some being added in this case only to support an 18-pound gun.
View attachment 295325
Up until the gun deck, I made both sides of the model the same: Partial planking is used in a logical manner, but sufficient planking left off to show the structure. This still ends up hiding some structure, and still doesn't show the lines of the ship very well. I wish I'd have started this with the hull and hold. But I didn't, so this will be kind of a mix of the two methods.
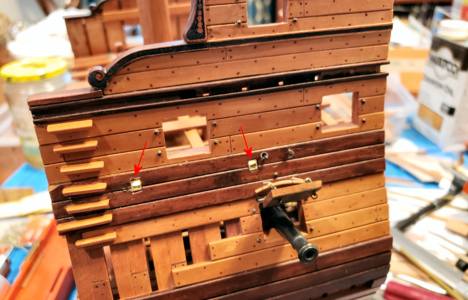
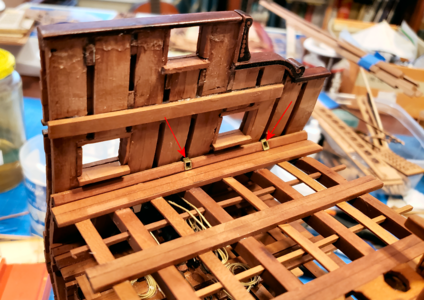
More photos of the build to this time:
View attachment 295327
View attachment 295333
View attachment 295334
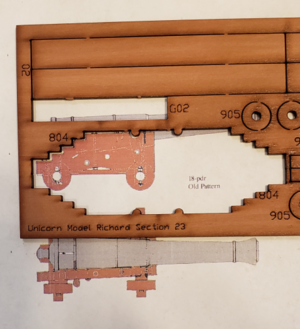
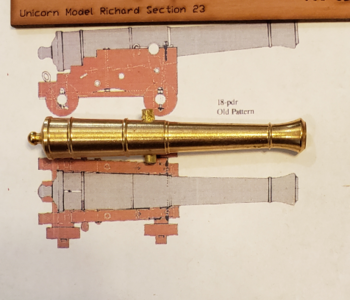
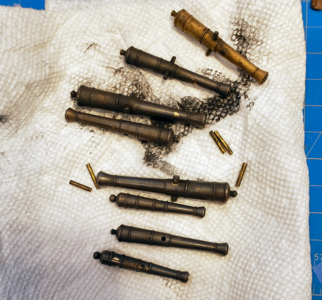
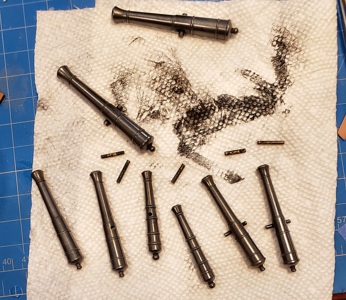
Previously, I had mentioned about the accuracy of the gun carriages and barrels, and here is what I've ended up doing to improve it somewhat:
View attachment 295335 View attachment 295336
The above/left photo shows the accuracy of the carriage bracket online is actually very, very good, and the larger barrels included for the two 18-pounder guns is also quite close, so I am using them without change. (BTW, the drawing in the background of these photos is from Boudriot's book, scaled to 1/48 scale.)
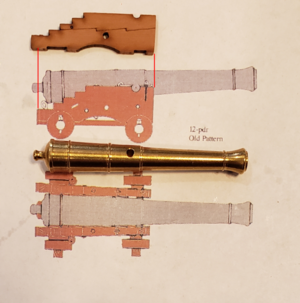
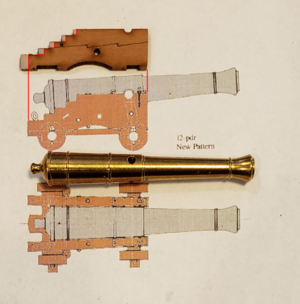
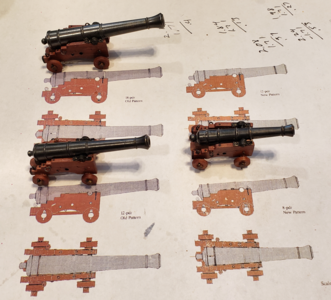
Next, I compared the 12-pounder guns, which were available in an Old (long) and New (short) pattern:
View attachment 295359 View attachment 295361
Comparing to the Old pattern above, the included smaller barrels are about a scale half foot too short, while they are about a scale half foot too long for the New pattern. As the ship had both, the included barrel is a happy medium, so I will use them for the 12-pounders.
Looking above at the same photos, the carriage brackets included with the kit are about a scale half foot too long for these guns. Both Old and New patterns used the same carriages. I decided to cut the brackets shorter, then modify the steps, to better match the actual guns on the ship. This is shown by the red cuts on the above/right photo.
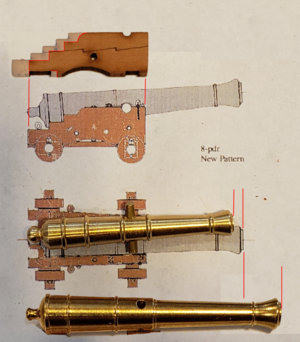
Finally, the 9-pounders (called by Boudroit as both 8- and 9-pounders in his book):
View attachment 295367
The barrel included with the kit is at the bottom (the same size as those included for the 12-pounder). I bought two new barrels, 45mm in length, for use for the 9 -pounders, which as you can see are much closer to scale. I couldn't find 50mm length barrels, and the actual size would be about 48mm, so 45 is closer.
The carriages with the kit are also the same size as the 12-pounders, and as the above diagram shows, they are too big. Once again, I cut them shorter, cut the notches so as to include only 3 as on the original (not 4), and extended the cutout for the rear axtree to shorten the wheelbase.
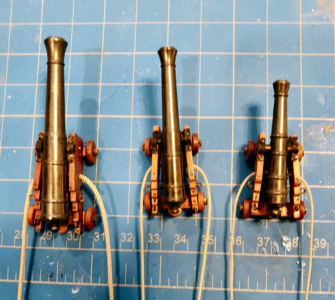
I don't have all the guns assembled yet, as I'm waiting for some small hardware, then having to drill the brackets, before assembly. I'll post them when they're done, but think they will look much closer to scale than those included with the kit, and will show a good progression in size.
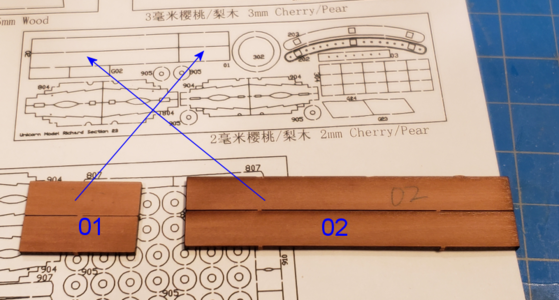
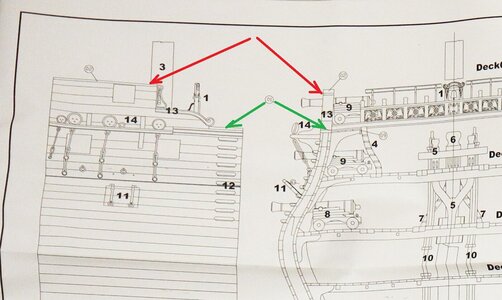
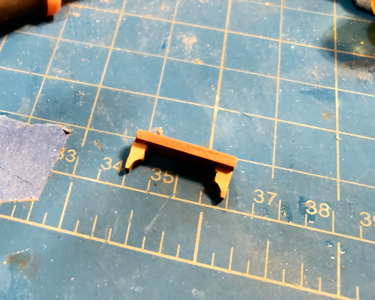
As I've mentioned previously, while I've read the instructions and looked at the pictures, I've down things differently and in a different order than that described with the kit. So I've gone ahead and looked at all the parts, wanting to make sure I don't forget anything. In doing so, I don't find a use for the part numbers 01 and 02 (two each) as shown on the 2mm thick laser-cut sheet:
View attachment 295377
Can anyone tell me where these two parts are used? I'm probably blind, but (think) I've looked everywhere.
That's it for now.


