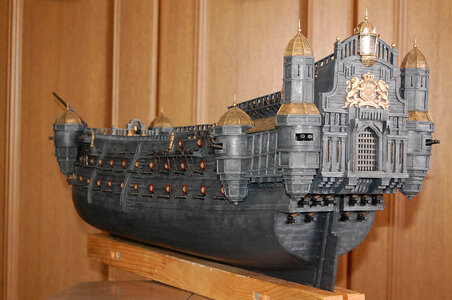
Silent Mary by Mellpapa

SilentMary-38-09.jpg
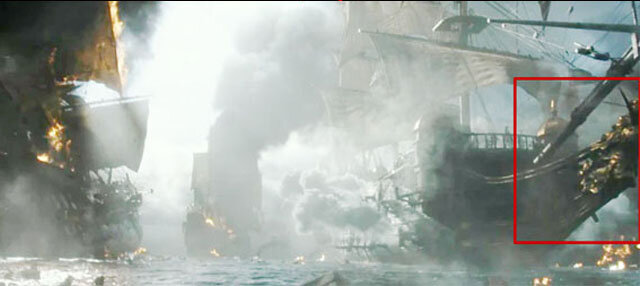
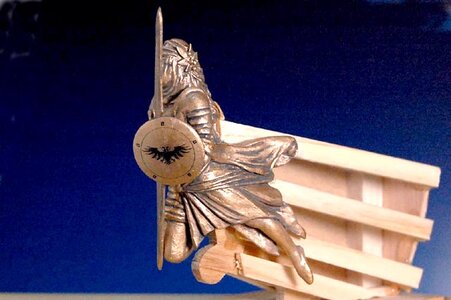
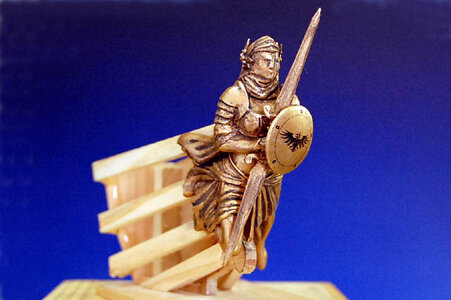
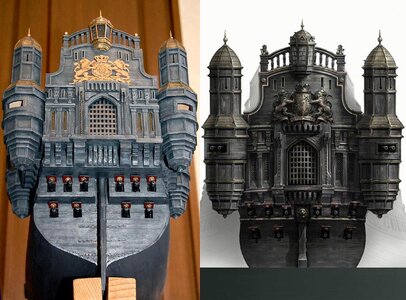
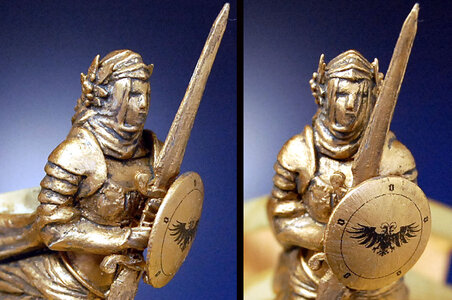
Note the red border in the image above! The bow statue in the film appears to be the same colour as the roof of the bow turret.
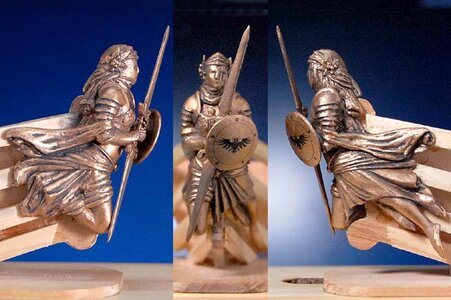
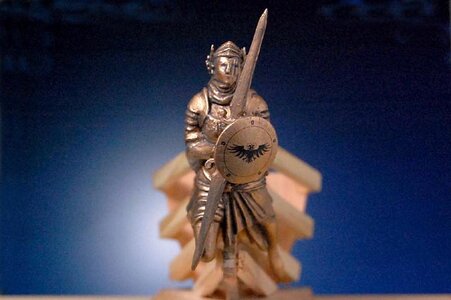
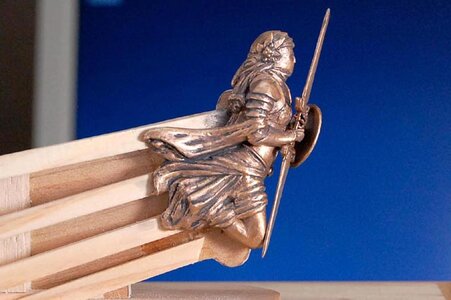
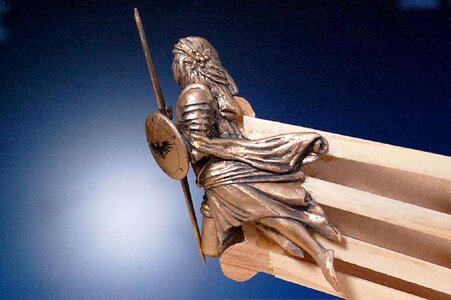
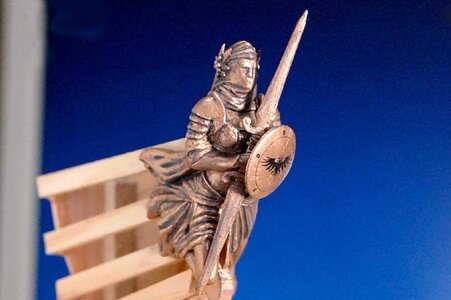
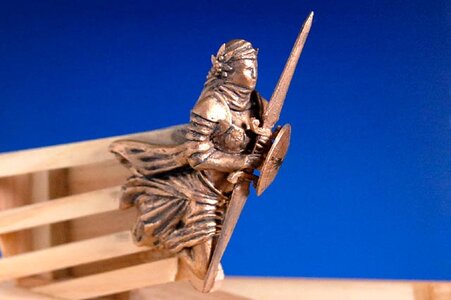
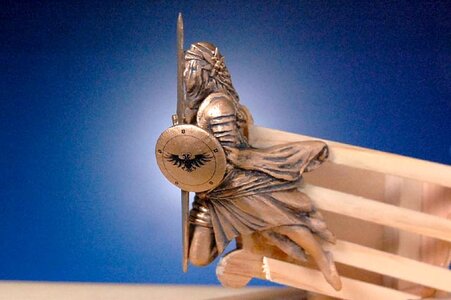
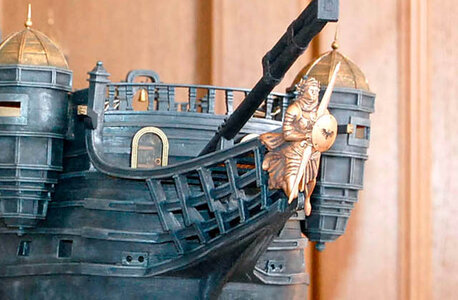
The completed bow statue was painted in lacquer red gold and smudged with Tamiya's PANEL LINE ACCENT COLOUR (DARK GRAI).
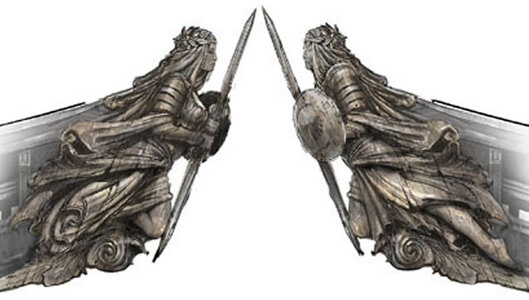
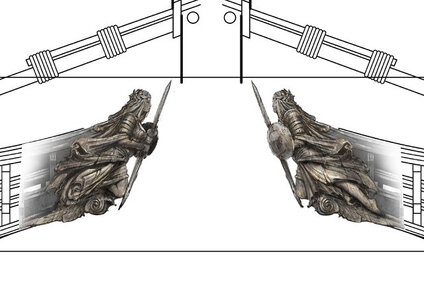
It will look a bit like the concept illustration.
The mark on the circular shield was made from decals and pasted on. The design of the mark is appropriate.

SilentMary-38-01.jpg

SilentMary-38-10.jpg SilentMary-38-11.jpg

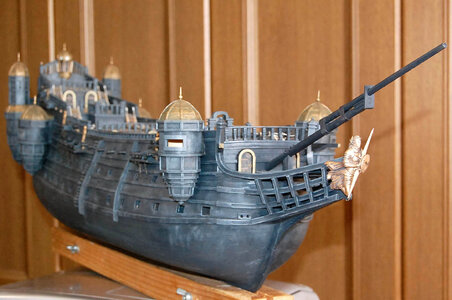
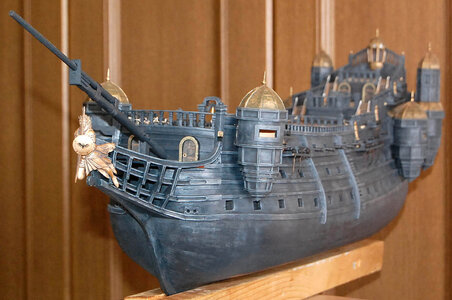
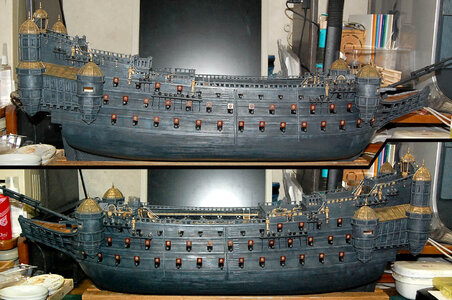
Various shots were taken from different angles and are shown here. No description is available.
SilentMary-38-02.jpg
SilentMary-38-03.jpg
SilentMary-38-04.jpg
SilentMary-38-05.jpg
SilentMary-38-06.jpg
SilentMary-38-08.jpg
SilentMary-38-07.jpg
 
Exact, I find it impressive and a very good way for those who have problems making ornaments. There is another way to get near the real thing without carving.
Hello, Steef66.
Thank you very much.:D
I think this way of making the putty is less likely to fail because it is made by heaping and scraping the putty.;)Thumbsup
 
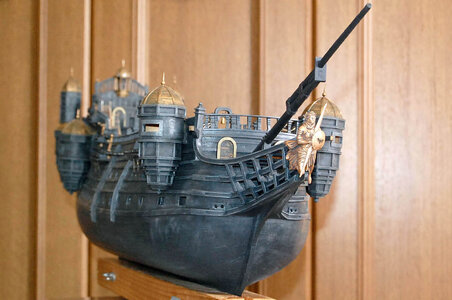
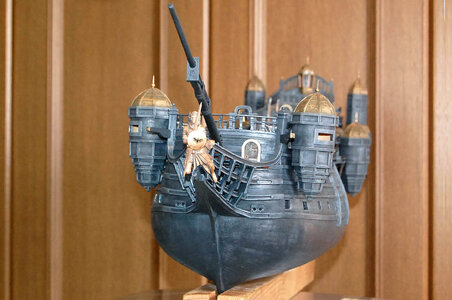
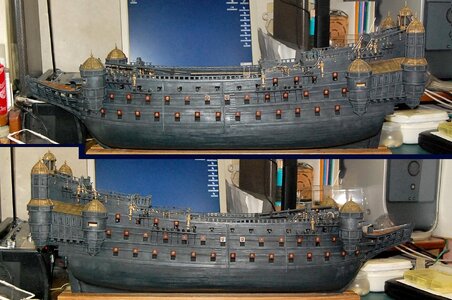
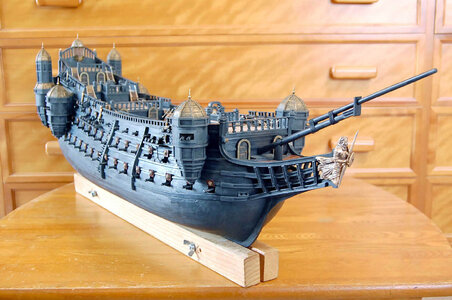
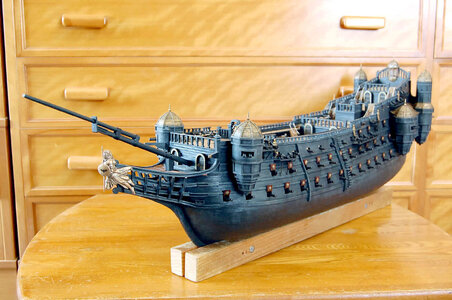
The completed bow statue is temporarily assembled on the hull.
It still looks cool with the bow statue.
I took pictures of it from the angle I like.
I won't add a photo description, but I'll put it on the website.

DSC_8662-01.jpg
DSC_8660-01.jpg
DSC_8654-01.jpg
DSC_8653-01.jpg
SilentMary-38-16.jpg
If the bow statue is left attached to the hull, it could break during crafting.
It was stored attached to the craft bow stand.
 
Last edited:
A story that has nothing to do with crafting.

SilentMary-38-19-01.jpg
SilentMary-38-19.jpg
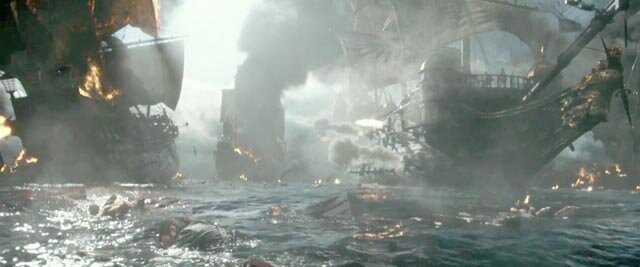
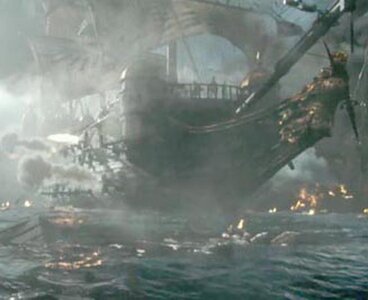
The image above is a scene from a movie, the Silent Mary attacking a pirate ship. Look closely at the bow statue.
Compared to the bow image in the concept illustration, the left and right images are reversed.
This would mean that the circular shield would be attached to the right arm, and the sword would be held in the left hand.
SilentMary-37-27.jpg
The bow statue I created matches the concept illustration.
2024-3-1.jpg
Why was it reversed in the movie?
I don't know why, but to the filmmakers, the Silent Mary is just a prop in the movie, so perhaps it doesn't matter that the figureheads are reversed.
 
SilentMary-38-20.jpgSilentMary-38-23.jpg
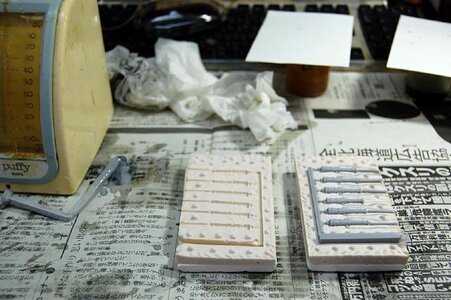
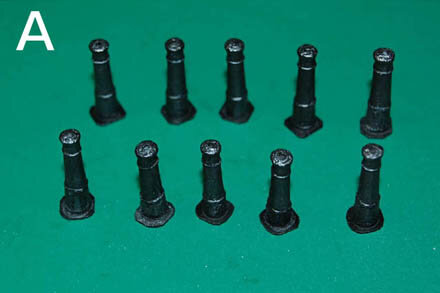
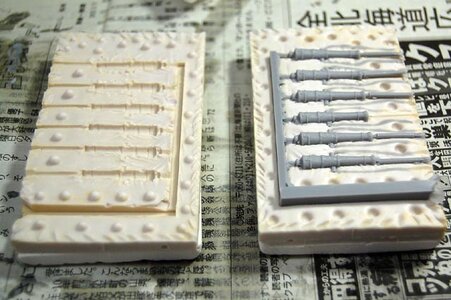
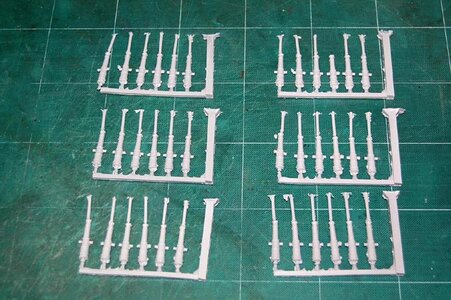
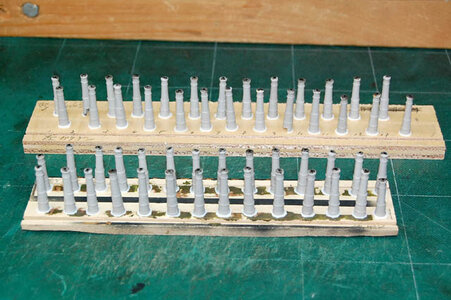
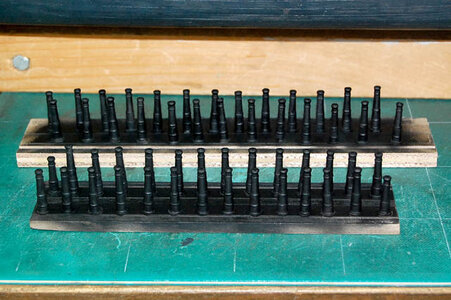
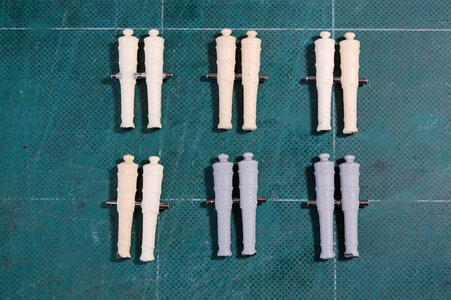
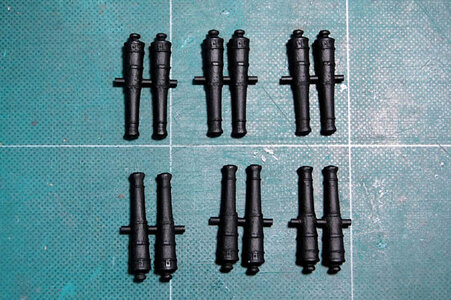
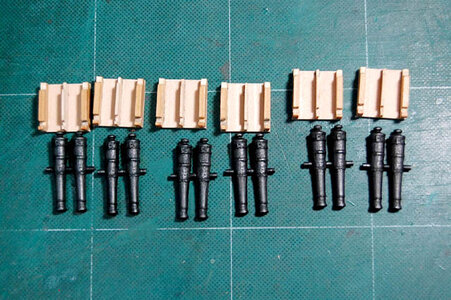
This is a resin reproduction of a cannon barrel.
After finishing the duplication, make a dummy gun barrel as in image A.

SilentMary-38-21.jpg
SilentMary-38-22.jpg
Duplicate about 36 in total.

------------------------------------------------------------------------------------------------------------------------

Before I make the dummy gun barrels, I'll take a quick detour.
SilentMary-38-26.jpg
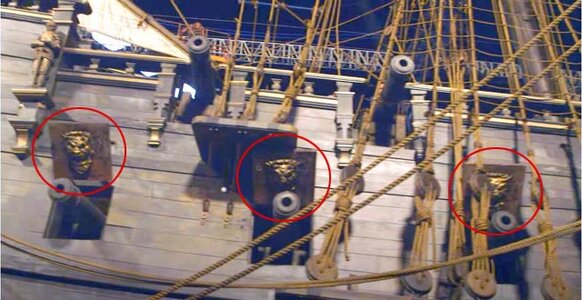
The red arrow gunport lid looks like it has a lion's face painted gold on the back, and the back plate is painted dark red.

SilentMary-38-27.jpg
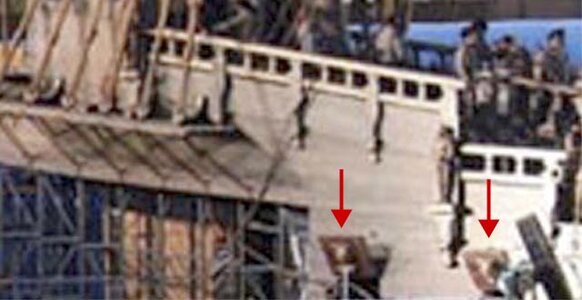
This is the starboard side of the Silent Mary, built as a set for filming.
The gunport lid in the red circled area is made of a single plank.
The gunport lid should be made of a single thin board.
For the model, a 1mm thick board is used.

SilentMary-38-24.jpg
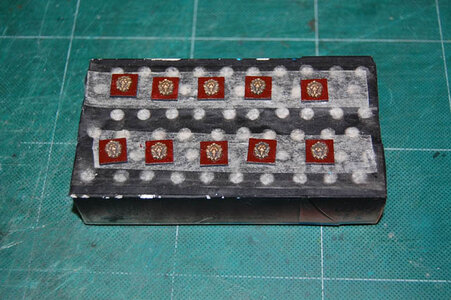
This is a gunport lid I made as a test.
The golden lion face was duplicated in resin long ago and painted gold and stored.
The back of the gunport lid was painted dark red and the golden lion face was affixed.

SilentMary-38-25.jpg
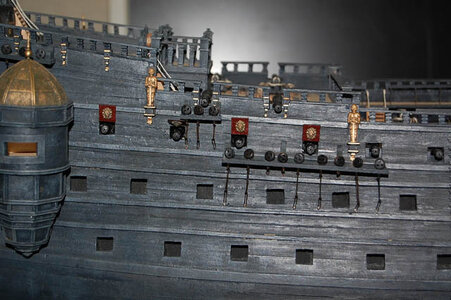
The gunport lid will be fully opened to show the golden lion face, so we will omit the hinges and such.
There are about four parts that will be partially half open, but no hinges will be attached.
We will affix it as shown in the image above.
I glued it in place for a test, but that should do it.

SilentMary-38-29.jpg
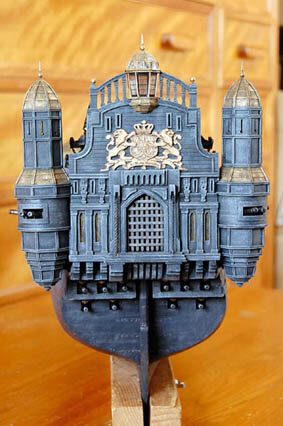
The starboard gunport lid turned out well, so I added the cannon and gunport lid on the aft transom section.
Some parts are a little different from the concept illustration, but it's nice.
I'm very self-satisfied.
 
DSC_8702-01.jpg
A gunport lid was added to a gunport that needed a gunport lid.
The starboard and port ports were flat, but the dark red with the gold lion face is a nice accent. All that was left to do was to make dummy gun barrels and glue them in place.

------------------------------------------------------------------------------------------------------------------------
■Another detour. ■

DSC_8637-01.jpg
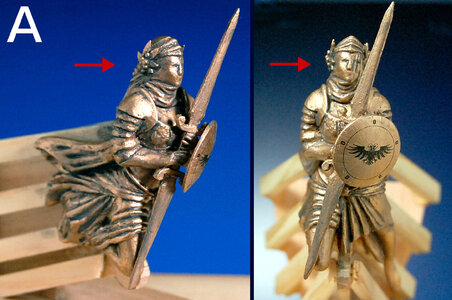
I don't like the face of the figurehead in Photo A, viewed from the red arrow side. It looks like a man's face no matter how you look at it.
I decided to fix it because I didn't like it no matter how many times I looked at it.
Maybe it is because the face on the right side does not have the wrinkles of the face veil.

DSC_8714-01.jpg
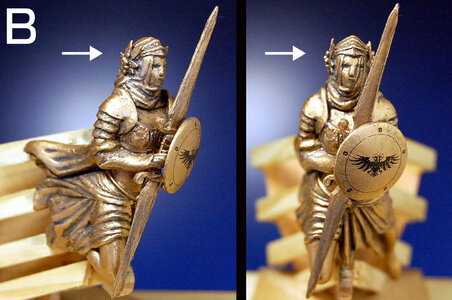
Photo B is the repaired figurehead, with the face veil crease added to the right cheek area.
This one looks more like the figure head.
It took me more than half a day to make the wrinkles of the face veil.
My eyes are completely tired.

I was going to make a dummy gun, but I'll start tomorrow.

DSC_8714-02.jpg
This is an enlarged image of the repaired figurehead.
This one looks more like a woman's face.
This is how it should be.
 
On this scale a woman's face is difficult. They got a nose that is not as big as the man. (mostly, or they are just ugly if not :) ) And the chin and jaw are smaller.
Your adjusted figure got more the looks of a woman. You nailed it.
 
On this scale a woman's face is difficult. They got a nose that is not as big as the man. (mostly, or they are just ugly if not :) ) And the chin and jaw are smaller.
Your adjusted figure got more the looks of a woman. You nailed it.
Hello, Steef66.
Thank you very much. :D Thumbsup
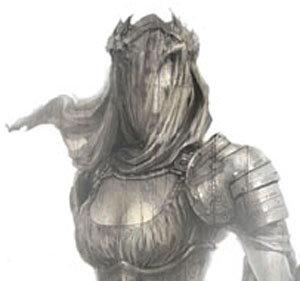
The face veil covers the eyes, nose, and mouth, and the cheeks are creased by the veil.
It is difficult to describe the transparency of the veil with a rough weave face veil.Redface
It seems that the technique is still in its infancy.Speechless
 
Dummy barrel construction.

SilentMary-38-34.jpg
Cut and glue the gun barrel to the plastic plate to match the depth of the box lining the gun ports on the hull.

SilentMary-38-35.jpg
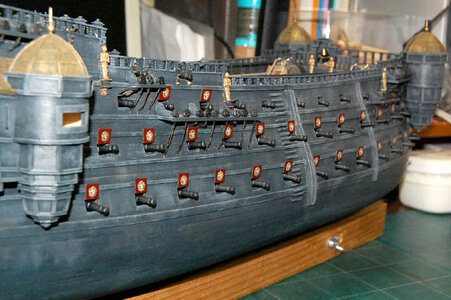
The dummy barrel was painted in matte black. After this, a 4B pencil was rubbed on and glued to the gun barrel backing box.

SilentMary-38-36.jpg
This image is viewed from the starboard aft side.

SilentMary-38-37.jpg
This image is from the starboard bow side.

DSC_8735-01.jpg
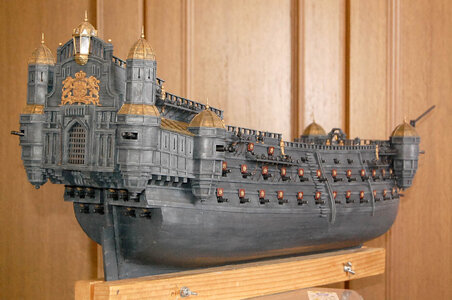
It would be cool to have a cannon mounted on the hull.
Now it is time to make the two cannon guns in the bow and stern turrets.
 
■Making a double barrel for each turret ■

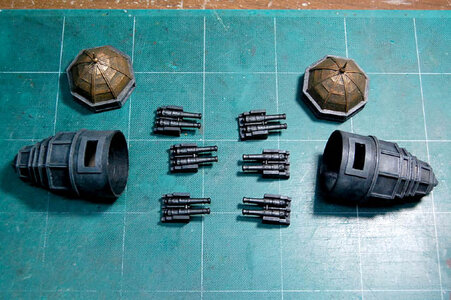
SilentMary-38-39.jpg
I'm going to connect the two cannon barrels at the cannon ear.
The barrel was replicated in resin, so drilling was easy, but first 0.5mm, then 0.8mm, then 1mm, and finally 1.9mm.
The steel rod of the gun ear is 1.9mm in diameter.

SilentMary-38-40.jpg
It is painted in lacquer-based matte black.

SilentMary-38-41.jpg
The carriage was made to fit the two barrels.
You need a carriage like this to put it in the turret.
The inside of the turret is not visible, so the wheels are omitted.
The two barrels were rubbed with a 4B pencil.

SilentMary-38-42.jpg
The turret interior walls are painted in German gray.
The carriage is also painted in German gray.

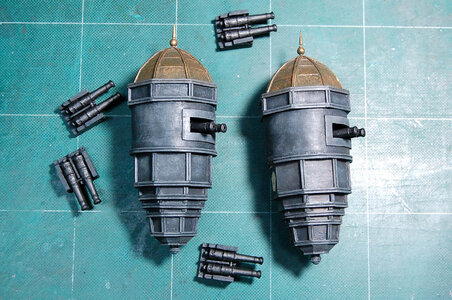
DSC_8748-01.jpg
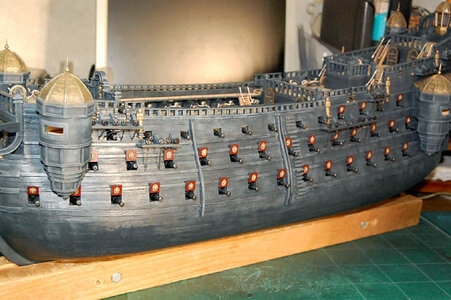
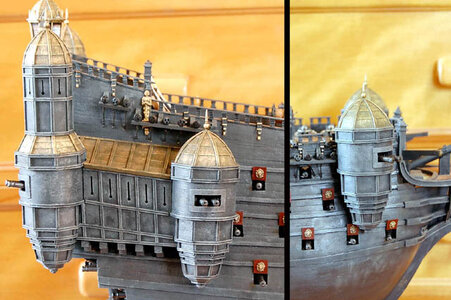
Two cannon guns were installed in the two turrets on the bow side.
Having achieved a good installation on the bow side turret, we installed two cannon guns on the four turrets at the stern.
 
A turret with two cannon guns installed was attached to the hull.
It's pretty cool.
SilentMary-38-45.jpg SilentMary-38-44.jpg

DSC_8766-01.jpg

DSC_8767-01.jpg

DSC_8777-01.jpg

DSC_8776-01.jpg

I have finished crafting the cannon guns.
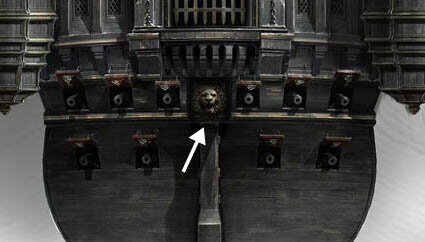
The rest of the hull outfitting needs to be done: fire rail, pin rail, belaying pin, and anchor. ...... Speaking of which, the lion's face will be attached to the top of the rudder.
(White arrow part in the image below)
SilentMary-38-50.jpg
 
Last edited:
Back
Top