-

Win a Free Custom Engraved Brass Coin!!!
As a way to introduce our brass coins to the community, we will raffle off a free coin during the month of August. Follow link ABOVE for instructions for entering.
-

PRE-ORDER SHIPS IN SCALE TODAY!
The beloved Ships in Scale Magazine is back and charting a new course for 2026!
Discover new skills, new techniques, and new inspirations in every issue.
NOTE THAT OUR FIRST ISSUE WILL BE JAN/FEB 2026
You are using an out of date browser. It may not display this or other websites correctly.
You should upgrade or use an alternative browser.
You should upgrade or use an alternative browser.
- Joined
- Jun 28, 2020
- Messages
- 544
- Points
- 353

Hi Steef66,I always quietly enjoy this build, glad to have you back.
This is a fictional ship from a movie, so I am making it as I see fit.
It is not a ship from the historical past, so it is an easy craft.

- Joined
- Aug 8, 2019
- Messages
- 5,564
- Points
- 738

I know, that's why I like it. It's your piece of art.Hi Steef66,
This is a fictional ship from a movie, so I am making it as I see fit.
It is not a ship from the historical past, so it is an easy craft.
- Joined
- Jun 28, 2020
- Messages
- 544
- Points
- 353

I received an email asking, “Do you glue the masts to the hull and then rig them?” I will answer this question.
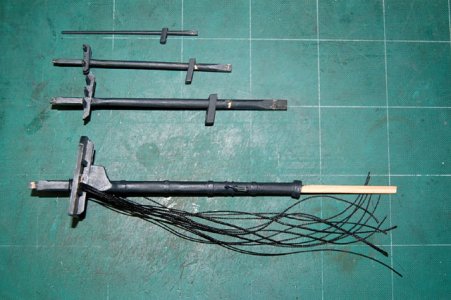
I'll use a mizzen mast to illustrate.
The mast is not glued to the hull.
The mast can also be disassembled as shown in the image above.
The shrouds of the lower mast are also assembled after disassembling the mast.
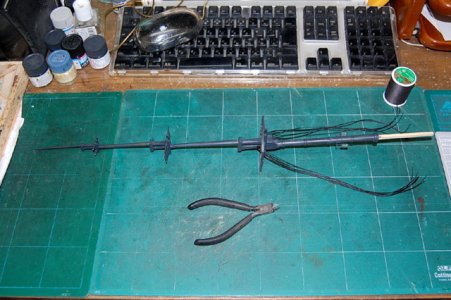
The mast is assembled as shown.
It is not glued.
Each part of the mast is made to fit into each other.
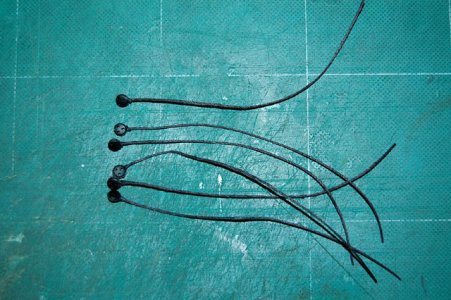
The dead eye on the top platform is also set on the platform after the rope is assembled.
By the way, the dead eye on the top platform is to be attached to the footock plate, but I wrap the rope around it and omit the footock plate.
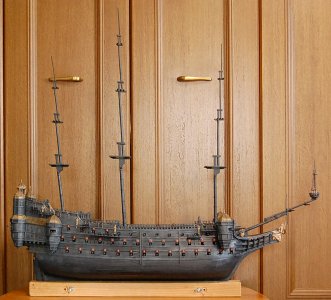
I posted a picture of the mast assembled before, so some of you may have misunderstood.
Masts are not glued.
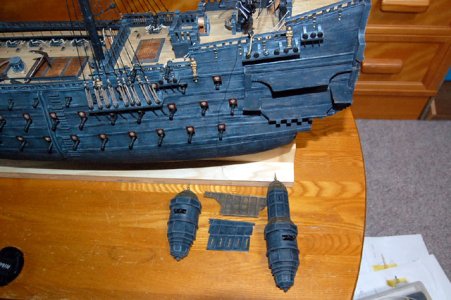
The turret section of the quarter gallery at the stern and the wall and roof sections are also not glued.
They are both inserted and fitted together, so they do not need to be glued.
They will not come apart even if they are assembled without glue.
Positioning of the shroud and dead eye of the Missun lower mast.
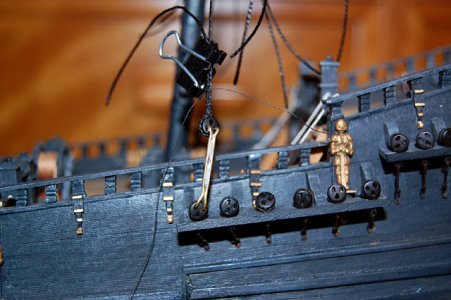
This is how we determine the length of the shroud and the position of the dead eye.
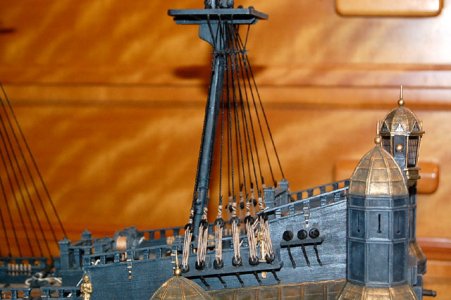
The port side shrouding of the mizzen lower mast is complete.
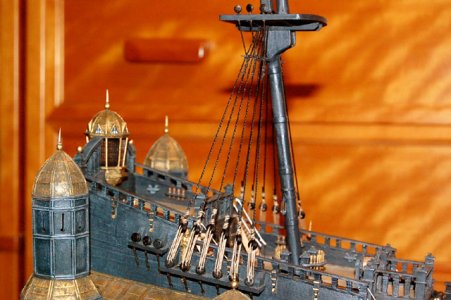
This is the starboard side shroud.
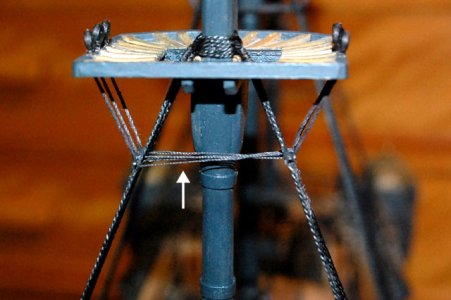
White arrowheads, Cat harpins on shrouds of mizzen lower mast.
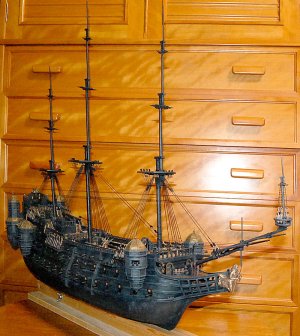
Here is the current overall picture.
That's all for today.

I'll use a mizzen mast to illustrate.
The mast is not glued to the hull.
The mast can also be disassembled as shown in the image above.
The shrouds of the lower mast are also assembled after disassembling the mast.

The mast is assembled as shown.
It is not glued.
Each part of the mast is made to fit into each other.

The dead eye on the top platform is also set on the platform after the rope is assembled.
By the way, the dead eye on the top platform is to be attached to the footock plate, but I wrap the rope around it and omit the footock plate.

I posted a picture of the mast assembled before, so some of you may have misunderstood.
Masts are not glued.

The turret section of the quarter gallery at the stern and the wall and roof sections are also not glued.
They are both inserted and fitted together, so they do not need to be glued.
They will not come apart even if they are assembled without glue.
Positioning of the shroud and dead eye of the Missun lower mast.

This is how we determine the length of the shroud and the position of the dead eye.

The port side shrouding of the mizzen lower mast is complete.

This is the starboard side shroud.

White arrowheads, Cat harpins on shrouds of mizzen lower mast.

Here is the current overall picture.
That's all for today.
Your deadeye jig is brilliant. I think I’ll borrow your idea, if you don’t object.
- Joined
- Jun 28, 2020
- Messages
- 544
- Points
- 353

- Joined
- Jun 28, 2020
- Messages
- 544
- Points
- 353

■ Shroud and stay tension on each top mast ■
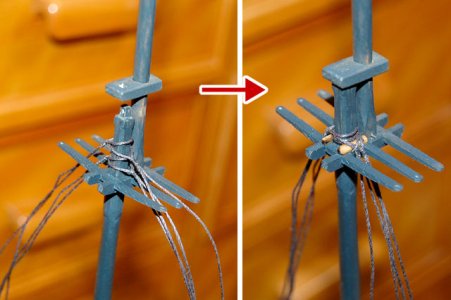
To stand the top mast shroud, the top mast cap is shifted and set.
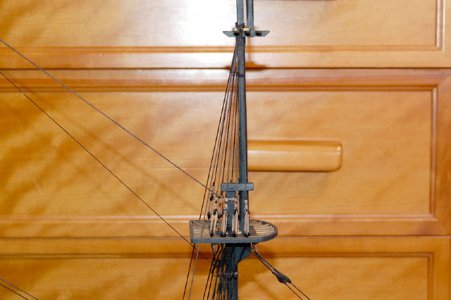
Shrouds on the foretop mast were put up and Fore Backstay was put up.
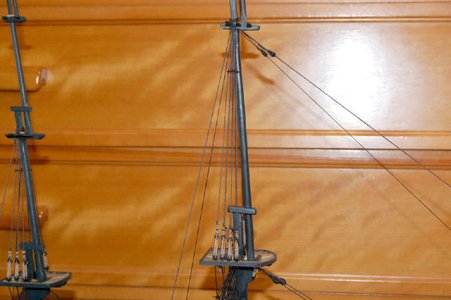
Shrouds on the main top mast and the main backstay.
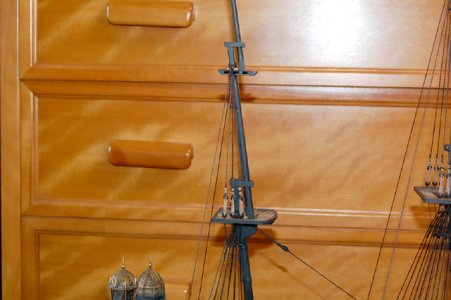
Mizzen Topmast Shrouds and Mizzen Backstay upholstery.
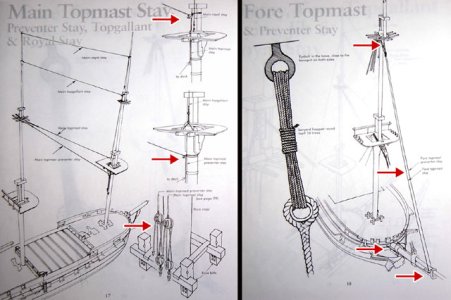
Combine Main TopmastStay,Preventer Stay and For Topmast Stay & Preventer Stay as shown in the textbook image above.
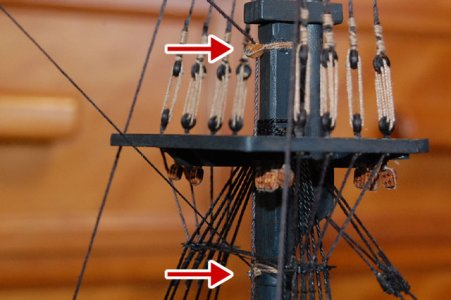
The main topmast stay and the main topmast prepender stay are taut and connected to the fore mainmast with a pulley to lower it down.
The red arrow above shows the pulley that lowers the main topmast stay.
The lower red arrow is the pulley that lowers the main topmast prepender stay.
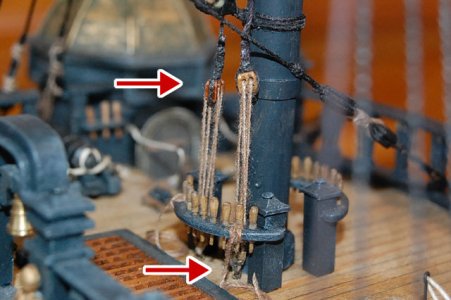
The two-hole pulley and single-hole pulley (not visible in the shadow of the flail) are used to attach to the belaying pin.
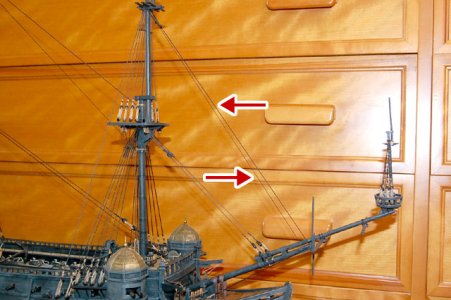
The foremast foretop mast stay and foretop mast prepender stay pass through the pulleys of the bowsprit bee.
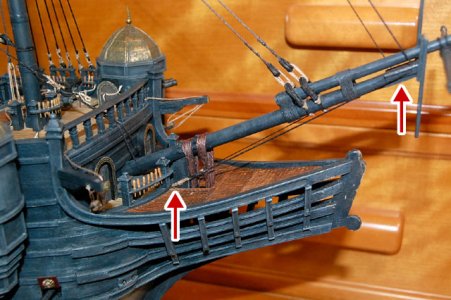
The rope through the pulley on the bowsprit bee is tied to an eyebolt on the bow.
It didn't turn out exactly like the textbook, but it did look similar.
That's all for today.


To stand the top mast shroud, the top mast cap is shifted and set.

Shrouds on the foretop mast were put up and Fore Backstay was put up.

Shrouds on the main top mast and the main backstay.

Mizzen Topmast Shrouds and Mizzen Backstay upholstery.

Combine Main TopmastStay,Preventer Stay and For Topmast Stay & Preventer Stay as shown in the textbook image above.

The main topmast stay and the main topmast prepender stay are taut and connected to the fore mainmast with a pulley to lower it down.
The red arrow above shows the pulley that lowers the main topmast stay.
The lower red arrow is the pulley that lowers the main topmast prepender stay.

The two-hole pulley and single-hole pulley (not visible in the shadow of the flail) are used to attach to the belaying pin.

The foremast foretop mast stay and foretop mast prepender stay pass through the pulleys of the bowsprit bee.

The rope through the pulley on the bowsprit bee is tied to an eyebolt on the bow.
It didn't turn out exactly like the textbook, but it did look similar.
That's all for today.

- Joined
- Jun 28, 2020
- Messages
- 544
- Points
- 353

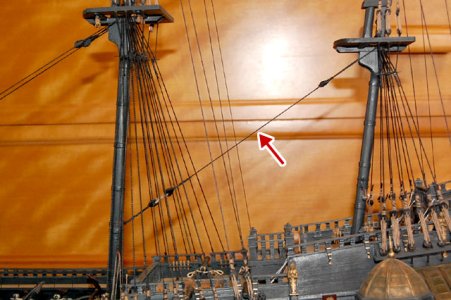
I put up the Mizzen stay on the red arrows that I forgot to put up in the last issue.
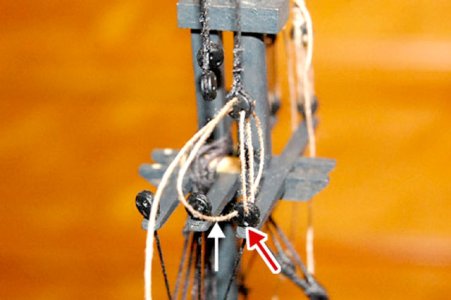
In the lanyard tensioning of the shroud of the Vogelnmast, the white arrow part is the lanyard, but I made a mistake in the hole for the dead eye.
The red arrow hole is the correct one to go through.
I often get the holes wrong because the deadeye is small.
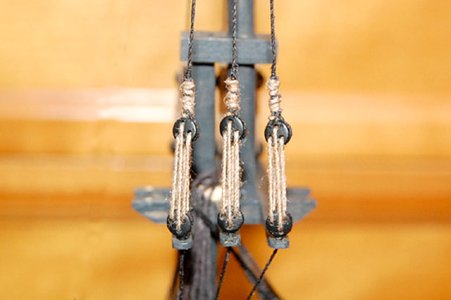
If you put it up like this, ok!
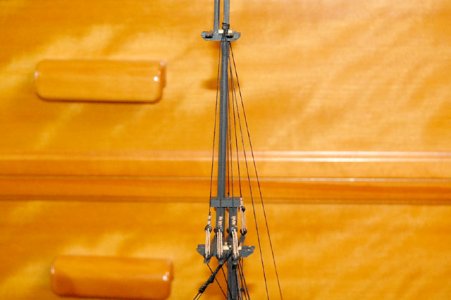
Completed tensioning of fore togernmast shrouds and fore togernmast backstays.
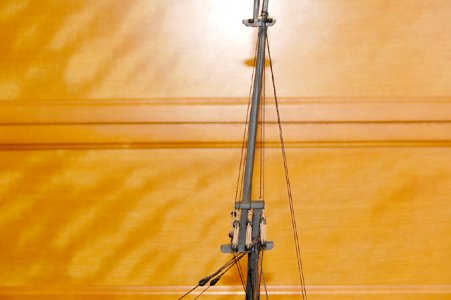
Completed tensioning of the main togernmast shrouds and the main togernmast backstay.
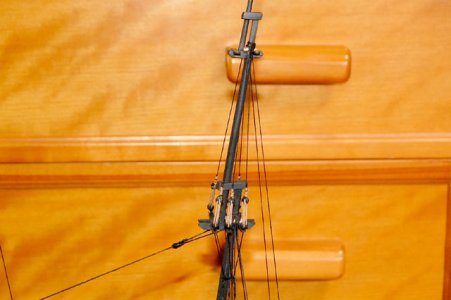
Completed tensioning of mizzen togernmast shrouds and mizzen togernmast backstays.
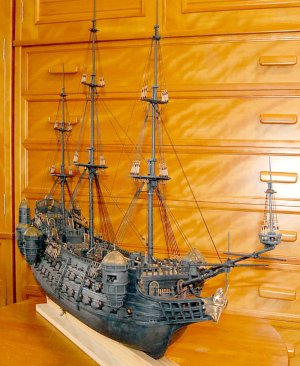
This is what it looks like now.
Rigging is time consuming and tedious.
I'll put up each togellmast stay tomorrow.
That's all for today.
- Joined
- Jun 28, 2020
- Messages
- 544
- Points
- 353

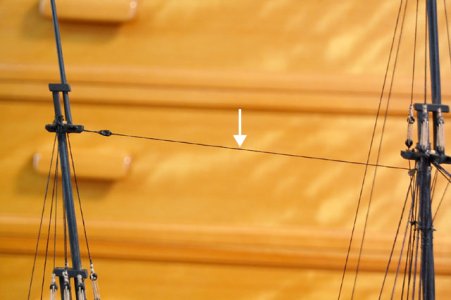
Completed tensioning of the white arrow portion, mizzen togern mast stays.
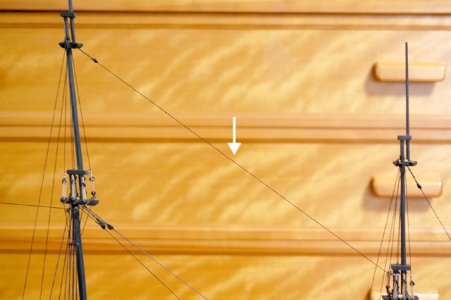
Completed tensioning of the white arrow portion, the main togern mast stay.
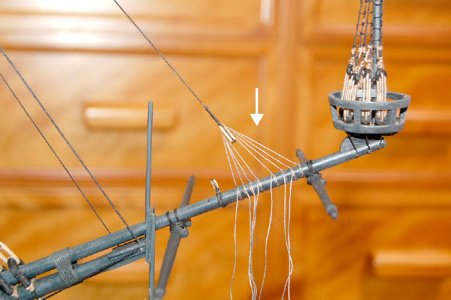
The white arrow part, which is the tensioning of the foratogern mast stay, I did the jib boom part in a slightly cumbersome way.
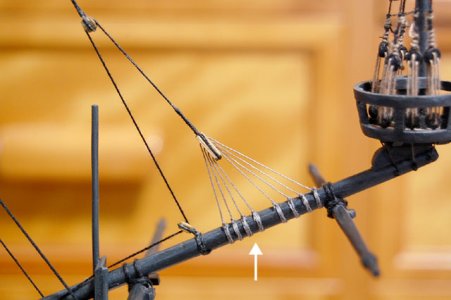
The white arrow part, I wanted to make it like this, but it took about 3 hours to make the parts just for this part.
It was very tedious.
I had to make sure it was not too loose, not too tight, etc. It was very difficult to adjust.
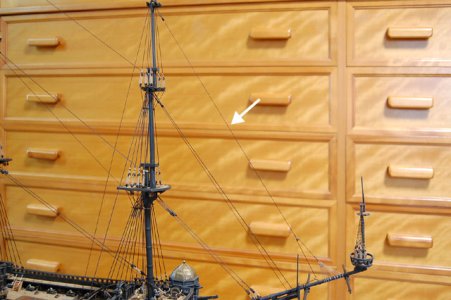
Fore togern mast is now like this.
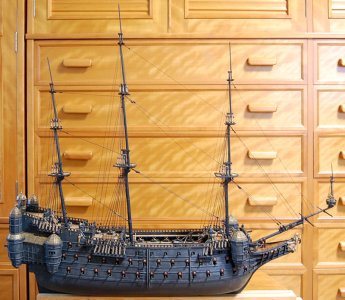
This is a general view from the starboard side after a long time.
You can see how rigging increases the strength of each mast.
And it's going to look cool.
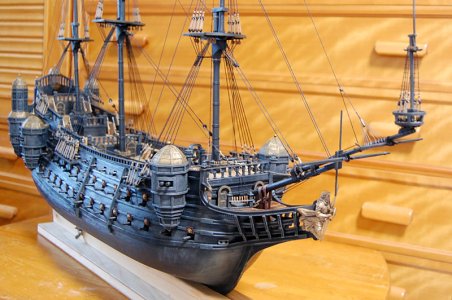
Image from diagonally forward to starboard.
I like to see it from this angle.
By the way, my rigging is bullshit. It has no documentary value.
That's all for today.

すばらしい、Mellpapa!
Top notch work, Mellpapa!
- Joined
- Jun 28, 2020
- Messages
- 544
- Points
- 353

すばらしい、Mellpapa!
Hi Namabiiru,すばらしい、Mellpapa!
Thanks for your support in Japanese!

- Joined
- Jun 28, 2020
- Messages
- 544
- Points
- 353

Hi, dockattnerTop notch work, Mellpapa!
Thank you for the compliment.

- Joined
- Jun 28, 2020
- Messages
- 544
- Points
- 353

Each royal mast stay, backstay, and shroud roped.
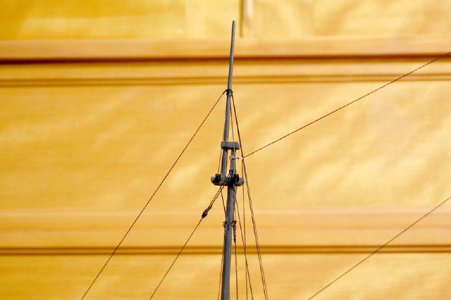
↑upThis is the stay, backstay, and shroud of the fore royal mast.
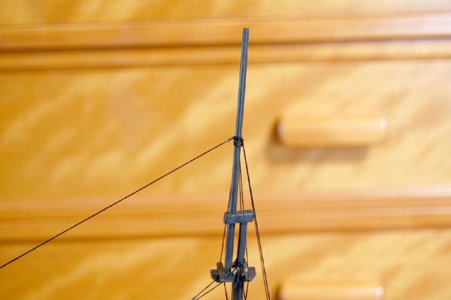
↑Main royal mast stays and backstays, shrouds.
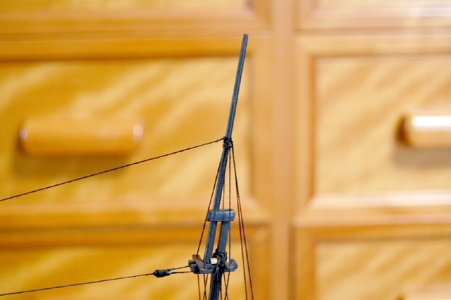
↑Mizzen royal mast stays and backstays, shrouds.
Accident occurred!
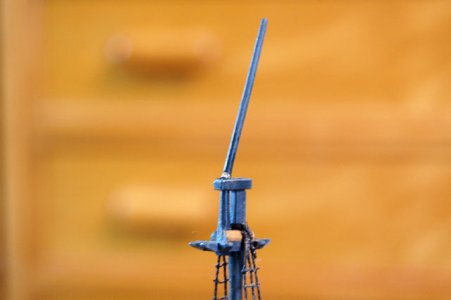
I hit my left hand on the split-throat topmast, jackstuff, and broke it.
I did it ......
I was so worried that I was going to do it someday that I was careful: ......
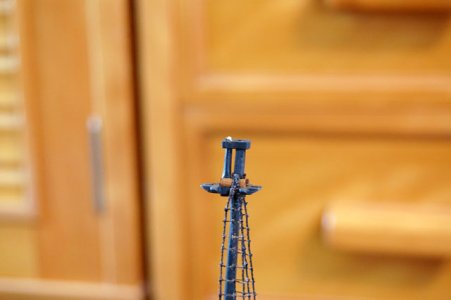
See, this is how it broke: ......
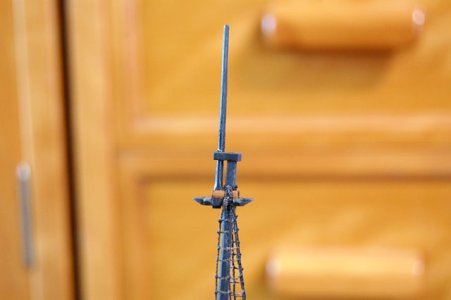
I glued it back together with tight bond for now.
I'm sure I'll bump my hand again.
I'll rebuild the Jackstuff parts in my spare time.
Let's make sure to replace the jackstuff when the Silent Mary is completed.


↑upThis is the stay, backstay, and shroud of the fore royal mast.

↑Main royal mast stays and backstays, shrouds.

↑Mizzen royal mast stays and backstays, shrouds.
Accident occurred!

I hit my left hand on the split-throat topmast, jackstuff, and broke it.
I did it ......
I was so worried that I was going to do it someday that I was careful: ......

See, this is how it broke: ......


I glued it back together with tight bond for now.
I'm sure I'll bump my hand again.
I'll rebuild the Jackstuff parts in my spare time.
Let's make sure to replace the jackstuff when the Silent Mary is completed.

If you only broke one piece, then you are doing better than me. I break everything!
But we will just say it’s battle damage

Your shrouds and rigging look so beautiful!
But we will just say it’s battle damage

Your shrouds and rigging look so beautiful!
- Joined
- Jun 28, 2020
- Messages
- 544
- Points
- 353

Hi NamabiiruIf you only broke one piece, then you are doing better than me. I break everything!
But we will just say it’s battle damage
Your shrouds and rigging look so beautiful!
I'm about to hit my hand somewhere again when rigging the ratline ........
- Joined
- Jun 28, 2020
- Messages
- 544
- Points
- 353

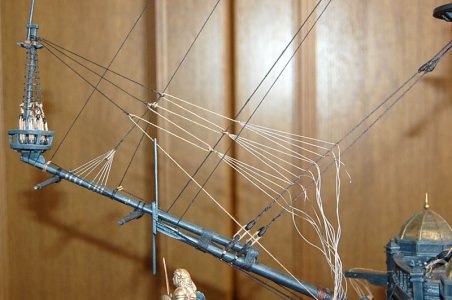
I don't know what it's called, but is it supposed to be a backstay on a split-throat topmast?
Not too taut ......
not too loose ......
This took a while to make look good.
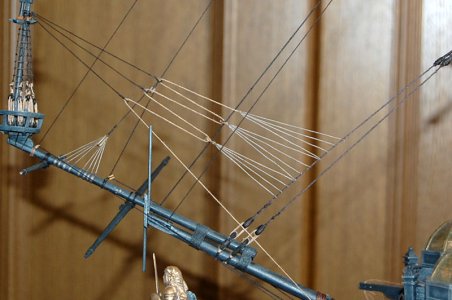
I managed to do it by cutting the extra rope.
It's standing rigging, and there are still some missing parts, but I'm not sure.
----------------------------------------------------------------------------------------------------
I'll take a picture before I put up the ratlines.
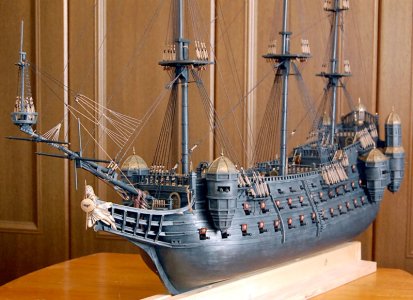
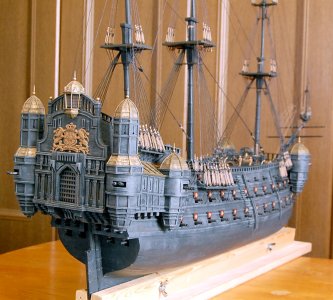
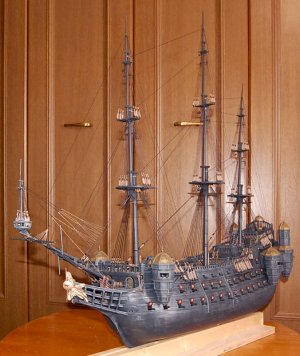
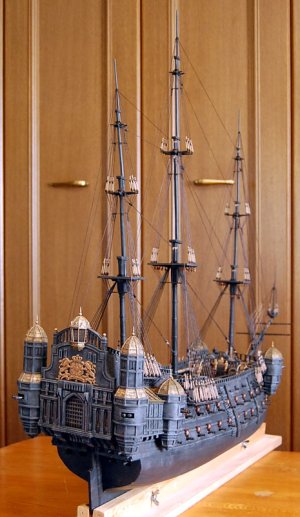
That looks amazing! I can only imagine the challenge to get all those lines just right.
Very skillful rigging, Mellpapa!
- Joined
- Jun 28, 2020
- Messages
- 544
- Points
- 353

Hi Namabiiru,That looks amazing! I can only imagine the challenge to get all those lines just right.
I've never had such a difficult rigging.
If I tighten it too tight, the top mast stays will be distorted.
If I loosen it too much, I get a sloppy line.

It's hard to find the right spot.
It was a tough rigging.


