Hello!
The difficulty I’ve been having with these headrail supports has to do with my fidelity to the idea that some portion of the support should fit beneath the lowest headrail.
I started by first adjusting the adjoining angles on the starboard side. I found that I had to add plastic shims, here and there:
View attachment 336843
This all worked out well enough on the starboard side, but I was not having nearly enough of a supporting ledge, when I shifted over to the port side.
More-over, when I positioned both headrails at the same time, I realized I was going to have to add significant plastic the the lower coved profile, in order to create a port-side ledge. Rather than continue to add plastic, I decided to let the matter rest for a few days. I am glad I did.
In the days that followed, my second bout with COVID (pretty mild) has afforded me the time to really think this through. I remembered that I had already set the position of the headrails so that the forward medallion was below the sprit mast. That was the whole impetus for re-designing the headrails, in the first place.
Further, I had set the cathead supports to meet neatly beneath the cathead timbers. Despite all that forethought and pre-work, I had only visually placed the starboard cathead, before fitting the supports, on the assumption that my glue blocking would locate them properly.
Wellllll, that was not a safe assumption to make. My forward medallions were actually encroaching above the spritmast, and when I put the cathead timbers in place, I could no longer fit the supports beneath them.
Once I could see the proper positioning of all of the affected elements, I knew what I must do:
View attachment 336837
View attachment 336841
View attachment 336842
The way forward would be to lop off these supporting ears (middle support):
View attachment 336840
Note: The vertical web you see on the split supports, closest to the hawsers, are only temporary for the sake of strength while I make and fit these parts. Once I did that, the support pieces nestled against both sides easily:
View attachment 336839
View attachment 336838
I can simulate that under-connection, a bit later, with an applied scroll-head.
From there, I focused on what sort of decorative embellishments I would add to the exposed face of these supports. I settled on a raised lip moulding:
View attachment 336836
I am playing with the idea of applied fleur ornaments at the base of each support. These will extend out beyond the sides of each support, which may or may not be pleasing. So far, though, they are coming along nicely:
View attachment 336835
View attachment 336833
The other tricky bit is that these cambered transverse supports for the head gratings have buttressing knees, running aft.
I had applied a glue ledge for the grating slats, and at the ends I have applied these blocks that I will fit to the headrails, and then file to shape. What I have drawn upon them is only a rough approximation. Again, these details are always easier to dial-in with the files:
View attachment 336834
View attachment 336844
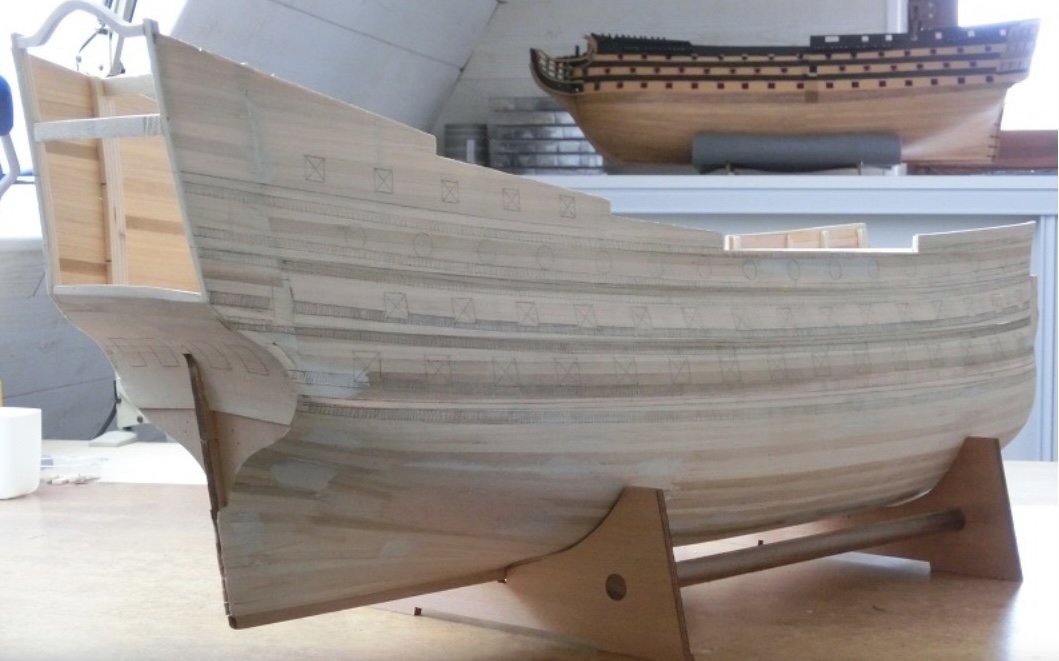
Steadily, now, the bow is rounding into form. Thank you all for your likes, your comments and for looking-in.


")
")