Hi Marc,
Magnificent is all I have to say.
Cheers,
Stephen.
Magnificent is all I have to say.
Cheers,
Stephen.
 |
As a way to introduce our brass coins to the community, we will raffle off a free coin during the month of August. Follow link ABOVE for instructions for entering. |
 |
 |
The beloved Ships in Scale Magazine is back and charting a new course for 2026! Discover new skills, new techniques, and new inspirations in every issue. NOTE THAT OUR FIRST ISSUE WILL BE JAN/FEB 2026 |
 |
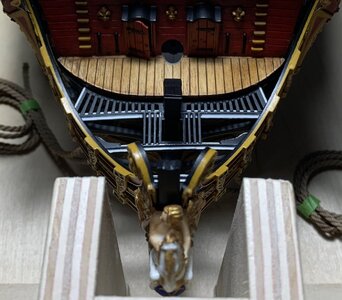
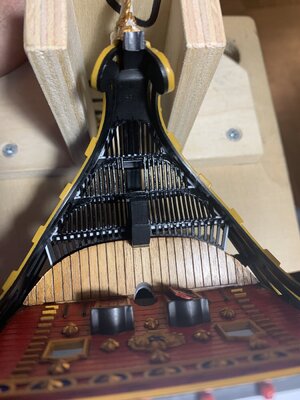
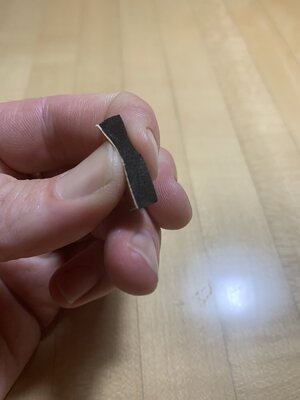
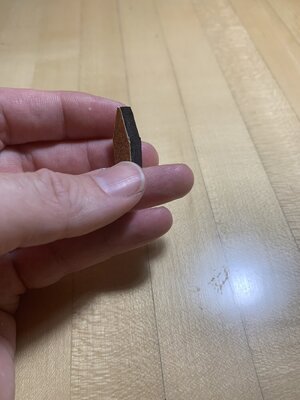
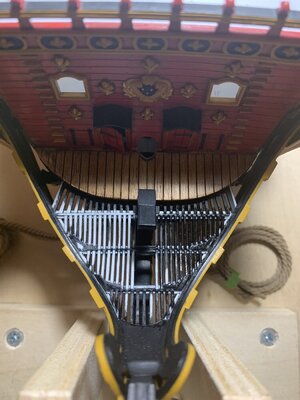
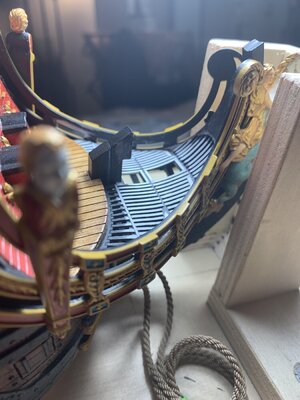
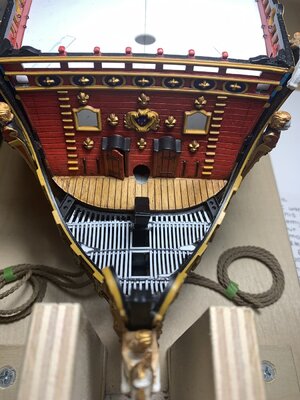
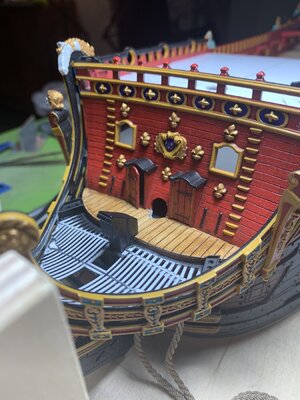
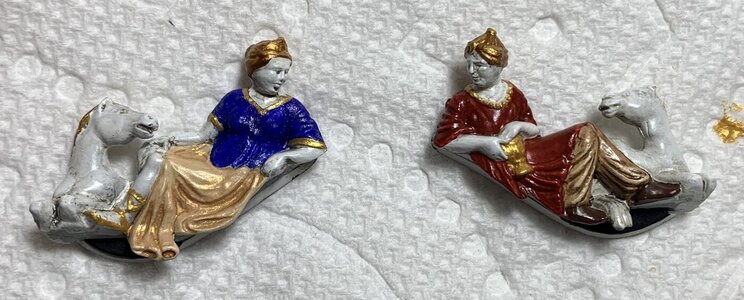
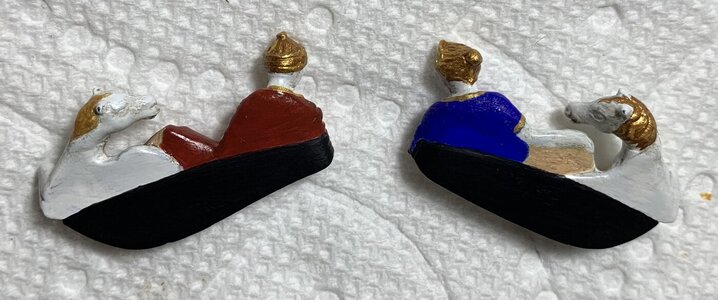
Hallo Marc alias @Hubac’s HistorianHello, Ships of Scale!
My name is Marc LaGuardia, and for the past three years, I have been extensively bashing the Heller kit in an effort to transform it into what I believe is her re-fit appearance of 1689.
The project exists in its entirely, here at Model Ship World:
The log is quite lengthy, and includes protracted discussions of contemporary sketches and portraiture that are all interesting and relevant to my re-construction. That would all be incredibly tedious to re-create, here, though. Instead, I will open with a photo-montage that brings us up to the current stage of the project.
As I write new posts for MSW, I will also post that same content here.
So, to begin - the project was born of the idea that I could make the Heller kit broader and longer, so that I could increase the number of stern lights from five to six, and create the new quarter galleries that are the focal point of my revised model.
To that end, I cut away the lower hull, and added 5/8” of extensions to either side of the stem (thanks to Henry in Boston for donating his defective hull), and 3/8” extensions to the aft edges of the lower hull and upper bulwarks. I also cut the sheer down, a bit, at the poop-royal because the Heller kit is just a bit too tall to be plausible, IMO; this is partly due to the fact that the height between all decks is exaggerated.
Along the way, I have discovered myriad ways to upgrade the kit and add missing detail. I have made a particular point of representing the iron that holds the dead-works together.
To be clear, my intent here is to produce a mostly impressionistic model that is historically accurate to the degree that it can be, but also accepting of certain flaws, inherent in the kit, which are too onerous to overcome.
The project seemed to languish in the planning/drawing phase for quite a long time, but has really started to come together in the past year.
I have received an incredible amount of help from people all over the world, and remain indebted to their research, their insight, and quite often - their spare parts!
And without further ado, I present Soleil Royal as she may have appeared after her refit in 1689. The montage will begin with the next post.
Thank you for looking in, and happy modeling!
- HH


