Happy birthday Marc, 
Cheers,
Stephen.

Cheers,
Stephen.
 |
As a way to introduce our brass coins to the community, we will raffle off a free coin during the month of August. Follow link ABOVE for instructions for entering. |
 |
 |
The beloved Ships in Scale Magazine is back and charting a new course for 2026! Discover new skills, new techniques, and new inspirations in every issue. NOTE THAT OUR FIRST ISSUE WILL BE JAN/FEB 2026 |
 |

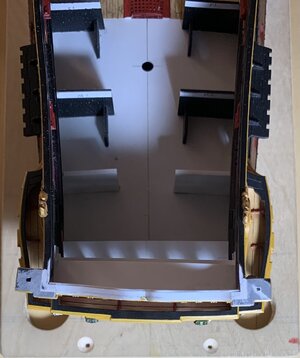
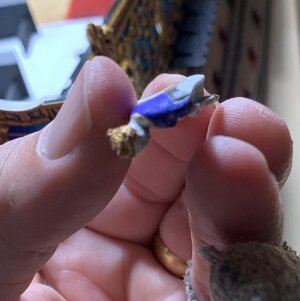
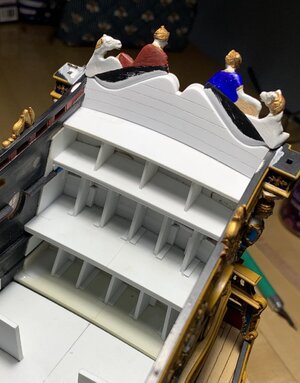
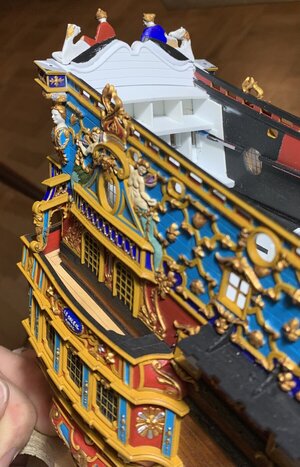
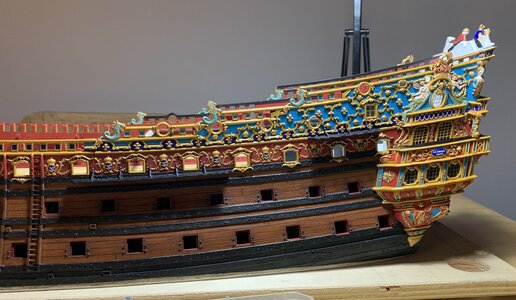
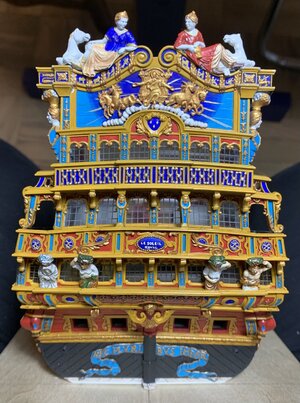
I loved the way you create you own details with the (Evergeen) styrene, Marc. And of course the paintwork!It has been a minute, and I still haven’t gotten to all of my paint corrections, or the glamour shots, but I have been taking the necessary time to as nearly as I can, perfect the crowning of the stern.
Once I had secured the backboard, and installed two pre-painted moulding strips to the outside edges of the backboard, I turned my attention to fitting the side-lantern box mounts.
Time and again on this build, despite careful pre-fitting of sub-assemblies, I have been amazed to discover just how much additional tweaking of a part becomes necessary, when it must finally seat next to an adjoining assembly.
For these lantern boxes, I had carefully set the quarter pieces (that support the boxes) so that the boxes met the sheer-line. Nevertheless, that was before the aft upper bulwark had been secured to the model - after which, it takes on a more bellied shape. Adding to that complication are the fact that my upper bulwark extensions flare out a bit, also, the aft rake of each upper bulwark piece is slightly different from one side to the other, AND, the transom camber introduces another angle to this compound-geometry soup.
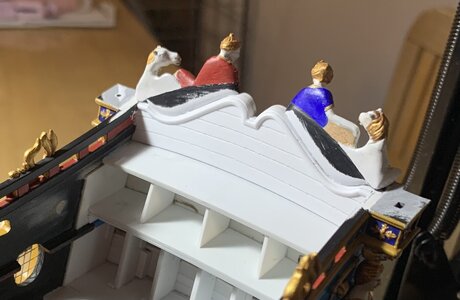
I spent quite a lot of time filing-in the required geometry and shimming beneath the starboard lantern box before I was satisfied with the way that these pieces married into the astrological band of carvings on the backboard. I only had to use a little bit of filler at the top of each box, but this was an acceptable outcome as this joint is mostly covered by the legs of horse and camel:
View attachment 391106
Above, you can finally see the degree to which my transom winds out of square. This is really the only vantage point where it jumps out at you. All things considered, it is acceptable to me.
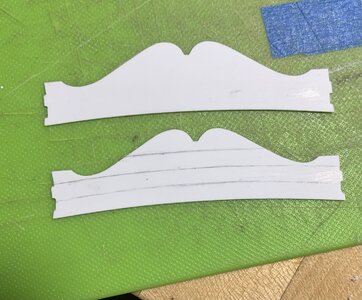
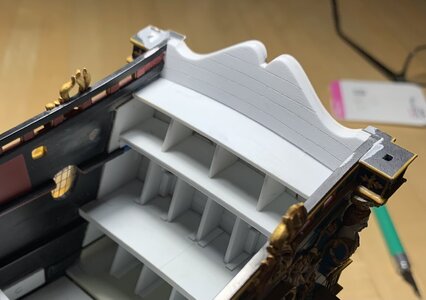
The above picture already shows the thickening I added to the backboard, in order to make a reasonable seat for the Europe and Asia carvings. Initially, I was going to double-plank with 1/32” styrene strip to make up this thickness, but I ultimately decided it would be much easier to make a close-fitting card template and transfer that to two layers of styrene sheet:
View attachment 391119
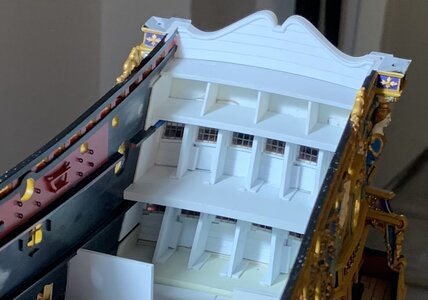
The trick to doing this in layers is recognizing that the top edge of this reverse-curve tafferal must bevel down to follow the sheer. So, first I fit the inner layer, traced the tafferal line and removed waste close to the line, so that it would be easier to gauge where the outer layer needed to end up. Ultimately, that’s how I determine the spacing of my scribed planking layout. I haven’t had to use too much putty on this model, but a little was necessary on the inboard corners of this piece:
View attachment 391116
With that much established, I could do the final fitting of the Europe and Asia carvings. Again, these were initially fitted to the backboard when it was flat and significantly thinner. Despite all of the material I added to the inside face of the backboard, these carvings still extended past the inside surface. It is quite difficult, without resorting to transfer paper, to gauge a good fit when you can’t clearly see the joint line.
Rather than add a third styrene shim, I decided to round down the bottom line of each carving:
View attachment 391117
View attachment 391118
This rounding isn’t a bad thing, as it adds a little shape and dimension to the inner surface of the carving, while leaving a little bit of the ledge visible:
View attachment 391115
The whole objective of all of this was to make the reverse-curve profile of the tafferal apparent on the inboard face of the model, as these carvings would have been scribed to this profile, in actual practice.
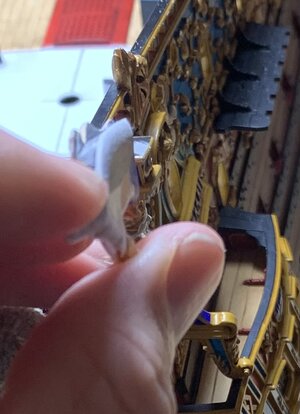
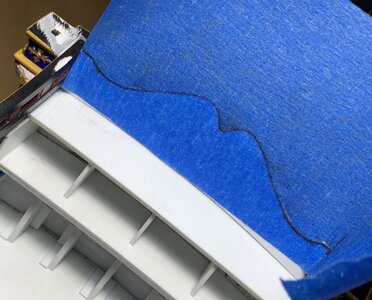
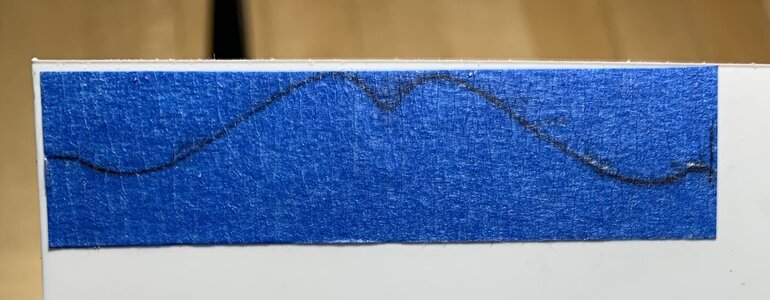
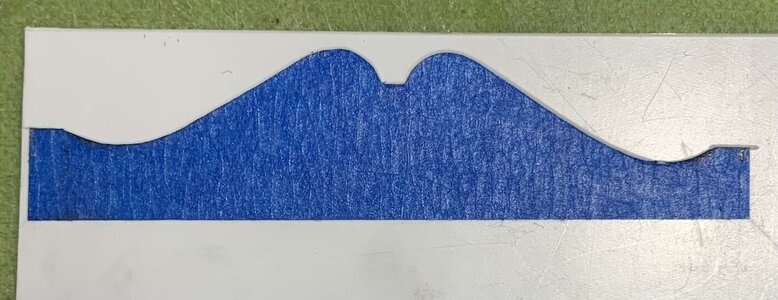
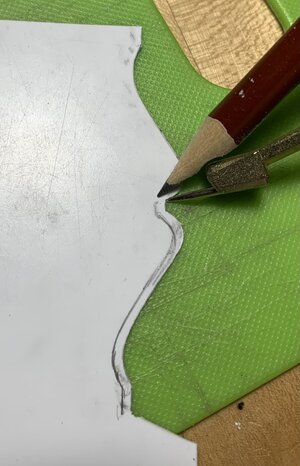
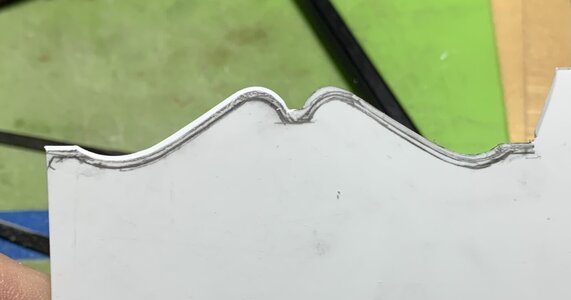
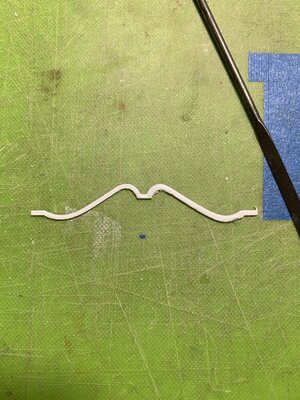
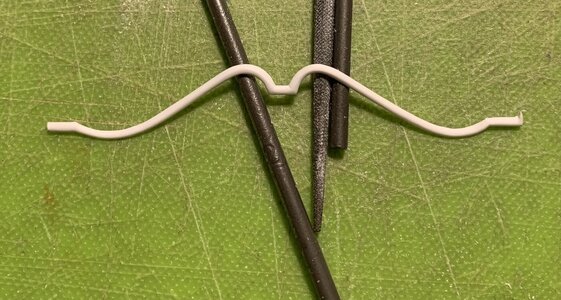
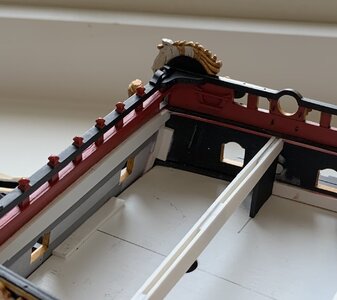
It is very difficult, however, to make a tafferal cap-rail, at scale, that follows this complicated shape. My solution was to add an in-board half-round moulding that completes the illusion. I love using painter’s tape to transfer exact shapes:
View attachment 391114
View attachment 391113
View attachment 391112
View attachment 391111
View attachment 391110
Above, I found it much easier to shape the top half of the half-round while the moulding was still part of the sheet. Obviously, the thing becomes very flimsy, when you cut out the bottom profile.
View attachment 391109
View attachment 391108
I decided to leave a slight step, and I am toying with the idea of picking-out this moulding in yellow ocher, just to emphasize the detail. Opinions are certainly welcome on this small detail. In the end, though, I may just paint it flat black like the rest of the top-cap:
View attachment 391107
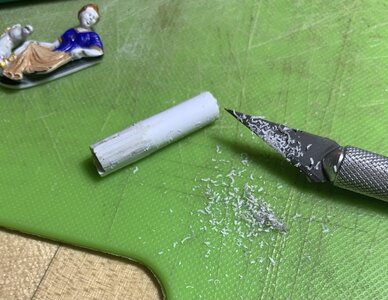
Next, I secured Europe and Asia. For a little extra bond insurance, I decided to experiment with an idea. I used a #11 blade to scrape thin shavings of styrene:
View attachment 391105
After a liberal application of liquid plastic cement to the bottom of the carving, I bedded a thin layer of shavings over the glue. Another application of cement turns those shavings into plastic goo. I got a little bit of squeeze-out, which won’t be difficult to clean, but I am satisfied that I have a strong bond, here:
View attachment 391101
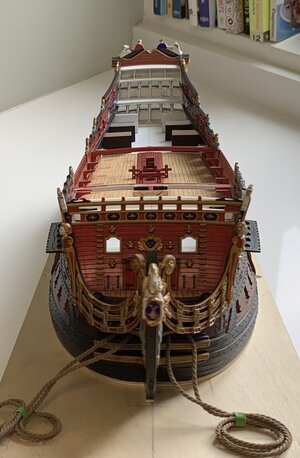
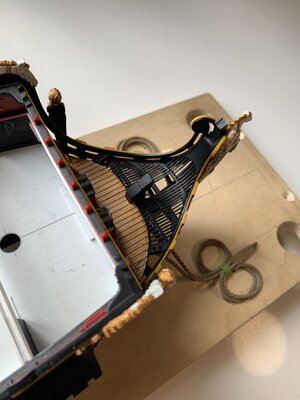
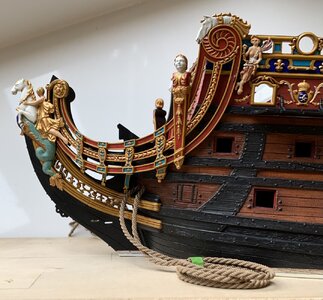
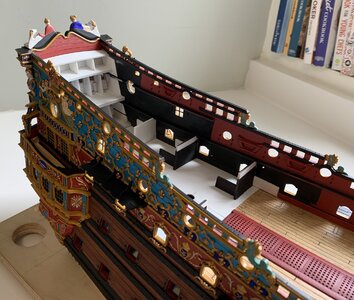
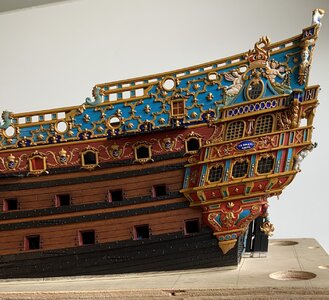
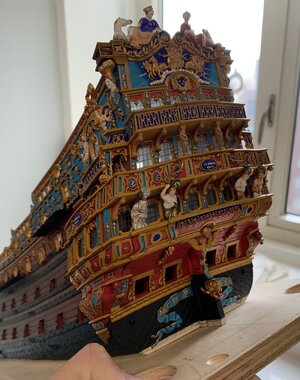
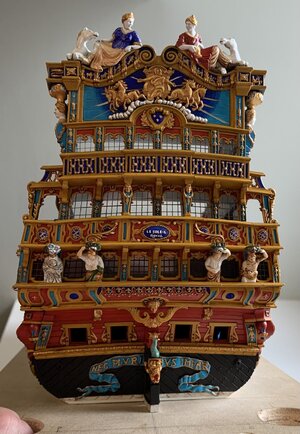
All of this fiddling and filing makes a mess of the paint-work, and the model is full of plastic dust, at the moment, but here are a few perspective shots:
View attachment 391103
View attachment 391102
View attachment 391104
With those carvings in place, the model just barely still fits inside the folding halves of its build-box - less than a 1/16” to spare! I’ll make a small relief in the box leaves, as insurance against catching the nose of these carvings.
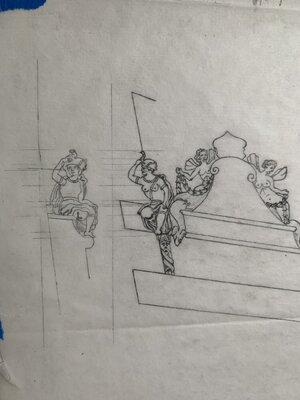
The other thing I managed to establish is the stern perspective of the Africa carving:
View attachment 391100
Between a pair of vertical parallel lines, I transferred elevations of key reference features from the sheer view. I used a steel ruler much the same way that you would on a full-size drafting table; I simply aligned the top and bottom hash marks for 1” with the left vertical margin, to ensure a square transfer of points.
Undoubtedly, there is some margin of error, here, so my primary reference will be the stern view, as that is what determines how the figure seats and fits in relation to the quarter piece. Any discrepancies in the sheer view will be reconciled to the stern view.
Later, I’ll get to sheer and stern elevations for the port side figure of the Americas. This will be trickier, as I have no original Berain sheer drawing to refer to. In that instance, I suppose I will start by drawing the stern view and transfer points for the sheer view.
Well, that has all been quite a mouthful! Thank you all for looking in and sticking around. I’m gearing-up for another busy school year of coaching youth sports and ferrying kids all over creation. I hope to continue making reasonable progress on the ship, as we go.
All the best,
Marc

 modelshipworld.com
So, you're telling us there will be no more paint retouching?I wanted to get the model to a stage of crispness and clarity before I had no place for paint re-touching.
If I have to, Paul, I’ll bop on over to Illinois and do a little paint retouching on your faceSo, you're telling us there will be no more paint retouching?
To know thyself is the beginning of wisdom ~ Socrates

You’ve already surpassed it, Nigel, as far as I’m concerned. Yours will have correct architecture AND all the nitty gritty details. My kingdom for a spiral staircase like the one you created.Fabulous Marc, if my rendition of this vessel has half the impact of your model then I will be a happy man!
Hi Marc,Yesterday witnessed the arrival of our first adult dining table and chairs which, sadly, ushers out the butcher block trestle table that was my work station and the backdrop of this project for the past six years. It was a bitter-sweet day because I love that old workhorse of a table. I bought it second-hand for $50 and refinished the top three times. On the other hand, it is very nice to walk into our place and immediately see a touch of sophistication. There will be no painting or gluing on that marble-top table, though!
Fortunately, IKEA makes a very nice oak gate-leg table with built-in drawer storage, which will soon become my new designated work station. In the meantime, though, I wanted to get the model to a stage of crispness and clarity before I had no place for paint re-touching.
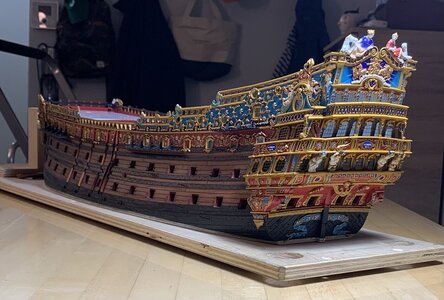
Please forgive me my self-indulgence. Here is where we are at, presently:
View attachment 393212
View attachment 393208
I am very satisfied with the head-grating, and the way that all of the head elements integrated together:
View attachment 393217
One thing that was niggling on my conscience, though, was the fact that the aft headrail rosettes were glued under tension. I have a solid welded bond, and I did wick CA into the joins, where I could, but I wanted a little extra insurance. My solution was to drill two small holes a side, through the third headrail and upper bulwarks, to feed a length of annealed wire. You can see where I painted over the exposed wire with red:
View attachment 393207
And inside, you can see how I twisted the wire ends taught, and then fixed the whole thing in-place with liquid CA. This is all minimally detectable and will quickly fade out of view with everything else that will be going on around it. I feel better now
View attachment 393206
View attachment 393213
View attachment 393210
View attachment 393209
View attachment 393211
I made a start at roughing out the figure of Africa. I had quite a lot of the same wood (linden, maybe) that I used for the lower quarter galleries.
View attachment 393215
Unfortunately, this material really isn’t suitable for carving fine detail. I will have to get my hands on a little boxwood, or some fruit wood like apple or pear.
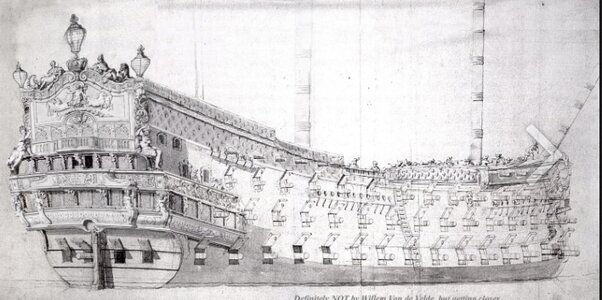
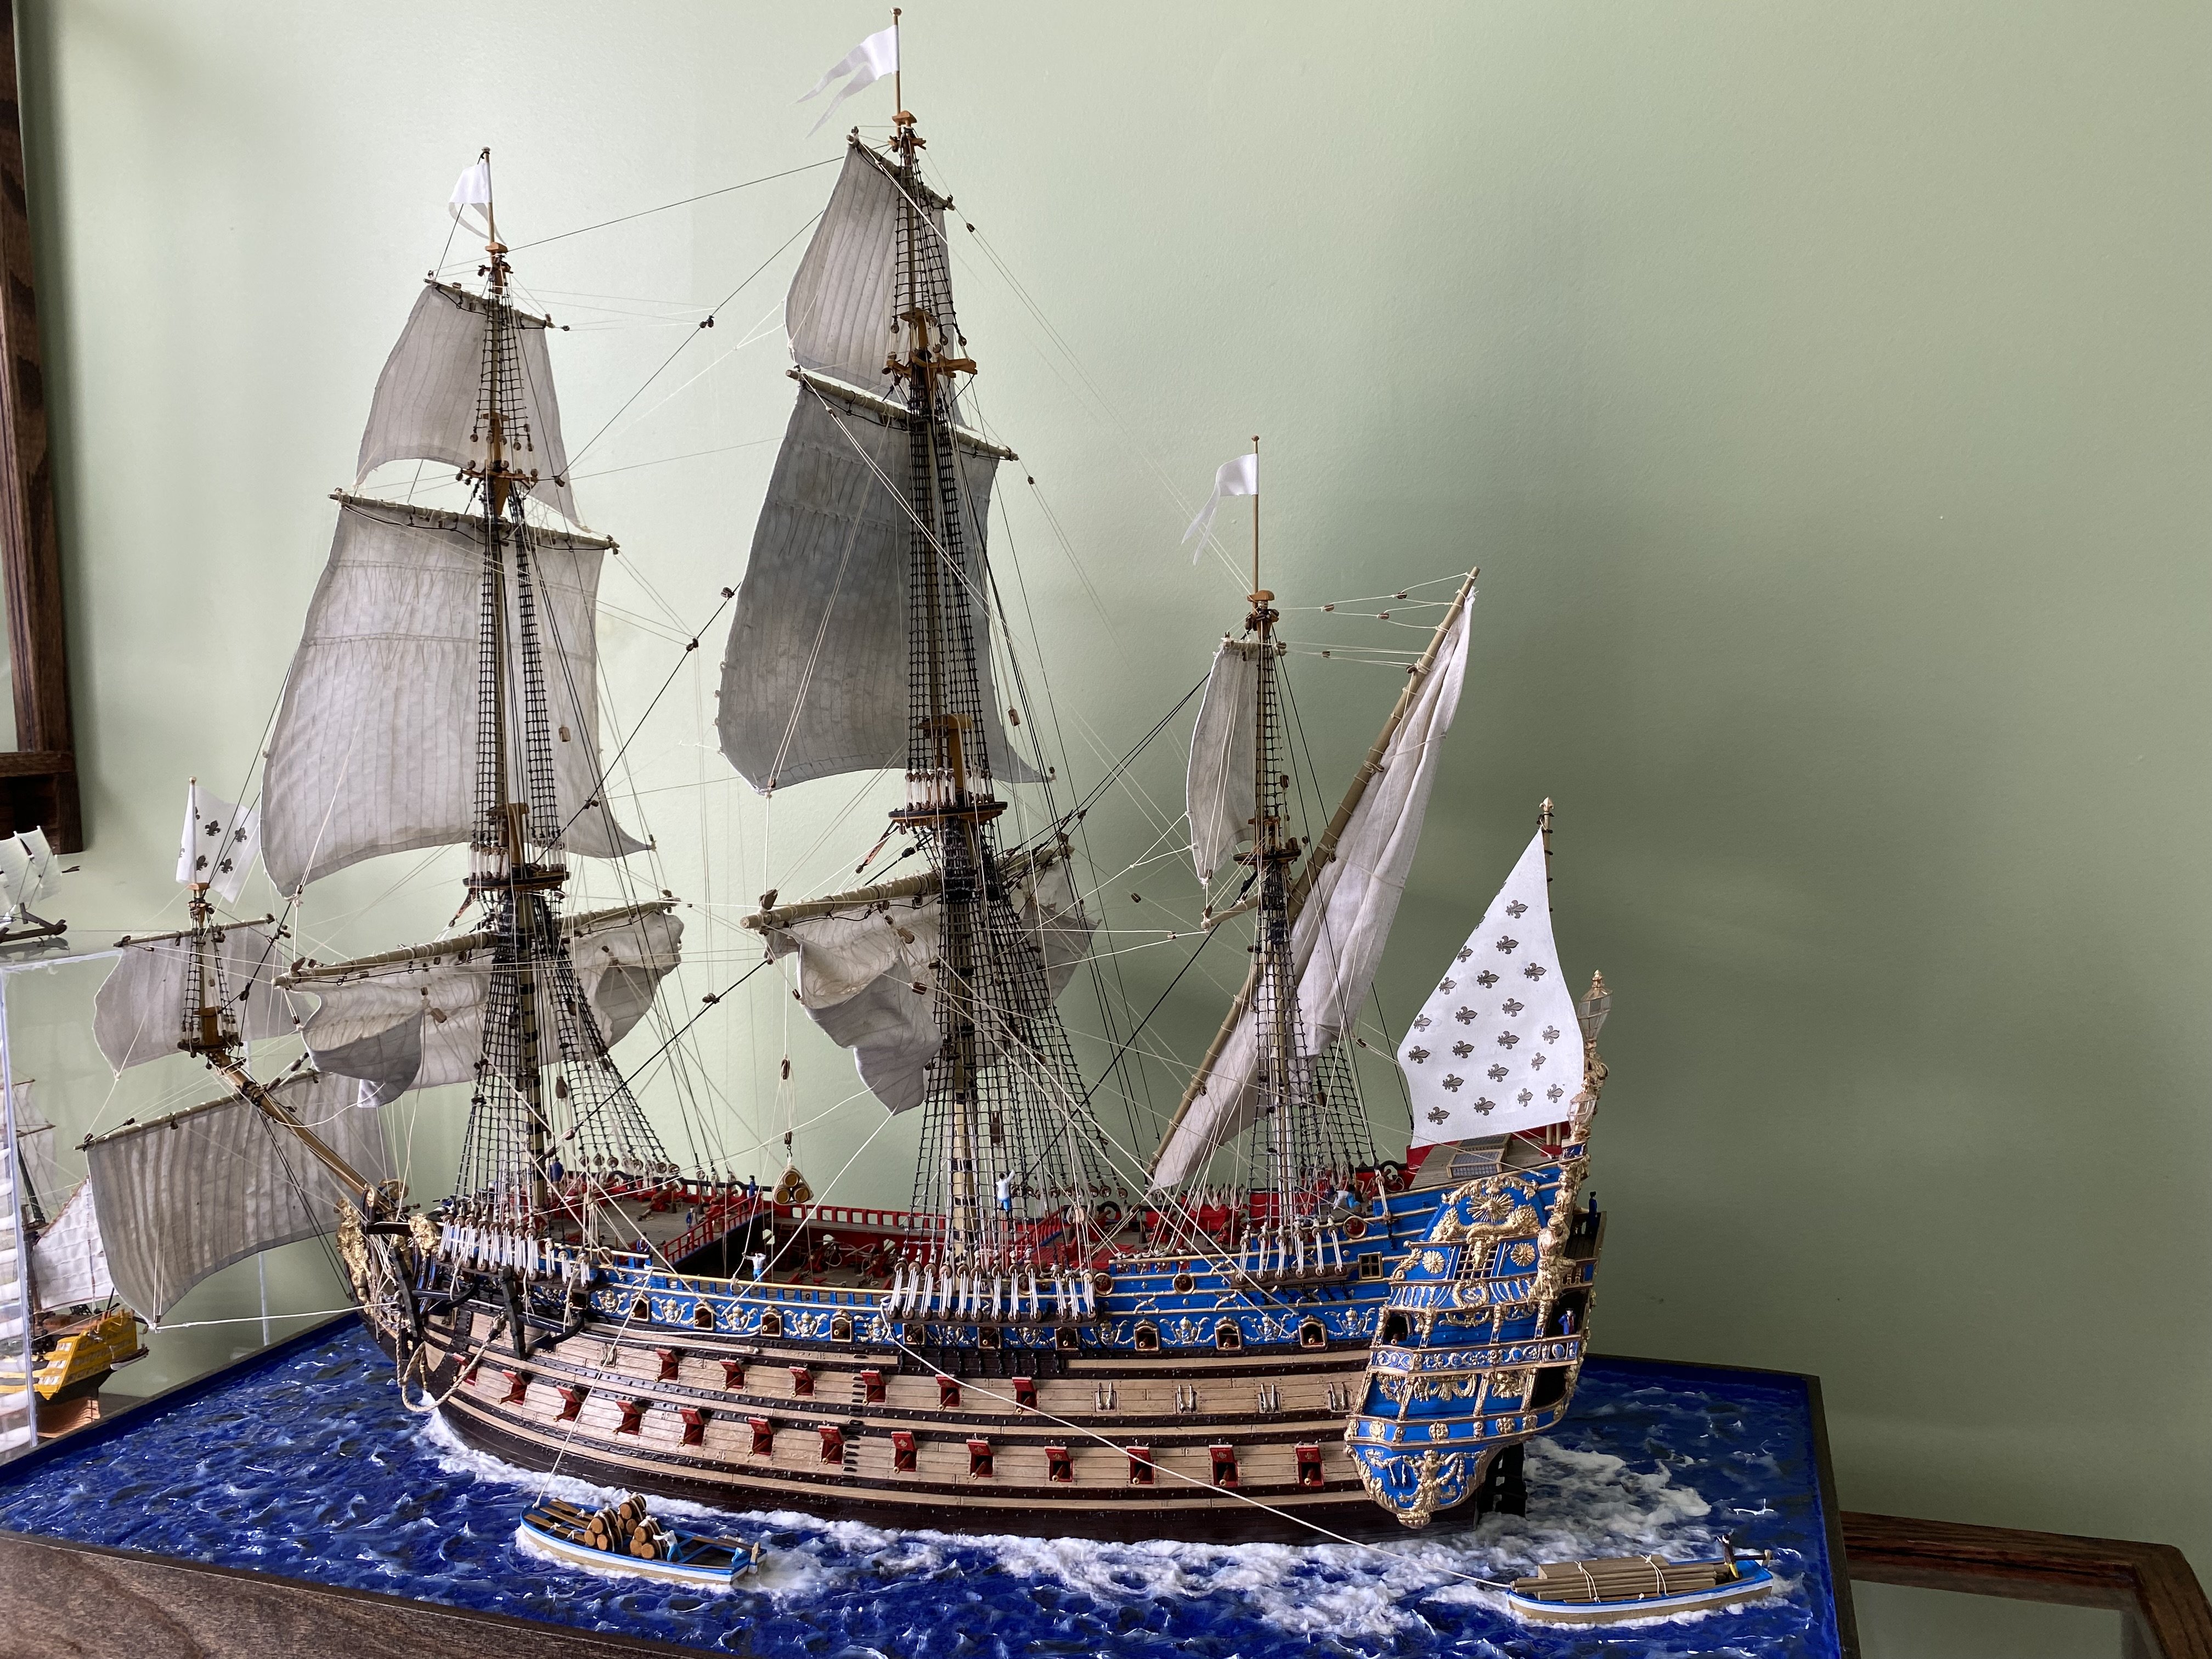
A little fun with pictures. Here, the juxtaposition with John Ott’s near-Van de Velde:
View attachment 393216
View attachment 393214
As I’ve said before, Heller really does manage to capture the early sheer of these ships very well. Despite it’s many imperfections, my hypothetical recreation does, I think, capture something of the essence of what may have been.
Moving forward, I have been figuring out where I will source line and blocks and pins and cleats. I really like the blocks from Dockyard Models, and the polyester rope from Ropes of Scale. I can get most accessories I need from Dockyard, but anything else I will obtain from HisModel.
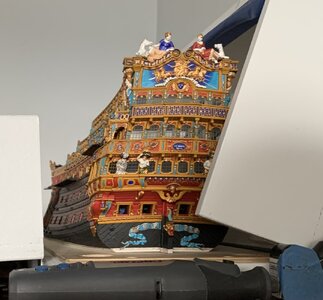
For the time being, and until the new worktable arrives, Soleil Royal Redux will shelter in her dry-dock:
View attachment 393205
I will occupy myself, until then, taking measurements of the materials I need, and developing an understanding of what needs to be done with the rigging. Along those literal “lines,” John Ott has been a tremendous help in sharing his sources, and the rig and belay plan that he has developed for his model. My belay plan will likely look a little different, but only because I do not intend to make the same use of pinrails.
If anyone is not yet aware, John has begun a build log for his magnificent Soleil Royal of 1693, which can be found here:

Soleil Royal 1693 by John Ott - FINISHED - Heller - 1:100 - PLASTIC
I guess we’ll find out if this forum has the patience for another Heller 1/100 Soleil Royal build log. This one will be focusing on changes, mods, upgrades, additions, styrene-bashing, and general mess-making in pursuit of something just a little different from the boxtop. Hello modelers—my name ...modelshipworld.com
Many thanks to you John, for your help and generosity, and to all of you for sticking with this project for such an absurdly long time. It is greatly appreciated!
You’ve already surpassed it, Nigel, as far as I’m concerned. Yours will have correct architecture AND all the nitty gritty details. My kingdom for a spiral staircase like the one you created.
If I have to, Paul, I’ll bop on over to Illinois and do a little paint retouching on your face


 That, dear friends, is how a model ship builder from New York City trash talks

 .
.