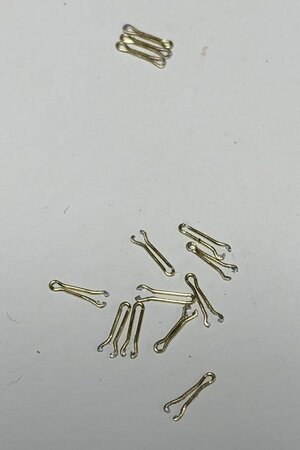
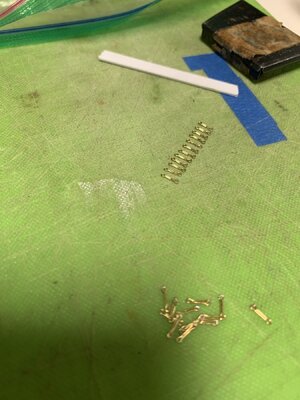
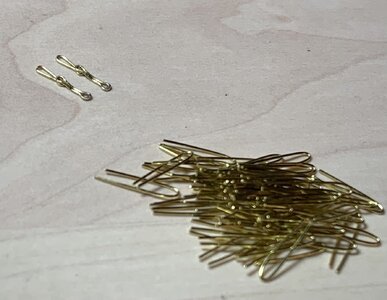
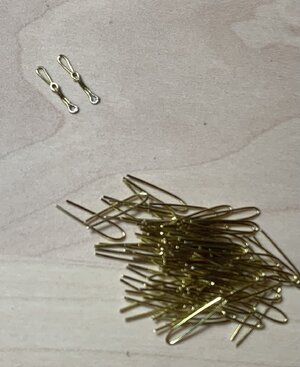
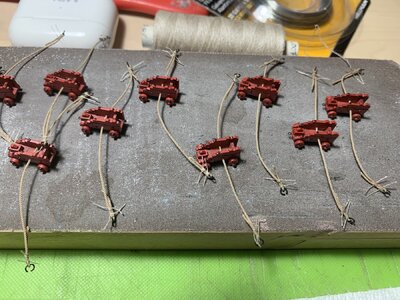
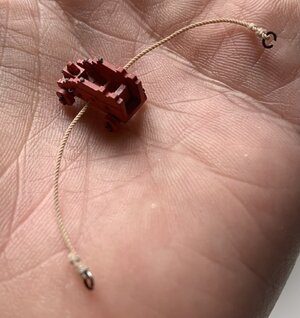
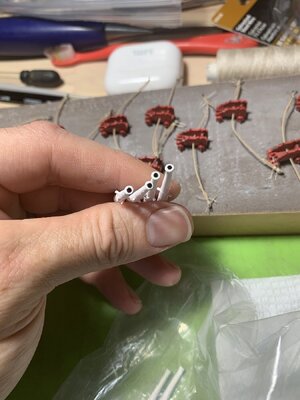
This business of learning to make the chains continued to confound me as I discovered yet another mistake in my process.
For anyone who may also be new to this aspect of the hobby - BEWARE: jewelry wire (brass/copper) is coated with an anti-oxidation layer. Brass black will not take without first stripping the coating (acetone bath, 99% purity - available at the pharmacy), and then roughing the wire surface with ScotchBrite. I failed to do either of these things. For your own sake, just buy untreated, soft copper wire.
My first dipping in JAX brass black almost didn’t take at all. Whatever oxidation there was, was very spotty and wiped away easily. After thoroughly rinsing the parts in acetone, my second JAX bath did much more to blacken the parts, but the depth of oxidation was highly irregular, there were still lots of completely bright brass patches, throughout, and the oxidation that was present still rubbed off too easily.
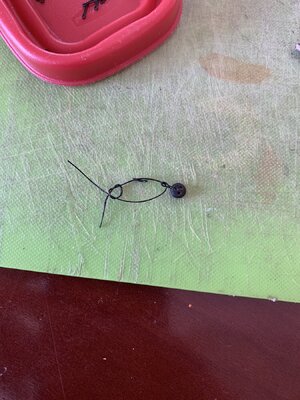
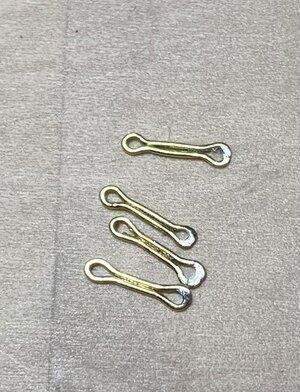
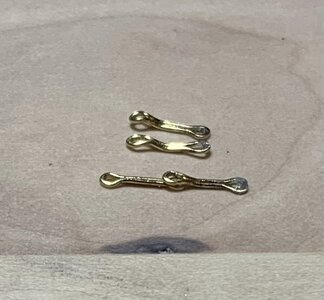
What to do, now? I quickly decided that I absolutely was not going to re-make all of these fittings, as I had at least bent them into nicely uniform parts. The only reasonable solution, IMO, was to spray-prime the lot black:
After inserting the deadeyes, and any necessary touch-up, the deadeye strops looked like this:
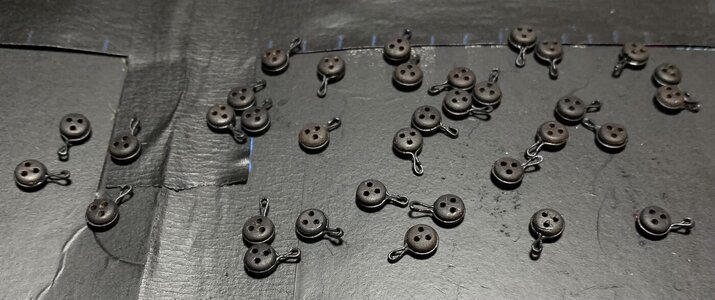
Quite satisfactory, I think. On the inside, bottom edge of each deadeye, I placed a drop of CA, in order to fix the orientation of the deadeye.
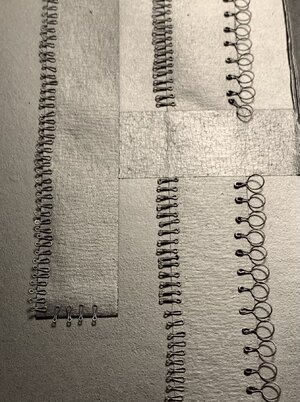
I needed to make a run of split-rings, both for the gun out-haul tackles, and for between where the chains attach to the middle wales.
For these, I really like how tight a twist I get with galvanized steel wire. Given that I was going to paint these, as well, it didn’t seem quite so important what the material was, but how it behaved.
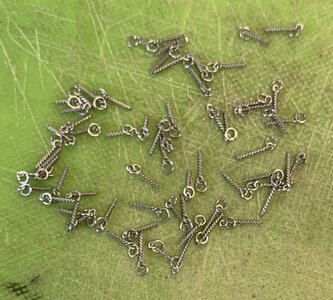

I found it quite easy to close the eyes with my parallel pliers, a decent set of which are essential for this work (Thanks Druxey!), and I sealed the rings with a spot of common, brush-able CRAZY GLUE.
The eyes on deck:
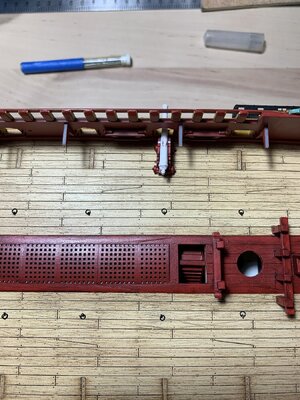
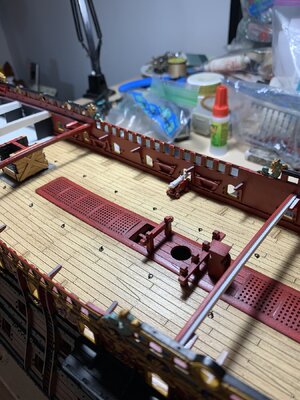
In preparation for the deadeyes, I made ready the channels. Because I found it necessary to shift a handful of deadeyes, so that the chains do not interfere with the gunport lids, I found it necessary to widen a number of the channel slots. I then drilled for short sections of .030 styrene rod, so that I could favor one side of the slot:
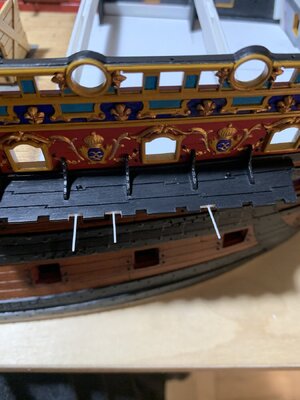
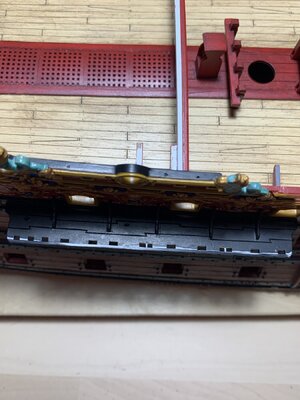
Next I made capping strips for the outside edges of the channels, and simulated the nailing with shallow slices of triangular styrene rod. I used the same “heat flashing” technique to dome over the heads:
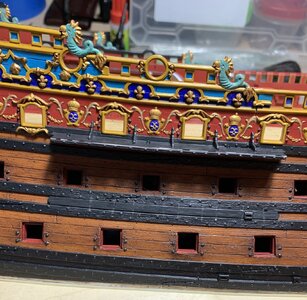
With my masts in-place and a guide-string, I penciled-in the preventer plate locations.
The important thing, I think, was that the join of the preventer plates and the small loop-links be in a consistent plane, along the upper middle wale - just slightly higher than mid-wale.
Following a tip from fellow SR enthusiast Eric Wiberg, I purchased the following dome-headed rivets:
https://www.eugenetoyandhobby.com/products/plastic-rivets-round-head?_pos=3&_sid=320937e14&_ss=r
My idea was to use these with plastic cement to secure the preventer and loop links.
After drilling the top preventer plate/loop-link hole, I secure the position of the preventer plate with a common sewing pin in the top hole, and then swing a short mechanical pencil arc for the bottom hole location.
There are very slight differences between preventer plate links, so you do have to drill specific links for a given location. It is very fiddly to fix the plates with these tiny styrene pins, but it can be managed from the bottom up with plenty of patience and a sewing pin to guide mating eyes into alignment.
Now, my hope for some time and results redemption depended upon whether or not I could make appropriate diameter thread look like the long connecting links.
Among my stash, was some really nice line that Dan Pariser very generously donated to my cause. Although light in color, I found I could “paint” lengths of line with two passes of a black sharpie, which also gave the line some stiffness when dry. I found that a single bow-knot gave me the ability to introduce tension to these links:
Obviously, it is important to ensure that the loop links and deadeye strops are in the correct orientation to each other.
The proof of concept on this first link gave me sufficient confidence that this idea will produce a nice result. It is only important that one wait to stiffen the knot with CA until after you have pulled the knot up close behind the deadeye strop loop. On this first one, I glued before doing so, and the knot is less perfectly concealed than the others will be:
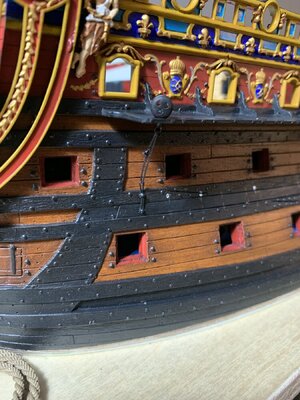
This picture above was before pulling the knot up. Eventually, when the lower deadeyes are lashed to their corresponding upper deadeyes, these chain links will pull fully taught with just the slightest tension.
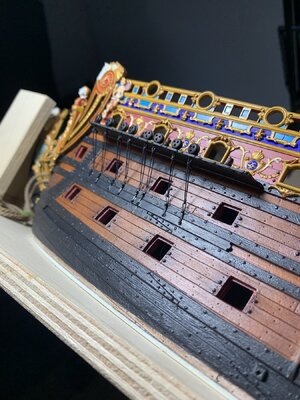
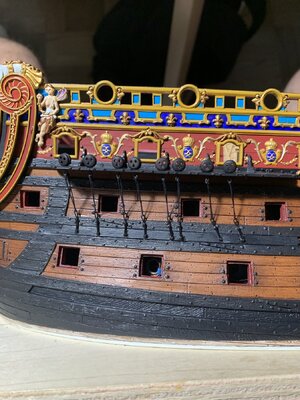
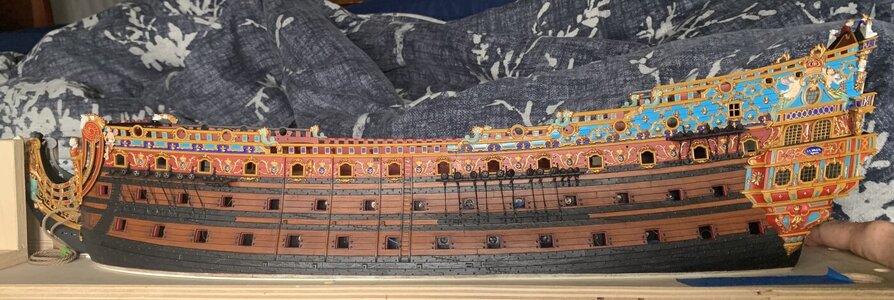
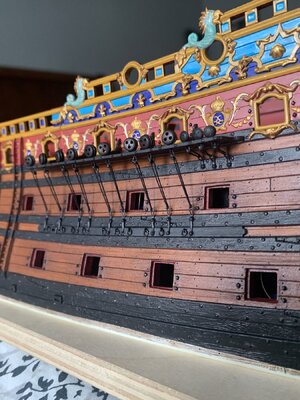
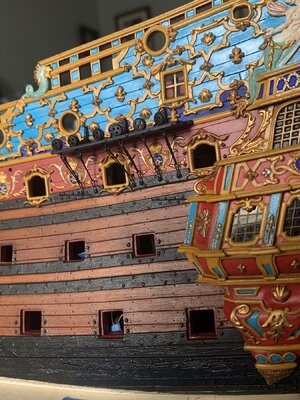
Here is where things stand as of now:
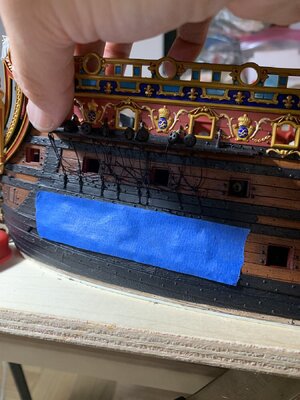
I quickly learned it is wise to cover the gun ports, so that you are not continually losing links into the hull. After pinning the links in place, I brushed over the link assembly with thin CA, to give it a little extra holding power. I then left it to dry overnight.
Next, I will draw all remaining loops taught, and then the whole of it will receive a thinned acrylic black wash to homogenize the assembly and touch-up any bright spots.
There are, of course, many better ways to go about all of this. For me, for now - I’ll take this all as a learning experience and move-on with it.
Thank you all for looking-in!
Best,
Marc
