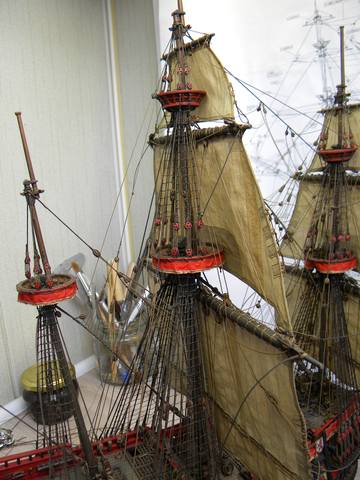
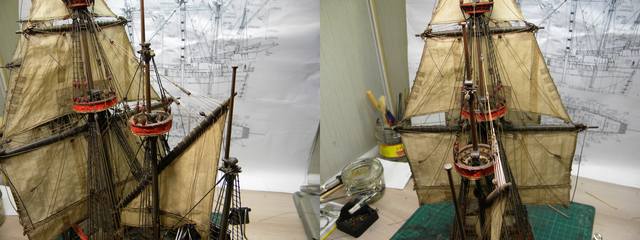
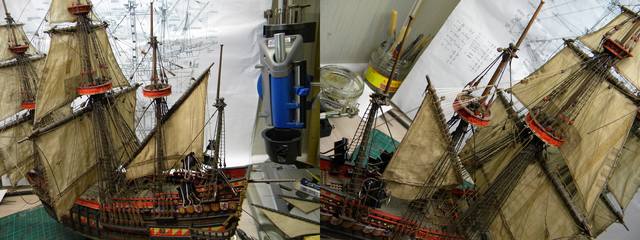
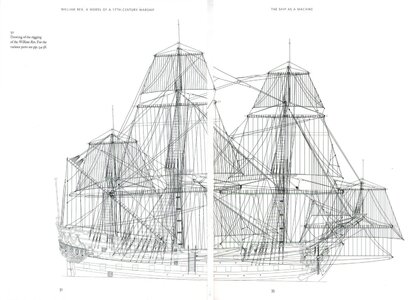
..continuation with rigging mizzen and bonaventure mast ...
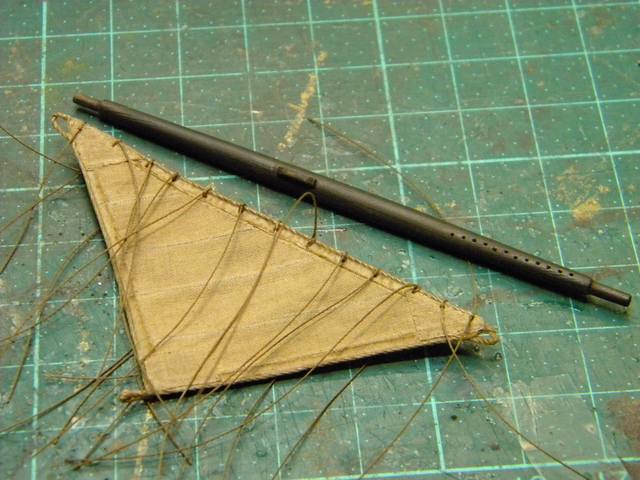
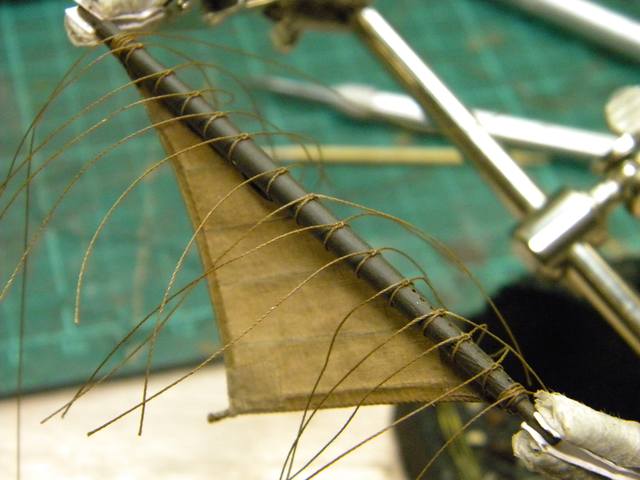
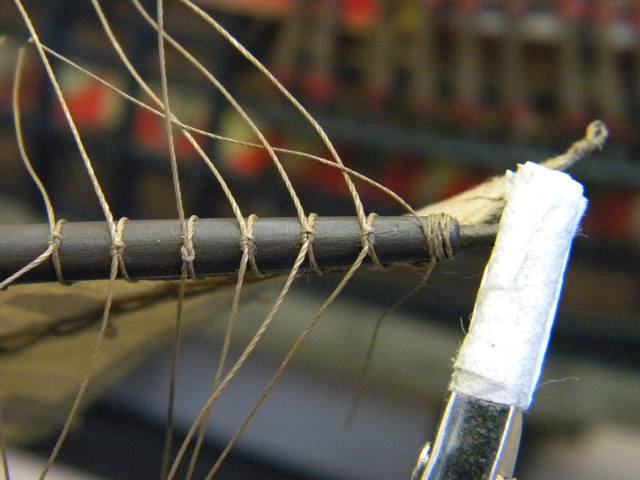
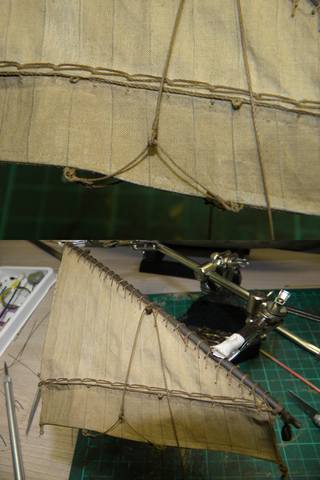
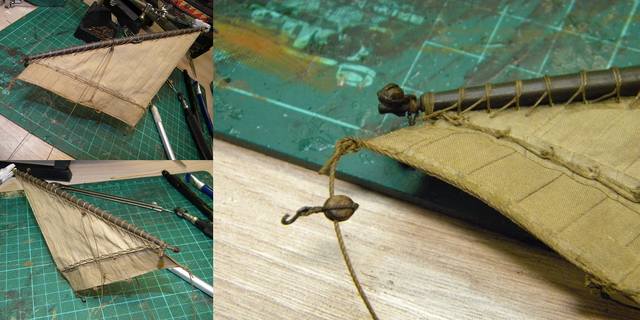
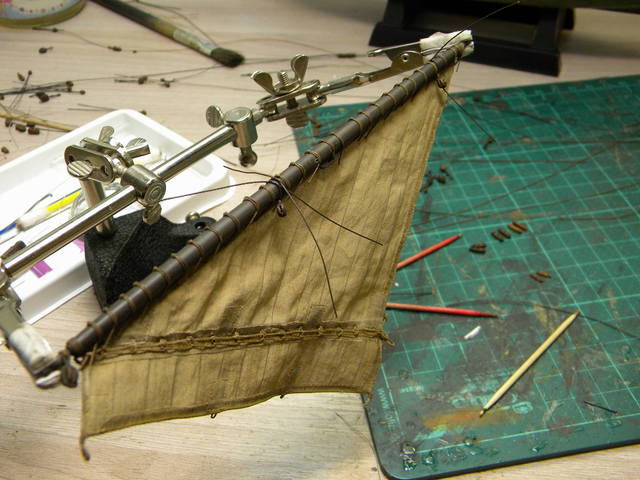
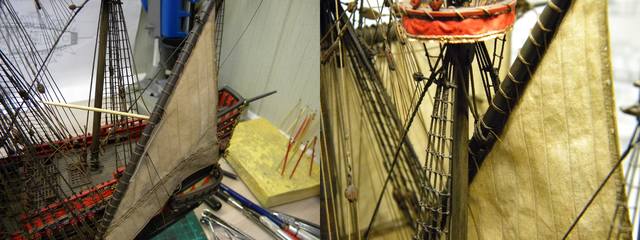
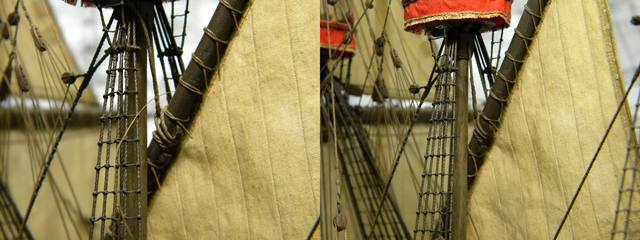
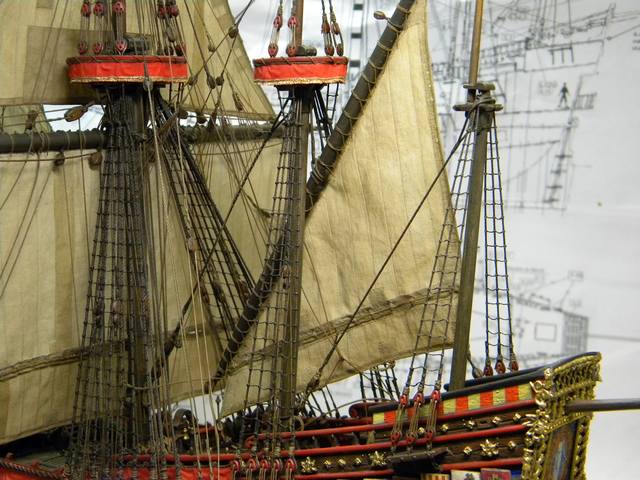
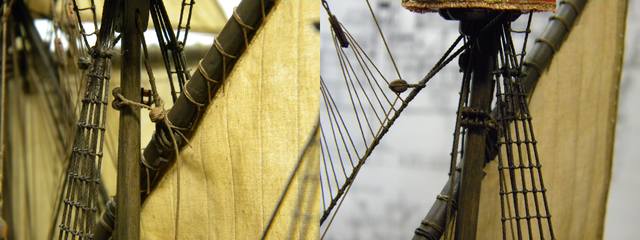
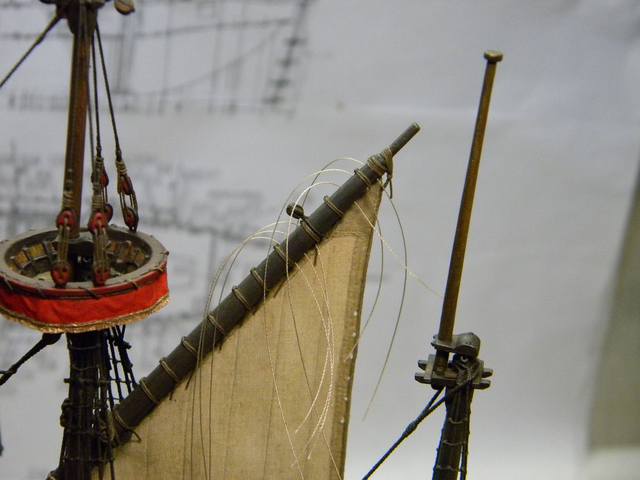
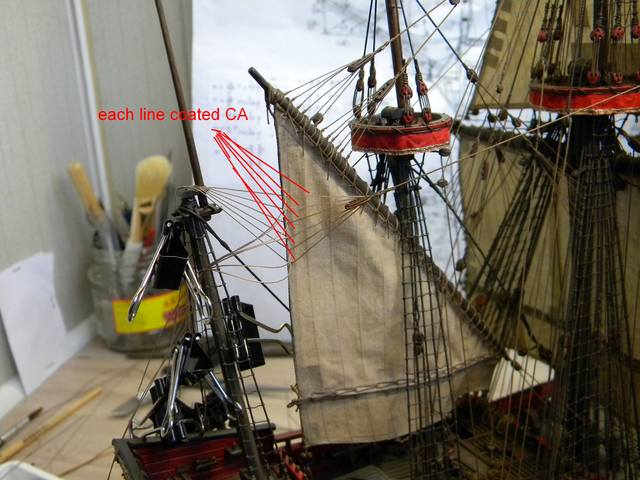
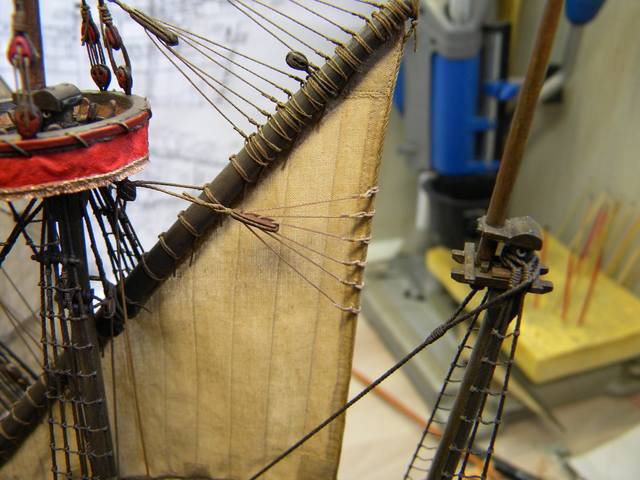
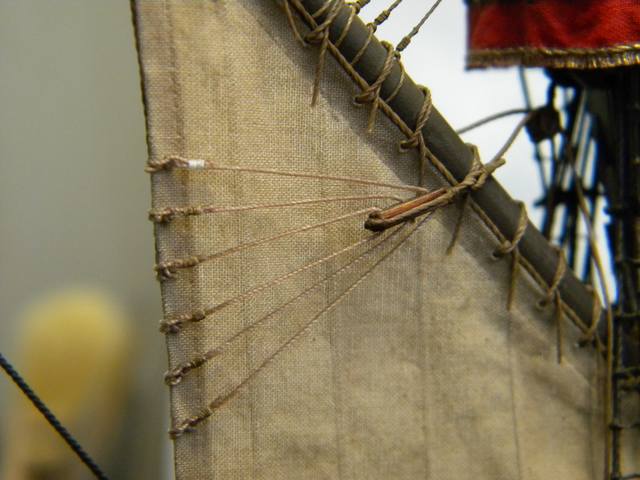
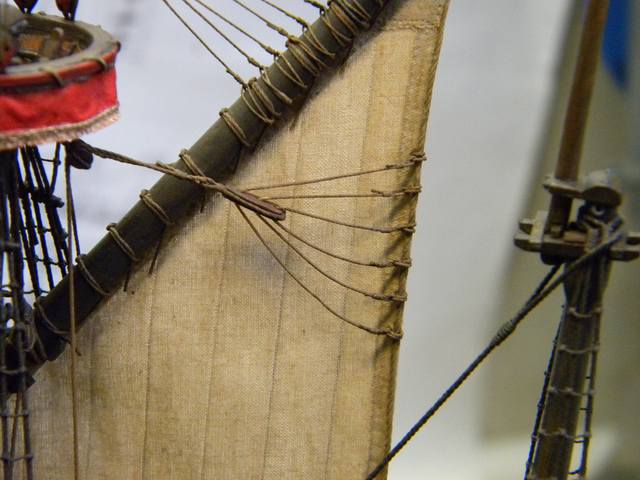
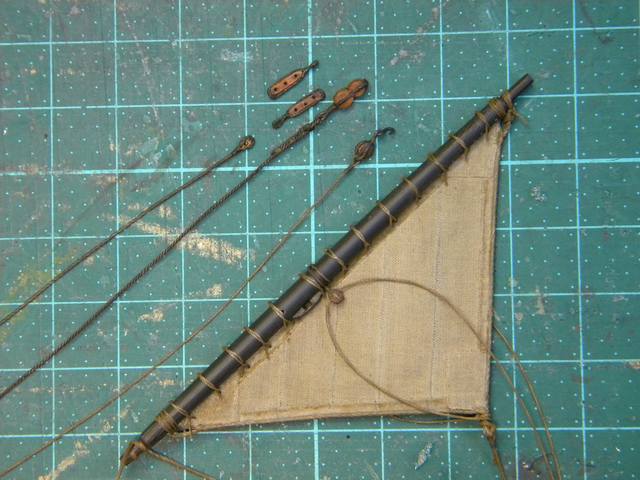
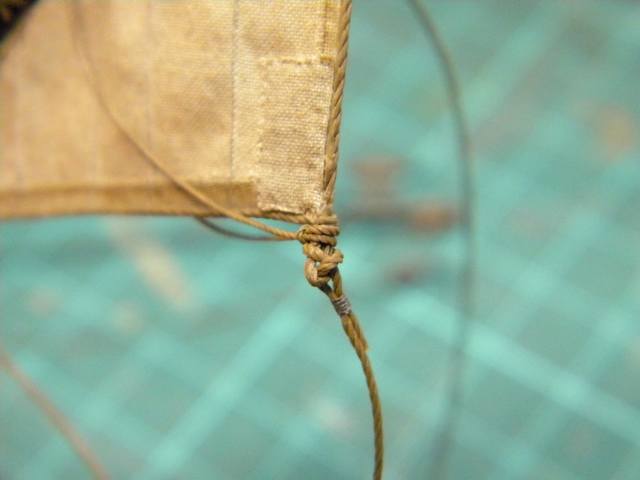
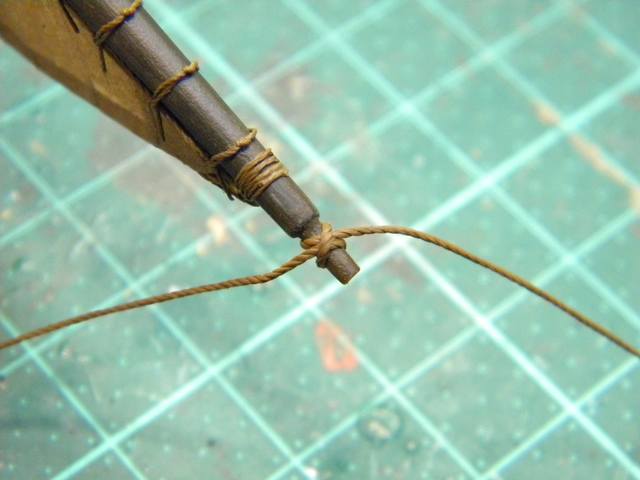
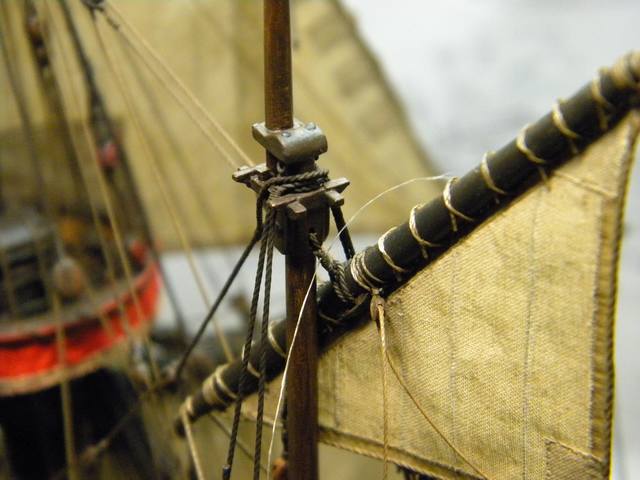
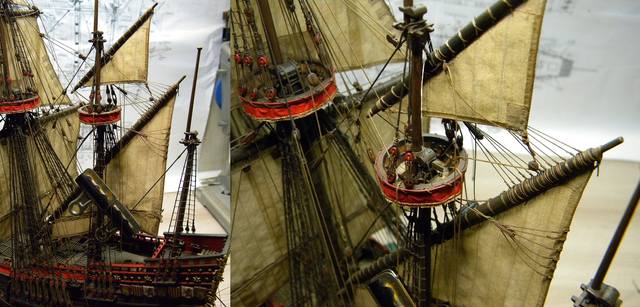
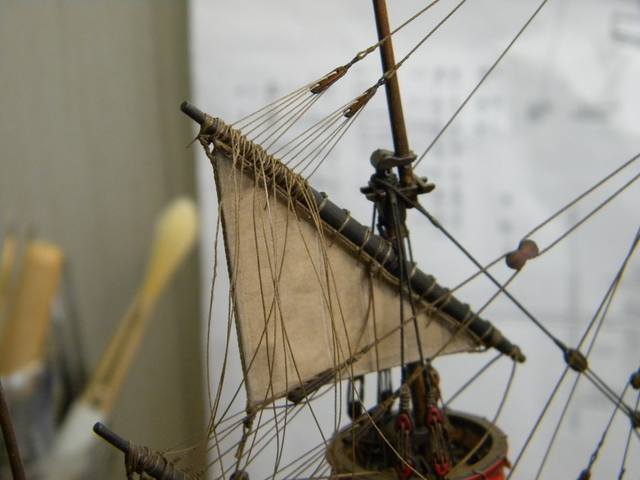
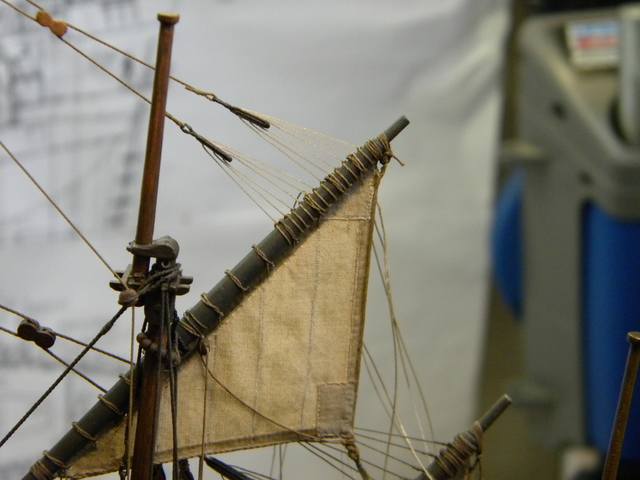
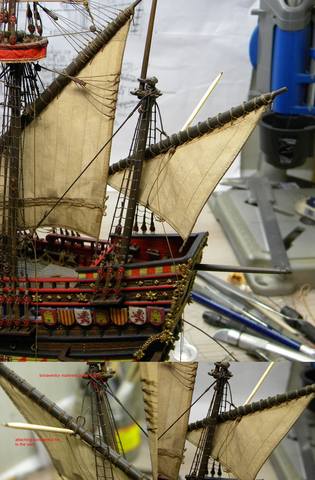
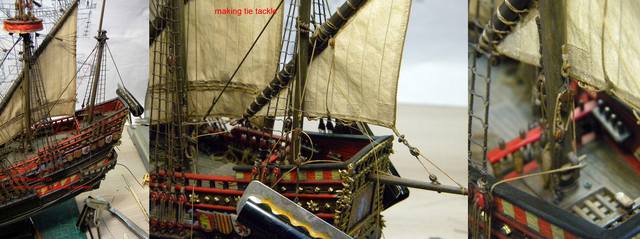
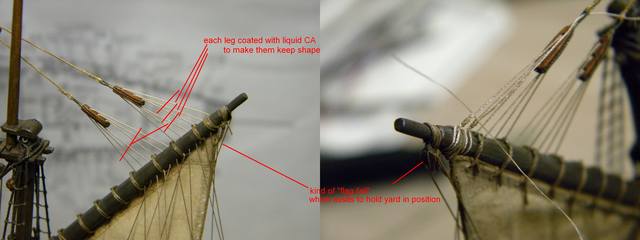
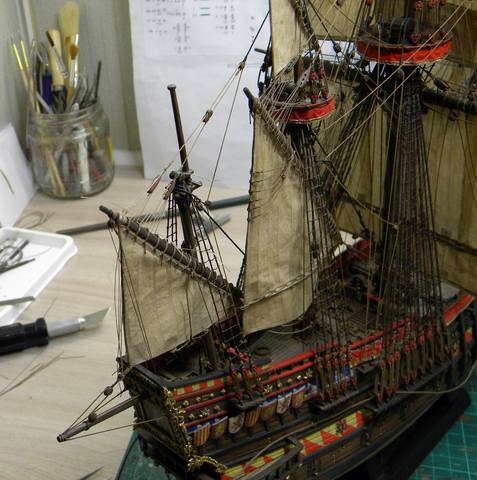
sails fastened to the yards ...
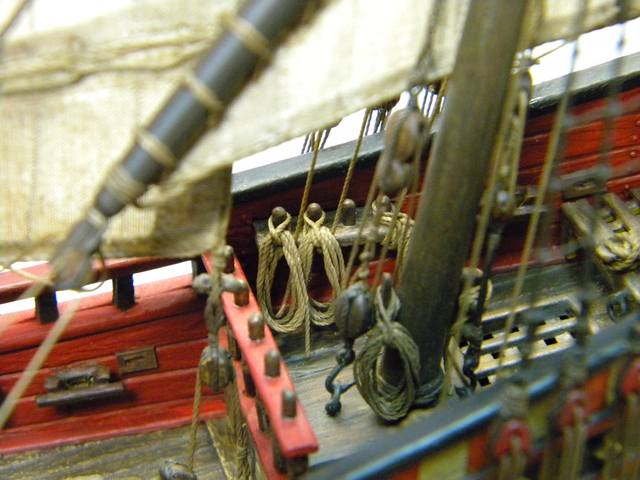
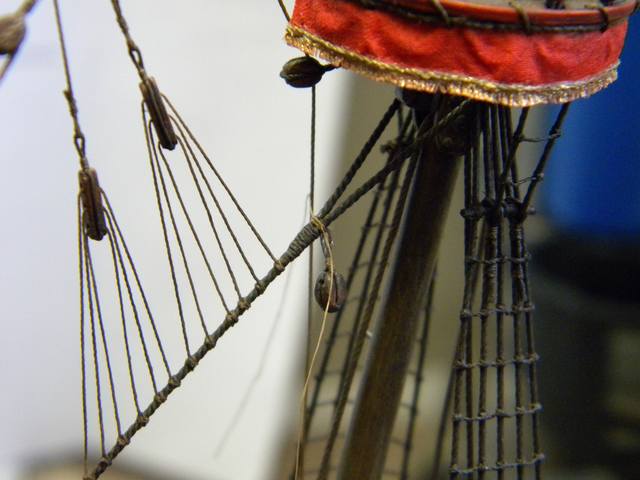
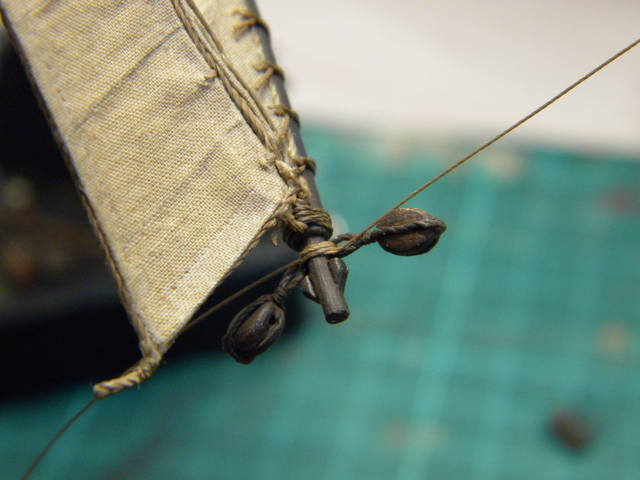
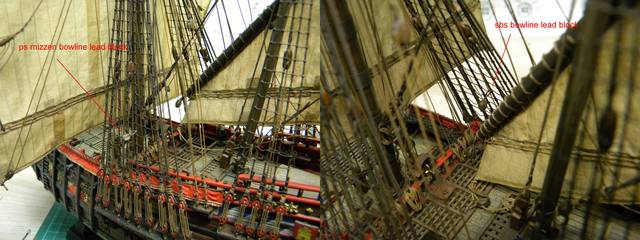
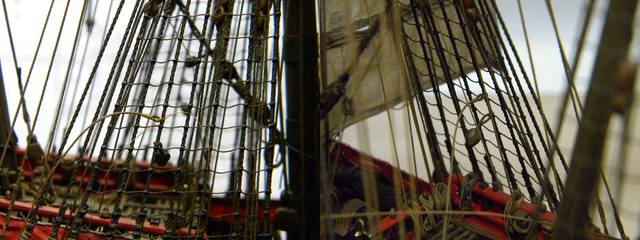
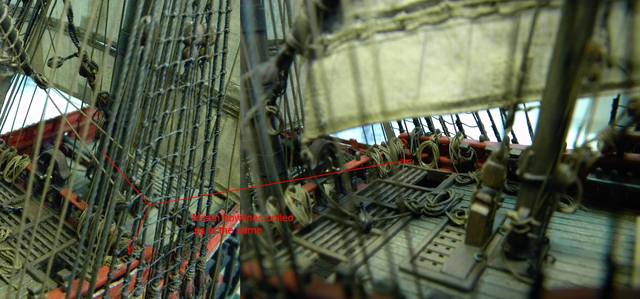
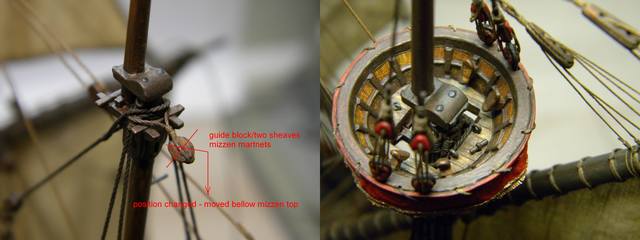
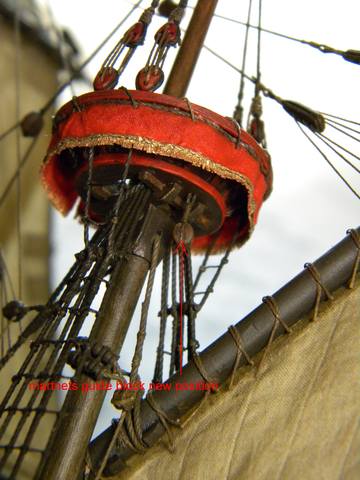
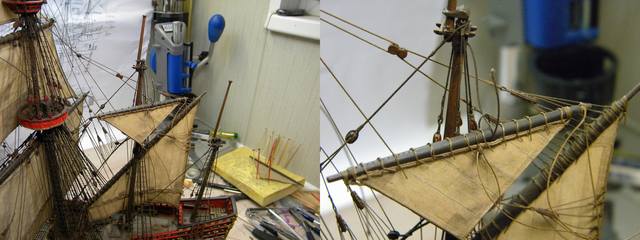
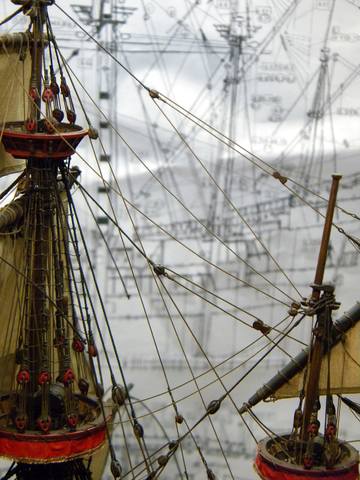
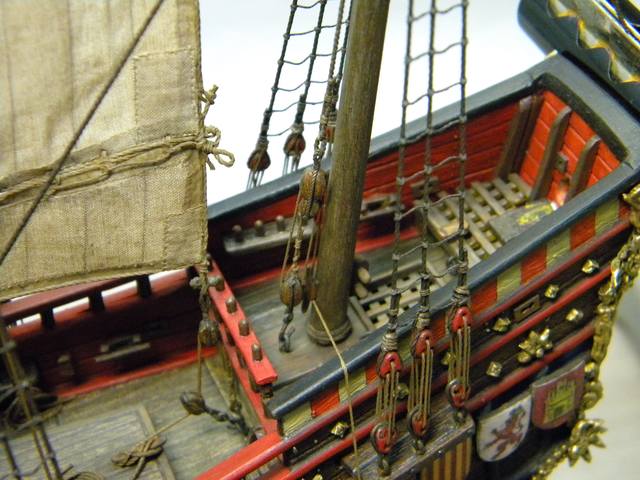
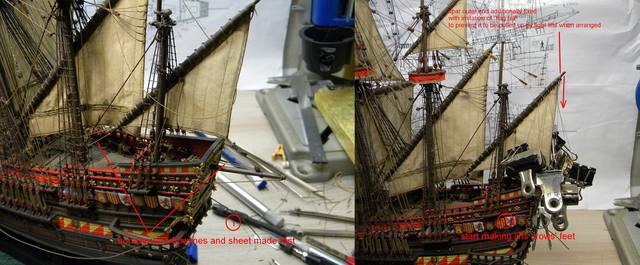
and here one more time I had rearranged rigging of main mast topgallant tie halyards, my version,how to lead them - two additional lead blocks were seized to the mizzen stay ,one just next to the stay loop and another one on lower part of the stay , and running end was fastened to the half deck railings ...
this is just my suggestion ,I don't know how it must be done to be historic accurate
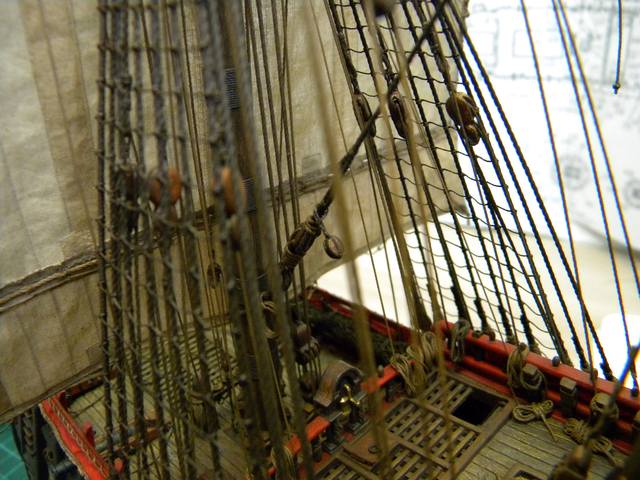
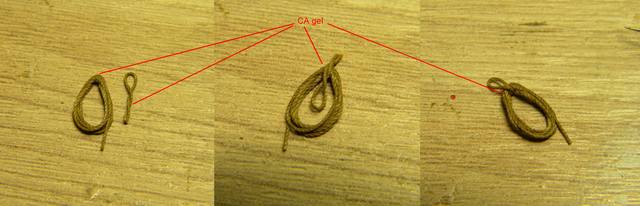
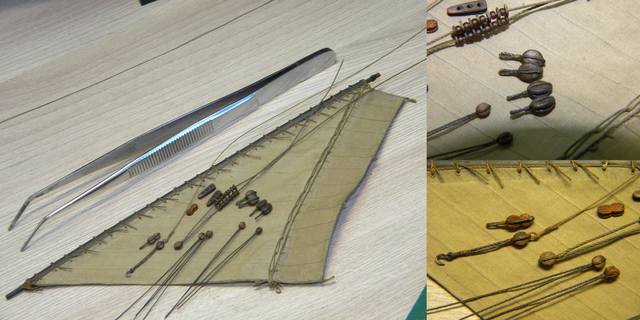
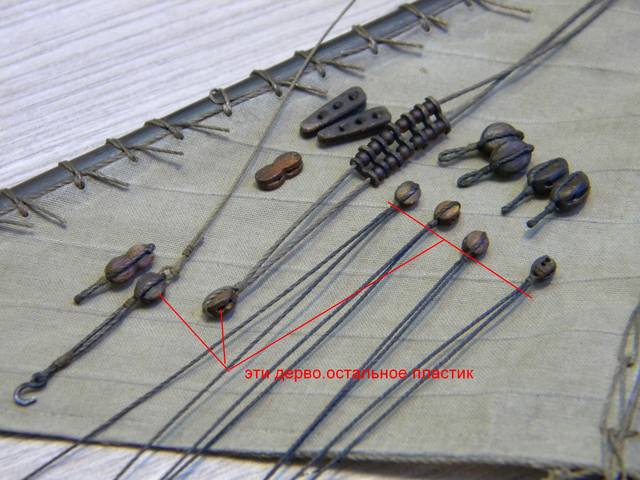
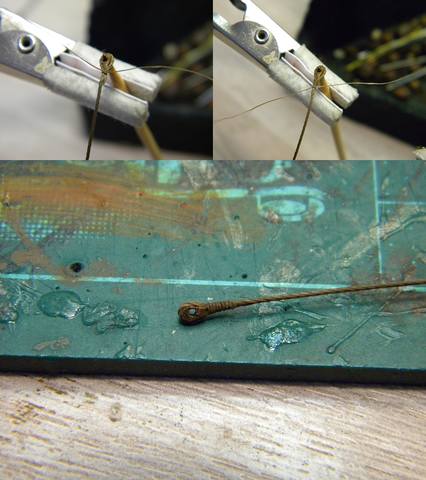
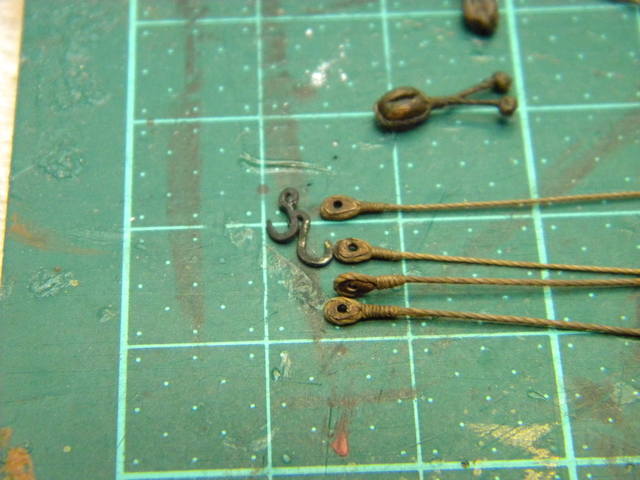
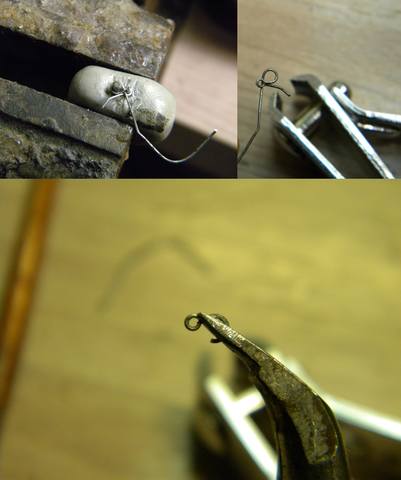
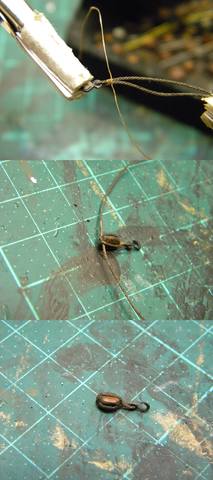
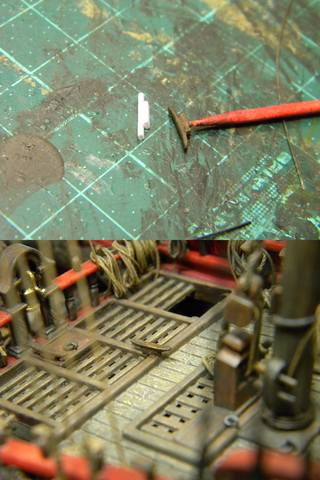
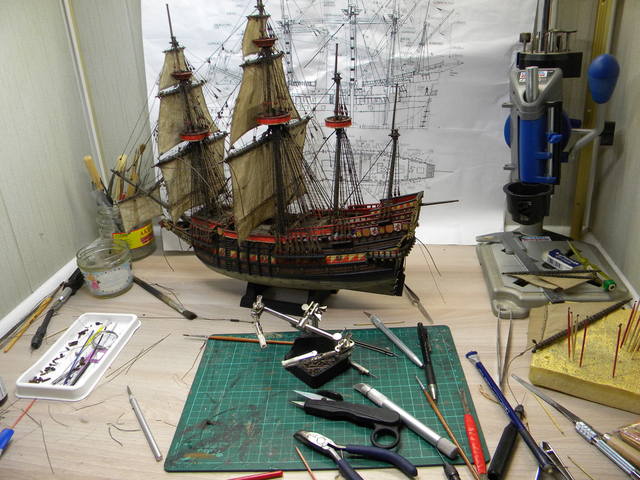
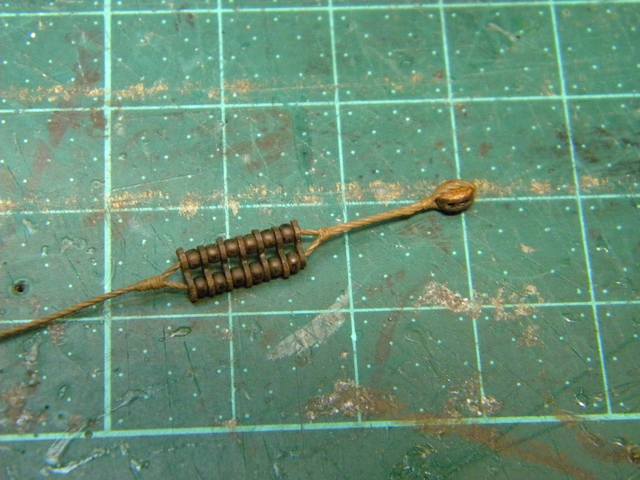
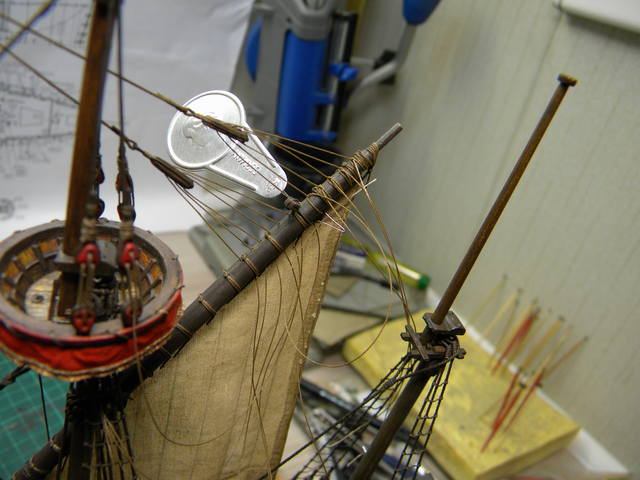
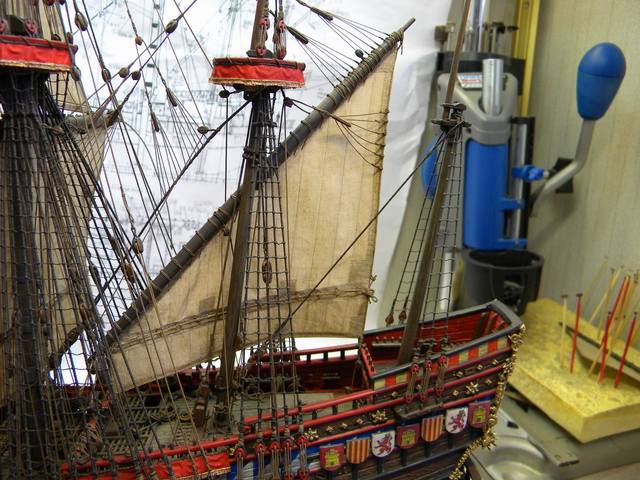
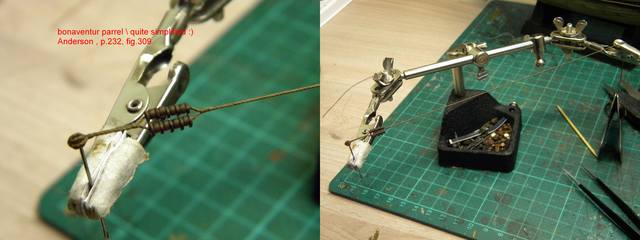
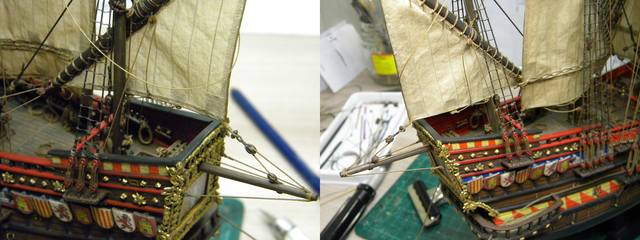
to continue rigging mizzen I had to prepare set of all ness-ry blocks and other gears which will be need for mizzen sail rigging.. some of the blocks,2.5 mm marked "red" on the picture - wooden , others - self-made from wasted piece of plastic or epoxy stuff
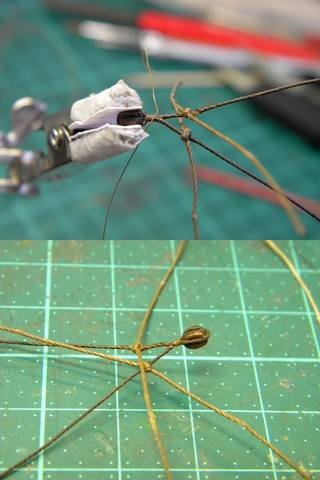
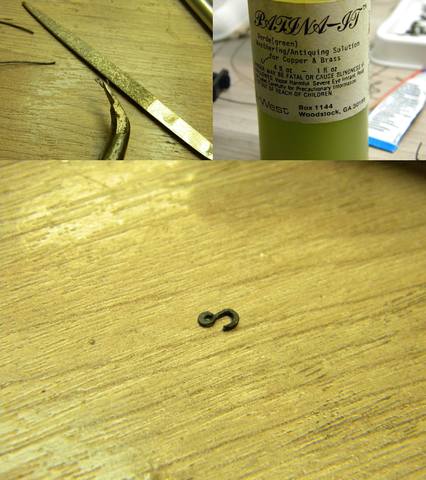
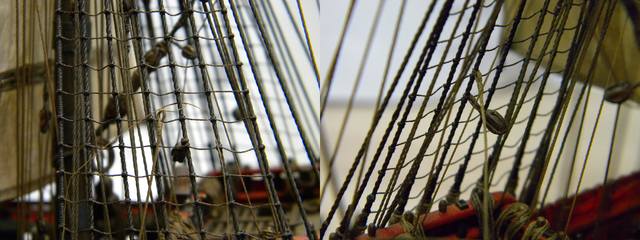
there is big difference between unprocessed wooden and painted plastic blocks in their appearance
wooden blocks need to be painted to eliminate this difference
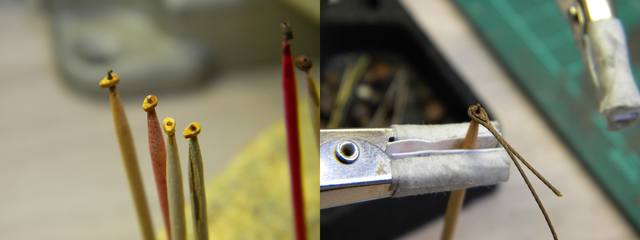
when they are painted ,origin of material became not very noticeable ... and just on the macro foto, you could see the structure of the wood ...
in this respect, plastic / epoxylin blocks, which I made before, have more" scale look" in their appearance ...


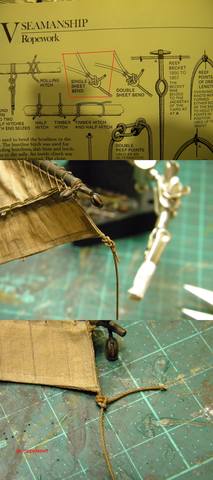
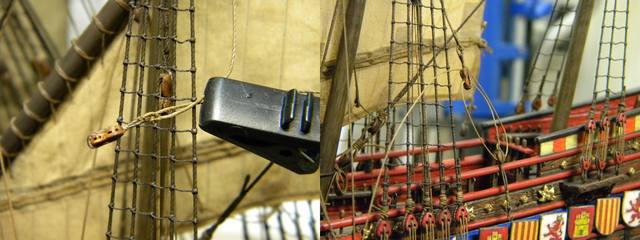
sails fastened to the yards ...
and here one more time I had rearranged rigging of main mast topgallant tie halyards, my version,how to lead them - two additional lead blocks were seized to the mizzen stay ,one just next to the stay loop and another one on lower part of the stay , and running end was fastened to the half deck railings ...
this is just my suggestion ,I don't know how it must be done to be historic accurate
to continue rigging mizzen I had to prepare set of all ness-ry blocks and other gears which will be need for mizzen sail rigging.. some of the blocks,2.5 mm marked "red" on the picture - wooden , others - self-made from wasted piece of plastic or epoxy stuff
there is big difference between unprocessed wooden and painted plastic blocks in their appearance
wooden blocks need to be painted to eliminate this difference
when they are painted ,origin of material became not very noticeable ... and just on the macro foto, you could see the structure of the wood ...
in this respect, plastic / epoxylin blocks, which I made before, have more" scale look" in their appearance ...
Last edited:

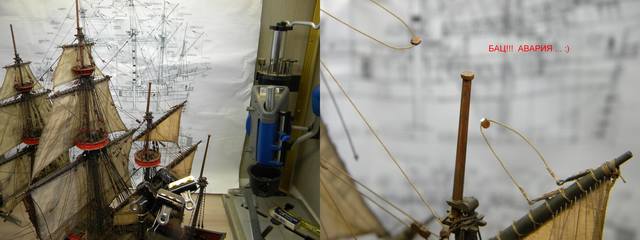
") ))
))
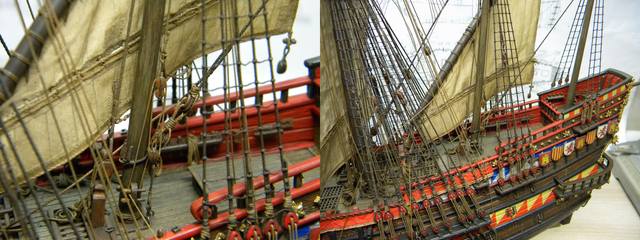


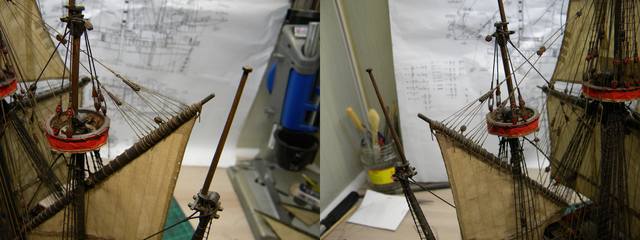
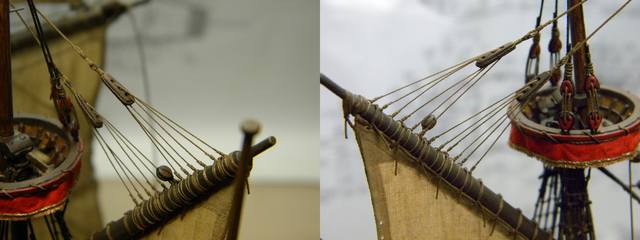
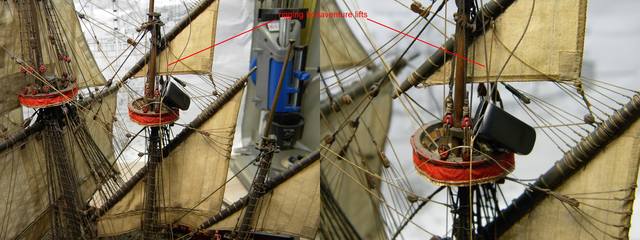
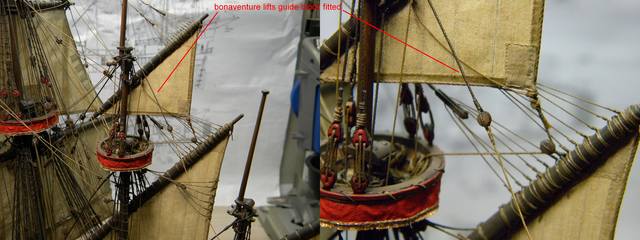
 MIZZEN LIFTS


.jpg")