Good day,
Dear friends,
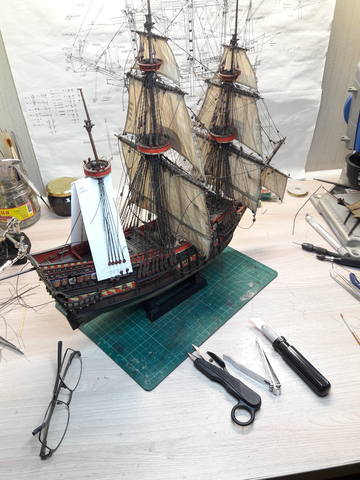
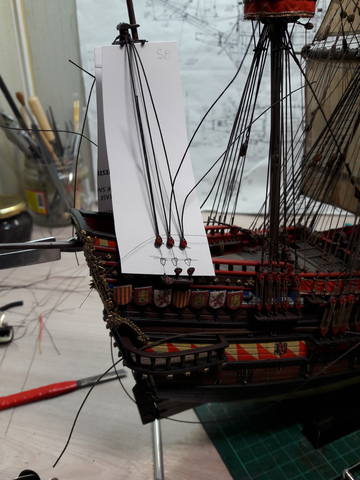
Let me introduce short build log of assembling LEE(IMAI) kit of Spanish Galleon of 1607 as kit maker stated.
This May 2021 I finally reached the end of completion of this many years task !!!") ))
))
When I purchased this kit long time ago...somewhere in 2003 if I remembered correctly...and began to assemble it approx in 2009, I absolutely didn't realise how long will it take, to complete assembling this model and how much information about galleons of Spanish Armada era (mostly of end of 16th - beginning of 17th century ,including time of famous fight between Spanish and English fleet in 1588) I will obtain later on...
When I purchased this kit , I just liked the nice picture of the galleon on box cover and scale of the model ...as seemed to me it was big enough for convenient work with model... my initial plan was just assemble this kit in the same way how it was shown on the photos on the kit box, photoes of assembled model which I found damn good at that time ! that all
And only much later, when the hull and decks were clued and almost completely painted I slowly started to study more or less regularly various sources and ship modelling forums in the internet , and I could said that I felt that huge Wave of information concerning various aspects of galleons ,their construction, rigging, fighting equipment and so on...has flooded over my head... and I 've found that this plastic kit, as representation of galleon ,never mind , Spanish or English or which else nations belongs to, is quite wrong in hull construction and spars and rigging arrangements...
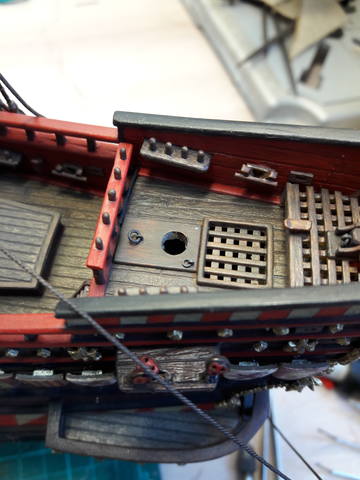
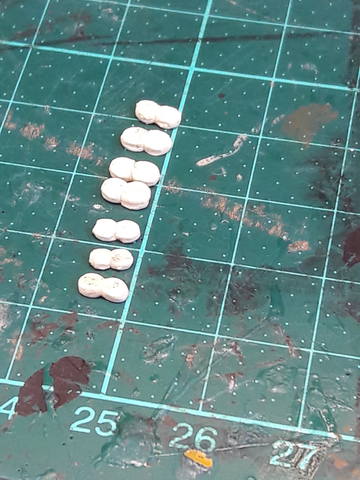
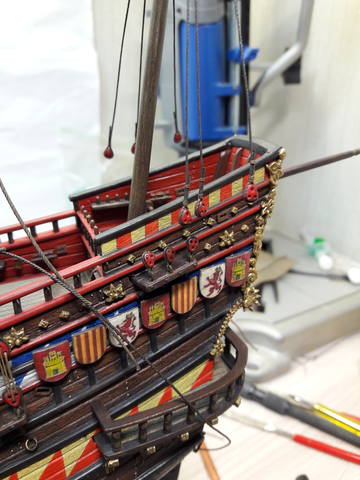
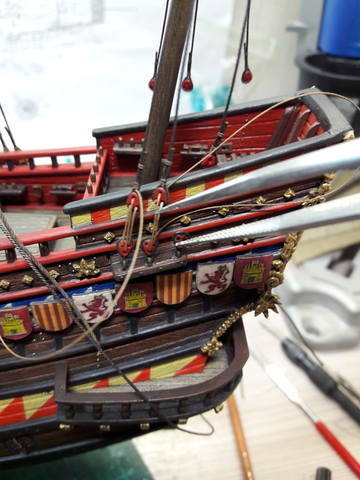
but at that moment I already could't stop and give up my project, but just began to add some more and more details ,which I already knew from various sources, could be presented on galleon of that period, and I finaly this model turned out .. how it called..into partualy kind of scratch build?
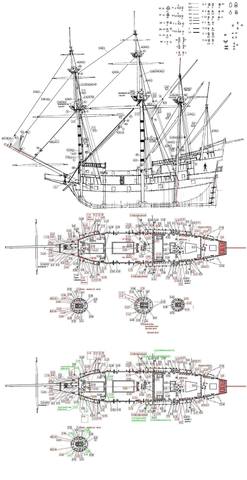
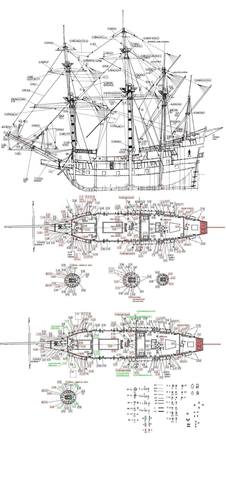
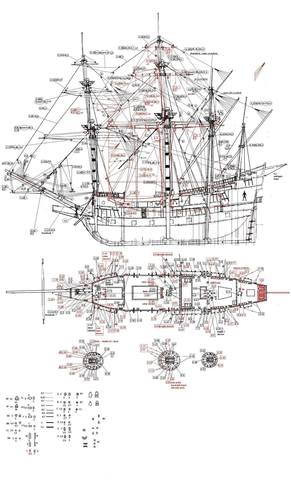
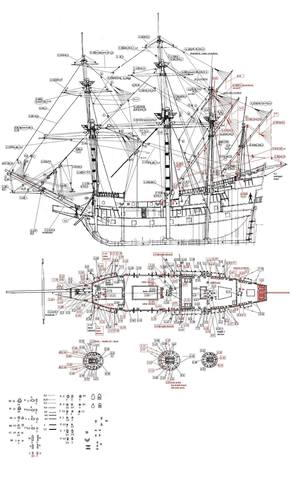
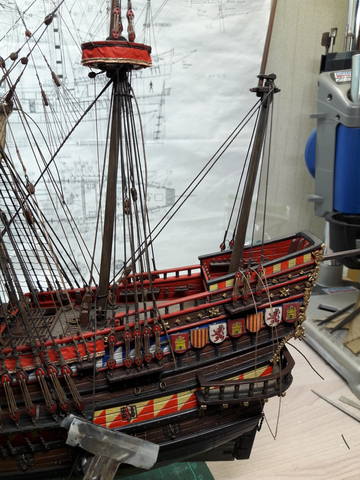
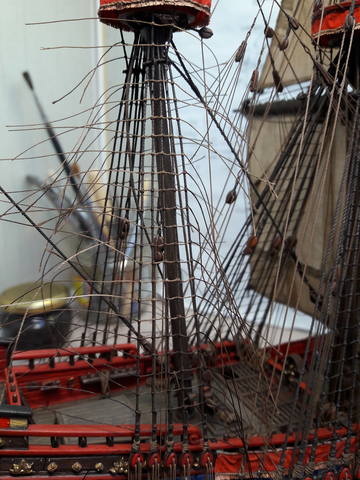
Some of my additions were found incorrect later on as well, as soon as I was able to find more reliable information... so at the сеrtain moment I realized that this process could be became endless ...and I decided to stop making corrections, but to concentrate on rigging only... at least, luckily at that moment famous Anderson book of 16-17 rigging was found, which entire covered and clarified most of my questions about galleon rigging at the end of 16th century...
Additional information about galleon's rigging I found in very detailed pictures of various Dutch artists of 16-17 centuries.
They were very helpful , consider at that time I didn't have too much information/or books of Spanish shipbuilding methods of that period written in english language...
at least I didn't find such, in free access for downloading in internet...
I meant books of the same level and quality as for example as Ab Hoving's books of Dutch ship buildings of period ...
in lack of direct access to information from Spanish sources about galleon (I'm talking about period of 5 or more years ago building of this model , nowadays I have a lot of it)) but model already built ) I considered his books as very or even Extra helpful in studding galleon period, especially if take in consideration that Dutch in that period kept world leading position in shipbuilding, and all other nations, Spain in some aspects just follow them in such respect...in general
Need to remember that Spain Crown in that time ruled part of the modern Holland ... it was one of many ways how northern and southern shipbuilding traditions had mutual influences and sometimes , as I knew from the books, dutch shipbuilders even participated in building ships for Spain Crown...
At least from this point of view, there could be some good excuse for me , why this model named Spanish Galleon more looks like ship from old Dutch Arts)) ?!
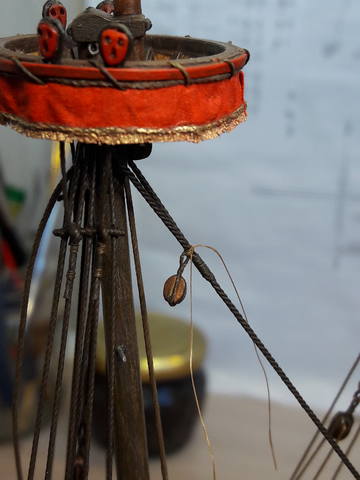
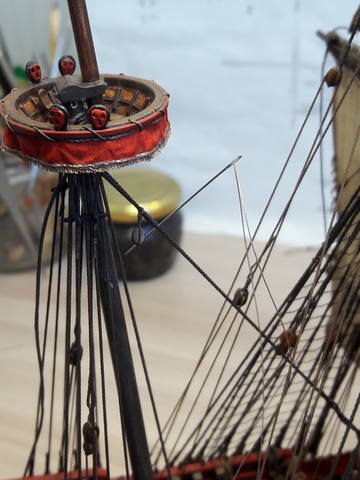
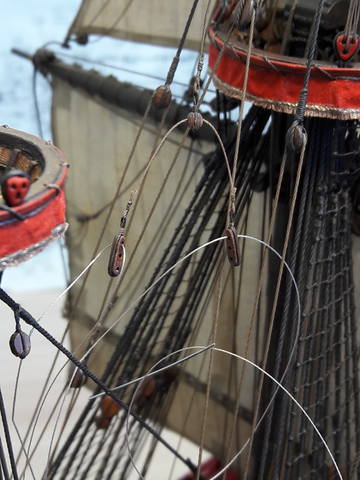
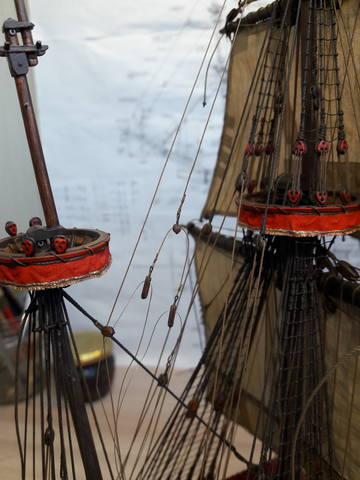
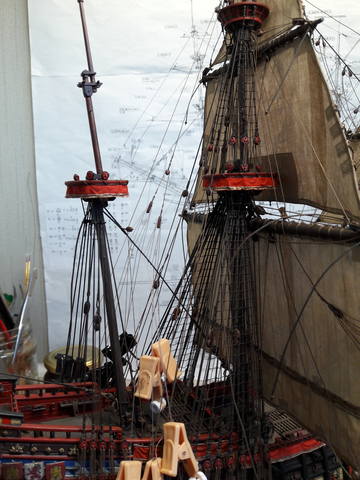
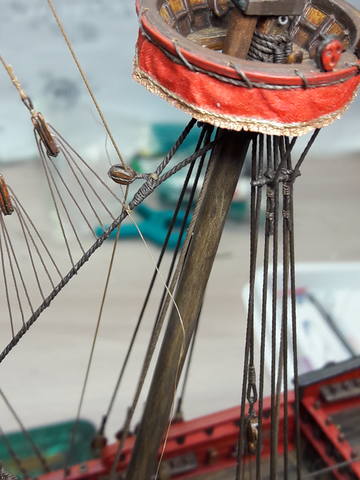
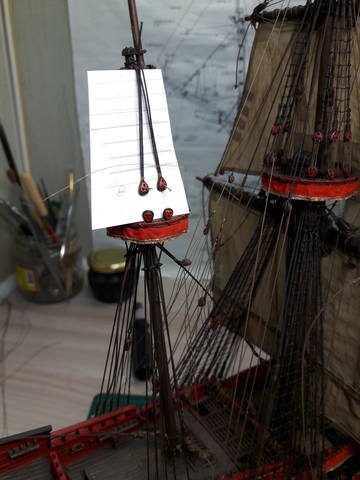
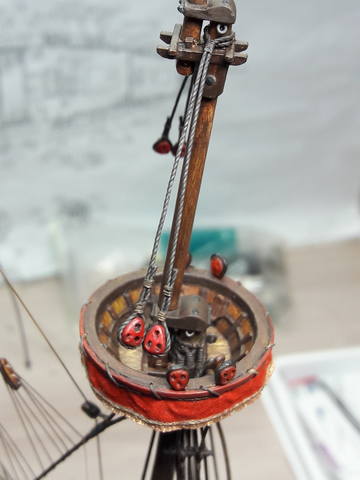
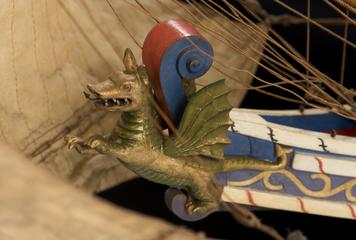
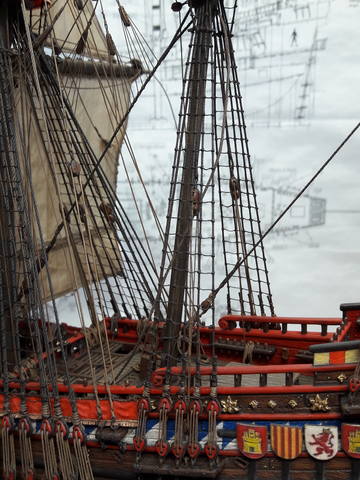
For coloring model I used conventional artists acrylic paints and Folk Arts acrylic , for ageing effect dry artists pastels and mediums of Folk Art were used.
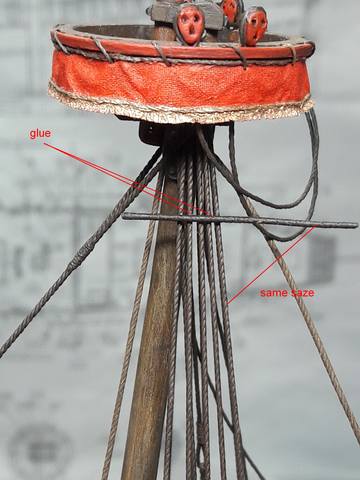
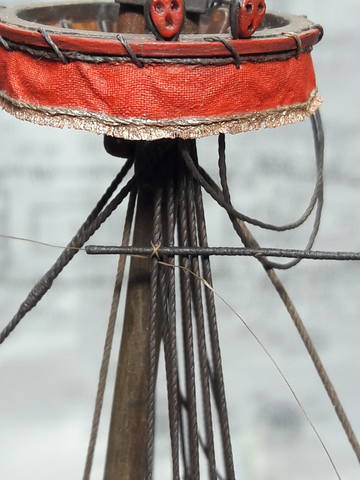
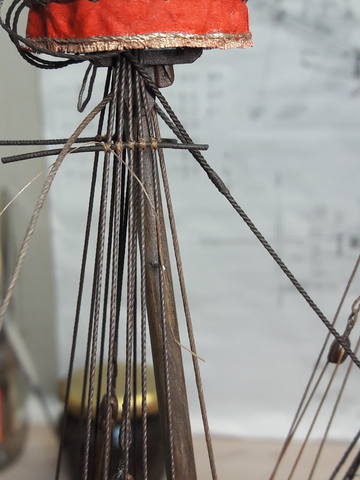
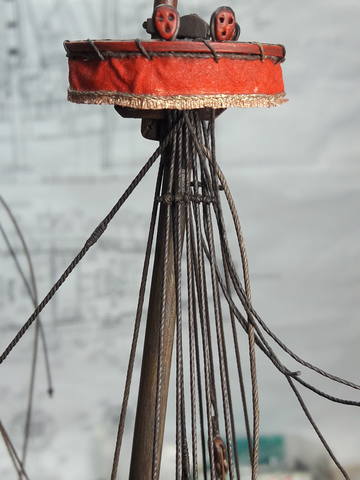
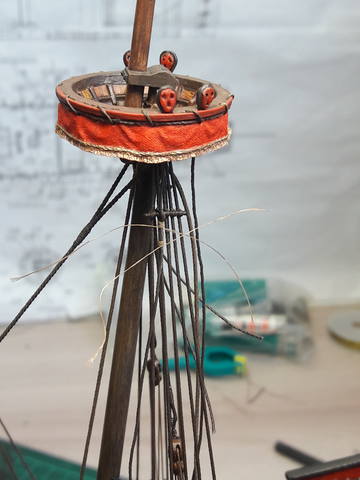
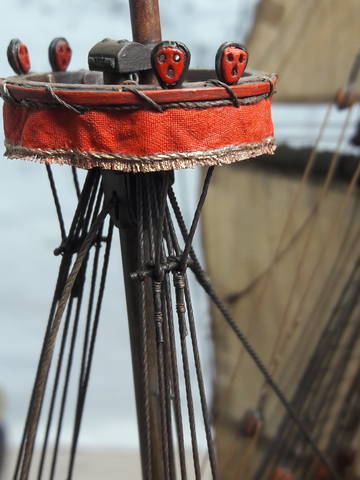
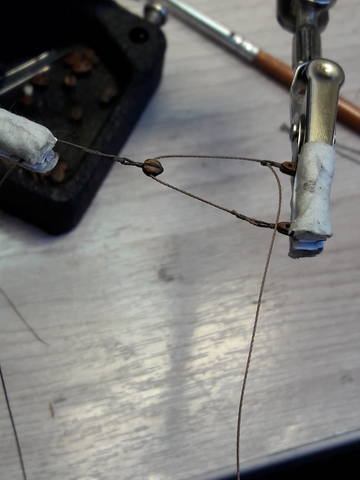
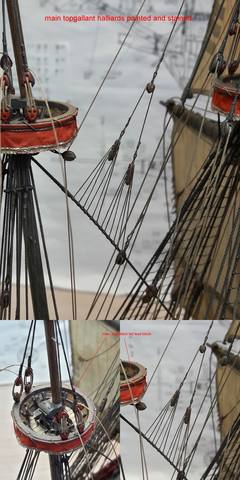
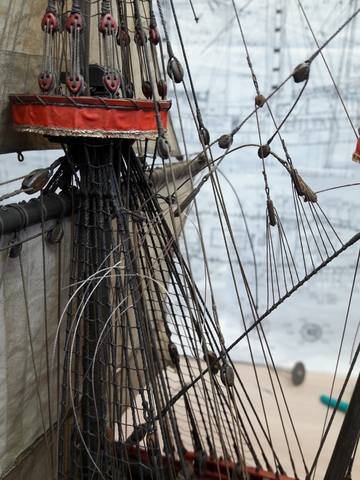
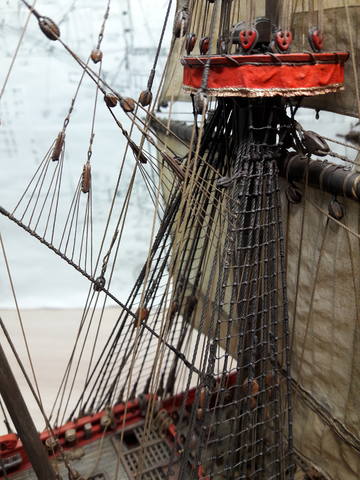
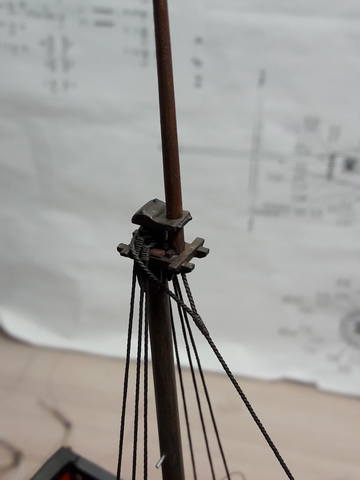
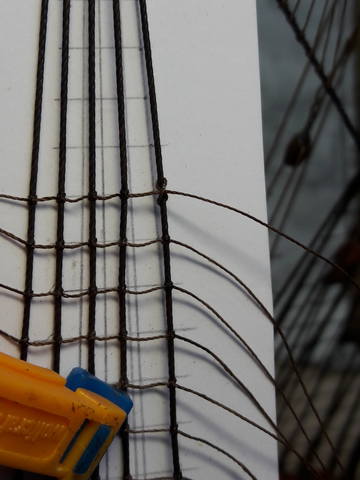
For rigging I used Gutermann threads "Terra" of various n's... All threads used for rigging were painted before use by acrylic paints mixed with matt varnish ... sails were made of fine percale ,stained in mix of wooden stains and bolt ropes later clued with pva wooden clue...for gilding I used artists flake potal (imitation of gold leafs)
There are a few pictures which were collected during many years of model assembling, they are mostly in random order now... but I tried to group them by title.
May be some information presented here will be useful for those of our colleagues who planned to assemble this kit in the future or busy with it now...
Dear friends,
Let me introduce short build log of assembling LEE(IMAI) kit of Spanish Galleon of 1607 as kit maker stated.
This May 2021 I finally reached the end of completion of this many years task !!!
)) When I purchased this kit long time ago...somewhere in 2003 if I remembered correctly...and began to assemble it approx in 2009, I absolutely didn't realise how long will it take, to complete assembling this model and how much information about galleons of Spanish Armada era (mostly of end of 16th - beginning of 17th century ,including time of famous fight between Spanish and English fleet in 1588) I will obtain later on...
When I purchased this kit , I just liked the nice picture of the galleon on box cover and scale of the model ...as seemed to me it was big enough for convenient work with model... my initial plan was just assemble this kit in the same way how it was shown on the photos on the kit box, photoes of assembled model which I found damn good at that time ! that all
And only much later, when the hull and decks were clued and almost completely painted I slowly started to study more or less regularly various sources and ship modelling forums in the internet , and I could said that I felt that huge Wave of information concerning various aspects of galleons ,their construction, rigging, fighting equipment and so on...has flooded over my head... and I 've found that this plastic kit, as representation of galleon ,never mind , Spanish or English or which else nations belongs to, is quite wrong in hull construction and spars and rigging arrangements...
but at that moment I already could't stop and give up my project, but just began to add some more and more details ,which I already knew from various sources, could be presented on galleon of that period, and I finaly this model turned out .. how it called..into partualy kind of scratch build?
Some of my additions were found incorrect later on as well, as soon as I was able to find more reliable information... so at the сеrtain moment I realized that this process could be became endless ...and I decided to stop making corrections, but to concentrate on rigging only... at least, luckily at that moment famous Anderson book of 16-17 rigging was found, which entire covered and clarified most of my questions about galleon rigging at the end of 16th century...
Additional information about galleon's rigging I found in very detailed pictures of various Dutch artists of 16-17 centuries.
They were very helpful , consider at that time I didn't have too much information/or books of Spanish shipbuilding methods of that period written in english language...
at least I didn't find such, in free access for downloading in internet...
I meant books of the same level and quality as for example as Ab Hoving's books of Dutch ship buildings of period ...
in lack of direct access to information from Spanish sources about galleon (I'm talking about period of 5 or more years ago building of this model , nowadays I have a lot of it
)) but model already built ) I considered his books as very or even Extra helpful in studding galleon period, especially if take in consideration that Dutch in that period kept world leading position in shipbuilding, and all other nations, Spain in some aspects just follow them in such respect...in general Need to remember that Spain Crown in that time ruled part of the modern Holland ... it was one of many ways how northern and southern shipbuilding traditions had mutual influences and sometimes , as I knew from the books, dutch shipbuilders even participated in building ships for Spain Crown...
At least from this point of view, there could be some good excuse for me , why this model named Spanish Galleon more looks like ship from old Dutch Arts
)) ?!For coloring model I used conventional artists acrylic paints and Folk Arts acrylic , for ageing effect dry artists pastels and mediums of Folk Art were used.
For rigging I used Gutermann threads "Terra" of various n's... All threads used for rigging were painted before use by acrylic paints mixed with matt varnish ... sails were made of fine percale ,stained in mix of wooden stains and bolt ropes later clued with pva wooden clue...for gilding I used artists flake potal (imitation of gold leafs)
There are a few pictures which were collected during many years of model assembling, they are mostly in random order now... but I tried to group them by title.
May be some information presented here will be useful for those of our colleagues who planned to assemble this kit in the future or busy with it now...