- Joined
- Apr 10, 2020
- Messages
- 655
- Points
- 353

Happy new Year to All
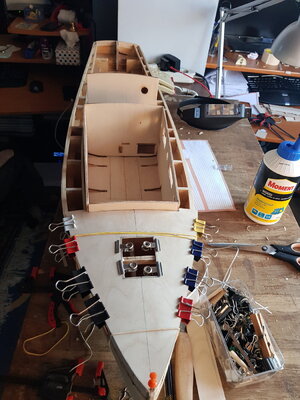
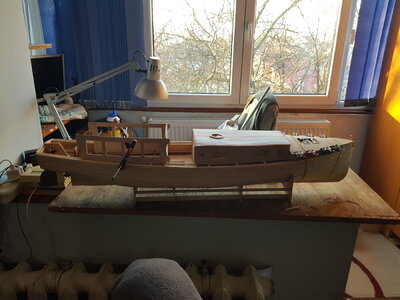
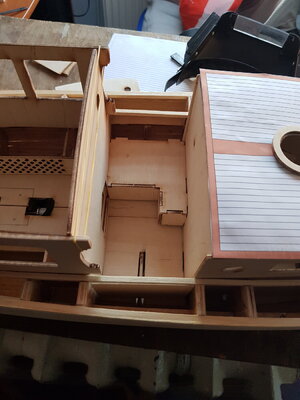
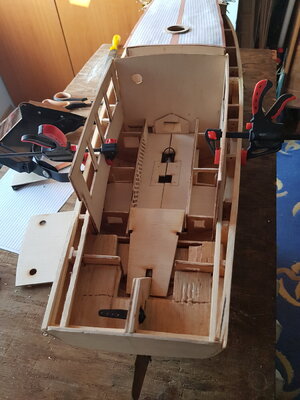
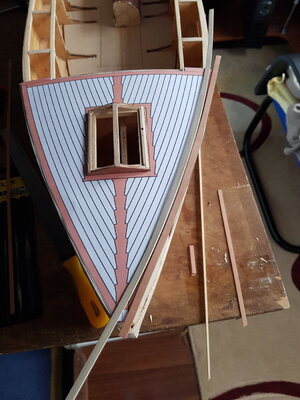
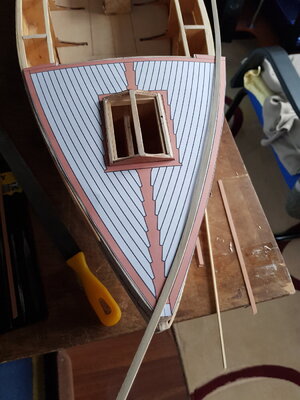
I let my wife to win the first day of the year and today I worked a bit at my model
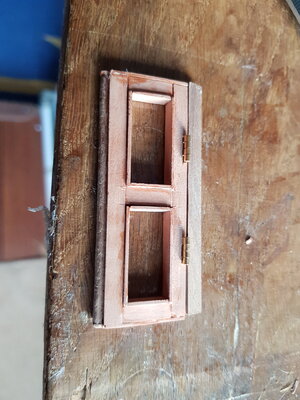
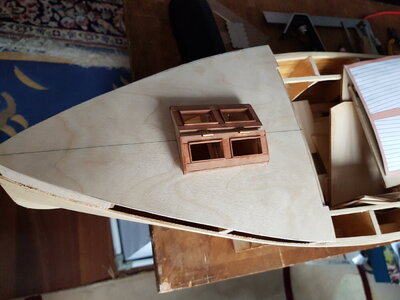
I cut forward deck from 1,5 mm plywood and put the cabins toghether
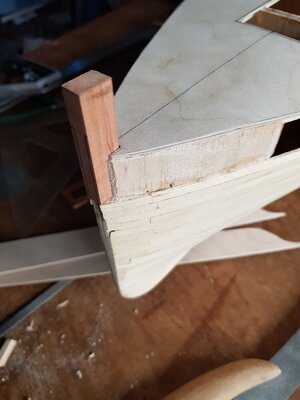
A small sanding here and there and this is the result.
The back of the ship is still a mystery but well see when I get there")

Kind regards,Daniel
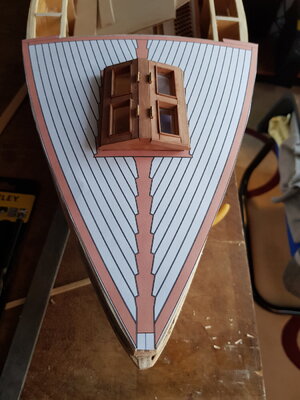
I let my wife to win the first day of the year and today I worked a bit at my model
I cut forward deck from 1,5 mm plywood and put the cabins toghether
A small sanding here and there and this is the result.
The back of the ship is still a mystery but well see when I get there
Kind regards,Daniel