The plans are on the way to you Daniel, enjoy,
Best regards John,
Best regards John,
 |
As a way to introduce our brass coins to the community, we will raffle off a free coin during the month of August. Follow link ABOVE for instructions for entering. |
 |
 |
The beloved Ships in Scale Magazine is back and charting a new course for 2026! Discover new skills, new techniques, and new inspirations in every issue. NOTE THAT OUR FIRST ISSUE WILL BE JAN/FEB 2026 |
 |

They said should be approx three weeks,Thank you very much ,John!
You are a true friend
Daniel

Hello John ,I wanted to say: is christmas here
The envelope just arrived and make my day brighter.
Thank you again
Daniel

If you stay with the original type of hull finish it will give the life-like dimension to the working boat making its way about the pond/harbor. Best of luck in how you proceed. Rich (PT-2)G'day Rich, as I was saying to Jim, the original drifters usually had two or three coats of hot tar applied to the hulls, so you wouldn't see much of the planking anyway, it would be different if I was building it as a Presentation model with parts of the hull left open, then maybe I would leave it as bare wood, but seeing as it will probably end up on the pond, I will be glassing and painting her,
best regards John,

Now you can stay up late reading. Hopefully the late night light will not keep others awake who want to sleep. I am sure that your findings will find their way into your model. Rich (PT-2)Finally my book arrived today! There are a lot of ilustrations and info to read and understand.
Kind regards,Daniel

I recall seeing a documentary about a steam tug boat a year ago. Maybe it was the same that you refer to above. Took some time and work to get the pressure up to turn the shaft and slowly get to work. Have fun with your boat. Rich (PT-2)Hello Rich,
It is very good to have a source of details when you work a model ,I found it on my way to build Janet.I started with only some distant photos and very little other sources: a tv documentary from the time was refitted ,and some interesting things had not been found in this film.
If I reach the Portsmouth museum again I will be bolder and ask the curators permission to photo the interior of the ship and the middle where is the engine and controls.Maybe bring a ruler with me too!
Pity on the last visit I dedicated more time to victory -and observed Janet on the way out .
The book is awesome and light a lot of details what plans are not covering .
Kind regards,Daniel

Plan C sounds like what was a likely keel repair in old historic times with a replacement keel section being scarfed in. Best of luck with your work. Rich (PT-2)Hello John I have to ask for your oppinion
I reach a crossroad at the building of Janet and have some doubts.
If you have time to see my last photos in build log.
I have 3 plans
Plan A will be steam and clamp and try to make the keel straight
Plan B will be to sand on a part and put some wood on the other part
Plan C is to cut the part and glue a new bit of wood and put some planks over
Kind regards
Daniel
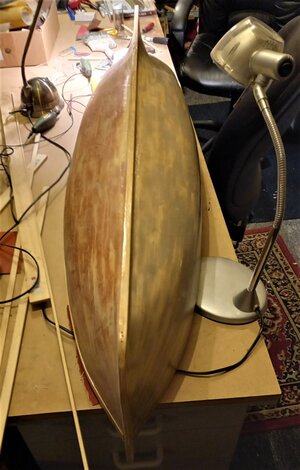
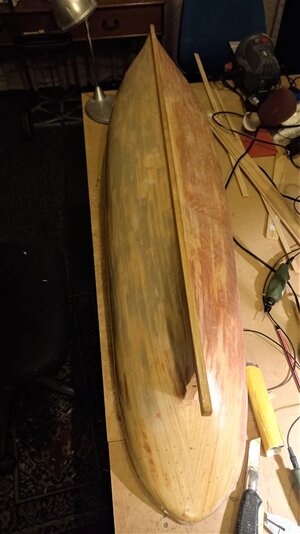
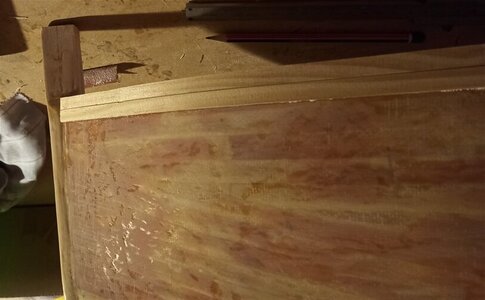
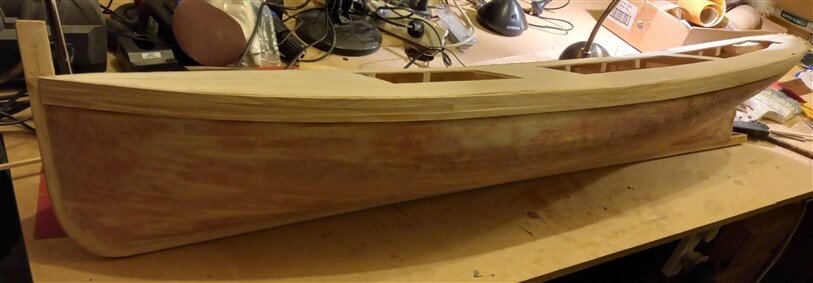
That is a very nice smooth fiberglass coating. Rich (PT-2)Here we are again, it doesn't seem like a month since I last posted, my Admiral has been poorly so I had to put the ship aside for awhile, I managed to get a couple of hours in today, just after my last post I have managed to give her two coats of fibre glass and resin and i have also started adding thiner strips to the top planks because in reality they were a bit thicker than the lower planks, see pics below,
View attachment 258196
View from the bow,
Before fibre glassing I covered each side of the hull with body filler and gave
the hull a good sanding to make sure everything was fair,
View attachment 258197
and from the stern,
View attachment 258198
First two of the top three planks attached, the top three planks should be 4" thick the next plank should be 3" thick
and the ones below that should be 2 1/4", and then there should be three planks at the turn of the bilges 3" thick,
View attachment 258199
This shows the three top planks attached, they have to be sanded down and tapered into the bow a little bit, I'm still debating with myself whether to attach the fourth plank and the
ones at the turn of the bilges, all these planks should have been attached during the hull planking process, but I
missed it at the time, ah well we will se how it goes,
thank you for looking,
best regards John,
.
