Steam powered wooden Drifter trawler, Formidable LT100, 1/20 scale by neptune

456.jpg
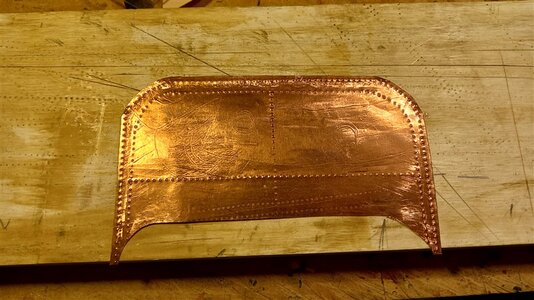
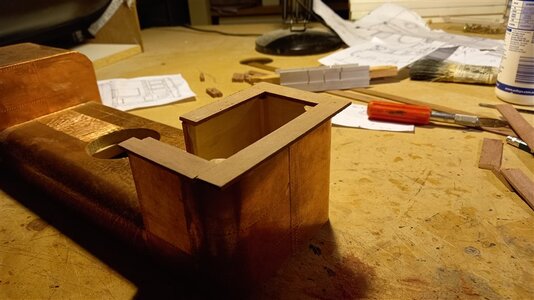
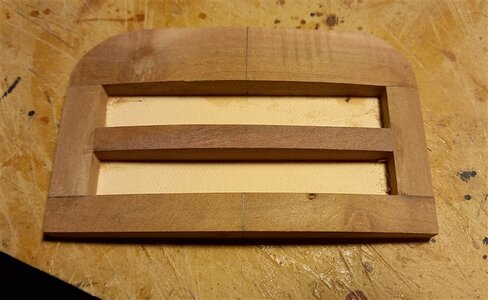
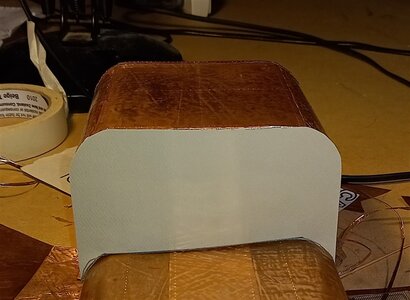
Making the pattern for the fore side of the galley,

457.jpg
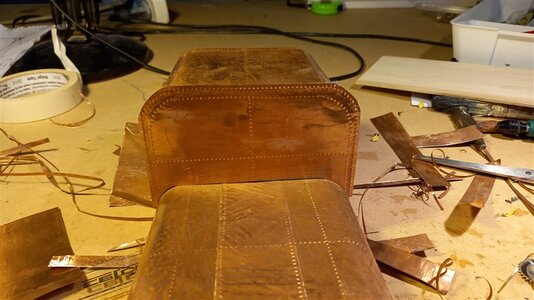
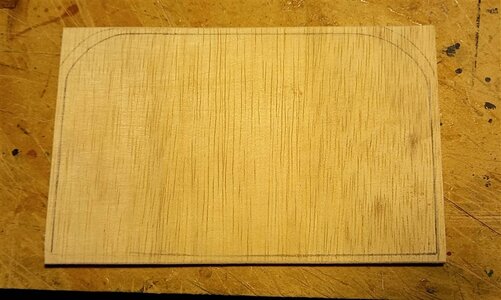
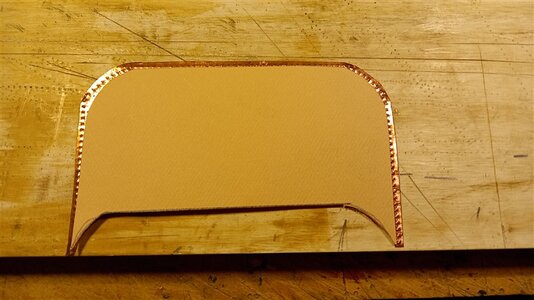
marking out the copper with an overhang around the edges for folding back onto the galley sides,

458.jpg
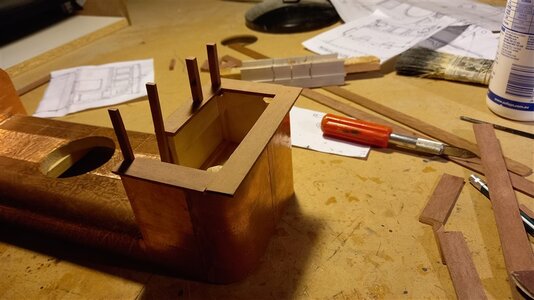
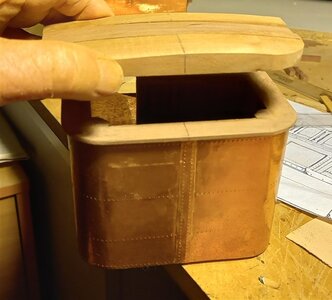
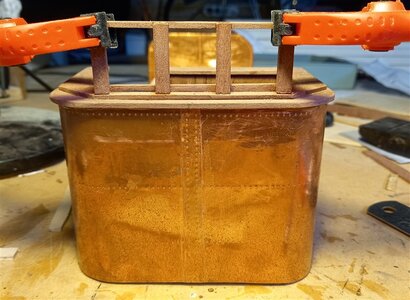
all ready for gluing in place,

459.jpg
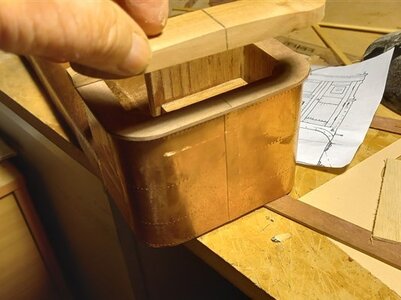
just have to wait for the front to dry before gluing back the edges onto the galley sides,

thanks for looking in,

best regards John.
 
Last edited:
View attachment 291956
Making the pattern for the fore side of the galley,

View attachment 291958
marking out the copper with an overhang around the edges for folding back onto the galley sides,

View attachment 291960
all ready for gluing in place,

View attachment 291961
just have to wait for the front to dry before gluing back the edges onto the galley sides,

thanks for looking in,

best regards John.
Great tutorial John,

Your Drifter is coming along beautifully.
What sort of glue are you using and will you use an Automotive Etch primer on the copper?

Cheers,
Stephen.
 
Thanks guys, I don't mind anyone joining in, the more the merrier, I'm not sure about the copper you have Daniel, if it is .5mm, you can only try and see if the wheel will make an impression on it, four pieces of the copper I am using is equal to your .5mm copper,

best regards john,
 
460.jpg
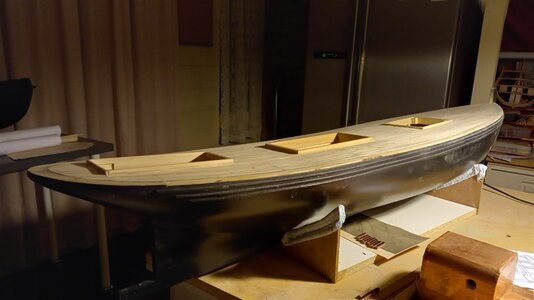
Thats all the planking sanded back, I will probably give the deck a wipe over with a damp cloth and then a final light sanding,

Steve I used CA glue for the plating on the drifter,


461.jpg
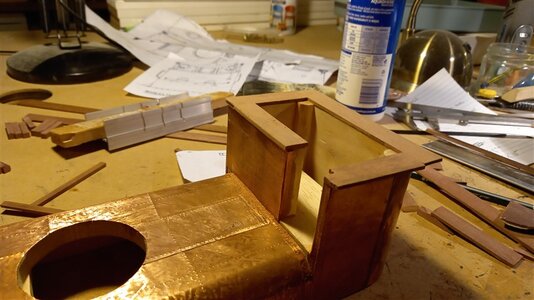
starting to build up the wheel house, I was going to build it separately, but have decided to build it up on the wheel house base,

462.jpg
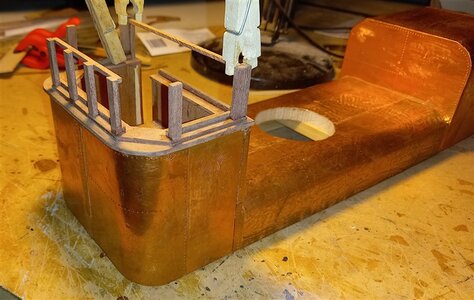
I have glued the base pieces for the wheel house onto the plated section, when the glue has dried tomorrow I will give the base its final shape by trimming these timbers down,

463.jpg
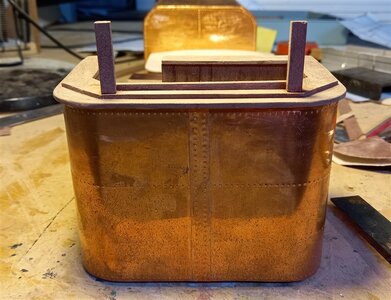
these parts are not glued they are just to show how I will build up the wheel house, what I might do before going any further is to mask the wooden parts and follow Steves suggestion and prime the plated section,

thank you for looking in any suggestions are welcome,

best regards john,

/
 
Last edited:
View attachment 292124
Thats all the planking sanded back, I will probably give the deck a wipe over with a damp cloth and then a final light sanding,

Steve I used CA glue for the plating on the drifter,


View attachment 292125
starting to build up the wheel house, I was going to build it separately, but have decided to build it up on the wheel house base,

View attachment 292127
I have glued the base pieces for the wheel house onto the plated section, when the glue has dried tomorrow I will give the base its final shape by trimming these timbers down,

View attachment 292130
these parts are not glued they are just to show how I will build up the wheel house, what I might do before going any further is to mask the wooden parts and follow Steves suggestion and prime the plated section,

thank you for looking in any suggestions are welcome,

best regards john,

/
Thanks John.

Cheers,
Stephen.
 
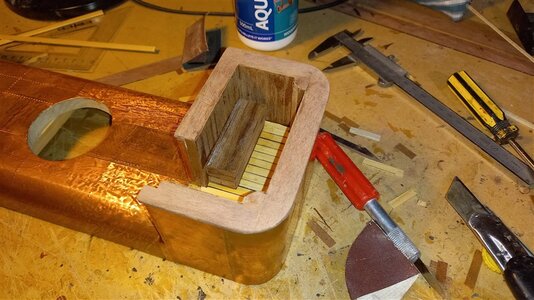
464.jpg
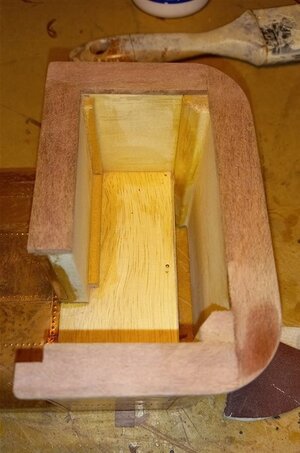
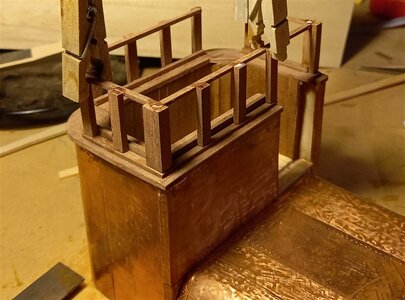
thats the rounding off and shaping done,

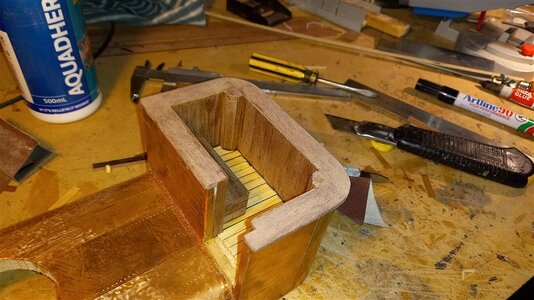
465.jpg
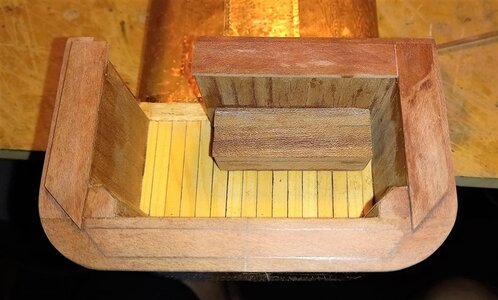
next up was paneling the insides of the wheel house,

466.jpg
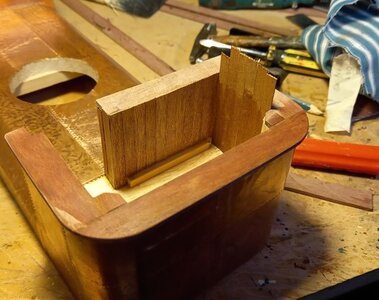
and adding the locker seat and flooring,

467.jpg
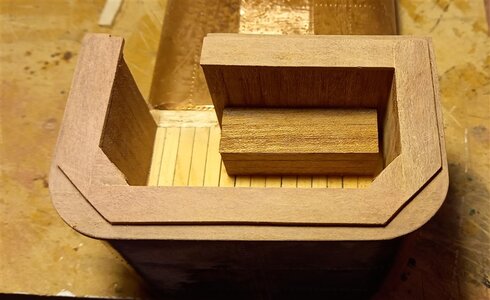
just have to add the strip across the doorway,

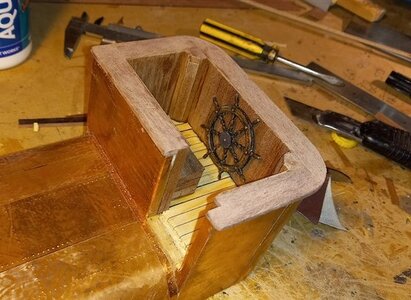
468.jpg
and I have a wheel to install and a binnacle to make, its going to be a little bit cramped in there, I should have made the wheelhouse walls a little bit thinner,

best regards John.
 
Very good work with the copper plates - also on the hull of your "off topic" model.
How you fix theses hull sheeting plates - I guess tehy are single copper sheets - Are you using double sided adhesive tape or some other glue?
I am asking because often the edges of the copper sheets are getting loose, mainly with overlapping of the sheets ..... so which technique are you using?
G'day Uwe, on the Steam Drifter I used CA glue to attach the copper sheets but on the Investigator model I used contact adhesive, I used the copper in long strip's cut to the length needed, hope this helps you,
Best regards John,
 
472.jpg
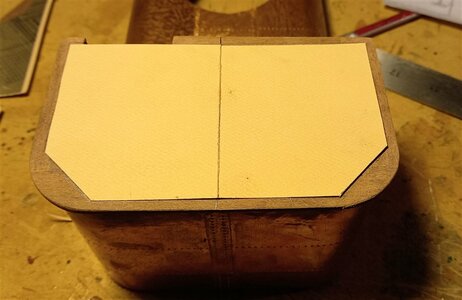
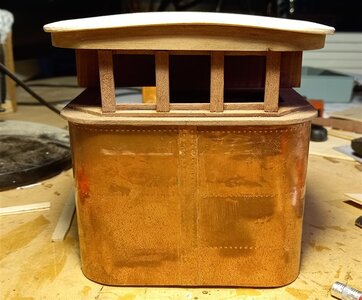
the wheel house roof timbers glued to the cardboard pattern,

473.jpg
the wheelhouse top marked out,

474.jpg
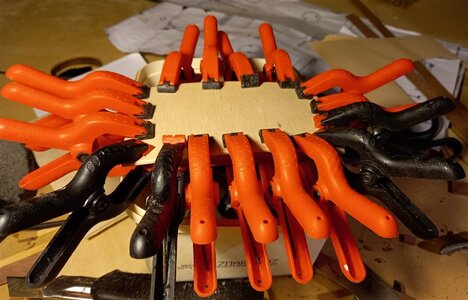
glued and clamped up,

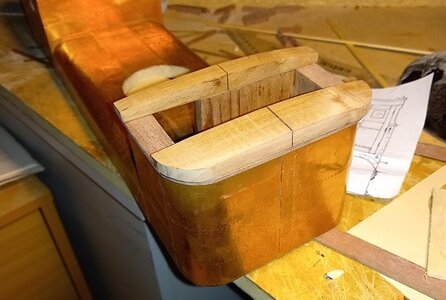
475.jpg
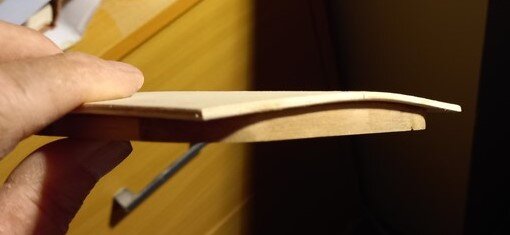
just have to round off the corners,

476.jpg
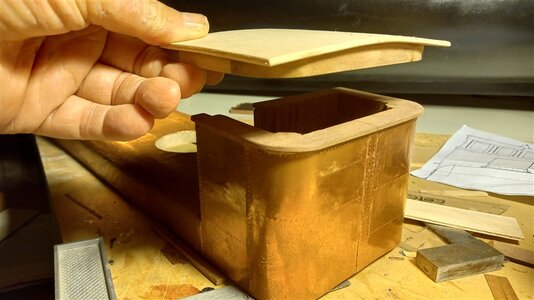
and again just about where it will end up,

thanks for looking in,

best regards John,
 
477.jpg
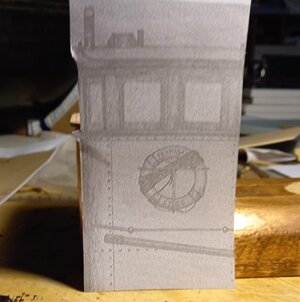
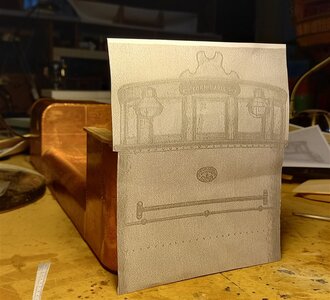
I fudged around with the printer till i got the size of copy to fit the model so as to get a bit more of an idea about the windows etc,

478.jpg
and the front view,

479.jpg
I worked out where the windows etc had to be fitted,

480.jpg
thats the two sides and the back pieces attached, the windows will sit on these pieces,

481.jpg
just waiting for the windows to be added,

best regards John,

/
 
View attachment 294054
I fudged around with the printer till i got the size of copy to fit the model so as to get a bit more of an idea about the windows etc,

View attachment 294055
and the front view,

View attachment 294056
I worked out where the windows etc had to be fitted,

View attachment 294057
thats the two sides and the back pieces attached, the windows will sit on these pieces,

View attachment 294058
just waiting for the windows to be added,

best regards John,

/
Hi John,
What sort of material are you going to use for the windows?

Cheers,
Stephen.
 
Back
Top