Steam powered wooden Drifter trawler, Formidable LT100, 1/20 scale by neptune

507.jpg
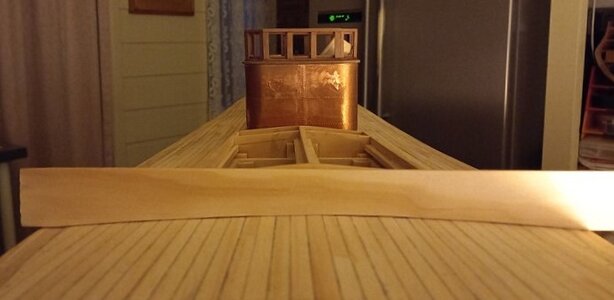
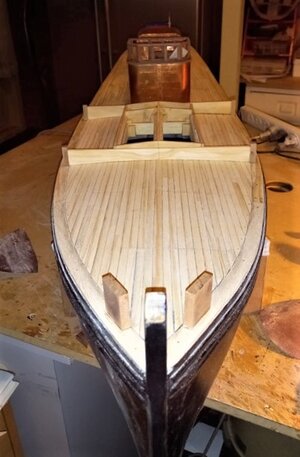
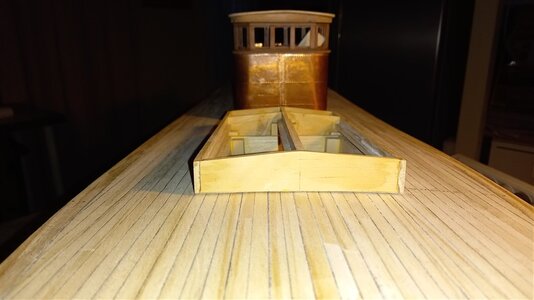
I'm getting ready to start attaching the stanchions and also the thwart ship boards,

508.jpg
shaped the bottom of the front board, I've made these out of one piece,

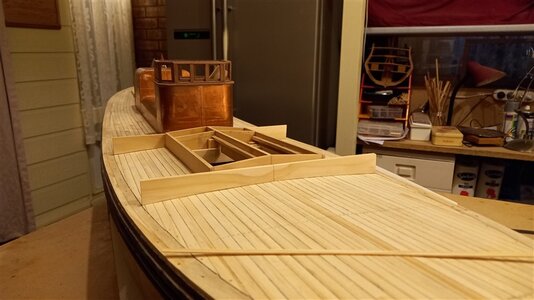
509.jpg
both boards cut to there final shape,


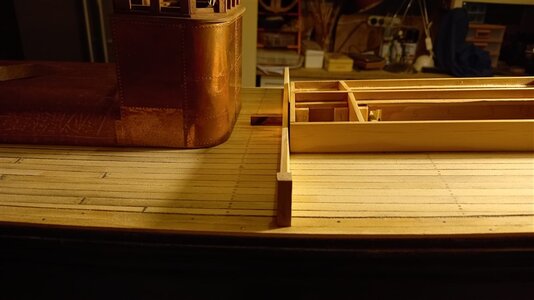
510.jpg
I glued a stanchion to each end and then glued them to the deck, I placed a thin piece of cardboard between the hatch and the thwart ship boards so that they wouldn't be glued together as I want to be able to remove the fish hatch when at the pond,

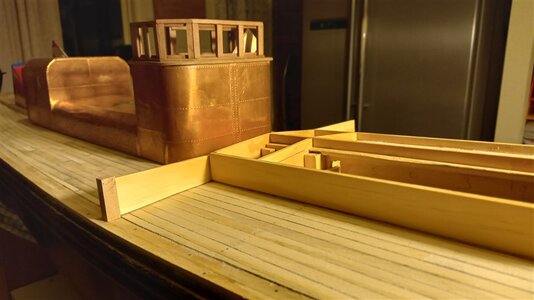
511.jpg
another view,


.
 
512.jpg
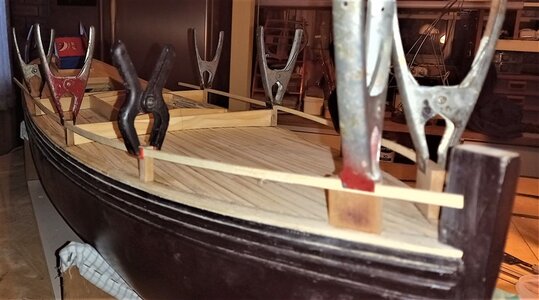
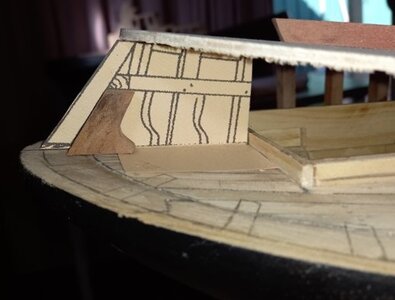
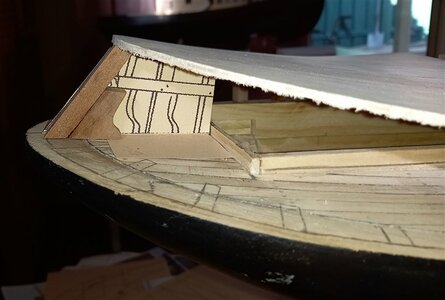
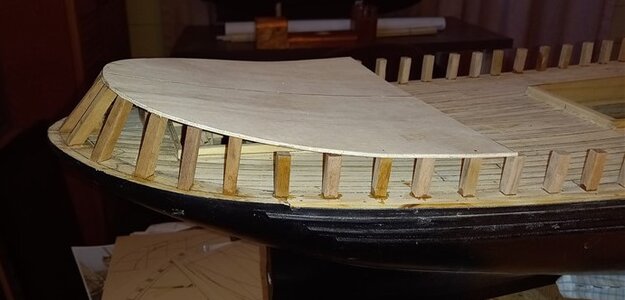
with the boards glued in position i then glued on the Knights heads at the bow, I attached them with small dowells and glue,

513.jpg
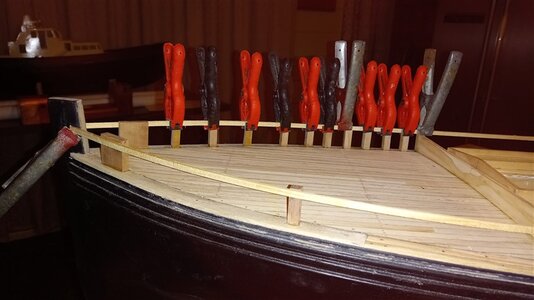
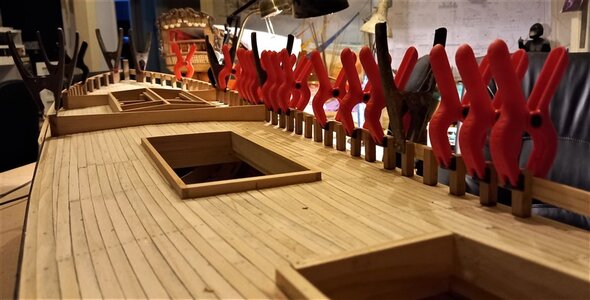
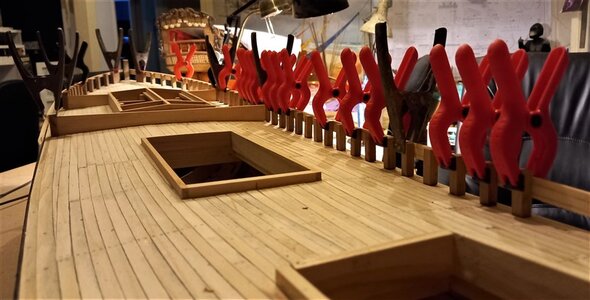
then i glued an intermediate stanchion between the knights head and the thwartship boards and clamped a batten along the top to get a fair line for attaching the other stanchions,

514.jpg
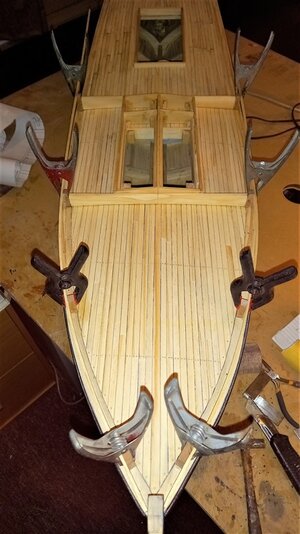
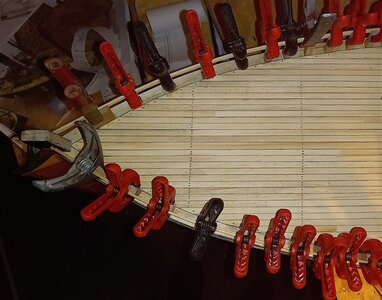
overhead view,

515.jpg
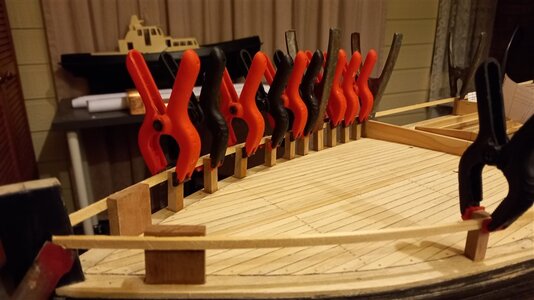
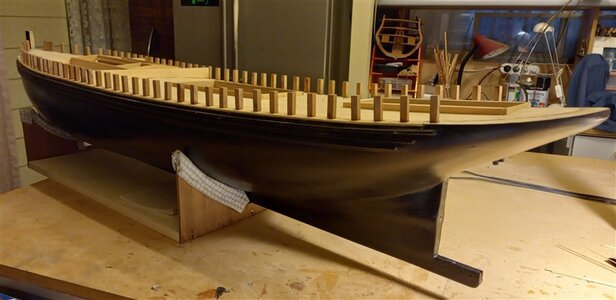
All the forward Starboard side stanchions glued in place,

516.jpg
another view,

517.jpg
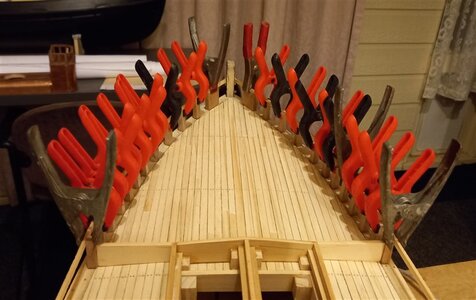
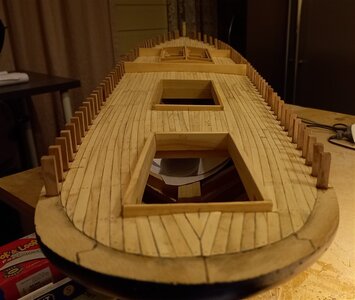
overhead view both port and starb sides glued in place,

518.jpg
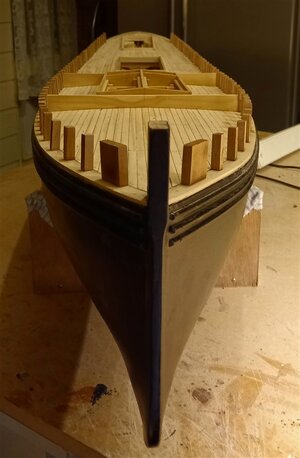
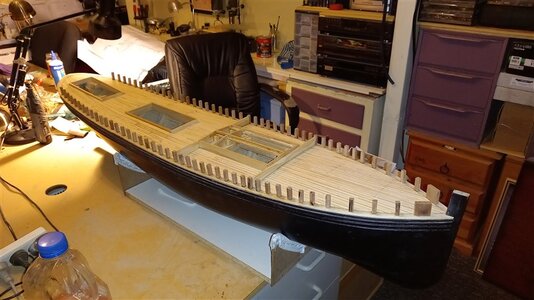
one last view looking Forward,

thanks for looking, any questions welcome,

best regards John,

.
 
Hi John. I have told Stephen before that stanchions are one of my least favorite things to do on a model. You devised a very methodical way of doing that and it looks great!
Thank you Heinrich but I cannot take credit for it, this is the way Ted describes it in the book, to set up two or three stanchions along the ship and then fair them with timber strips, although I must say they used to take the stanchions down below the deck level and fasten them to the side planking, where as I just dowelled mine to the cover boards,

best regards john,

.
 
522.jpg
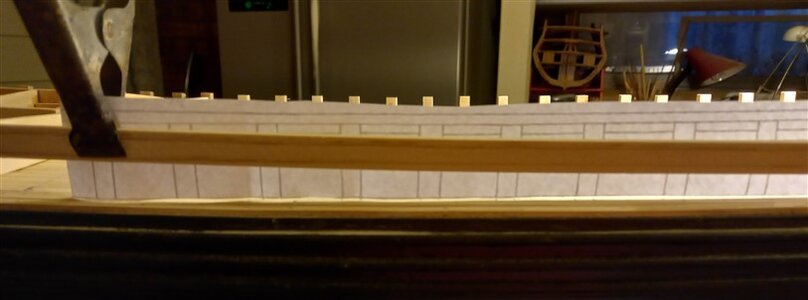
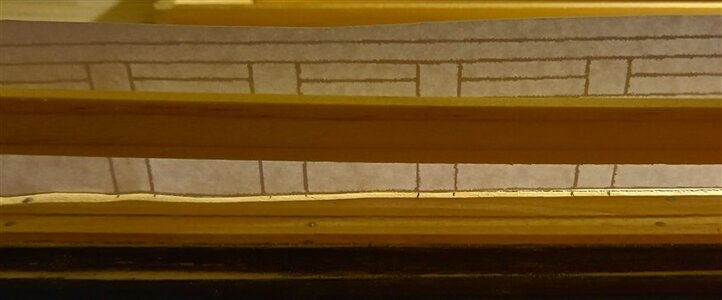
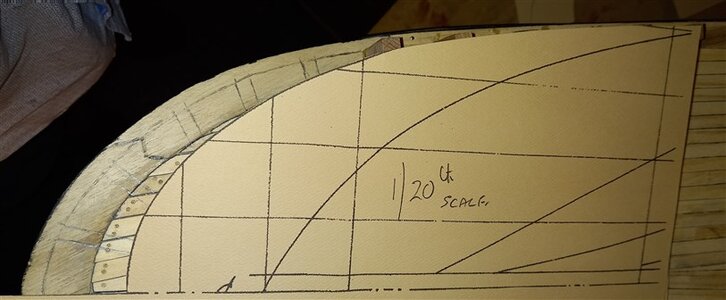
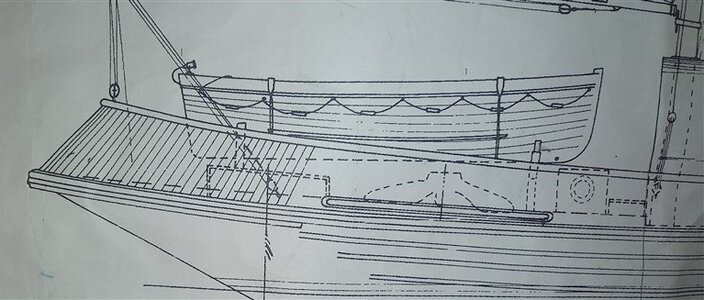
This is how I transferred the stanchion positions onto the ship, this is the port side, the plan is showing the starboard side, so after clipping the drawing to the timber strip I put a bright light behind the plan so i could see the stanchion positions,


523.jpg
a closer look, you can see where I have marked the stanchion positions on the deck at the edge of the cover board,

524.jpg
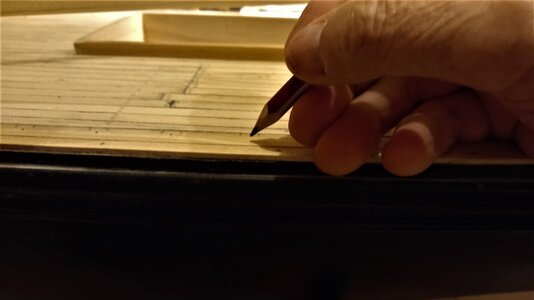
Then I went along manually with a pencil and marked the position for each hole that would take the dowell at the bottom of the stanchions,

525.jpg
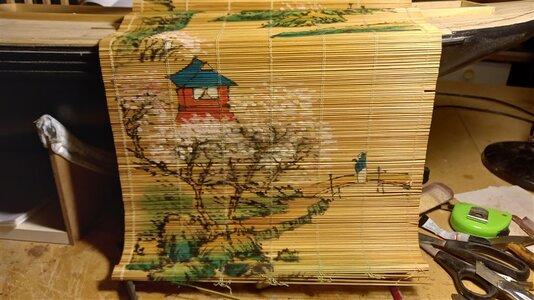
This is what i use for the dowells, a good few years back i managed to buy approx ten of these Chinese style wall hangings for a few dollars,

526.jpg
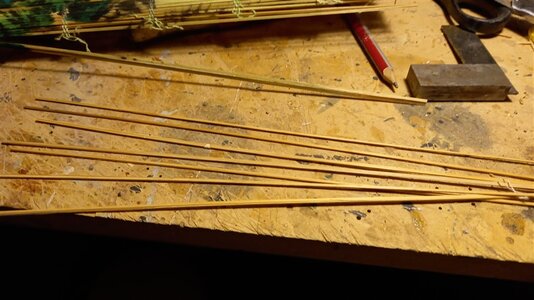
and this is what they look like when taken from the hanging, I only have to run them through my dowell plate a couple of times,


.
 
531.jpg
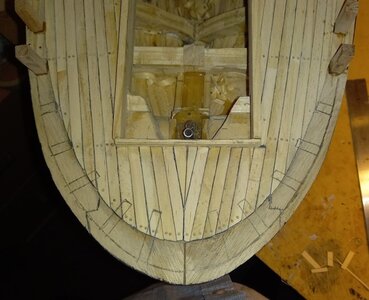
Well this is what I have done today, worked out and marked the stern stanchions, the piece of cardboard sitting over the plan shows where the outside of the top rail should sit, I have to cut and fit it to match with the tops of the stanchions, when I have it right I will make a plywood template to sit on top of the stanchions that are already in place and then cut the stern stanchions to fit, on the real ship they made a temporary metal rail to fit the stanchions to,

best regards john,

.
 
Last edited:
View attachment 298550
Well this is what I have done today, worked out and marked the stern stanchions, the piece of cardboard sitting over the plan shows where the inside of the top rail should sit, I have to cut and fit it to match with the tops of the stanchions, when I have it right I will make a plywood template to sit on top of the stanchions that are already in place and then cut the stern stanchions to fit, on the real ship they made a temporary metal rail to fit the stanchions to,

best regards john,

.
Good idea and well described John.

Cheers,
Stephen.
 
532.jpg
So I've marked where the stanchions will go,


533.jpg
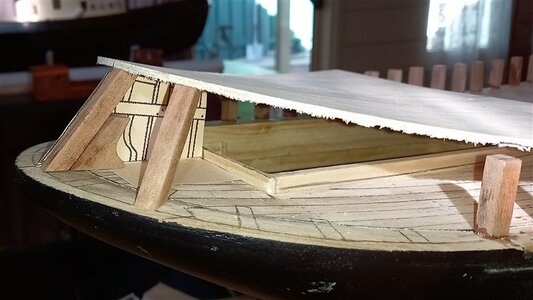
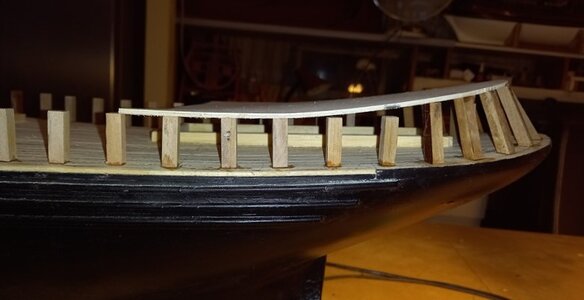
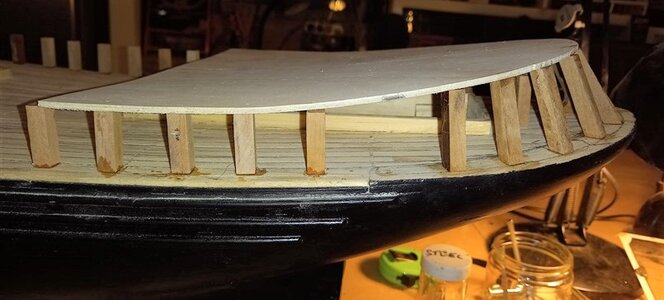
Then I made a cardboard copy of the after most stanchion and glued it to the deck with some rubber cement, then I cut a piece of plywood to fit the outside of the frames and tacked it in position you can see this more clearly in the next few pics, you can see I'm going to have to replace the last two stanchions on each side with taller ones to fit the upward sweep of the stern rails,

534.jpg
I cut the knee that supports the last stanchion, actually they didn't have a stanchion on the middle line, but i decided to put one there as it helped to work out the positions etc of the other stanchions,

535.jpg
Just test fitting the stanchion with the knee glued to it,


536.jpg
I then started fitting the other stanchions without the knee's, i will add the knee's later, I glued the stanchion to the deck and also put a dab of glue on the top to hold it to the plywood template, tomorrow when all the glue has set I will drill down through the stanchions and dowell them to the deck just to make sure all is nice and secure,

537.jpg
the plywood template,

538.jpg
in this pic you can see the two stanchions tha I will have to remove and replace with taller ones, I might even take a the third one out just to make sure that i get a nice smooth sweep to the rails,

539.jpg
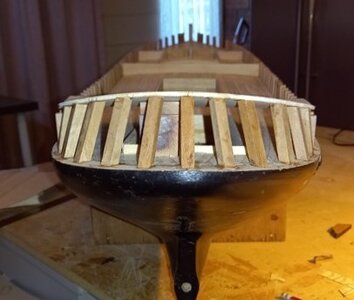
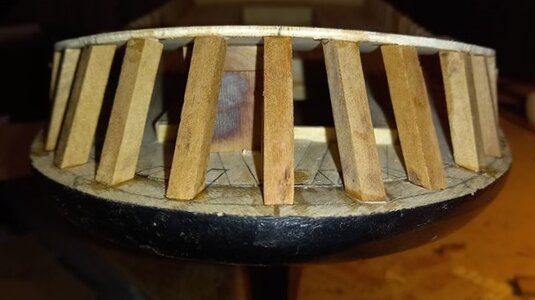
all the after most stanchions in place,

540.jpg
and a close up view,

541.jpg
port side view, looking at the pic I might even have to replace four of the last upright stanchions,

542.jpg
Thats one removed, I will use a batten to make sure the upward sweep is nice, there are lots of filling pieces etc to add,

543.jpg
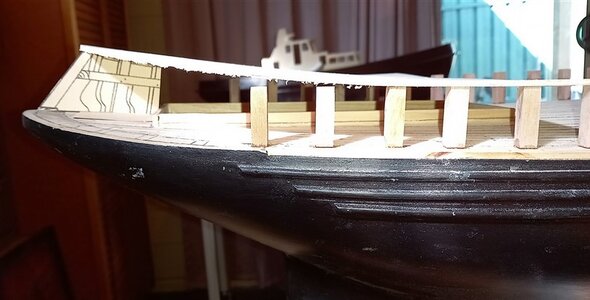
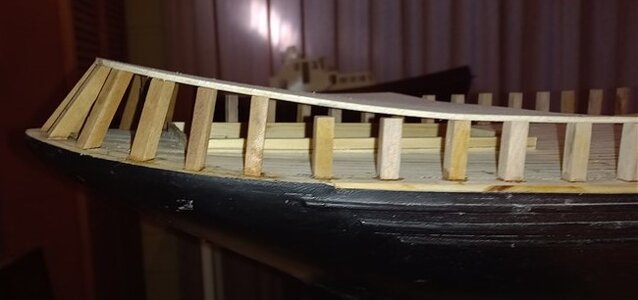
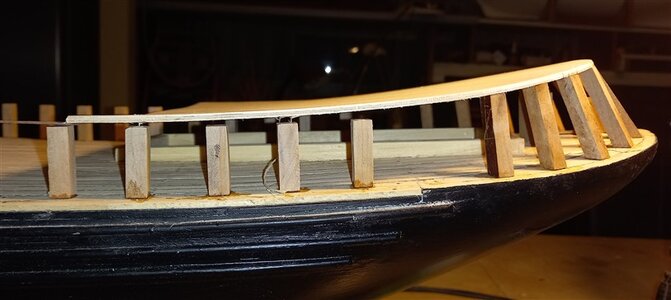
this shows the upward sweep to the rails,

thanks for looking in,

best regards john.

.
 
Last edited:
View attachment 298719
So I've marked where the stanchions will go,


View attachment 298720
Then I made a cardboard copy of the after most stanchion and glued it to the deck with some rubber cement, then I cut a piece of plywood to fit the outside of the frames and tacked it in position you can see this more clearly in the next few pics, you can see I'm going to have to replace the last two stanchions on each side with taller ones to fit the upward sweep of the stern rails,

View attachment 298721
I cut the knee that supports the last stanchion, actually they didn't have a stanchion on the middle line, but i decided to put one there as it helped to work out the positions etc of the other stanchions,

View attachment 298722
Just test fitting the stanchion with the knee glued to it,


View attachment 298723
I then started fitting the other stanchions without the knee's, i will add the knee's later, I glued the stanchion to the deck and also put a dab of glue on the top to hold it to the plywood template, tomorrow when all the glue has set I will drill down through the stanchions and dowell them to the deck just to make sure all is nice and secure,

View attachment 298724
the plywood template,

View attachment 298725
in this pic you can see the two stanchions tha I will have to remove and replace with taller ones, I might even take a the third one out just to make sure that i get a nice smooth sweep to the rails,

View attachment 298726
all the after most stanchions in place,

View attachment 298727
and a close up view,

View attachment 298728
post side view, looking at the pic I might even have to replace four of the last upright stanchions,

View attachment 298729
Thats one removed, I will use a batten to make sure the upward sweep is nice, there are lots of filling pieces etc to add,

View attachment 298732
this shows the upward sweep to the rails,

thanks for looking in,

best regards john.

.
Hi John,
I think I will copy your method there, great work on a tricky area.
Cheers,
Stephen.
 
Thanks guy's for all the compliments and the likes, as Steve said it is a tricky area, if it was a tug that I was building I would have just bent a piece of thin plywood around the stern and scribed the deck shape on it, but because it is light vertical boards on a frame work then it is a bit more complicated,

..Best regards john,
 
544.jpg
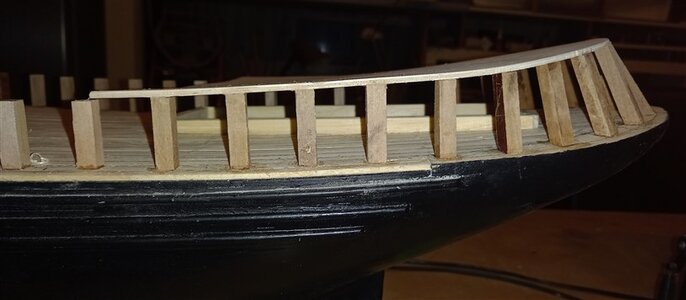
So I released the tension on the last five upright stanchions and ended up with a nice upward sweep,

545.jpg
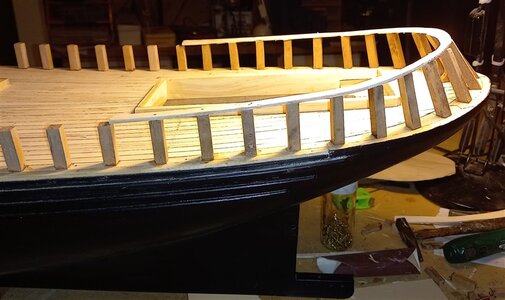
Then I replaced them, it looks a lot better I think,


546.jpg
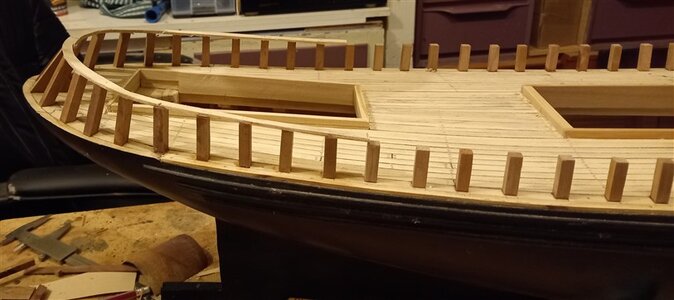
After the glue on the stanchions had dried I cut out most of the ply template just leaving enough round the top of the stanchions to give them support till I get the rest of the knee's and the dowells in place,


547.jpg
view of the starboard side,

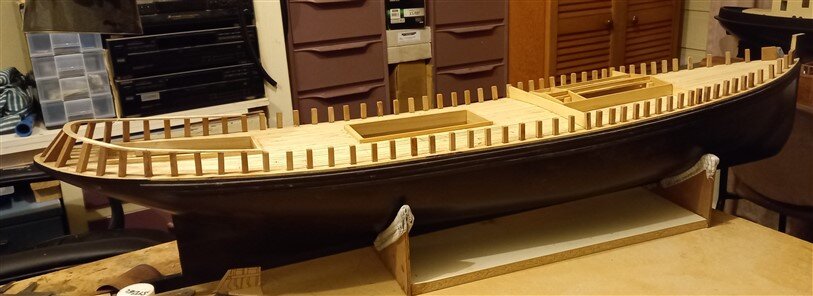
548.jpg
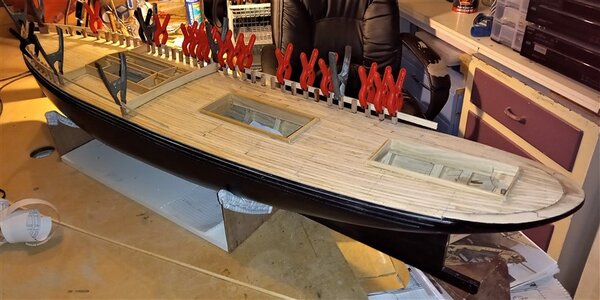
and overall view,

best regards John.
 
View attachment 299001
So I released the tension on the last five upright stanchions and ended up with a nice upward sweep,

View attachment 299002
Then I replaced them, it looks a lot better I think,


View attachment 299003
After the glue on the stanchions had dried I cut out most of the ply template just leaving enough round the top of the stanchions to give them support till I get the rest of the knee's and the dowells in place,


View attachment 299004
view of the starboard side,

View attachment 299005
and overall view,

best regards John.
Great resalt John,
You have captured the look very nicely.

Cheers,
Stephen.
 
Back
Top